6 Mar 2026
- 0 Comments
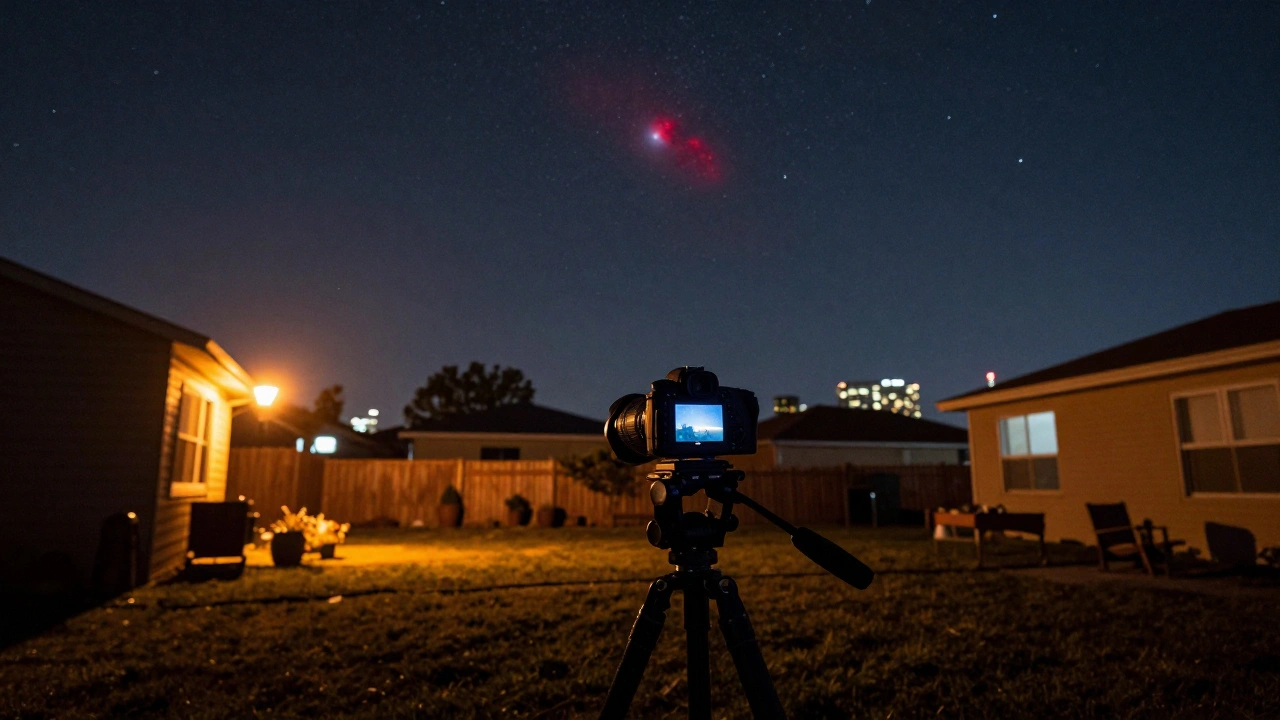
Living under a Bortle 8 sky means your backyard is bathed in artificial light-streetlamps, neighbor’s security lights, mall billboards, and the glow of the city skyline. The Milky Way? Gone. Dim nebulae? Buried. Even Jupiter’s moons look washed out. But here’s the truth: you can still capture stunning deep-sky images from a Bortle 8 zone. It’s not easy, but it’s absolutely possible. Thousands of amateur astrophotographers do it every night, right in their own backyards. You don’t need to drive two hours to the desert. You don’t need a $10,000 telescope. You just need the right approach.
Understand What Bortle 8 Really Means
The Bortle Scale measures how bright your night sky is, from 1 (perfect dark sky) to 9 (inner-city core). A Bortle 8 sky has a limiting magnitude of around 4.0 to 4.5. That means you can barely see the faintest stars with the naked eye. The skyglow is so intense that long-exposure shots without filters turn into orange mush. But this isn’t a death sentence-it’s a challenge that changes how you shoot.
Most people think Bortle 8 means no deep-sky imaging. That’s false. You’re not trying to capture the faintest wisps of the Veil Nebula. You’re targeting the bright, bold targets: Orion Nebula, Andromeda Galaxy, Pleiades, and the North America Nebula. These objects are bright enough to punch through the glow if you handle them right.
Camera Choice Matters More Than You Think
Your DSLR or mirrorless camera? It’s probably not the best tool. Those cameras have infrared filters that block the hydrogen-alpha light-the red glow that makes nebulae visible. That’s why your color shots look pale and flat under city skies.
Switch to a modified DSLR or a dedicated astronomy camera. A modified camera has its IR/UV filter removed or replaced with one that passes H-alpha light. This lets you capture 3 to 5 times more detail from emission nebulae. You don’t need to spend $2,000. A used Canon EOS Rebel T7i modified by a reputable service like iOptron or Astronomy Tools costs under $600. It’s a game-changer.
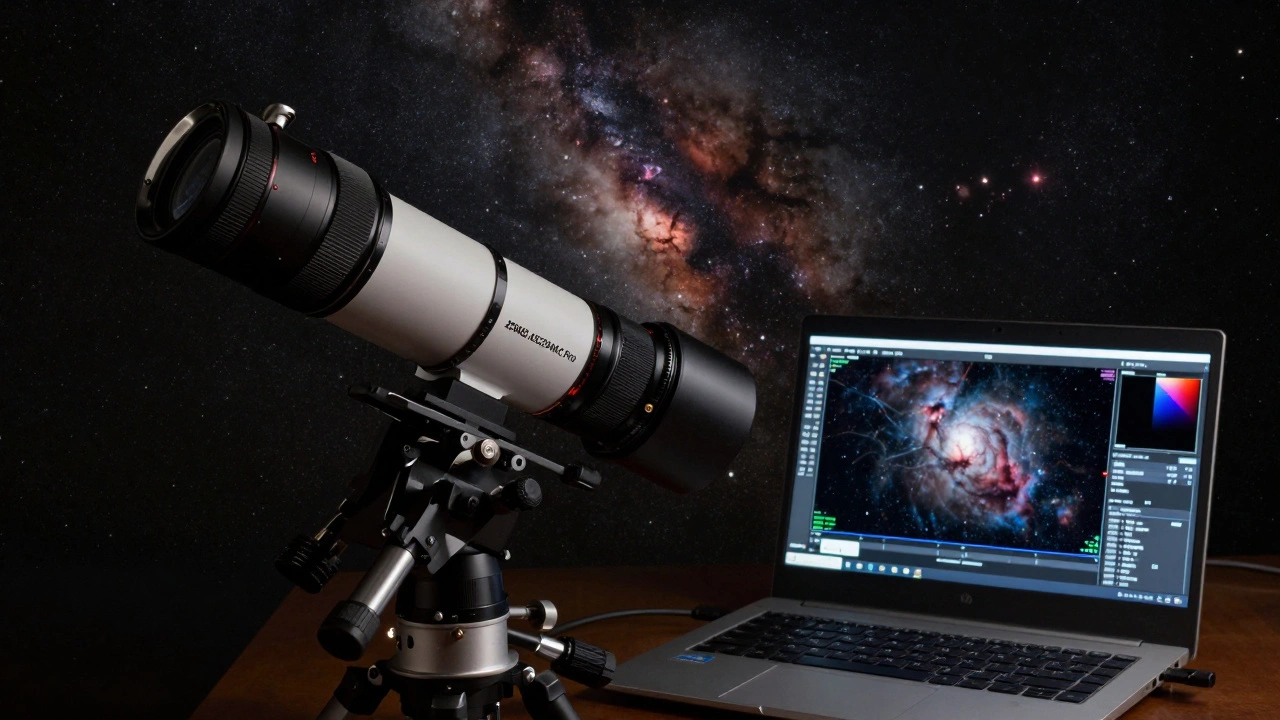
Or go with a cooled CMOS camera like the ZWO ASI294MC Pro. It’s not cheap, but it’s designed for light pollution. Its low noise, high quantum efficiency, and cooling system let you stack longer exposures without thermal noise ruining your data. These cameras work best with narrowband filters, which we’ll get to next.
Narrowband Filters: Your Secret Weapon
If you’re shooting from Bortle 8, you’re not using a standard broadband filter. You need narrowband filters. These block almost all light except for specific wavelengths: Ha (hydrogen-alpha), OIII (oxygen), and SII (sulfur).
Ha filters (656nm) are the most useful. They let through the red glow of nebulae while blocking the orange sodium vapor lights that dominate urban skies. A 3nm Ha filter is ideal. It’s tight enough to cut out streetlights but wide enough to capture real detail. Pair it with a mono camera, and you can image nebulae like the Lagoon or Eagle even when the moon is full.
Here’s what it looks like in practice: without a filter, your 5-minute exposure of Orion Nebula looks like a blurry orange blob. With a 3nm Ha filter, that same exposure reveals the intricate filaments, the dark lanes, the glowing core. You’re seeing what professional observatories see-not because you have a bigger scope, but because you’re filtering out the noise.
Don’t skip this step. A $200 Ha filter can double your signal-to-noise ratio. That’s like adding a 2x gain to your camera’s sensitivity.
Exposure Strategy: More Frames, Not Longer Exposures
Under heavy light pollution, longer exposures don’t help-they make the background brighter. Instead, shoot more short exposures and stack them.
Here’s the rule: keep individual exposures under 90 seconds. Why? Because skyglow builds up linearly with time. At Bortle 8, a 5-minute exposure might have 80% noise from skyglow. A 90-second exposure? Maybe 30%. You lose less detail per frame, and you gain more flexibility in processing.
Shoot 100 to 200 frames. Yes, that’s a lot. But stacking 150 x 90-second exposures gives you better signal than 10 x 5-minute ones. Software like DeepSkyStacker or Siril can handle this easily. The key is consistency: same exposure, same gain, same focus. Use a motorized mount with good tracking-like the Sky-Watcher EQ6-R Pro or the iOptron CEM40. Without accurate tracking, stacking fails.
Processing: Noise is the Enemy, But You Can Beat It
Raw frames from a Bortle 8 site look terrible. They’re noisy, washed out, and full of gradients. That’s normal. The magic happens in post-processing.
Start with calibration: darks, flats, and bias frames. Darks remove thermal noise. Flats correct for vignetting and dust spots. Bias frames capture read noise. You need at least 20 of each. It takes time, but it’s non-negotiable.
Then, use linear stretching. Don’t jump straight to curves or levels. Use a histogram stretch in PixInsight or Adobe Photoshop to reveal the faint details without blowing out the core. Then apply noise reduction-only after stretching. Tools like Multiscale Linear Transform or NoiseXTerminator work well.
Finally, color balance. Under city lights, your image will look orange. Use the ColorCalibration tool in PixInsight or the White Balance tool in Photoshop. Target neutral gray areas in the image. You’ll be amazed how much color comes back.
Target Selection: What Works Best
Not all deep-sky objects survive Bortle 8. Here’s what you should focus on:
- Orion Nebula (M42) - Bright, huge, and full of structure. Even with a small scope, it pops.
- Andromeda Galaxy (M31) - Its bright core and dust lanes cut through glow. Shoot in Ha to reveal spiral structure.
- Pleiades (M45) - A reflection nebula cluster. Blue stars stand out against the orange sky.
- North America Nebula (NGC 7000) - Surprisingly resilient. Use an Ha filter and long total exposure.
- Helix Nebula (NGC 7293) - A planetary nebula. Its ring structure holds up well under light pollution.
Avoid faint, diffuse targets like the California Nebula or the Pipe Nebula. They’re invisible under Bortle 8. Stick to the bright, compact ones. You’ll get better results faster.
Mount and Tracking: Don’t Cut Corners
Light pollution forces you to stack more frames. That means your mount must track flawlessly. A shaky mount ruins everything. You can’t fix motion blur in post.
Use a mount with at least 15-pound payload capacity. The Celestron AVX is the bare minimum. The Sky-Watcher EQ6-R Pro is better. Both have GoTo and autoguiding ports. Pair it with a guide scope and a small autoguider like the ZWO ASI120MM Mini. Even a 30-second autoguider correction every 2 minutes makes a huge difference.
Calibrate your mount with polar alignment. Use a polar scope or a phone app like SharpCap’s polar alignment tool. If you’re off by more than 1 degree, your stars will trail. That’s the difference between a sharp image and a blurry mess.
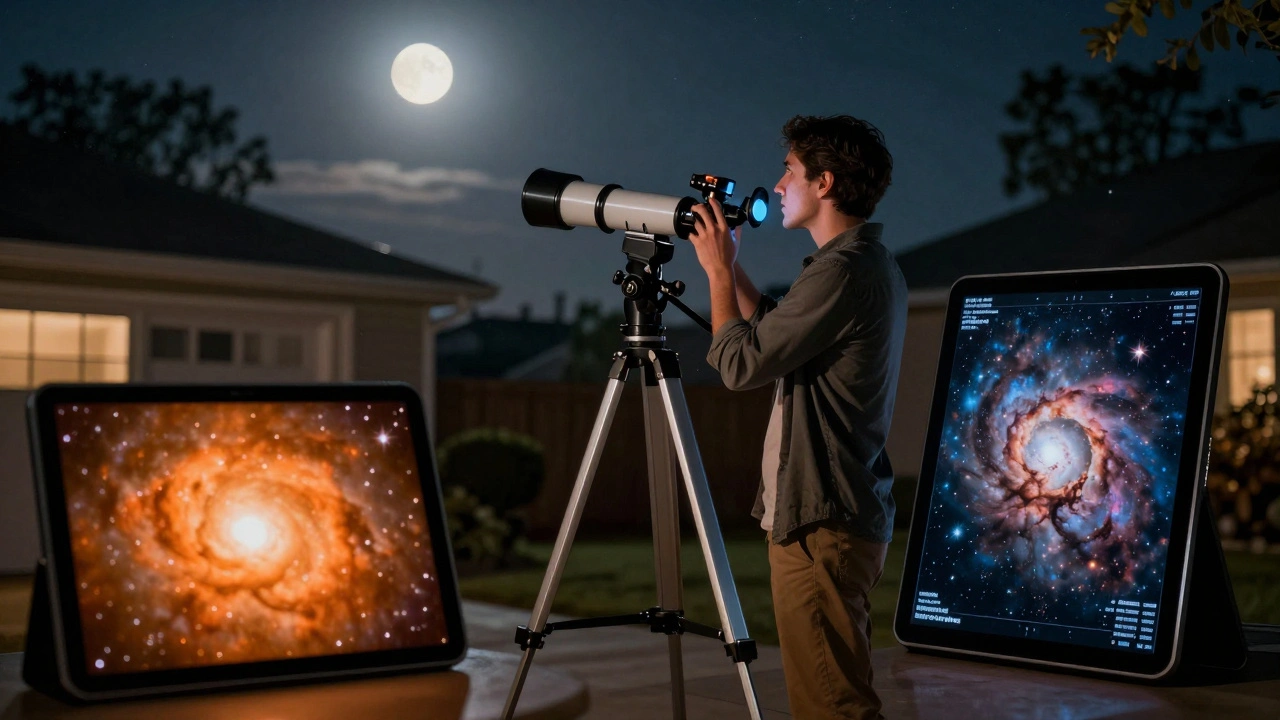
Patience and Persistence: This Isn’t a Quick Win
Don’t expect your first night to look like Hubble. Bortle 8 imaging is a grind. You’ll have nights where clouds roll in. Nights where your mount fails. Nights where your filters misalign. It happens to everyone.
The key is consistency. Shoot every clear night, even for 30 minutes. Stack 50 frames this week. 100 next week. 200 the week after. Your results will improve exponentially. One photographer in Chicago captured the Orion Nebula after 18 hours of total exposure over six months. His first attempt? A blurry orange blob. His final image? Published in a regional astronomy magazine.
You don’t need perfect conditions. You just need to show up.
Real-World Example: Portland’s Urban Sky
I live in Portland, Oregon. My backyard faces east, toward the city glow. My Bortle rating? 8.5. I’ve imaged the Orion Nebula here with a 60mm refractor, a modified Canon T7i, and a 3nm Ha filter. My total exposure time? 12 hours. I didn’t use a fancy scope. I didn’t travel. I just showed up, night after night.
The result? A color image with visible dust lanes, bright core, and surrounding nebulosity. It’s not a professional observatory shot-but it’s mine. And it came from my driveway.
If you’re in a city, you’re not behind. You’re just starting from a different place. And with the right tools, that place is still full of wonder.
Can I use my unmodified DSLR for Bortle 8 astrophotography?
Yes, but your results will be limited. Unmodified DSLRs block hydrogen-alpha light, which is critical for nebulae. You’ll still capture star clusters and galaxies, but nebulae will look pale and underwhelming. For the best results, use a modified camera or a narrowband filter like Ha.
Do I need a telescope to image from Bortle 8?
No. Many successful Bortle 8 images are taken with wide-field lenses or small refractors under 60mm. The key is aperture and focal length balance. A 135mm f/2 lens on a modified DSLR can capture the entire Orion Nebula in one frame. You don’t need a giant scope-you need the right setup for your target.
Is narrowband imaging only for advanced users?
Not at all. Narrowband imaging is simpler than it sounds. You just attach the filter, shoot longer exposures (3-5 minutes), and stack. Modern software like Siril or DeepSkyStacker automates calibration and alignment. Many beginners get stunning results with Ha filters and a modified camera. It’s one of the most accessible ways to fight light pollution.
What’s the minimum equipment I need to start?
A modified DSLR or entry-level astronomy camera (like the ZWO ASI224MC), a decent tracking mount (Sky-Watcher EQ5 or better), a 3nm Ha filter, and free software (DeepSkyStacker, GIMP, or PixInsight trial). That’s under $1,000 total. You don’t need to spend more to get started.
How long should I expect to wait before I see good results?
Realistically, 20 to 30 hours of total exposure time. That’s not one night-it’s 10 nights of 2-3 hours each. The first few attempts will look muddy. But by the 10th night, you’ll start seeing structure. By the 20th, your images will surprise you. Progress is slow, but it’s steady.