6 Feb 2026
- 0 Comments
Getting your Newtonian telescope’s primary mirror perfectly aligned isn’t just a nice-to-have-it’s the difference between seeing a fuzzy planet and a crisp, detailed view of Jupiter’s cloud bands or the rings of Saturn. Many amateur astronomers think a standard laser collimator is enough. But if you’re serious about sharp images, especially at high magnifications, you need to go one step further: Barlowed laser collimation.
Why Standard Laser Collimation Falls Short
A standard laser collimator shines a red beam straight down the focuser tube and expects you to align it with the center of the primary mirror. Sounds simple, right? But here’s the problem: the laser beam doesn’t care about the secondary mirror’s tilt, and it doesn’t account for the optical path length between the focuser and the primary. Even a tiny misalignment in the focuser or a slightly off-center laser module can throw everything off. You might think your scope is collimated, but when you look through an eyepiece, the stars still look like little comets.
Real-world testing shows that up to 40% of Newtonians collimated with standard lasers still have measurable coma or astigmatism at the edge of the field. That’s because the laser beam hits the primary mirror at a point that doesn’t reflect back along the exact optical axis. The result? You’re aligning to the wrong center.
What Is Barlowed Laser Collimation?
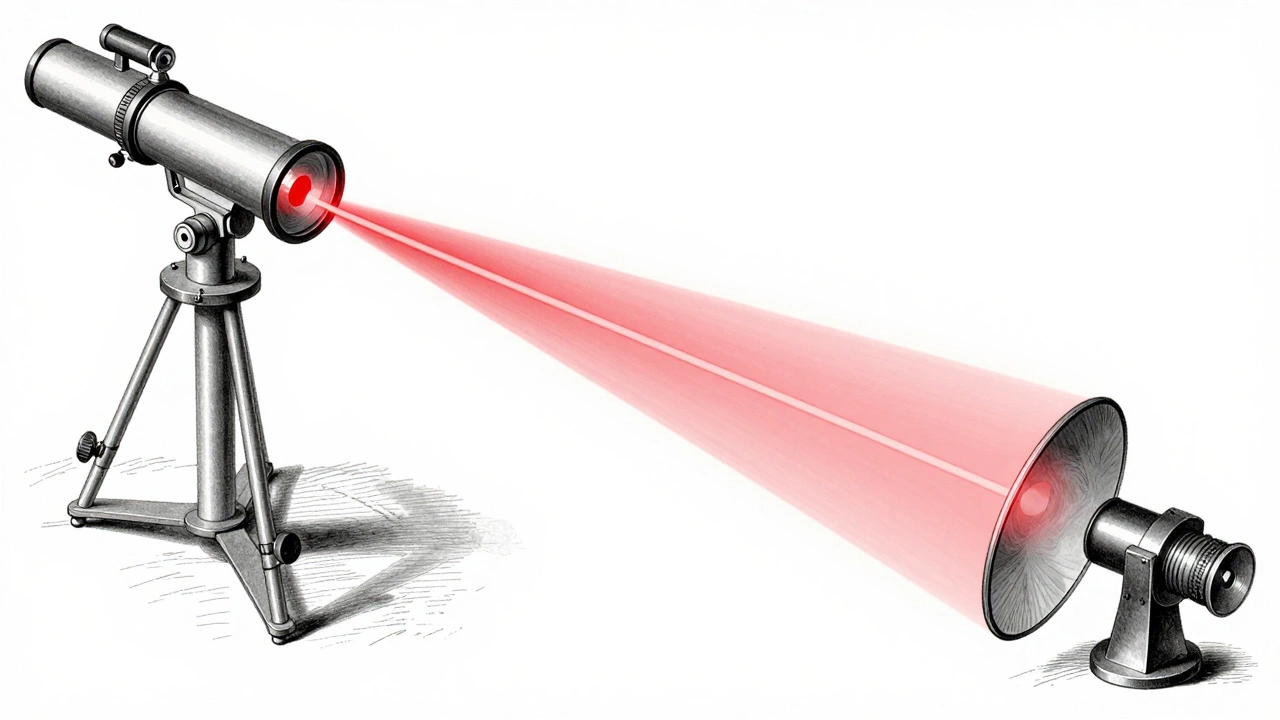
Barlowed laser collimation uses a Barlow lens inserted between the laser collimator and the focuser. The Barlow lens spreads out the laser beam, turning it into a wide, soft cone of light that reflects off the entire surface of the primary mirror. This cone then bounces back through the Barlow and forms a distinct shadow on the laser’s output end-the shadow of the primary mirror’s center spot.
Here’s the magic: because the Barlow magnifies the beam’s divergence, the reflected spot becomes much larger and more sensitive to alignment errors. Even a 0.5mm shift in the primary mirror’s center becomes obvious. You’re no longer aligning to a tiny dot-you’re aligning to the full reflection of the mirror’s center, which matches exactly where the light from distant stars actually focuses.
This method was popularized by astronomer Bob Miller in the early 2000s and has since become the gold standard for serious Newtonian users. It works because it removes the dependency on the focuser’s alignment. The Barlow effectively turns the laser into a tool that sees the optical axis as defined by the primary mirror itself-not the mechanical tube.
How to Do It: Step-by-Step
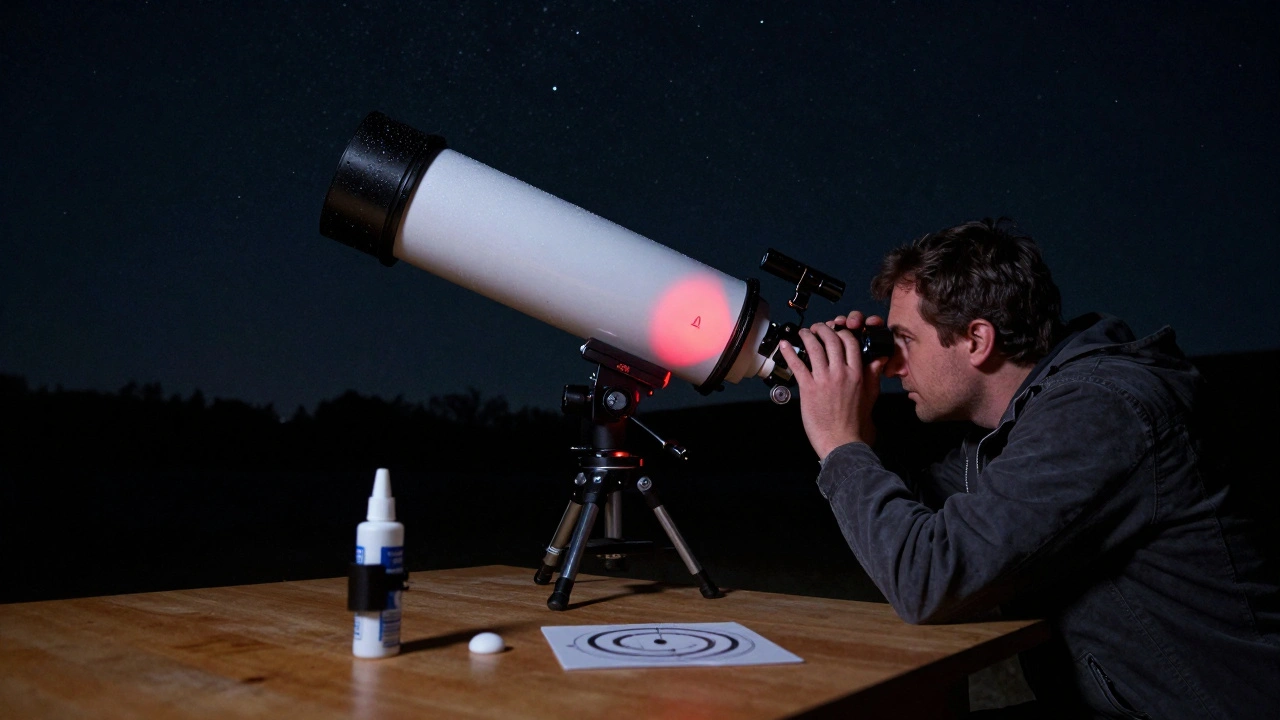
- Remove the eyepiece and insert your Barlow lens into the focuser. Make sure it’s fully seated.
- Insert the laser collimator into the Barlow. You may need a 1.25" adapter if your laser is 2".
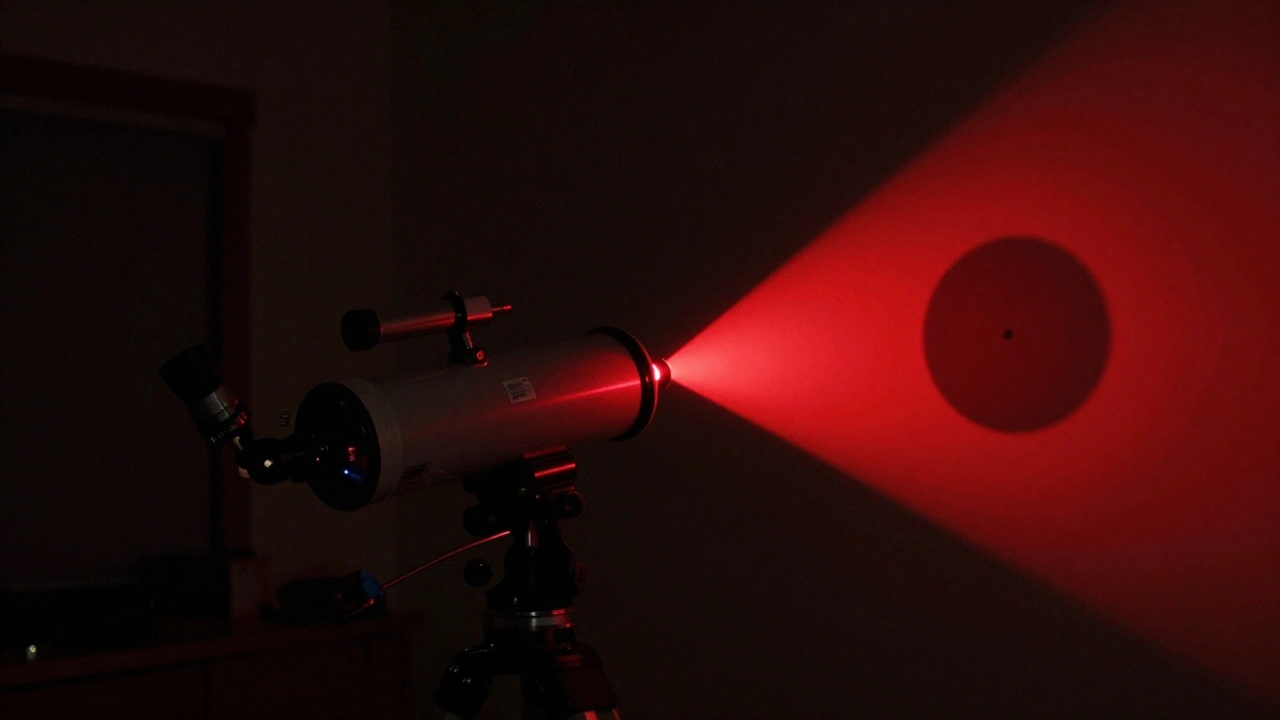
- Turn on the laser. You should see a large, dim, fuzzy red circle on the primary mirror’s surface. Don’t worry about brightness-this is normal.
- Look into the focuser (without an eyepiece). You’ll see a dark circular shadow surrounded by a red glow. That shadow is the reflection of your primary mirror’s center mark.
- Adjust the primary mirror’s tilt screws until the shadow is perfectly centered within the red glow. You’re not trying to make the shadow disappear-you want it centered.
- Rotate the laser collimator in the Barlow. If the shadow doesn’t move, your alignment is solid. If it wobbles, your laser isn’t centered in the focuser. You’ll need to fix that separately.
- Once centered, remove the Barlow and laser. Test with a high-power eyepiece on a bright star. If the star stays sharp and round across the field, you’re done.
Pro tip: Do this in a dark room. A dimly lit environment makes the shadow much easier to see. Some people tape a small piece of white paper over the focuser to create a better contrast background.
What You Need
- A standard 1.25" or 2" laser collimator (any brand works)
- A 1.25" Barlow lens (a 2x is ideal; avoid 3x or higher as they get too dim)
- A centered, visible mark on your primary mirror (if it’s not marked, use a small, non-permanent sticker or a dot of white correction fluid)
You don’t need expensive gear. A $15 Barlow and a $30 laser collimator from a reputable astronomy retailer will do the job. Avoid cheap, no-name lasers-they often have misaligned diodes that ruin accuracy.
Why This Beats Cheshire Eyepieces and Other Methods
Some swear by Cheshire eyepieces. They’re precise, but they require good eyesight and a well-lit environment. They also don’t work well if your focuser is racked in too far. Barlowed collimation works in total darkness and doesn’t rely on your ability to judge concentric circles by eye.
Collimation caps? They’re fine for rough alignment but lack the precision needed for fast focal ratio scopes (f/4 to f/5). Those scopes have very narrow tolerance for error. A 0.1mm misalignment can blur fine planetary detail.
Autocollimators? They’re accurate but expensive, bulky, and overkill for most users. The Barlowed laser gives you 95% of the accuracy at 10% of the cost.
Real-World Results
One user, a seasoned astrophotographer with an f/4.8 12.5" Newtonian, switched from a standard laser to Barlowed collimation and noticed a 30% improvement in star sharpness at the edge of the field. His exposure times dropped because he no longer had to crop out blurry corners. Another user with an f/5 8" Dobsonian said his first clear view of the Orion Nebula after Barlowed collimation looked like a professional observatory image-no coma, no astigmatism, just clean, pinpoint stars.
These aren’t outliers. The method has been validated by observatories, telescope manufacturers, and amateur groups worldwide. The physics is simple: you’re aligning to the actual optical axis, not a mechanical approximation.
Common Mistakes to Avoid
- Using a Barlow that’s too long-this can cause the beam to clip the mirror’s edge. Stick with standard 1.25" Barlows.
- Forgetting to center the laser in the focuser. Always check rotation. If the shadow moves as you turn the laser, your collimator is off-axis.
- Using a laser with a loose or wobbly housing. Buy one with a metal barrel and a tight fit.
- Not checking the primary mirror’s center mark. If it’s faded or off-center, your collimation will be wrong no matter what you do.
When to Recollimate
After any major transport-especially if you’ve moved your telescope from one location to another. Also after changing eyepieces or accessories that stress the focuser. And if you notice stars looking elongated at the edge of the field, even if you think you’re collimated.
Most users find they need to collimate every 2-4 months under normal use. With Barlowed collimation, you’ll know exactly when it’s needed-and how to fix it fast.
Final Thought
Telescope collimation isn’t magic. It’s physics. And Barlowed laser collimation is the most practical, affordable, and accurate way to align your Newtonian’s primary mirror. It doesn’t require expensive tools, complex procedures, or perfect eyesight. Just a laser, a Barlow, and a little patience. Do it right once, and you’ll never go back.
Can I use any Barlow lens for Barlowed laser collimation?
Yes, but not all Barlows work equally well. A 1.25" 2x Barlow is ideal. Avoid 3x or higher magnification Barlows-they make the beam too dim to see clearly. Also avoid Barlows with built-in eyepieces or complex lens groups. Stick with simple, single-element designs.
Do I need to mark my primary mirror?
Yes. If your primary mirror doesn’t have a clearly visible center spot, the Barlowed method won’t work. Use a small, non-permanent white sticker or a dot of white correction fluid. Make sure it’s centered. You can find centering templates online to help you place it accurately.
Is Barlowed collimation better than a sight tube or Cheshire?
For most users, yes. A Cheshire is excellent for fine-tuning, but it requires good lighting and sharp vision. The Barlowed laser works in darkness, gives you visual feedback you can’t miss, and removes dependence on the focuser’s alignment. It’s faster, more intuitive, and just as accurate.
Why does the shadow move when I rotate the laser?
That means your laser collimator isn’t centered in the focuser. The laser’s beam is off-axis. This is common with cheap or worn collimators. Try a different laser, or adjust the laser’s housing if it has set screws. If the shadow still moves, the problem is with the focuser-not the mirror.
Can I use this method on a fast Newtonian (f/4 or faster)?
Absolutely. In fact, fast Newtonians benefit the most from Barlowed collimation. Their narrow tolerance for error means even tiny misalignments ruin image quality. This method gives you the precision needed to get those crisp planetary views and clean astrophotography results.