4 May 2026
- 0 Comments
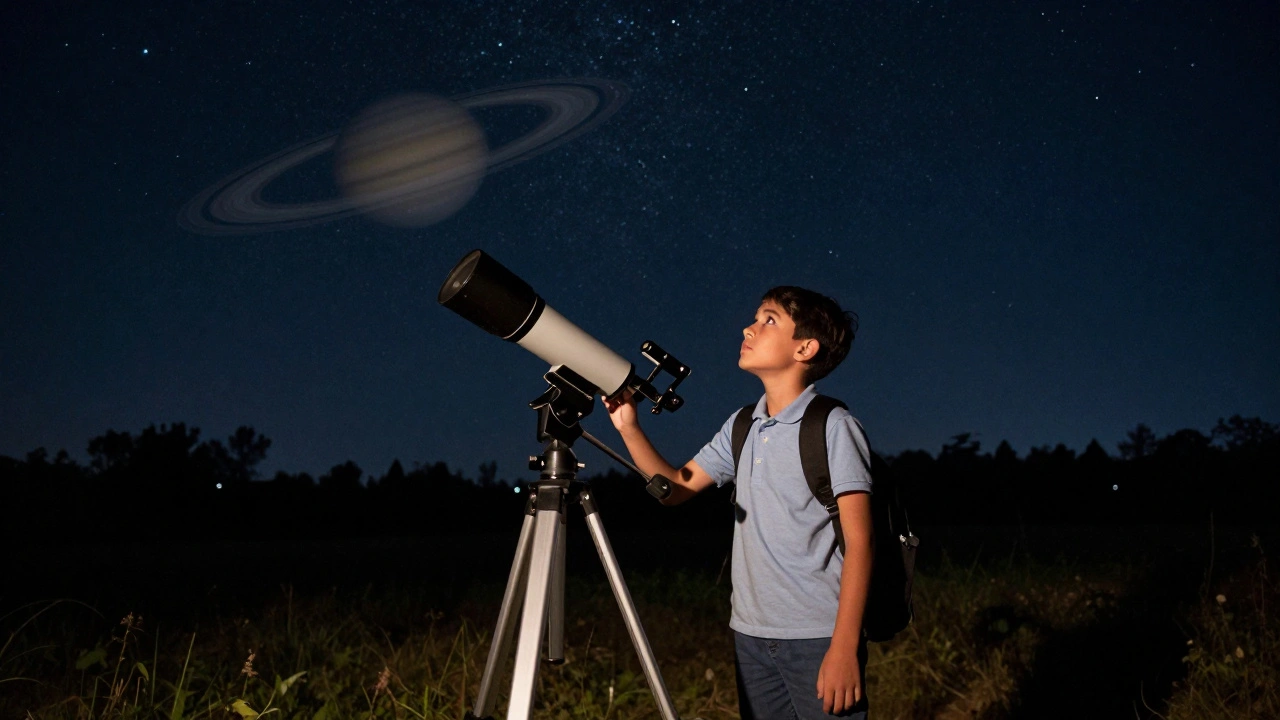
You look up at the night sky and decide you want to see Saturn’s rings. That feeling is electric. But then you check your bank account, and that electricity turns into anxiety. Buying a telescope isn’t just about the price tag on the box. It is about the hidden costs that creep in during your first year of stargazing.
Most beginners make the same mistake: they spend their entire budget on the big tube and forget everything else. The result? A heavy optical instrument sitting in the corner because it lacks a mount, or worse, a cheap mount that wobbles when you try to find Mars. This guide breaks down how to spread your costs over twelve months so you can build a solid setup without breaking the bank.
The Core Investment: Scope vs. Mount
When we talk about telescopes, which are optical instruments used to observe distant objects by collecting electromagnetic radiation, the biggest decision is how to split your money between the optics and the support structure. A common rule of thumb for beginners is the 60/40 split. Spend sixty percent of your budget on the telescope tube itself and forty percent on the mount.
Why this split? Because a shaky view ruins the experience faster than low magnification. If you buy a powerful refractor but put it on a flimsy tripod, every breeze will blur the image. You need stability. For a beginner budget, this usually means avoiding complex equatorial mounts initially. Stick to an altazimuth mount or a sturdy Dobsonian design. These are simpler, cheaper, and easier to learn with.
Consider the type of optics too. Refractors use lenses and are great for sharp planetary views. Reflectors use mirrors and offer more aperture for the money, making them better for deep-sky objects like nebulae. Catadioptric telescopes, such as Schmidt-Cassegrains, are compact but often pricier. For a first-year budget plan, a reflector or a simple refractor usually gives the best value per dollar.
Month One: The Essential Gear
In the first month, your goal is to get something pointed at the sky that actually works. Do not rush to buy extras. Focus on the core package:
- The Telescope: Aim for an aperture of at least 70mm for refractors or 150mm for reflectors. This size allows you to see the moons of Jupiter and the rings of Saturn clearly.
- The Mount: Ensure it has slow-motion controls. These knobs let you nudge the telescope gently to keep objects in view as Earth rotates.
- Eyepieces: Most kits come with one or two low-quality eyepieces. Buy one high-quality Plossl eyepiece immediately. It transforms the view from muddy to crisp.
Keep your spending here tight. If your total budget is $500, spend $300 on the scope and mount combo, and save the rest. Resist the urge to buy a "finderscope" separately if your kit includes a decent one. You can upgrade later.
Months Two to Three: Comfort and Stability
Once you have the basics, you will notice what’s missing. Usually, it’s comfort. Standing awkwardly while trying to peer into an eyepiece leads to back pain and missed viewing sessions. This is where your second phase of spending begins.
Invest in a red light flashlight. White light destroys your night vision, taking twenty minutes to recover. A red LED flashlight lets you read star charts without ruining your dark adaptation. This is a small cost, under $20, but it changes how long you can stay outside.
Next, consider a comfortable chair. If you are using a Dobsonian telescope, you might be kneeling or bending over. A folding camping chair with armrests helps you maintain a steady position. Also, look into a dew shield if you live in a humid area. Dew on the lens or mirror cap kills the view. A simple foam ring or commercial dew shield prevents condensation buildup during summer nights.

Months Four to Six: Upgrading Optics
By now, you know what you like to look at. Do you love planets? Or are you chasing faint galaxies? Your eyepiece collection needs to grow. Start with a mid-power eyepiece (around 10mm to 15mm) and a high-power one (4mm to 6mm). Avoid buying "zoom" eyepieces; they rarely perform well. Instead, buy two or three fixed-focal-length eyepieces of good quality.
This is also the time to consider a Barlow lens. A 2x Barlow lens doubles the power of every eyepiece you own. It is a cheap way to get higher magnification for planetary viewing without buying expensive short-focal-length eyepieces. Just remember: higher magnification requires very stable atmospheric conditions. Don’t expect miracles on a windy night.
Months Seven to Nine: Accessories and Software
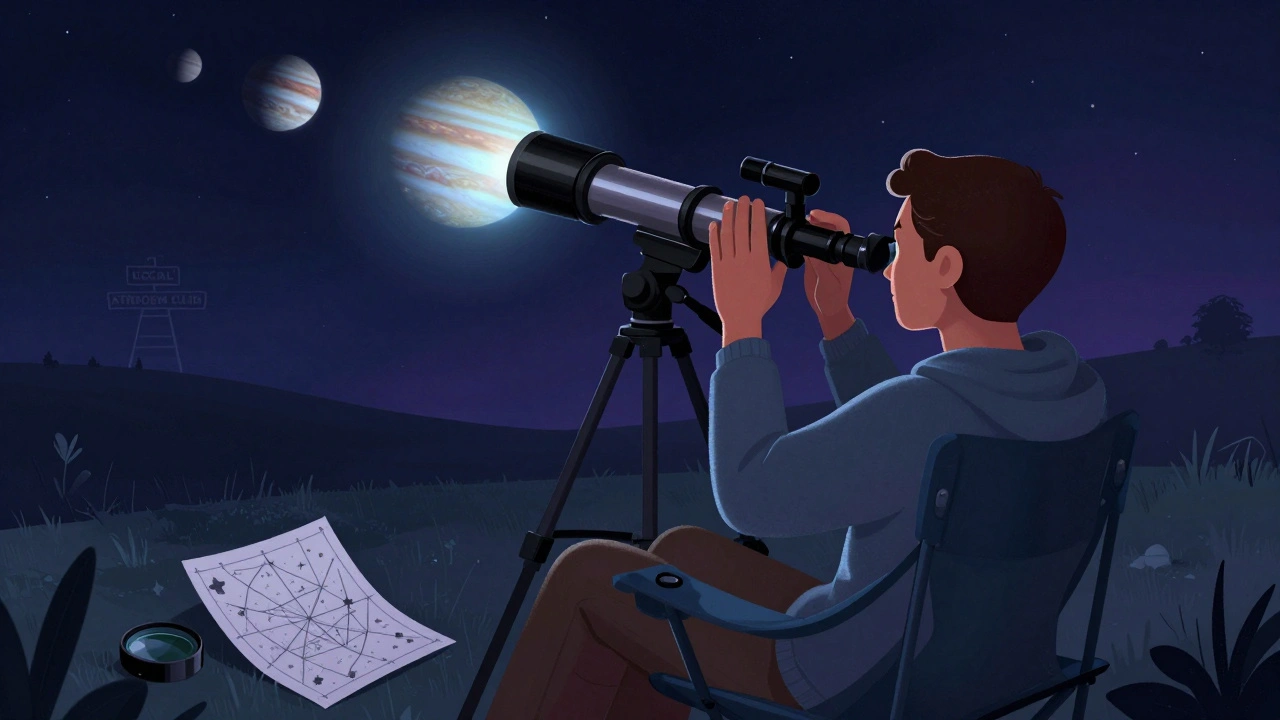
As your skills improve, you will want to navigate the sky more easily. Star charts are essential. While apps on your phone are convenient, paper star atlases like the Sky & Telescope Atlas are invaluable for planning sessions away from light pollution.
Software can help too. Programs like Stellarium or free mobile apps allow you to simulate the sky from your backyard. They help you identify constellations and predict when planets will be visible. This saves time spent guessing what you are looking at.
Don’t forget maintenance tools. A cleaning kit for your optics is necessary. Use only compressed air and microfiber cloths. Never use household cleaners or tissue paper on lenses. A gentle touch preserves the coating on your glass, which protects your investment for years.
Months Ten to Twelve: Community and Advanced Tools
The final stretch of your first year should focus on connection and refinement. Join a local astronomy club. Seeing others’ setups gives you ideas for upgrades you didn’t know existed. You might discover that a motorized focuser makes life easier, or that a specific brand of eyepieces offers wider fields of view.
If you still have budget left, consider a filter set. A moon filter reduces glare from our bright satellite, revealing craters and maria details. Light pollution filters can help block out city glow, making faint deep-sky objects slightly more visible. These are niche tools, so only buy them if you have exhausted the basics.
| Item Category | Estimated Cost | Purpose |
|---|---|---|
| Telescope & Mount | $300 | Core observation capability |
| Quality Eyepieces (2-3) | $80 | Sharp, clear views at different powers |
| Red Light Flashlight | $15 | Preserve night vision |
| Dew Shield / Cleaning Kit | $25 | Maintenance and clarity |
| Star Charts / Apps | $20 | Navigation and planning |
| Comfort Chair / Misc. | $60 | Longer, comfortable sessions |
Avoiding Common Budget Traps
One major trap is buying department store telescopes. Brands sold in general retail stores often advertise huge magnifications like "500x power!" These numbers are misleading. Aperture matters more than magnification. A cheap telescope with poor optics and a weak mount will frustrate you and kill your interest. Stick to reputable astronomy brands like Celestron, Orion, Meade, or Sky-Watcher.
Another trap is over-upgrading too soon. You don’t need a goto mount in your first year. Learning to manually locate objects teaches you the sky. Once you know where things are, automation becomes a convenience, not a necessity. Save your money for better optics rather than complex technology.
Finally, beware of accessory bloat. You do not need ten different filters, five types of eyepieces, and a camera adapter in month one. Start simple. Add items only when you feel a genuine limitation in your current setup. This approach ensures every dollar spent enhances your actual viewing experience.
How much should I spend on my first telescope?
Aim for a budget of $300 to $600 for a complete starter setup including the mount. This range gets you a reliable refractor or Dobsonian reflector with decent optics. Spending less often means buying a toy that won't provide a clear view, while spending more upfront might limit funds for essential accessories like eyepieces.
Is it better to buy a telescope kit or pieces separately?
For beginners, a reputable kit is often safer. It ensures the mount is compatible with the tube weight. However, be prepared to replace the included eyepieces quickly. Kits often include low-quality glass. Buying the scope and mount together saves money, but invest separately in at least one high-quality eyepiece.
What is the most important part of a telescope?
Aperture is king. The diameter of the main lens or mirror determines how much light the telescope gathers. More light means brighter, sharper images of faint objects. Magnification is secondary and can be adjusted with different eyepieces. Always prioritize larger aperture within your budget.
Do I need a computerized telescope?
Not for your first year. Manual telescopes teach you to navigate the sky using star hopping and charts. This skill is valuable even if you switch to automated gear later. Computerized mounts add significant cost and complexity. Start manual to build foundational knowledge.
How do I protect my telescope investment?
Store your telescope in a dry place to prevent moisture damage. Use dust covers when not in use. Clean optics only when necessary, using compressed air first. Handle eyepieces by the edges to avoid touching the glass. Proper care extends the life of your equipment significantly.