30 Mar 2026
- 0 Comments
Eyepieces are the critical interface between your telescope and your eyes. If the glass isn't perfect, the view won't be either. You spend money on high-end scopes, but the weak link often hides in the barrel you look through. A bad lens can ruin even the clearest night sky.
I live in Portland, and our Pacific Northwest skies teach patience. Sometimes the atmosphere blurs everything, but sometimes the blur comes from your gear. Knowing the difference saves you from spending hours chasing ghosts in the mirror.
Why Visual Verification Matters
Manufacturing tolerances slip sometimes. Dust gets trapped under lenses during assembly. Coatings chip during shipping. If you buy used, these risks double. Relying on online reviews isn't enough. You need to verify the optics yourself.
Optical Quality determines how much detail reaches your retina from the night sky. This includes contrast, resolution, and freedom from distortion. Without a proper check, you might blame the telescope when the fault lies in the eyepiece. We need to separate manufacturing defects from environmental factors like thermal cooling or air turbulence.
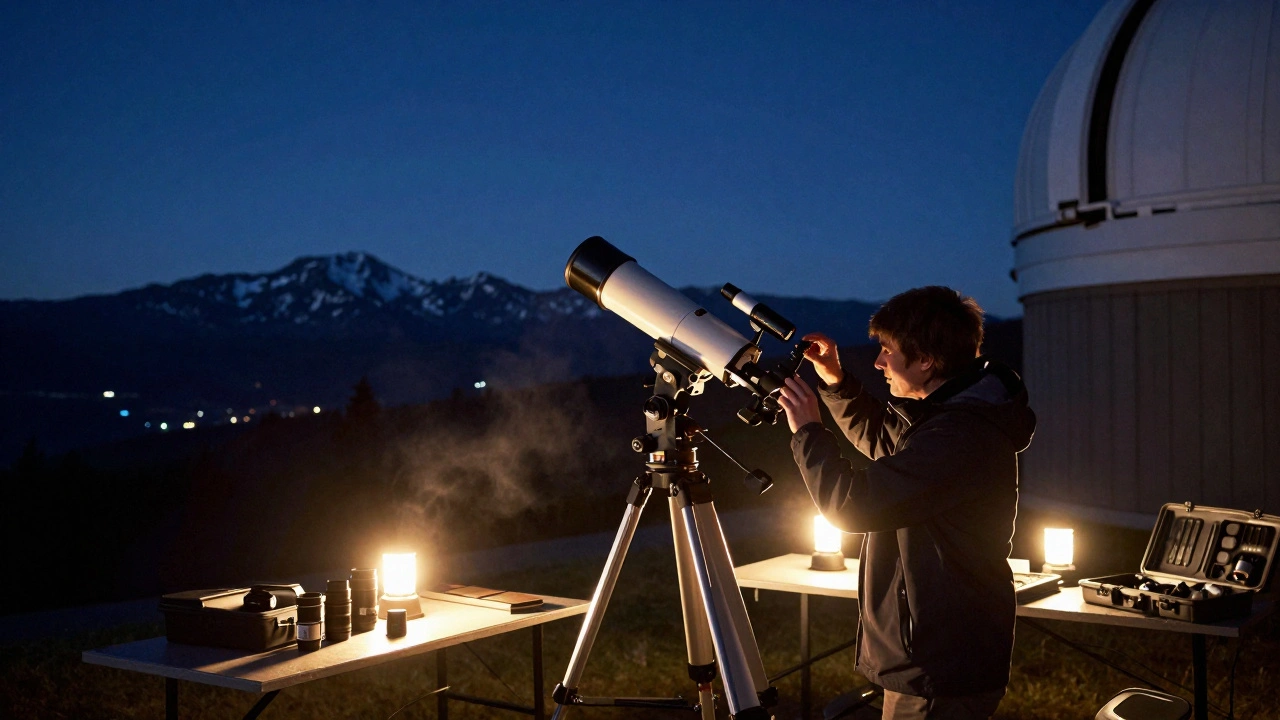
Setting Up for Accuracy
Before you start pointing at stars, prepare your environment. Atmospheric "seeing" changes how clearly we see objects. On a windy night here in Oregon, the air shimmers. If the background twinkles rapidly, your star test results will be misleading.
You need stable conditions. Let your telescope cool down outside for at least an hour before testing. Thermal currents inside the tube cause false reflections. Also, ensure your telescope is collimated. If the mirrors are misaligned, the star test will show errors that aren't there in the glass itself.
Choose a bright target. Stars around magnitude 2 or brighter work best. Vega and Sirius are common choices because they remain relatively steady and shine intensely through the optics.
The Star Test Procedure
This method examines the internal wavefront of the lens system. It reveals spherical aberration, astigmatism, or surface irregularities.
- Focus Perfectly: Center a bright star. Bring it into razor-sharp focus until it looks like a pinpright dot.
- Defocus Intentionally: Pull the focus slightly out. Do this both inward and outward.
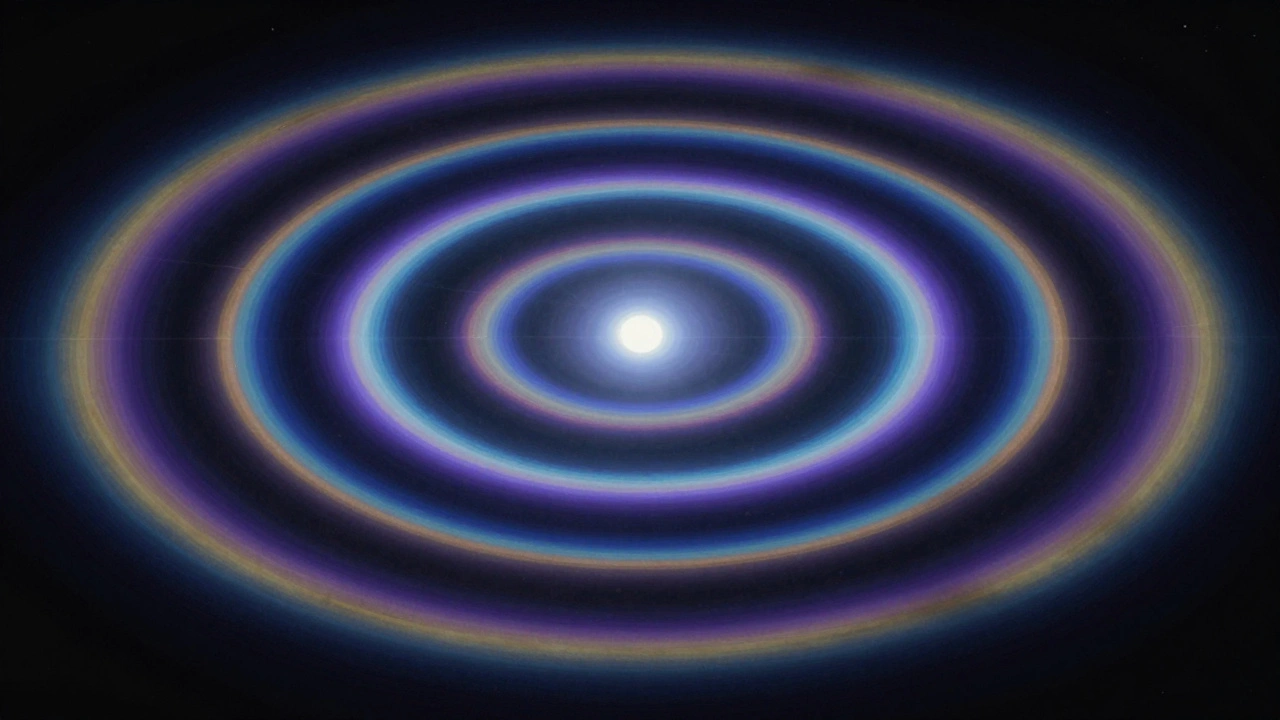
- Observe Rings: Look at the concentric diffraction rings forming around the central spot.
If the eyepiece is good, the rings should look symmetrical. They should look like bullseyes on a target. If the rings are lopsided or break apart, the lens has a defect. Astigmatism shows up as a doughnut shape that rotates when you rotate your head. Spherical aberration creates messy rings that don't match perfectly on either side of focus.
Diffraction Pattern
is the physical phenomenon of light bending around obstacles to reveal optical imperfections.
When you defocus, you stretch the image. This exposes wavefront errors that are invisible when focused. Don't rely on the focused point alone; the surrounding halo tells the truth.
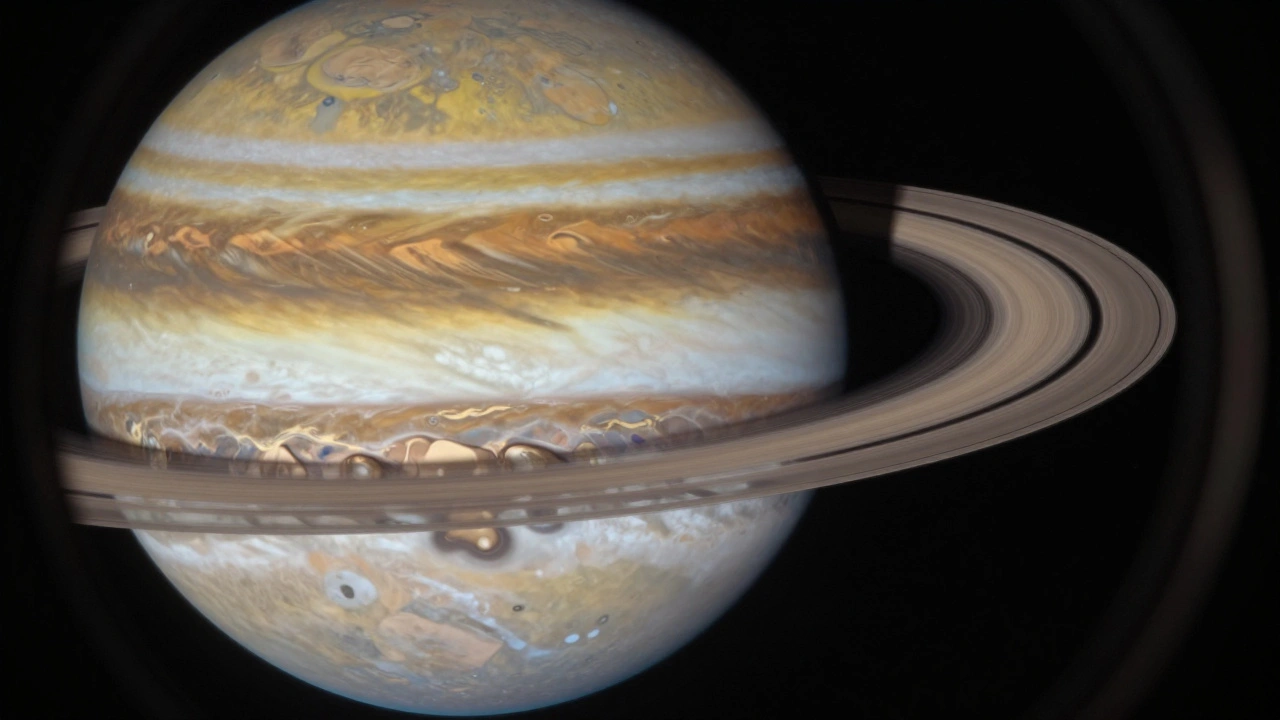
The Planetary Test Procedure
While stars are great for geometry, planets test color and contrast. Planets like Jupiter and Saturn have surfaces you can resolve details on.
This test checks for chromatic aberration and edge degradation. Place the planet in the center of the field. Focus sharply on cloud bands or ring edges.
Look specifically for color fringes. If you see purple or green halos along dark boundaries, the lens lacks color correction. This is common in cheaper achromatic designs. High-quality apochromatic eyepieces suppress this effectively.
- Check Field Flatness: Look at the very edge of the eyepiece view.
- Check Sharpness Consistency: Is the center crisp while the corners soften?
- Assess Contrast: Are faint moons visible against the dark space?
Field curvature bends the focal plane. You might notice stars are sharp in the middle but fuzzy at the rim. Some wide-angle eyepieces suffer from this more than narrow ones. It is a design choice, but extreme cases indicate poor execution.
Diagnosing Common Flaws
| Issue | Visual Symptom | Likely Cause |
|---|---|---|
| Dust Specks | Black dots moving as you tilt | Dirt inside barrel |
| Internal Reflections | Ghost images of bright stars | Bad coating or lens alignment |
| Smeared Focus | Never goes sharp | Wavefront error or dirty lens |
| Color Fringing | Purple edges on planets | Chromatic Aberration |
Dust inside the tube is annoying but usually doesn't ruin the image unless it sits directly on the focal plane. However, internal reflections are worse. They wash out contrast. If you see a shadow behind Venus or Jupiter, the coatings are failing or the glass elements aren't aligned.
Distinguishing Sky vs. Glass
This is the hardest part. Atmospheric turbulence looks like oil swirling in water. If your test star wiggles violently, wait. Turbulence cannot be fixed with better gear.
A quick trick is to check multiple stars. If every star looks bad, it's likely the night conditions. If one star looks fine and another doesn't, your gear is suspect. Rotational symmetry is key. Turn the eyepiece in the holder. If the defect moves with the tube, it is the eyepiece. If the defect stays stationary, it might be collimation or the atmosphere.
Maintenance and Longevity
Once you confirm the optics are sound, you must keep them that way. Cleaning is risky. Lens paper and breath oils leave residues. Use a blower bulb first to remove loose particles. Never wipe dry dust; you scratch the coatings.
Store eyepieces in a dry box. Humidity in coastal areas like mine can promote mold growth on cemented lenses. If white spots appear on the glass, the glue between elements is degrading. That eyepiece is past its prime regardless of what the tests say.
Focal Plane is where the image forms and where dust most critically affects the view. Keep your storage case organized. Bumping eyepieces together chips the brass barrels and stresses the threads. Loose screws affect alignment over years of travel.
Deciding When to Replace
If the star test shows consistent asymmetry across nights, repair is rarely possible. Sealed eyepieces cannot be opened by amateurs without ruining the factory seal. Selling them as "scratcher-free" is dishonest to the buyer. Instead, sell for parts or replace them entirely.
Investing in newer models is often cheaper than hunting for pristine vintage gear. Modern coatings reflect less light and provide sharper transmission. The jump in quality from older generations to current designs is significant for faint deep-sky objects.
Can I test eyepieces indoors?
Indoor testing works for basic checks like collimation and mechanical fit, but true optical evaluation requires a real point source like a star. You cannot replicate diffraction rings accurately with a flashlight or room light.
Does eyepiece price guarantee optical quality?
Higher prices often indicate better materials and coatings, but individual units can still have manufacturing defects. Always test new purchases regardless of brand reputation.
What causes ghosting in my eyepiece?
Ghosting is caused by internal reflections between lens surfaces. It happens when anti-reflective coatings degrade or when lens spacing is imperfect in cheap assemblies.
Is cleaning necessary before every session?
No, over-cleaning damages coatings. Only clean if visible dust obstructs the view. Blowing air is safer than wiping chemicals on the glass.
How does seeing affect the star test?
Poor seeing distorts the diffraction rings, making them look shaky or asymmetric. Wait for steady atmospheric conditions before trusting the result.