12 Jan 2026
- 0 Comments
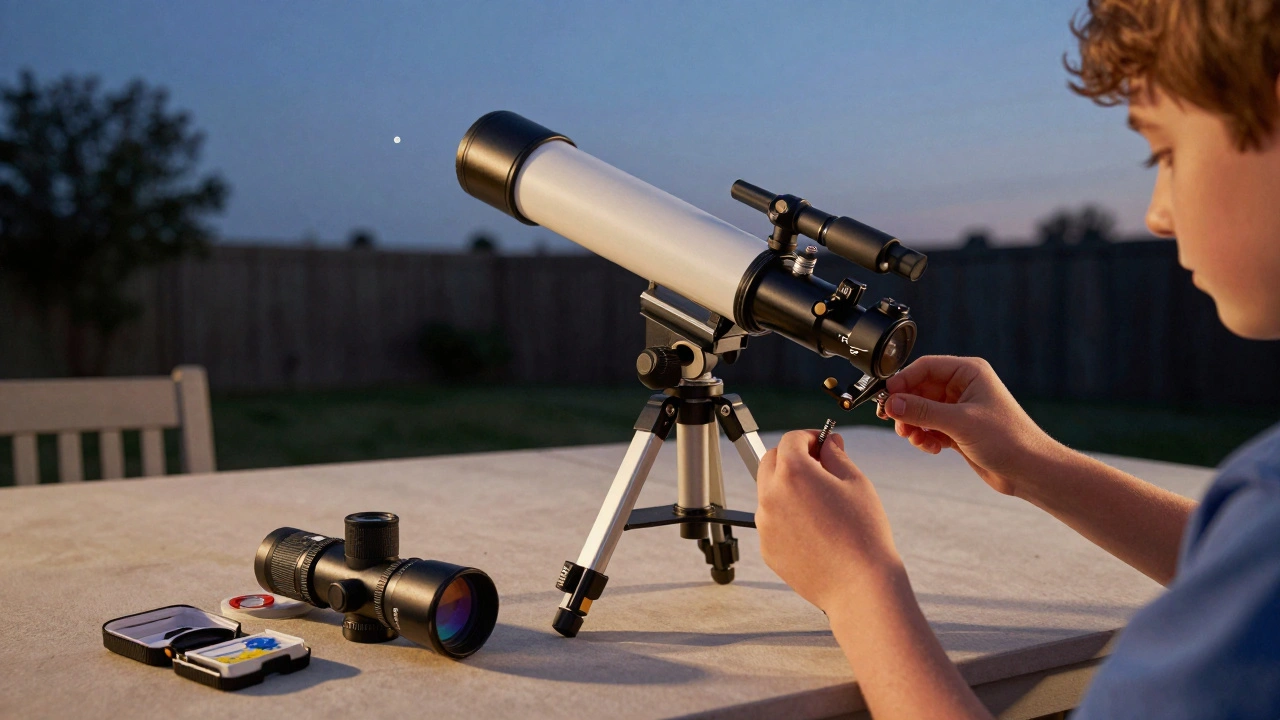
Getting your first telescope out of the box can feel exciting-and overwhelming. You spent weeks researching, saved up, and finally pulled the trigger. Now you’re staring at a box full of tubes, lenses, screws, and strange metal parts. What do you do first? This guide walks you through the real steps to assemble and align your telescope so you can see the Moon, Jupiter, or Saturn on your very first night. No jargon. No fluff. Just what actually works.
Unboxing and Inventory
Start by laying everything out on a clean, flat surface. Don’t rush. You’ll need room to move. Most beginner telescopes come in three main parts: the optical tube, the mount, and the accessories. Check your manual or the manufacturer’s website for the full list. If something’s missing, contact support before you try to assemble anything.Typical components include:
- Optical tube assembly (OTA)
- Equatorial or alt-azimuth mount
- Tripod or base
- Finderscope (small scope attached to the main tube)
- Eyepieces (usually 2 or 3)
- Barlow lens (optional)
- Alignment tools (like a polar alignment scope or reticle eyepiece)
- Screws, knobs, and adjustment tools
Most beginners skip this step and end up missing a critical screw or a lens cap stuck inside the tube. Take five minutes to match every part to the manual’s diagram. It saves hours later.
Assembling the Mount and Tripod
The mount is the heart of your telescope. If it’s unstable, nothing else matters. Start by extending the tripod legs. Lock each leg’s height adjustment securely. Don’t just twist them-pull the locking collar up, slide to the right height, then push it back down until it clicks.Next, attach the mount head to the tripod. Most use a 1/4-inch or 3/8-inch threaded bolt. Screw it in by hand first, then tighten with the provided wrench. Don’t over-tighten. You want it snug, not crushed.
Now, attach the optical tube to the mount. Look for the dovetail bar on the tube. Slide it into the saddle on the mount. Most mounts have a locking knob or lever. Tighten it until the tube won’t wiggle. Give it a gentle shake. If it moves, tighten more. A shaky telescope means blurry views.
Attaching the Finderscope
The finderscope is your aiming tool. It’s small, but it’s the reason you’ll actually find anything in the sky. Most come pre-attached, but sometimes it’s loose. Use the screws provided to secure it to the tube. Don’t use tape or zip ties. You need it rigid.Now, align it with the main telescope. This is critical. You’ll do it during daylight. Point the main tube at a distant object-like a radio tower, a chimney, or a tree on a hill at least a quarter-mile away. Center it in the main eyepiece. Then, look through the finderscope. If the same object isn’t dead center, adjust the finderscope’s alignment screws. There are usually three: up/down, left/right, and sometimes a centering screw. Turn them slowly. You’re not trying to fix it in one try. Adjust, look, adjust again. Repeat until both views match exactly.

Installing Eyepieces and Accessories
Eyepieces slide into the focuser. Most beginner scopes use 1.25-inch barrels. Push the eyepiece in gently until it clicks. Don’t force it. If it doesn’t slide in, you have the wrong size.Start with the lowest magnification eyepiece-the one with the highest number, like 25mm or 32mm. Higher numbers mean lower magnification. That’s easier to use. Avoid the 6mm or 4mm eyepieces early on. They’re tempting, but they make everything shaky and dark. Save them for later.
If you have a Barlow lens, don’t install it yet. It doubles magnification, which makes alignment harder. Add it only after you’re comfortable with the basics.
Initial Alignment: Polar or Point-and-Click?
This is where most beginners get stuck. There are two types of mounts: alt-azimuth and equatorial. Each needs a different alignment.Alt-azimuth mounts (simple, common in beginner scopes like the Celestron PowerSeeker or Orion SkyQuest) don’t need polar alignment. Just balance the tube, point it at the sky, and use the finderscope. You’ll track objects manually by nudging the scope.
Equatorial mounts (like the Celestron AVX or Sky-Watcher EQ3) require polar alignment. This means lining up the mount’s axis with the North Star (Polaris). Here’s how:
- Level the tripod. Use a bubble level if your mount has one.
- Set the latitude dial to your location. In Portland, Oregon, that’s about 45.5 degrees.
- Point the mount’s polar axis due north. Use a compass, not your phone-phones can be thrown off by metal.
- Adjust the altitude knob until the polar scope’s reticle lines up with Polaris. You don’t need to hit it perfectly. Being within half a degree is fine for visual use.
Once aligned, use the slow-motion controls to track stars. You’ll feel like you’re flying a drone. It takes practice, but once you get it, you’ll never go back.
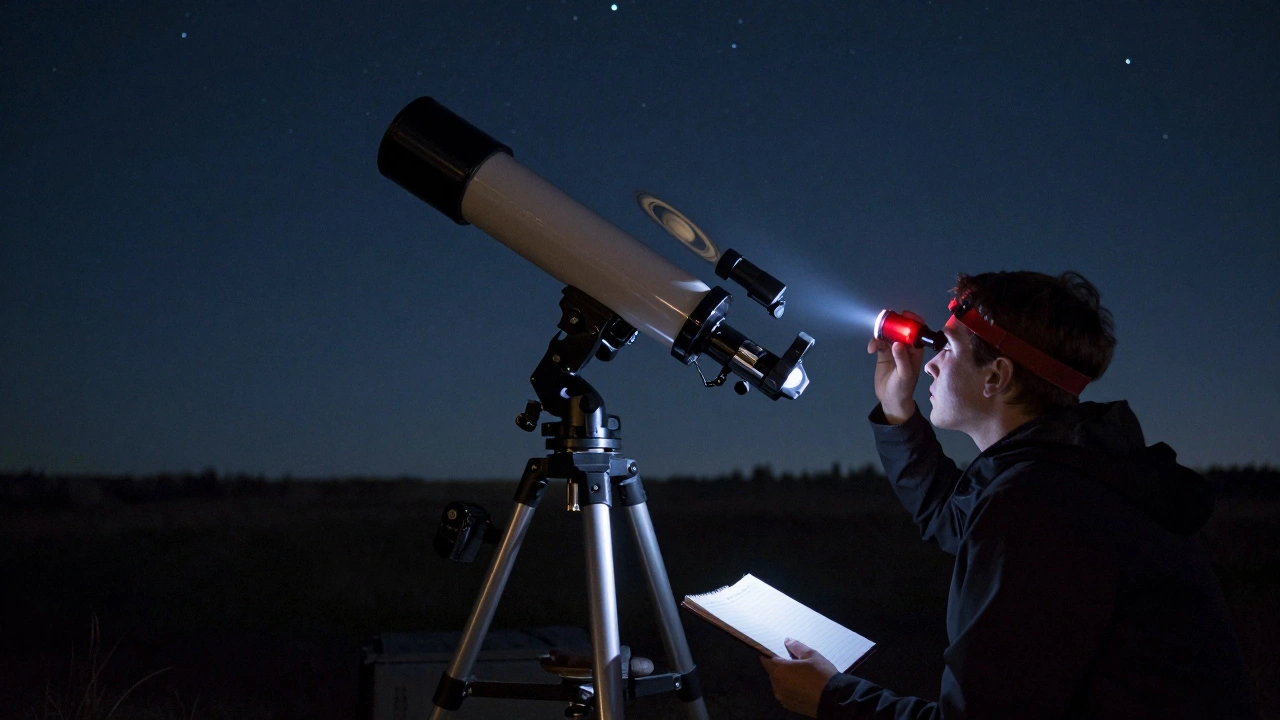
First Light: What to Look At
Don’t chase deep-sky objects on night one. The Moon is your best friend. It’s bright, big, and easy to find. Even in a 70mm scope, you’ll see craters, mountains, and shadows. Use the 25mm eyepiece. Focus slowly. Turn the knob until the edges of the craters snap into sharp lines.Next, try Jupiter. It’ll look like a bright star. With a 25mm eyepiece, you might see two moons. With a 10mm, you’ll see cloud bands. Saturn? You’ll see its rings-even with a cheap scope. If you can’t see them, your alignment is off. Go back to the finderscope step.
Don’t use high power until you’ve nailed the basics. A 100x view sounds cool, but if the image shakes, jumps, or blurs, you’re not ready. Stick to 50x or less until you’re confident.
Common Mistakes and How to Fix Them
Mistake: The image is blurry even after focusing.
Fix: You might have a lens cap still on. Or your eyepiece is dirty. Clean it with a microfiber cloth. Also, don’t use the scope indoors. Air turbulence from heaters ruins the view.
Mistake: The finderscope won’t stay aligned.
Fix: The screws are too loose. Tighten them gently with pliers and a cloth to avoid scratching. Realign every time you move the scope.
Mistake: The mount feels wobbly.
Fix: Your tripod legs aren’t locked. Or you’re on a windy, uneven surface. Try grass, gravel, or a concrete pad. Never use a telescope on a car hood or table.
What to Do Next
After your first night, you’ll want more. That’s normal. But don’t rush into buying filters, motor drives, or apps. Master the basics first. Learn to find the Moon, Jupiter, and Orion’s Belt without a smartphone app. You’ll appreciate the sky more.Next, try star-hopping. Use the Big Dipper to find Polaris. Use Polaris to find Cassiopeia. Learn the shapes. Your telescope isn’t just a tool-it’s a doorway. The more you know the sky, the more it opens up.
Keep a notebook. Write down what you saw, what eyepiece you used, and how long it took to find it. After a few weeks, you’ll look back and realize how far you’ve come.
Can I assemble my telescope indoors?
Yes, you can assemble it indoors, but you should only do the physical setup there. Alignment and first viewing must happen outside. Indoor air is too still and warm, which causes optical distortion. Plus, you need to see the sky to align the finderscope and polar axis. Assemble the parts inside, then take everything out to the backyard or a dark spot.
Do I need to align the telescope every time I use it?
For alt-azimuth mounts, no-you just need to point it roughly where you want to look. For equatorial mounts, yes. Even a small bump can knock it out of alignment. If you move the scope more than a few feet, realign the polar axis. It takes 5 minutes. It’s worth it.
Why can’t I see anything through the telescope even though it’s aligned?
You’re probably looking through the wrong end. The eyepiece goes into the focuser at the back of the tube. The finderscope is on the side. Also, make sure the lens cap is off both the main tube and the finderscope. It’s the most common mistake. If you’ve checked those, try the lowest-power eyepiece and look at a bright object like a streetlight from 100 feet away.
Is it okay to use a smartphone app to find objects?
Yes, but don’t rely on it. Apps like SkySafari or Stellarium help you learn the sky, but they can’t replace the skill of using your finderscope. If you use an app, keep your phone’s brightness low. Use red light mode. Bright screens ruin your night vision. The goal is to learn the patterns yourself.
How long does it take to get good at using a telescope?
You’ll see something clear on night one. You’ll feel confident in 3-5 nights. Mastery takes months. Don’t compare yourself to astrophotographers on Instagram. They use expensive gear and hours of processing. You’re learning to see the sky with your own eyes. That’s the real achievement.