8 Apr 2026
- 0 Comments
Quick Essentials for Night Vision
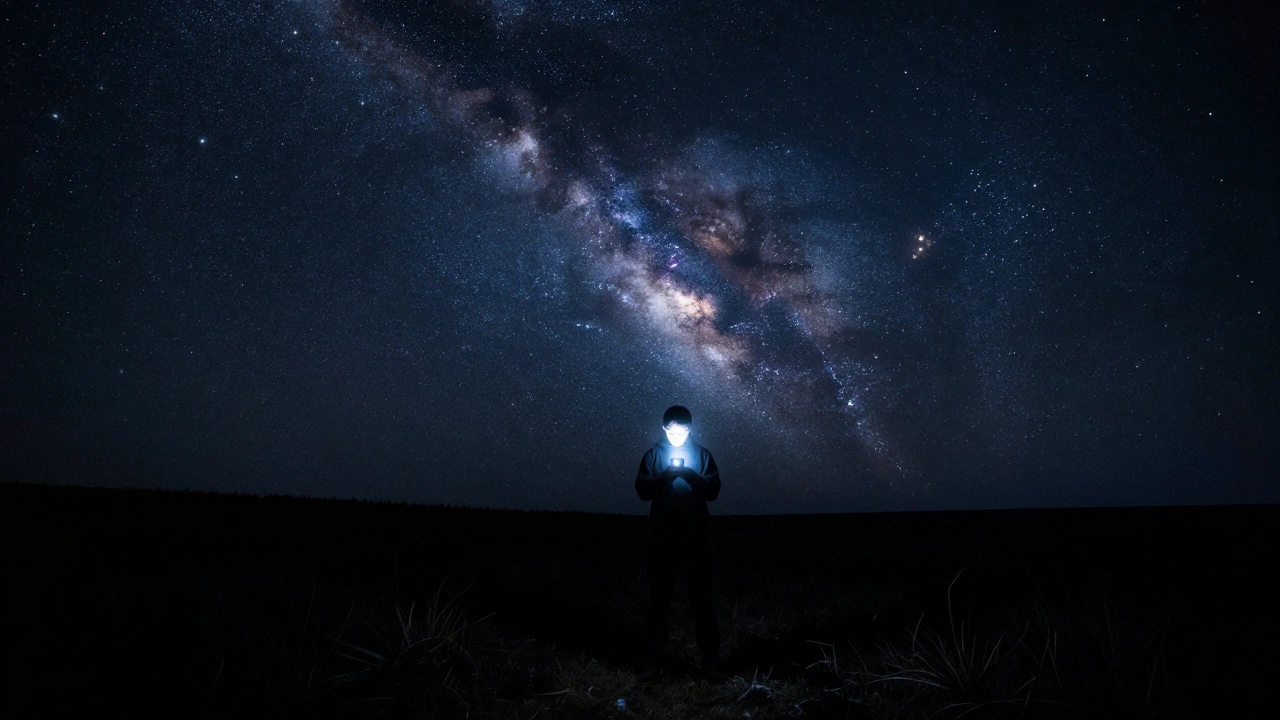
- Dark adaptation takes about 20 to 30 minutes to reach its peak.
- Red light has a longer wavelength that doesn't trigger the cone cells in your eyes as harshly as white or blue light.
- Paper star charts are foolproof because they don't run out of battery or emit blinding glare.
- The secret to star hopping is using a red-filtered torch and a physical map to jump between known stars.
To understand why we obsess over red lights, we have to look at how our eyes work. We have two main types of photoreceptors: cones and rods. Cones handle color and detail but need lots of light. Rods are incredibly sensitive and let us see in the dark, but they don't perceive color well. When you are out observing, you rely on your rods. Night Vision is the ability of the eyes to see in low-light conditions through the process of dark adaptation. White light-especially the blue spectrum found in LED screens-instantly shuts down the rods, resetting your progress to zero. Red light, however, is the exception. Because it sits at the long end of the visible spectrum, it allows you to see your map without completely blinding yourself.
The Underrated Power of Paper Star Charts
In an age of apps, Paper Star Charts are printed maps of the celestial sphere that show the positions of stars, constellations, and deep-sky objects. You might think they're obsolete, but they have several advantages over a tablet. First, there is no backlight. A paper map only reflects the light you shine on it, meaning you control the intensity. Second, there is no "screen bleed." Even a dimmed phone screen can create a glow that ruins your contrast when looking for a dim nebula.
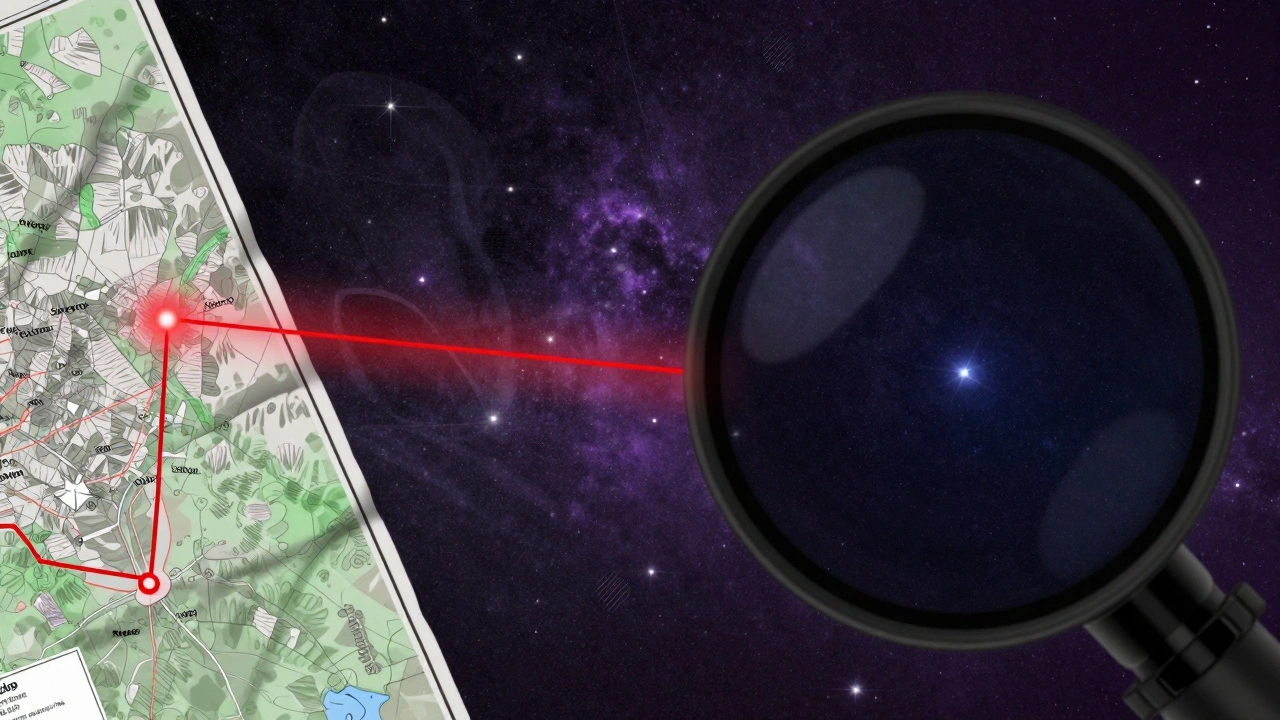
If you've never used one, a planisphere is a great starting point. It's a rotating plastic disk that shows the sky for any date and time. You set the date, align it with your current time, and suddenly you have a real-time map of what's above you. Using these allows you to practice Star Hopping, which is the technique of using a known bright star to find a dimmer nearby object by following a visual path. It's like using street signs to find a hidden house; you start with a landmark you can't miss and move step-by-step toward your target.
| Feature | Paper Star Charts | Digital Apps |
|---|---|---|
| Light Impact | Low (Passive reflection) | High (Active emission) |
| Reliability | Infinite (No battery) | Limited by charge |
| Learning Curve | Higher (Requires study) | Lower (Point and see) |
| Dark Adaptation | Preserved with red light | Often compromised |
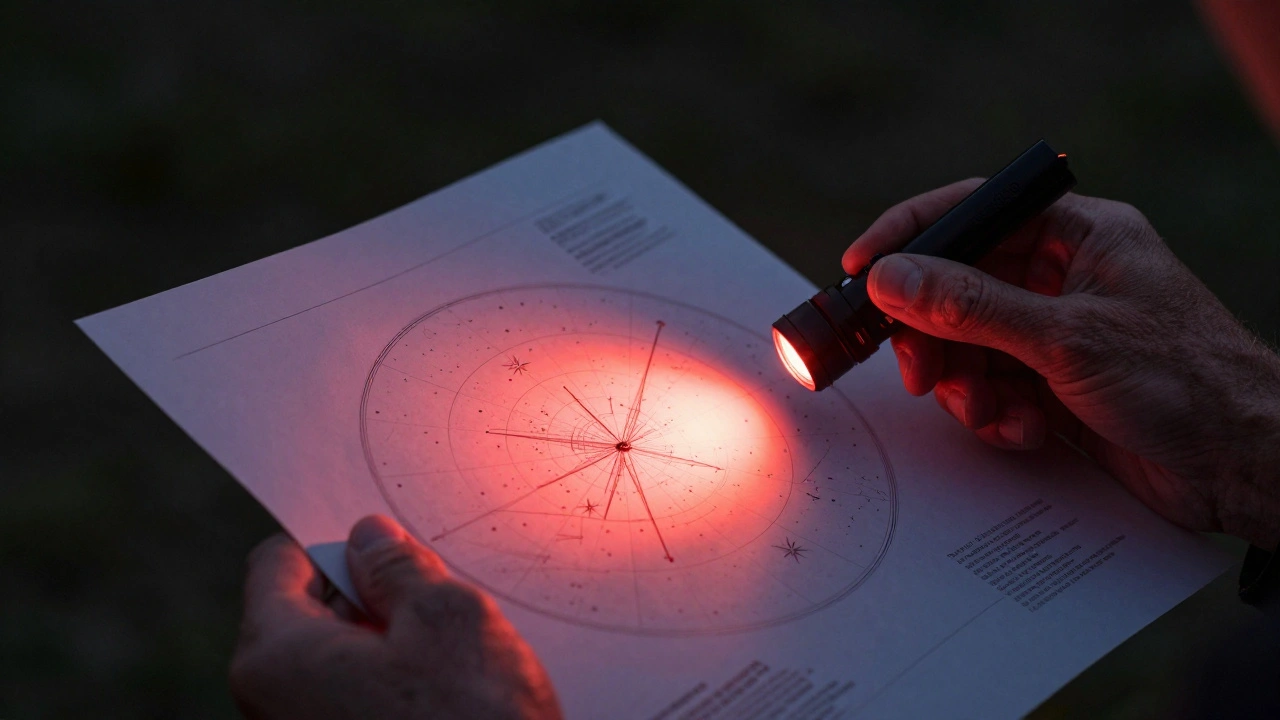
Choosing Your Red Light Source
Not all red lights are created equal. If you just put a piece of red cellophane over a bright white flashlight, you're still letting some white light through. To truly protect your vision, you want a dedicated Red LED Flashlight, which uses a diode that specifically emits light in the red wavelength (usually around 620-750 nanometers). These are designed to be dim. You don't need to illuminate the whole field; you just need enough light to see the lines on your map.
A pro tip for those on a budget: if you have a headlamp, look for one with a dedicated red mode. Having your hands free is vital when you're adjusting a telescope tripod or flipping through a notebook. If you're using a handheld torch, try to keep the beam narrow. Instead of flooding your map with light, move the beam specifically to the area of the chart you're studying. This minimizes the amount of stray light hitting your peripheral vision.
The Art of Star Hopping with a Map
Star hopping is where the magic happens. It's a mental puzzle that connects you to the geometry of the universe. Let's say you want to find the Messier Objects, which are a catalog of 110 astronomical objects including nebulae, star clusters, and galaxies. You wouldn't just point your telescope randomly. Instead, you look at your paper chart and find a "hop" path. For example, you might start at the bright star Sirius, move a certain number of degrees toward a dimmer star, and then shift slightly to the left to find a specific cluster.
The key is to use a low-power eyepiece first. A wide field of view makes it easier to see the "neighborhood" of stars. Once you've identified the pattern on your paper chart, you replicate that pattern in the eyepiece. This process trains your brain to recognize celestial patterns, making you much more independent than someone who relies on a "GoTo" automated mount. When you find an object through hopping, there's a genuine sense of achievement that a computer just can't provide.
Common Pitfalls and How to Avoid Them
One of the biggest mistakes beginners make is trusting "night mode" on their phones too much. While the red filter helps, the brightness is often still too high for the extreme dark of a remote site. If you must use a phone, turn the brightness to the absolute minimum and use a physical red filter sticker over the screen. But even then, the temptaton to check a notification is a danger. One white pop-up notification is enough to ruin 20 minutes of adaptation.
Another issue is map glare. If you use a glossy paper chart, your red light will bounce off the page and create a hotspot that's distracting. Look for matte-finish charts or even print your own on non-reflective paper. Also, avoid using a light that is *too* bright. You only need enough light to distinguish a line from a dot. If your red light is bright enough to illuminate the grass around your feet, it's too bright for your eyes.
Building Your Night-Sky Toolkit
If you're serious about preserving your vision, your kit should be simple. Start with a Planisphere, which is the gold standard for quick orientation. Pair this with a detailed atlas of the deep sky for when you want to go hunting for specific galaxies. Add a red LED headlamp and a set of red-tinted glasses if you're in an area with significant light pollution, as they can help filter out some of the ambient city glow.
Finally, keep a small notebook. Mapping out your own "paths" between stars is a great way to learn. Write down things like: "From Polaris, move 3 stars right, then slightly down to find the target." This creates a personalized guide that makes your next session much faster. The goal is to spend as little time as possible looking at your map and as much time as possible looking through the glass.
Does red light really keep my night vision?
Yes. Red light has a longer wavelength and lower energy than blue or green light. This means it doesn't trigger the "bleaching" of rhodopsin, the pigment in your rod cells that allows you to see in the dark. While it doesn't keep it perfectly intact, it minimizes the damage significantly compared to white light.
How long does it take for eyes to fully adapt to the dark?
It typically takes about 20 to 30 minutes for your eyes to reach maximum sensitivity. However, if you are exposed to a bright light, this process can be reset instantly, forcing you to start the adaptation period all over again.
Are astronomy apps completely useless?
Not at all, but they are tools for a different purpose. Apps are great for quick identification when you're just starting out or for planning a night. For actual observing sessions, especially when hunting for faint objects, paper charts are superior because they don't emit light.
What is the best kind of paper for star charts?
Matte or uncoated paper is best. Glossy paper creates reflections and glare when you shine a flashlight on it, which can be annoying and may slightly interfere with your peripheral night vision.
Can I use a red filter on my phone screen?
You can, and it's better than nothing. However, most phone screens still emit some short-wavelength light that leaks through. A physical red film or a dedicated red LED torch is always more effective at preserving your dark adaptation.
Next Steps for Better Observing
If you're new to this, start by spending a few nights just learning the major constellations without any equipment. Once you can find Orion or the Big Dipper by heart, introduce the Planisphere. Practice aligning it and finding a target, then try to locate that target in the sky using only a red light. As you get comfortable, move toward more complex star hopping by targeting smaller clusters or nebulae.
For those who already have the basics down, try "blind hopping." Look at your chart, memorize the path to a target, and then put the chart away. Try to find the object using only your memory of the map. This strengthens your spatial awareness of the sky and ensures that your eyes stay in total darkness for the duration of the observation.