16 May 2026
- 0 Comments
There is nothing more frustrating than spending hours tracking the stars, only to download your images and realize your target object is cut off in half. You aimed perfectly, but the frame was just too small. This happens because you didn't calculate the Field of View before you started shooting.
Field of View (FoV) is the angular area of the sky that your camera captures in a single shot. It determines whether you get a tight portrait of a nebula or a wide landscape of the Milky Way. Getting this right is not about luck; it is about math. But don't worry, you do not need a degree in astronomy to figure it out. You just need to understand how your gear interacts with the night sky.
The Three Variables That Control Your Frame
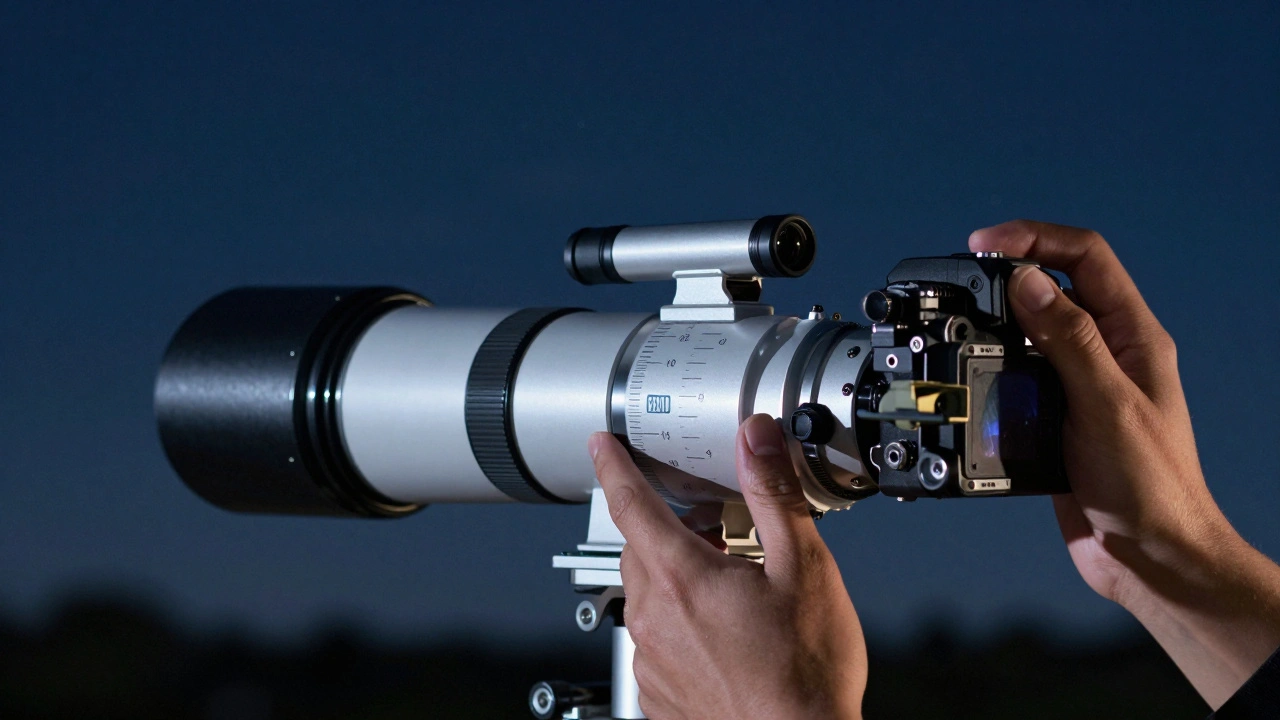
To control what fits in your picture, you have to manage three specific pieces of equipment. These are the camera sensor, the telescope lens, and the focal reducer. Each one changes the size of the window you look through.
First, look at your camera sensor. A full-frame mirrorless camera like the Sony A7S III has a large sensor, roughly 36mm by 24mm. This gives you a wide view. Now compare that to an APS-C crop sensor found in many DSLRs. The active area is smaller, maybe 23.5mm by 15.6mm. If you use the same telescope on both cameras, the APS-C image will look zoomed in. You lose the edges of the scene. This is why knowing your sensor dimensions is step one.
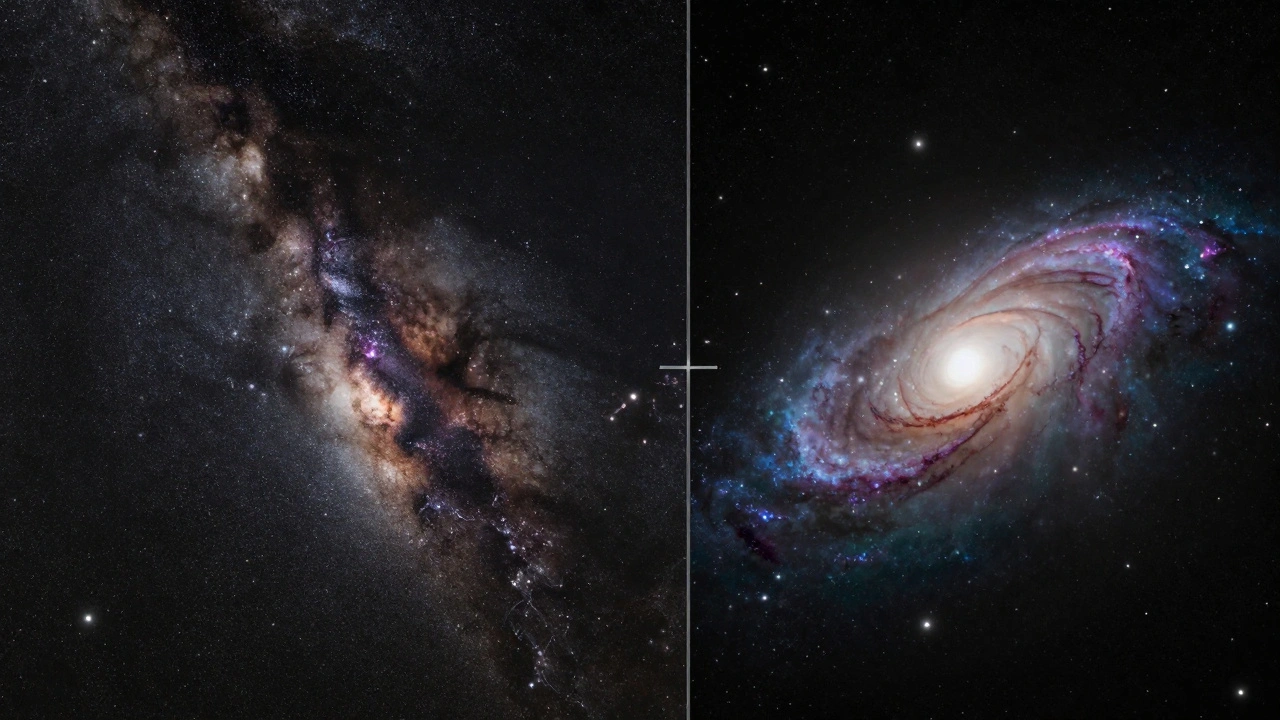
Second, consider the focal length of your optical tube. Focal length acts like the zoom level. A short focal length, say 200mm, gives you a wide field. A long focal length, like 1000mm, narrows the view significantly. If you want to photograph the Andromeda Galaxy, which spans several degrees of the sky, a 1000mm lens might only capture its core. You would miss the beautiful spiral arms. Conversely, if you try to shoot a tiny planetary nebula with a 200mm lens, the object will be so small it looks like a grain of dust.
Third, check if you are using accessories. Many telescopes come with focal reducers, such as a 0.8x reducer. This device shrinks the focal length, effectively widening your Field of View. If you attach a 0.8x reducer to a 500mm telescope, your effective focal length becomes 400mm. Your field gets wider, and more stars fit into the frame.
Calculating Your Actual Field of View
You cannot guess your FoV. You must calculate it. The formula is simple enough to do on a piece of paper or in a spreadsheet. Here is the standard equation used by most astro-imagers:
FoV = (Sensor Size / Focal Length) * 57.3
The number 57.3 is a constant that converts radians to degrees. Let’s break this down with real numbers. Imagine you are using a ZWO ASI2600MC camera. Its sensor width is 13.3mm. You mount it on a William Optics Zenithstar 61 telescope, which has a focal length of 150mm.
Divide 13.3 by 150. You get 0.0886. Multiply that by 57.3. Your horizontal Field of View is approximately 5.08 degrees. That is huge! For context, the full moon is only 0.5 degrees across. Your frame can fit ten moons side-by-side. This setup is perfect for wide-field targets like the Pleiades star cluster or the Double Cluster.
Now, imagine you switch to a longer scope, like an Orion Atlas EQ-C with a 1200mm focal length. Keep the same camera. Divide 13.3 by 1200. You get 0.011. Multiply by 57.3. Your FoV drops to 0.63 degrees. Suddenly, your view is much tighter. This is better for individual galaxies or compact nebulae, but you will lose the surrounding context.
| Camera Sensor Width (mm) | Telescope Focal Length (mm) | Calculated FoV (Degrees) | Best Target Type |
|---|---|---|---|
| 13.3 (APS-C) | 150 (Wide Angle) | 5.08° | Large Star Clusters, Milky Way Core |
| 13.3 (APS-C) | 500 (Medium Range) | 1.52° | Andromeda Galaxy, Large Nebulae |
| 13.3 (APS-C) | 1000 (Narrow Angle) | 0.76° | Small Galaxies, Planetary Nebulae |
| 36.0 (Full Frame) | 500 (Medium Range) | 4.15° | Wide Fields, Lunar Landscapes |
Matching the Object to the Frame
Once you know your FoV, you need to know the size of your target. Stars are point sources, so they always fit. But extended objects like nebulae and galaxies have physical sizes measured in arcminutes or degrees. Most astronomy apps, such as Stellarium or SkySafari, list these dimensions.
If you plan to shoot the Orion Nebula (M42), you need to know it is about 1.1 degrees wide. If your calculated FoV is 0.5 degrees, the nebula will spill over the edge of your sensor. You will have to stitch multiple images together later, which adds complexity. If your FoV is 5 degrees, the nebula will sit in the center with plenty of empty black space around it. While some background stars look nice, too much empty space can make the subject feel lost.
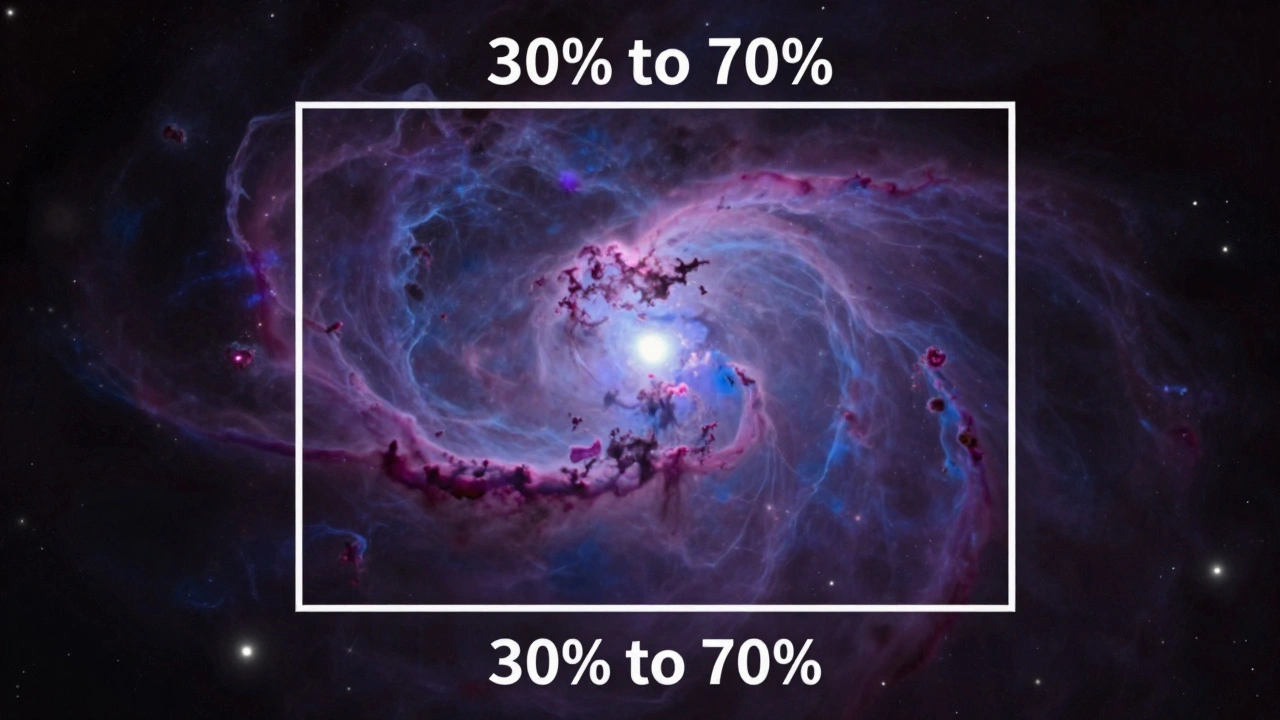
A good rule of thumb is to aim for your target to occupy between 30% and 70% of your frame. This leaves room for composition without wasting pixels on darkness. For example, if your target is 1 degree wide, a 2-degree FoV is ideal. The object takes up half the width, leaving a balanced border.
Consider the Whirlpool Galaxy (M51). It is relatively small, about 0.1 degrees across. If you use a wide-angle lens with a 5-degree FoV, M51 will be invisible to the naked eye in your final image. It will look like a faint smudge. To see detail, you need a narrow FoV, perhaps 0.5 degrees or less. This requires a longer focal length telescope.
Common Mistakes in Framing
Even experienced photographers make framing errors. The most common mistake is ignoring the aspect ratio. Most astronomical objects are circular or elliptical. Most camera sensors are rectangular, usually with a 3:2 or 4:3 aspect ratio. If you frame a round galaxy perfectly in the center, you might find that the top and bottom edges are cut off because the rectangle is taller than the circle is tall.
Another error is forgetting about polar alignment drift. If your mount is not perfectly aligned, the field rotates over time. In a wide FoV, this rotation is barely noticeable. In a narrow FoV with high magnification, the field can shift significantly during a long exposure sequence. This causes stars to stretch at the edges, ruining your sharpness. Wider fields are more forgiving of imperfect mounts.
Finally, many beginners buy expensive telescopes without checking their FoV first. They spend thousands on a high-power refractor, only to discover it is too narrow for the large nebulae they love. Always check the FoV compatibility before purchasing new gear. A cheaper, shorter focal length scope might actually serve your interests better.
Tools to Help You Visualize
You do not have to do all the math manually every time. There are excellent tools available. Apps like StellarScope allow you to select your exact camera and telescope model. Then, you point the app at the sky, and it draws a box showing exactly what will fit in your frame. This is incredibly useful for planning sessions.
Online calculators from sites like Cloudy Nights or AstroBackyard also provide quick results. Simply input your sensor size and focal length, and they give you the FoV in degrees and arcminutes. Some even tell you the pixel scale, which helps you determine if your optics are sharp enough for your sensor resolution.
Using these tools saves time. Instead of guessing and hoping, you can plan your session with precision. You can decide beforehand which targets are worth pursuing with your current setup.
Adjusting Your Setup for Better Framing
If you find your FoV is consistently too narrow, you have options. First, add a focal reducer. As mentioned earlier, a 0.8x reducer widens the field by 25%. This is often the cheapest way to fix a framing issue. Second, consider changing your camera. Moving from a full-frame to a cropped sensor narrows the view, while moving from cropped to full-frame widens it. However, buying a new camera is a significant investment.
Alternatively, you can change your telescope. Switching from a long-focus Newtonian reflector to a short-focus refractor will instantly widen your view. This is common among imagers who want to capture large emission nebulae like the Lagoon Nebula. These objects require wide fields to show their true scale.
Remember, flexibility is key. Having a variety of focal lengths allows you to adapt to different targets. A modular setup where you can swap lenses or use reducers gives you the best chance of framing any object correctly.
What is the difference between Field of View and Pixel Scale?
Field of View is the total angle of the sky captured in degrees. Pixel Scale is the size of each pixel in the sky, measured in arcseconds per pixel. FoV tells you how much fits in the frame; Pixel Scale tells you how detailed the image will be. Both are important for framing and resolution.
How do I measure my camera sensor size accurately?
You do not need to measure it physically. Look up the specifications of your camera model online. Manufacturers provide the diagonal, width, and height of the active sensor area. Use the width and height values for your FoV calculations. Ensure you use the dimensions of the imaging sensor, not the viewfinder screen.
Can I change my Field of View without changing gear?
Not really. The Field of View is determined by the physical properties of your sensor and optics. However, you can digitally crop your image later, which effectively narrows your FoV. This reduces resolution and increases noise, so it is better to get the correct FoV in-camera.
Why does my calculated FoV differ from what I see in the software?
Discrepancies often arise from incorrect sensor dimensions or focal length inputs. Check if your telescope has a focal reducer installed. Also, ensure you are using the actual focal length, not the aperture. Some software may use slightly different constants for conversion, leading to minor variations.
Is a wider Field of View always better for astrophotography?
No. A wider FoV is great for large objects and landscapes but lacks detail for small targets. A narrower FoV provides higher magnification and detail for planets and small galaxies. The "best" FoV depends entirely on the size of the object you want to photograph.