26 Feb 2026
- 0 Comments
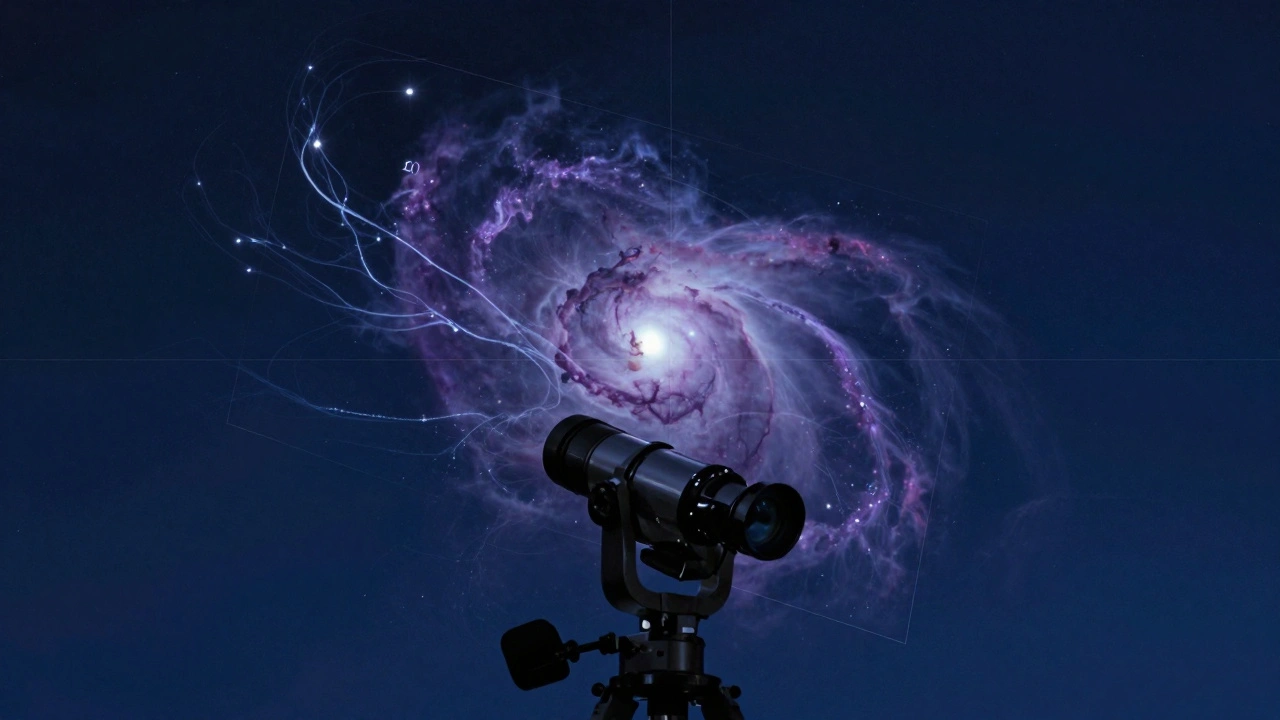
When you’re out under the stars capturing deep-sky objects, getting the perfect frame isn’t just about pointing your telescope and pressing shutter. It’s about target framing-the art of positioning your subject so it fills the frame, avoids awkward edges, and balances the composition. In Telescopius, this isn’t an afterthought. It’s the foundation of every successful shot.
Why Target Framing Matters
Most beginners think astrophotography is about exposure, ISO, and guiding. Those matter, sure. But if your galaxy is cut off at the edge or your nebula is squished into one corner, no amount of stacking will fix it. You’ll end up with a technically good image that feels incomplete.
Telescopius doesn’t just show you where to point. It shows you how to frame. It uses real-time sky mapping, precise telescope coordinates, and your camera’s sensor dimensions to predict exactly how your target will appear in the final image. That’s powerful. But it’s only half the battle.
Rotation and crop are what turn a good frame into a great one.
The Role of Rotation
Rotation isn’t about aligning your scope with north. It’s about orienting your target so it looks natural in the frame. Think of it like hanging a painting. You wouldn’t tilt a portrait sideways just because it fits. You’d turn it until it feels right.
Take the Orion Nebula (M42). If you leave it in its default orientation, the bright Trapezium cluster might sit in the top-left corner. The dusty tendrils of the nebula stretch awkwardly off-screen. But if you rotate the frame 20 degrees clockwise, those filaments flow diagonally across the image-leading the eye naturally through the scene. That’s composition.
Telescopius lets you drag and rotate your target overlay in real time. As you twist the frame, you see how the stars, nebulae, and background structures shift relative to your sensor’s edges. You’re not guessing. You’re seeing exactly how it’ll look before you even begin imaging.
Pro tip: Use the grid overlay. Turn it on. It helps you spot asymmetries. If one side of your target is crowded with stars and the other is empty, you’ve got imbalance. Rotate until the visual weight feels even.
Cropping for Impact
Cropping sounds like a post-processing step. But in Telescopius, it’s a pre-imaging decision. Why? Because your sensor has a fixed size. If your target is too small, you’re wasting resolution. If it’s too big, you lose context.
Here’s the rule of thumb: aim for your target to take up 60-80% of the frame’s longest side. For large objects like the Andromeda Galaxy (M31), that means you’ll need to crop tightly to avoid including too much empty sky. For smaller targets like the Horsehead Nebula, you might want to leave breathing room around the edges to show the surrounding star field.
Telescopius lets you adjust crop boundaries with drag handles. You can lock the aspect ratio to match your camera’s sensor-no weird stretching. Or you can freely adjust it if you’re planning to create a panoramic composite later.
Example: The Pleiades (M45) is a wide, scattered cluster. If you frame it too loosely, you end up with a boring, empty sky above and below. Crop tighter so the brightest stars form a natural arc across the top third of the frame. Suddenly, it’s not just a group of stars-it’s a constellation in motion.
Combining Rotation and Crop
The magic happens when you combine both. Let’s say you’re imaging the Lagoon Nebula (M8). By default, it’s oriented vertically with its dust lanes running top to bottom. But if you rotate it 45 degrees and crop tightly, those lanes become diagonal rivers of color leading toward the bright core. The result? A dynamic, almost three-dimensional look that draws viewers in.
Telescopius saves your preferred framing settings as presets. You can label them: “Lagoon Diagonal,” “Orion Tight,” “Andromeda Wide.” Next time you go out, you load the preset. No guesswork. Just perfect composition on the first try.
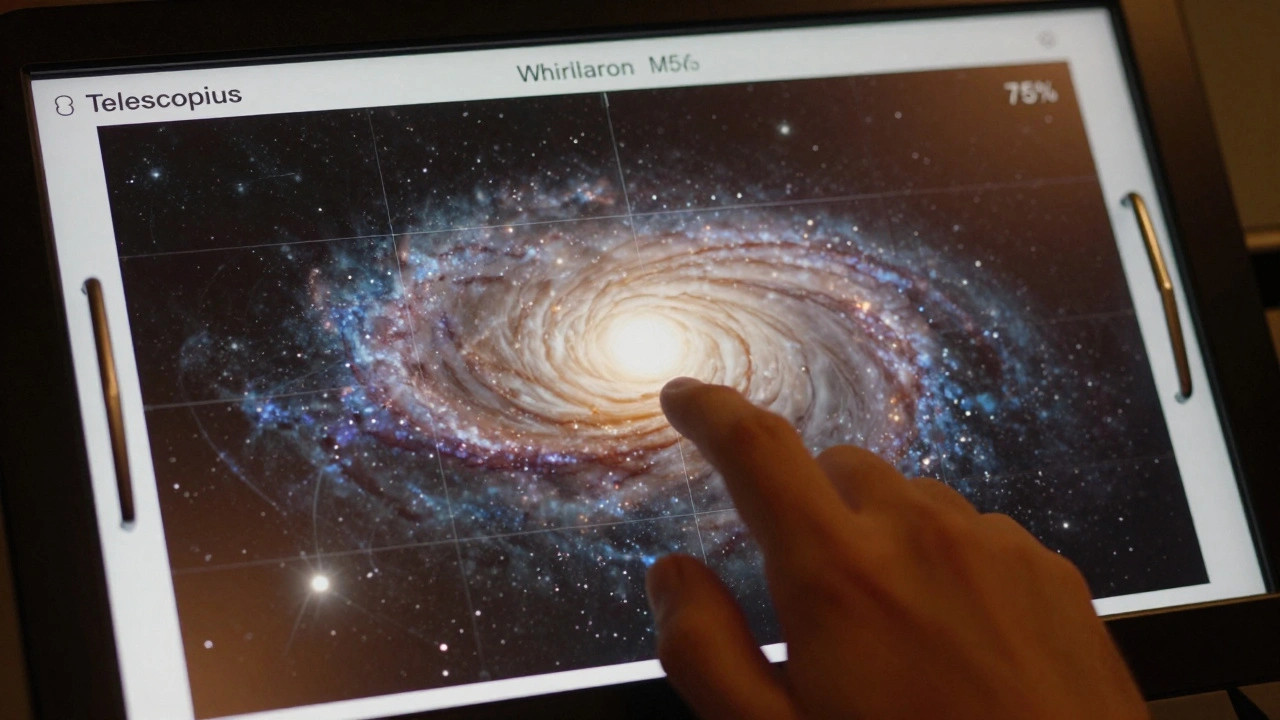
Real-World Example: M51, the Whirlpool Galaxy
Let’s walk through a real case. M51 has a bright core and two distinct spiral arms. In Telescopius, the default view shows it centered but slightly rotated, with one arm pointing toward the top-right corner. The other arm is cut off at the bottom.
You rotate the frame 15 degrees counterclockwise. Now both arms are fully visible. But the galaxy is too small-only 30% of the frame. You drag the crop handles inward, zooming in just enough so the arms fill 75% of the width. The core sits just above center, and the faint tidal tail stretches naturally into the bottom-left.
You hit “Save Frame.” Later, after 3 hours of exposure and 200 subframes, you stack it. The final image doesn’t just show M51. It tells a story. The rotation gives motion. The crop gives focus. The composition feels intentional.
Common Mistakes to Avoid
- **Leaving everything centered**-Even if your target is centered, if it’s not rotated right, the image feels flat. The sky isn’t a canvas. It’s a 3D space.
- **Over-cropping**-You think you’ll crop later in Photoshop. But you’re already losing resolution. Telescopius shows you the real sensor view. Don’t rely on digital zoom.
- **Ignoring the edges**-Stars near the edge can distort. Use the field-of-view indicator to avoid placing bright stars too close to corners where aberrations creep in.
- **Forgetting the horizon**-If you’re imaging near the horizon, rotation affects how much atmosphere you’re shooting through. A slight tilt can help you avoid light pollution bands.
Telescopius Tools That Help
- Field-of-View Preview-Shows exactly what your camera sees, with overlays for common targets.
- Rotation Snap-Automatically aligns your frame to celestial north or to the target’s natural orientation.
- Aspect Lock-Keeps your crop proportional to your sensor so you don’t accidentally stretch the image.
- Save & Load Presets-Store your favorite frames for future sessions. No need to re-figure it out every time.
What Happens When You Get It Right
You’ll know you nailed it when you look at your preview and think, “That’s it.” Not because it’s perfect. But because it feels complete. The target breathes. The stars frame it. The negative space supports, not distracts.
That’s the difference between taking a picture and making an image. Telescopius doesn’t just help you find targets. It helps you tell stories with them.
Final Thought: Frame Like a Photographer
Think of yourself not as a telescope operator, but as a visual storyteller. You’re not just capturing light-you’re composing a scene. Rotation gives rhythm. Crop gives focus. Together, they turn data into art.
Next time you set up, don’t just point. Frame.
How do I know if my target is framed correctly in Telescopius?
Telescopius shows a live preview of your sensor’s field of view with your target overlaid. Use the grid and rotation tools to check alignment. A well-framed target should fill 60-80% of the frame’s longest side, with key features (like spiral arms or nebula filaments) flowing naturally across the image. Avoid cutting off important details at the edges.
Can I rotate my target after I start imaging?
Technically, yes-but it’s not practical. Rotating your telescope mid-session requires recalibrating your mount and re-centering, which breaks your exposure sequence. Always finalize rotation before starting your imaging session. Telescopius lets you preview and lock the perfect angle before you begin.
Why does cropping in Telescopius matter if I can crop later in Photoshop?
Cropping in post-processing doesn’t add detail-it just enlarges the existing pixels. If your target is too small in the original frame, you’re magnifying noise and losing resolution. Telescopius helps you capture the maximum detail possible by framing correctly at the source. You can’t recover what wasn’t captured.
What’s the best way to handle wide-field targets like the Pleiades?
For wide targets, avoid leaving too much empty space. Crop tightly so the brightest stars form a natural shape-like an arc or cluster. Use Telescopius’s aspect lock to maintain your sensor’s native ratio. This keeps the composition balanced and prevents the image from feeling scattered or amateurish.
Does Telescopius support different camera sensors?
Yes. Telescopius includes profiles for most popular astrophotography cameras, including Canon EOS Ra, Sony A7S III, ZWO ASI2600, and more. You can manually enter your sensor dimensions if yours isn’t listed. The software then calculates the exact field of view based on your telescope and focal length.