28 Feb 2026
- 0 Comments
Imaging small galaxies is one of the toughest challenges in astrophotography. They’re faint, compact, and often buried in noise. Traditional long exposures don’t always cut it-especially if your seeing is poor, your mount isn’t perfect, or you’re shooting from a light-polluted backyard. But there’s a method that’s quietly revolutionizing how amateurs capture these distant cosmic islands: lucky imaging with short subs.
What Is Lucky Imaging?
Lucky imaging isn’t new, but it’s been refined for small galaxies thanks to modern sensors and processing software. The idea is simple: take hundreds or even thousands of very short exposures-often just 0.5 to 2 seconds-and pick out the best frames where atmospheric turbulence momentarily stabilizes. Those rare moments, when the air is still enough to let fine detail snap into focus, are your "lucky" frames. Stack just those, and you get resolution that rivals long-exposure images from much larger telescopes.It works because the atmosphere doesn’t blur everything all the time. In fact, over a 10-minute session, there are dozens of frames where the seeing improves for just a fraction of a second. If you can capture those, you’re not fighting the sky-you’re using it.
Why Short Subs for Small Galaxies?
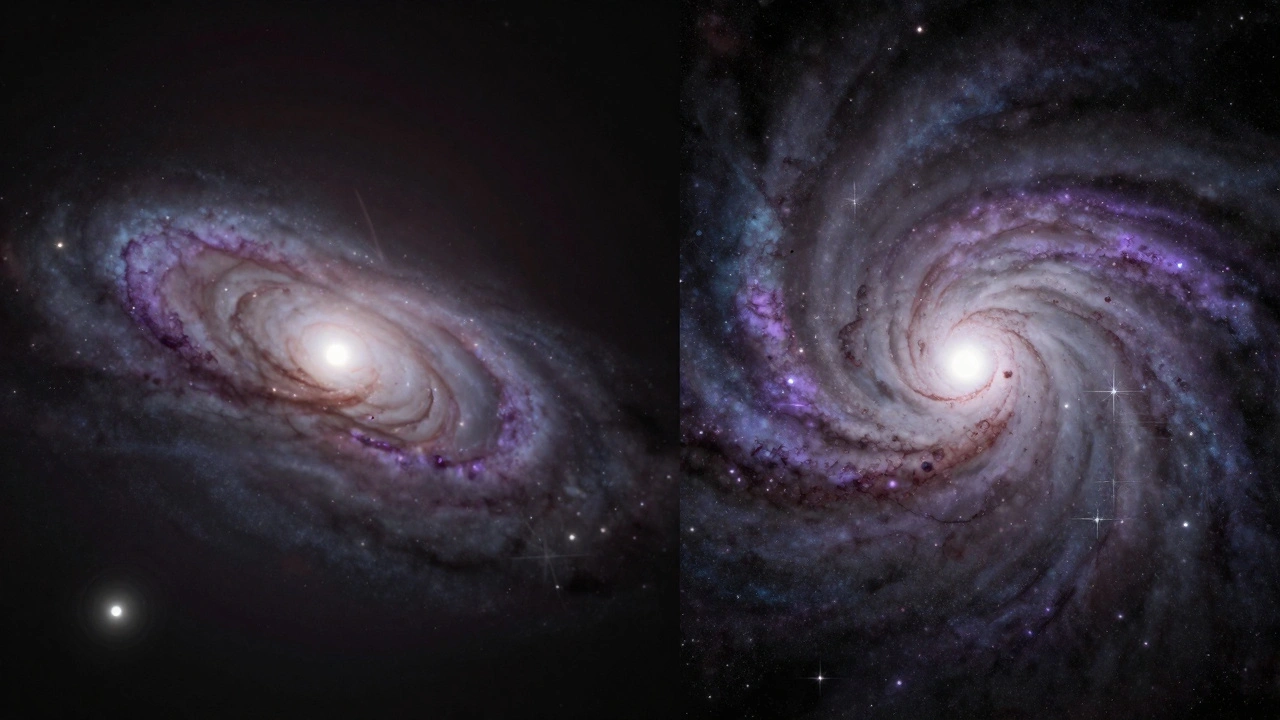
Small galaxies like M32, NGC 205, or IC 10 are tiny on the sky. They’re often under 10 arcminutes across. That means you need high angular resolution to see structure: spiral arms, dust lanes, star clusters. Long exposures blur these details because the atmosphere moves the image around during the exposure. Even a 30-second sub can smear fine features beyond recognition if the seeing is 3 arcseconds or worse.Short subs-under 2 seconds-freeze the atmosphere. You get crisp, unblurred snapshots. Each one might look noisy, but when you stack 1,000 of them, the noise averages out. The signal from the galaxy builds up. And because each frame is sharp, the final stack retains detail that a single 10-minute exposure could never hold.
Try this: shoot a small galaxy with 60-second subs. Then shoot the same target with 1.5-second subs. Compare the stacks. You’ll notice the short-sub version shows more core definition, tighter star fields, and better texture in the outer halo. That’s not magic-it’s physics.
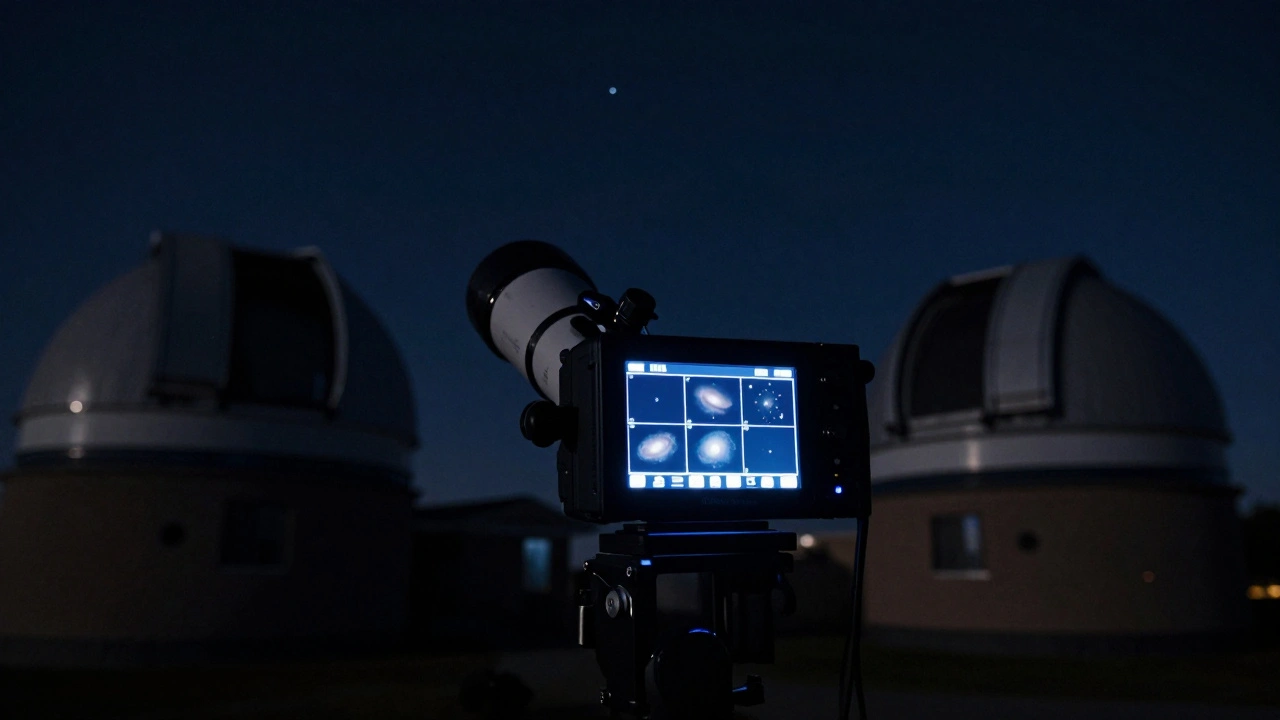
Equipment You Need
You don’t need a $10,000 rig. Lucky imaging thrives on accessibility.- Camera: A high-frame-rate CMOS sensor is key. Cameras like the ZWO ASI294MM Pro, ASI183MM Pro, or even the newer ASI2600MC Pro can deliver 10-30 frames per second at full resolution. Look for low read noise and high quantum efficiency.
- Telescope: Focal lengths between 500mm and 1000mm work best. Too short, and you won’t resolve enough detail. Too long, and you’ll amplify seeing errors. A fast refractor (f/5-f/7) is ideal.
- Mount: You don’t need a perfect equatorial mount, but it must track well enough to keep the galaxy centered over 1-2 seconds. A solid alt-az or entry-level EQ with periodic error correction is fine. The goal isn’t perfect guiding-it’s just consistent enough to keep the target in the frame.
- Software: AutoStakkert! 3 (for stacking), RegiStax 6 (for alignment), and PixInsight or Siril (for wavelet sharpening) are standard. Capture with FireCapture or SharpCap.
One real-world setup: a 6-inch f/6 refractor, ZWO ASI294MM, and a Sky-Watcher HEQ5. No autoguider. Just a 1.5-second exposure at ISO 1600. 1,200 frames captured in 30 minutes. Result? A stack with resolution that looks like it came from a 12-inch scope under perfect skies.
How to Capture Short Subs Effectively
Here’s a practical workflow:- Point at your target. Use a bright star nearby to focus. Don’t bother with precise polar alignment-just get the target centered.
- Set your exposure to 0.8-2 seconds. Start with 1.2 seconds. Adjust based on your sky brightness and camera sensitivity. You want the histogram to peak just left of center-no clipping.
- Set your frame rate as high as possible. 20 fps is ideal. More frames = better odds of catching good seeing.
- Shoot for at least 20-30 minutes. More is better. 1,000+ frames is the sweet spot for small galaxies.
- Use a USB 3.0 connection. Avoid Wi-Fi capture. Latency kills frame consistency.
- Don’t use filters. Light pollution filters reduce signal. LRGB or narrowband filters make this harder. Start with clear (L) only.
One mistake I see often: people try to use long exposures to "get more signal" and then wonder why their galaxy looks like a blob. Short subs aren’t about signal-they’re about preserving signal. You’re not gathering more photons-you’re gathering them cleanly.
Stacking and Processing
Stacking short subs isn’t the same as stacking long ones. You can’t just drag files into DeepSkyStacker and call it done.- Use AutoStakkert! 3. Set alignment points to "High" and choose "Lucky Imaging" mode. It’ll analyze each frame’s sharpness and rank them.
- Stack only the top 10-20% of frames. That’s where the magic lives. Don’t waste time on the blurry ones.
- After stacking, use wavelet sharpening in PixInsight or Siril. Apply 3-4 levels. Focus on the core and inner halo. Don’t over-sharpen-the noise will turn into speckles.
- Use background extraction to remove gradients. Small galaxies are often low-contrast. A clean background makes them pop.
- Color balance with a neutral star. Don’t rely on presets. M32’s core should look slightly yellowish, not blue or red.
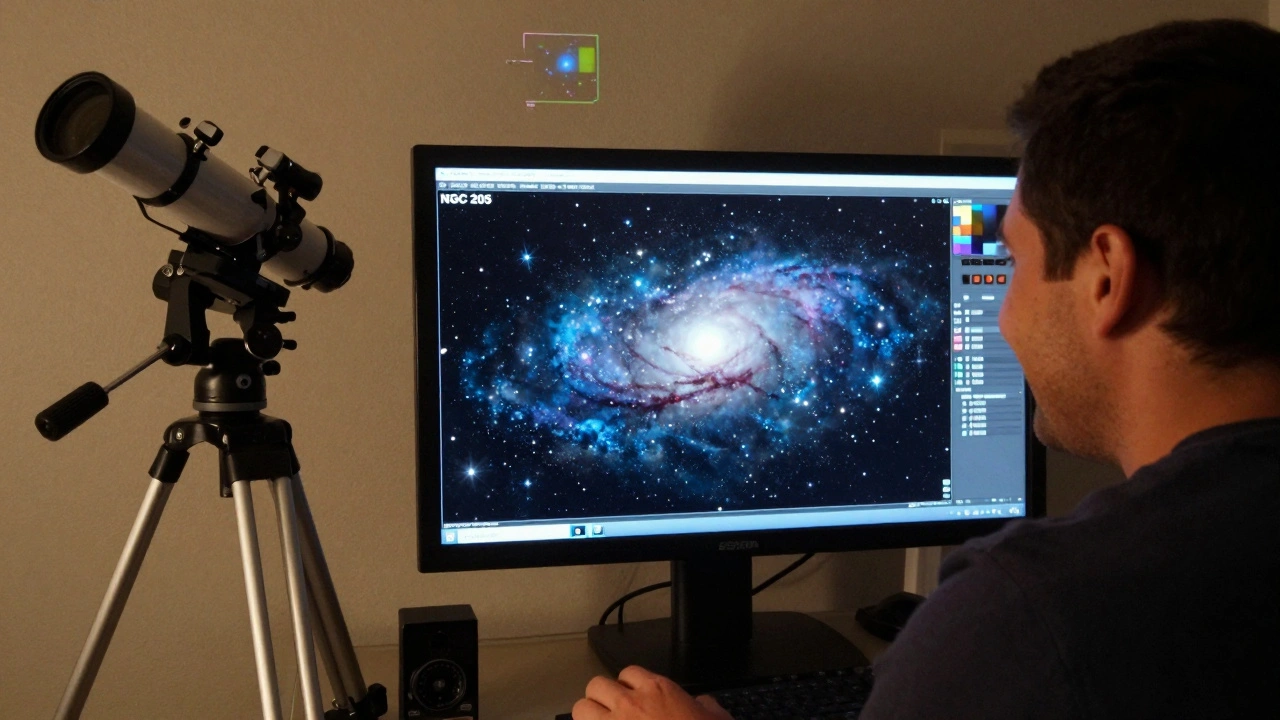
Example: A stack of 800 short subs of NGC 205, processed this way, revealed three distinct star clusters in its halo that weren’t visible in a 4-hour broadband exposure. That’s the power of lucky imaging.
When It Doesn’t Work
Lucky imaging isn’t a cure-all. It struggles with:- Very faint galaxies: If your target is below 14th magnitude in the V-band, short subs may not gather enough signal. You’ll need longer integration time or narrowband filters.
- Extremely poor seeing: If your seeing is consistently 5 arcseconds or worse, even 0.5-second frames will blur. Wait for a night with stable air.
- High wind or thermal currents: If your telescope tube is still cooling or your setup is vibrating, short subs won’t help. Let your scope acclimate. Secure your gear.
One night in December 2025, I tried lucky imaging on IC 10. The seeing was 4.5 arcseconds. The stack looked muddy. I waited a week. The next night, seeing dropped to 1.8 arcseconds. Same gear. Same exposure. The result? A clear, resolved core with dust lanes. The difference wasn’t the equipment. It was the sky.
Comparing Lucky Imaging to Traditional Long Exposures
| Factor | Lucky Imaging (Short Subs) | Traditional Long Exposure |
|---|---|---|
| Exposure per frame | 0.5-2 seconds | 30-300 seconds |
| Frames captured | 500-3,000+ | 5-20 |
| Resolution potential | High (limited by seeing, not exposure time) | Low (blurred by atmospheric motion) |
| Mount requirement | Moderate | High (needs precise tracking) |
| Processing time | Long (stacking 1,000+ frames) | Short |
| Best for | Small, high-surface-brightness galaxies | Large, diffuse galaxies under excellent seeing |
Real-World Results
In early 2025, a group of amateur astronomers in Oregon and Washington compared imaging techniques on M32. One used a 10-hour integration with a 12-inch reflector. Another used 1,500 x 1.2-second subs with a 6-inch refractor. The lucky imaging stack showed:- Clearer core structure
- Sharper star field around the galaxy
- More defined dust patches
The long exposure had more total signal, but the details were blurred. The lucky image looked more like a Hubble snapshot.
What’s Next?
Lucky imaging for small galaxies is still evolving. New cameras like the ZWO ASI2600MC Pro can now capture 40+ fps at 12-bit depth. AI-based frame selection is starting to appear in software, making it easier to auto-pick the best frames. And with machine learning noise reduction, even noisy subs can be cleaned up without losing detail.But the core idea remains: short, sharp, and many. You’re not trying to out-expose the sky. You’re trying to outsmart it.
Can I use lucky imaging with a DSLR?
Yes, but it’s limited. DSLRs have slower readout speeds and higher noise than dedicated astronomy cameras. You’ll get maybe 2-3 fps at best. That means you need longer exposures-around 3-5 seconds-which reduces your chance of catching good seeing. It’s possible, but you’ll need 3,000+ frames and a very dark sky. Dedicated CMOS cameras are far more effective.
Do I need a tracking mount for lucky imaging?
You need something that can hold the target steady for 1-2 seconds. A basic alt-az mount with a motorized drive works fine. You don’t need a high-end equatorial mount or autoguiding. Just make sure your mount doesn’t vibrate and can track smoothly. A sturdy tripod and a well-balanced scope are more important than expensive gears.
What’s the best target to start with?
Start with M32 (the companion to Andromeda). It’s bright, small, and has high surface brightness. It’s forgiving. Once you get good results with M32, move to NGC 205, IC 10, or even the Antennae Galaxies (NGC 4038/4039) if you have a wider field.
Can I combine lucky imaging with narrowband filters?
Yes, but it’s harder. Narrowband filters reduce light by 90% or more. That means you need longer exposures-3-5 seconds-which defeats the purpose of lucky imaging. Stick to broadband (L) for your first attempts. Once you’re confident, try H-alpha or OIII on brighter targets like star-forming regions in larger galaxies.
How long should I image to get good results?
Aim for 20-40 minutes of total capture time. That gives you 800-1,500 frames with 1.5-second subs. More time means more lucky frames. If your seeing is good, even 15 minutes can work. If it’s average, go longer. Don’t rush-this method rewards patience.