10 May 2026
- 0 Comments
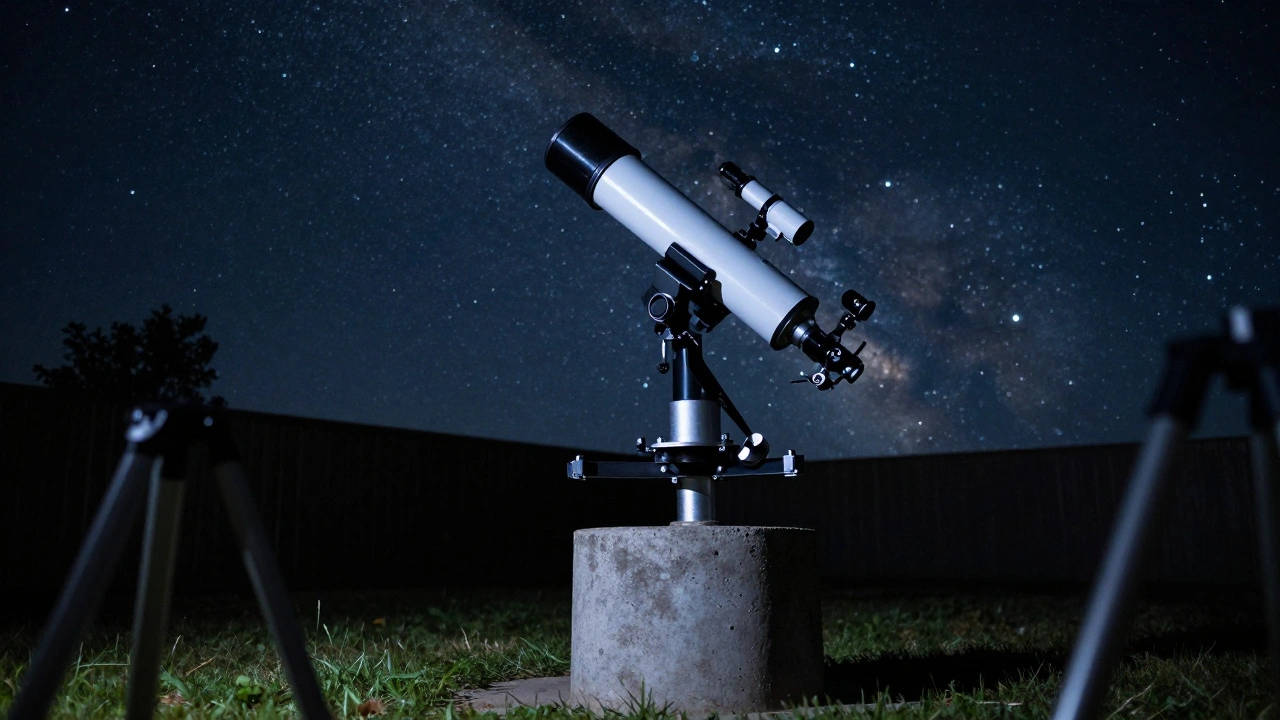
Shaky images are the enemy of every serious astrophotographer. You can buy the most expensive telescope on the market, but if your mount sits on a wobbly tripod or an unstable surface, your stars will turn into streaks. The solution isn't always more gear; it's often better foundations. Building a backyard pier transforms your setup from a temporary campsite to a permanent observatory.
A backyard pier is a rigid structure that supports your telescope mount directly at ground level. Unlike tripods, which flex and resonate with wind or vibration, a properly built pier acts as an extension of the Earth itself. This guide covers two reliable DIY methods: pouring a concrete foundation and welding a steel frame. Both approaches eliminate shake, improve tracking precision, and make setting up your gear significantly easier.
The Physics of Stability: Why Piers Matter
When you track deep-sky objects for long exposures, even microscopic vibrations matter. A standard aluminum tripod has inherent flexibility. When you nudge the focuser, change filters, or when the wind gusts, the legs absorb some energy and release it slowly. This creates "ringing"-a subtle oscillation that ruins sharpness in high-magnification views and long-exposure photos.
A pier eliminates this resonance by transferring the load directly into the soil. The mass of the foundation dampens vibrations instantly. For equatorial mounts like the EQ6-R Pro or Evolution 6, stability is critical because the counterweight shaft extends far out, creating leverage that amplifies any instability. A pier keeps the center of gravity low and fixed.
You also gain convenience. With a permanent pier, you don't need to re-polar align every night. Once you've aligned your mount to Polaris (or Sigma Octantis in the Southern Hemisphere), you can leave it set. Just cover the scope and come back hours later. It turns astronomy from a logistical chore into a simple hobby.
Method One: The Concrete Footprint
Pouring concrete is the most common DIY approach because materials are cheap and widely available. However, concrete takes time to cure and requires careful preparation to avoid cracking. Here is how to build a solid concrete pier that lasts decades.
1. Site Selection and Digging
Choose a spot away from foot traffic and heavy machinery. Avoid areas near swimming pools or sprinklers where water pressure might shift the soil. Dig a hole about 24 inches wide and 36 inches deep. If you live in a region with freezing winters, dig below the frost line to prevent heaving. In Portland, Oregon, where I live, the frost line is shallow, but in Minnesota or Canada, you might need to go down four feet.
2. Reinforcement
Concrete is strong under compression but weak under tension. To handle the lateral forces from your mount, you need rebar. Place four vertical pieces of #4 rebar (half-inch diameter) in the corners of the hole. Tie them together with wire at the bottom and top. Add horizontal cross-bracing every 12 inches. This cage holds the concrete together if it tries to crack.
3. The Form and Pour
Build a wooden form using 2x4 lumber to shape the top of the pier. Make sure the top is perfectly level. Use a laser level for accuracy. Mix ready-mix concrete according to the bag instructions. Pour it in stages, vibrating the sides of the form with a hammer to remove air pockets. Air pockets create weak spots that can lead to failure years later.
4. Embedding Hardware
This is the trickiest part. You need something to bolt your mount plate to. Insert a short piece of threaded rod (3/8-inch or 1/2-inch) into the wet concrete before it sets. Use a small bucket or PVC pipe filled with sand to hold the rod upright and centered. Check its position frequently as the concrete begins to stiffen. Alternatively, embed a large flange nut or a metal plate designed for piers.
5. Curing Time
Patience is key. Concrete reaches maximum strength over 28 days. Do not bolt your mount to the pier until it has cured fully. Moisture trapped inside can cause corrosion on your hardware if you seal it too early. Cover the pier with plastic during curing to keep it moist, which strengthens the chemical bond.
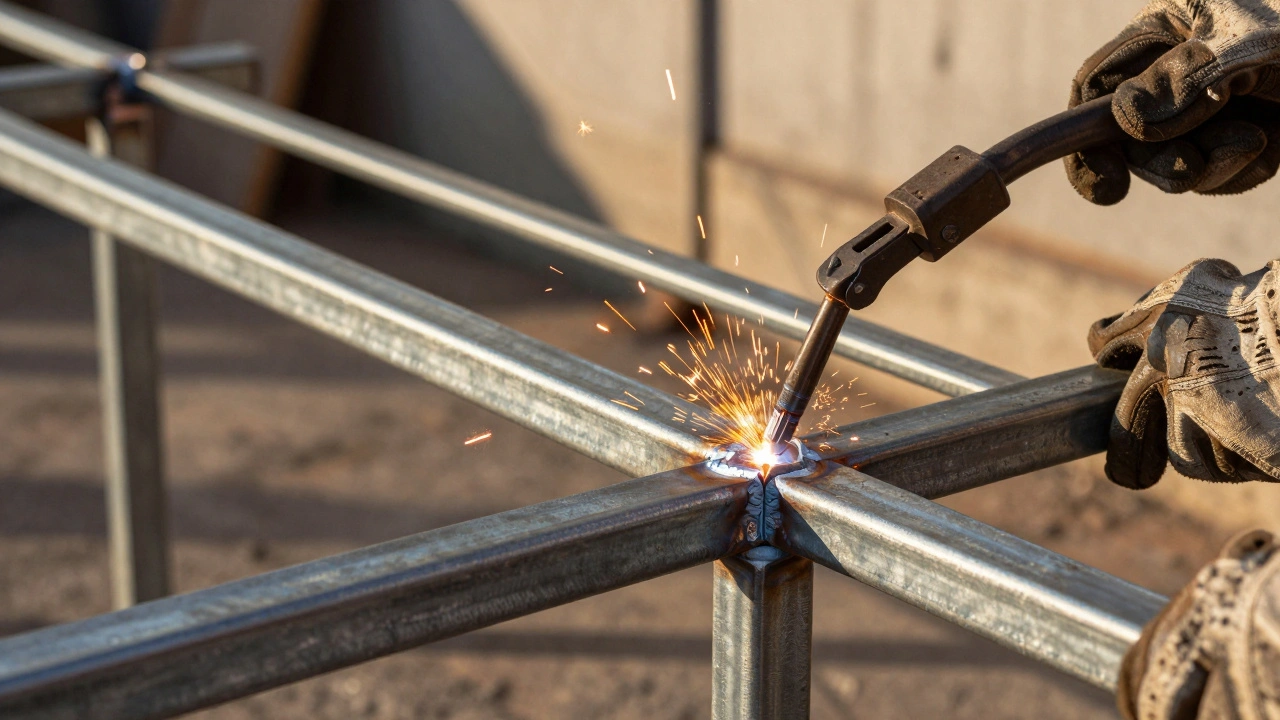
Method Two: The Steel Frame
If you don't want to wait weeks for concrete to cure, or if your soil is rocky and hard to dig, a steel pier is a fantastic alternative. Steel offers incredible strength-to-weight ratio and can be disassembled if you move houses. Welding skills are helpful, but you can also use bolted connections for a modular design.
Materials Needed
You'll need square tubing, typically 2-inch or 3-inch box sections with 1/8-inch wall thickness. Thicker walls resist bending better. You'll also need flat bar stock for bracing and a mounting plate cut from 1/4-inch steel plate. Buy galvanized steel or paint it immediately after welding to prevent rust.
Construction Steps
Cut four vertical legs to your desired height. Most piers are 30 to 36 inches tall to match comfortable viewing angles. Weld these legs to a base plate made of angle iron or thick square tubing. The base should be wide enough to provide stability-aim for a footprint of at least 24x24 inches.
Add diagonal cross-bracing between the legs. This is crucial. Without bracing, the tower will sway side-to-side like a loose fence post. Weld X-braces on all four sides. Ensure the braces are tight and welded securely at both ends. Finally, weld a flat, drilled mounting plate to the top. Drill holes that match the pattern of your telescope mount's base plate.
Anchoring the Steel
Even a steel pier needs anchoring. Bolt the base to a concrete pad, or drive long rebar stakes through the base plate into the ground. If you're building on a deck, ensure the deck joists can support the combined weight of the mount, telescope, and counterweights. A heavy German Equatorial Mount (GEM) can weigh over 100 pounds alone.
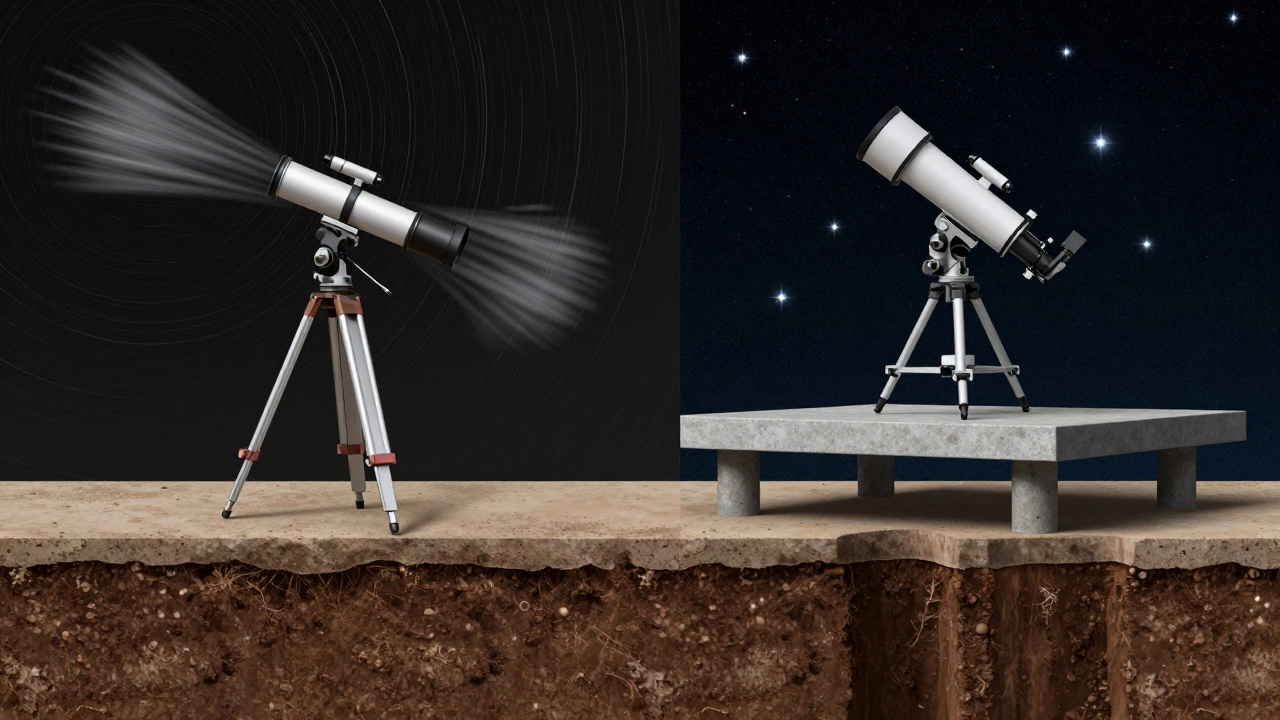
Comparison: Concrete vs. Steel Piers
| Feature | Concrete Pier | Steel Pier |
|---|---|---|
| Cost | Low ($50-$100) | Moderate ($150-$300) |
| Time to Build | 1 day + 28 days curing | 1-2 weekends |
| Durability | Permanent, weather-resistant | Requires rust prevention |
| Portability | None | High (if bolted) |
| Vibration Damping | Excellent (high mass) | Good (stiffness) |
Mount Compatibility and Plate Design
Your pier must match your mount. Different manufacturers use different bolt patterns. Celestron, Sky-Watcher, and Astro-Physics all have unique spacing. Measure the distance between the bolt holes on your mount's base. Transfer these measurements to your pier's top plate.
If you plan to swap mounts frequently, consider a universal plate system. Some builders weld multiple sets of bolt holes onto one large plate. Others use a quick-release mechanism, though these can introduce play if not tightened precisely. For best results, dedicate one pier to one specific mount. This ensures perfect alignment and zero backlash.
Also, consider the height. A good rule of thumb is to set the pier height so that the eyepiece or camera sensor is at eye level when you stand comfortably. This prevents neck strain during long observing sessions. Adjustable pier heads exist, but they add complexity and potential points of failure.
Safety and Legal Considerations
Before digging, call 811 (in the US) to mark underground utilities. Hitting a gas line or electrical cable is dangerous and expensive. Check local zoning laws regarding structures. Some HOAs restrict permanent outdoor structures, though a small pier might fall under "accessory structures" exemptions.
Ensure your pier is stable before loading it. Push hard on the top plate from all directions. It should not rock or tilt. If it does, reinforce the base or deepen the foundation. Safety first: a falling telescope can cause serious injury.
Maintenance Tips
Inspect your pier annually. For concrete, look for cracks. Small hairline cracks are normal due to settling, but large fissures indicate structural issues. Seal any gaps with epoxy to prevent water intrusion. For steel piers, check for rust spots. Sand them down and apply fresh paint or rust inhibitor. Keep the area around the pier clear of leaves and debris to prevent moisture buildup.
Finally, enjoy the view. With a solid pier, your focus shifts from fighting equipment limitations to exploring the cosmos. The stars will stay sharper, longer, and clearer than ever before.
How deep should a concrete pier be?
The depth depends on your local frost line. In cold climates, dig at least 12 inches below the frost line to prevent heaving. In warmer regions, 24-36 inches is usually sufficient for stability against wind and vibration.
Can I build a pier on a wooden deck?
Yes, but only if the deck is structurally sound. Ensure the joists beneath the pier location are rated for the combined weight of the mount, telescope, and counterweights. Reinforce the joists if necessary. Avoid placing piers on composite decking without proper support.
What type of steel is best for a pier?
Galvanized steel is ideal because it resists rust. If using regular steel, choose square tubing with at least 1/8-inch wall thickness and paint it thoroughly after welding. Stainless steel is durable but harder to weld and more expensive.
Do I need a permit to build a backyard pier?
It depends on your local regulations. Many municipalities do not require permits for small, non-electrified structures under a certain size. However, always check with your city planning department and HOA rules before starting construction.
How much does a DIY pier cost?
A concrete pier costs $50-$100 for materials including cement, rebar, and hardware. A steel pier costs $150-$300 depending on the price of steel tubing and whether you weld or bolt it. Both are significantly cheaper than commercial observatory piers.