4 Jan 2026
- 0 Comments
When you're trying to capture a sharp image of Jupiter’s clouds or the delicate spiral of a distant galaxy, even a light breeze can ruin everything. Telescope stability isn’t just about a sturdy mount-it’s about stopping the air itself from shaking your equipment. Wind doesn’t just blow past your observatory; it creates vibrations that travel through the structure, shake the telescope tube, and blur your view. If you’ve ever watched a star drift out of focus during a long exposure, you’ve felt wind’s invisible hand at work.
Why Wind Destroys Image Quality
Telescopes, especially those with long focal lengths like Schmidt-Cassegrains or refractors over 8 inches, are incredibly sensitive. A vibration as small as 1 micron-about the width of a bacterium-can blur fine details. Wind doesn’t need to be strong to cause damage. Even at 5 mph, air flowing over the dome or enclosure creates turbulence. That air hits the telescope tube, the mount, the mirror cell, and even the ground beneath the observatory. Each surface vibrates slightly, and those tiny movements add up over minutes of exposure.
Studies from the Kitt Peak National Observatory in Arizona showed that wind speeds as low as 4 mph caused measurable image degradation in 16-inch telescopes. The problem gets worse at night. As the ground cools, it creates thermal updrafts that mix with wind, making turbulence even more unpredictable. You might not feel the wind, but your camera sensor sure does.
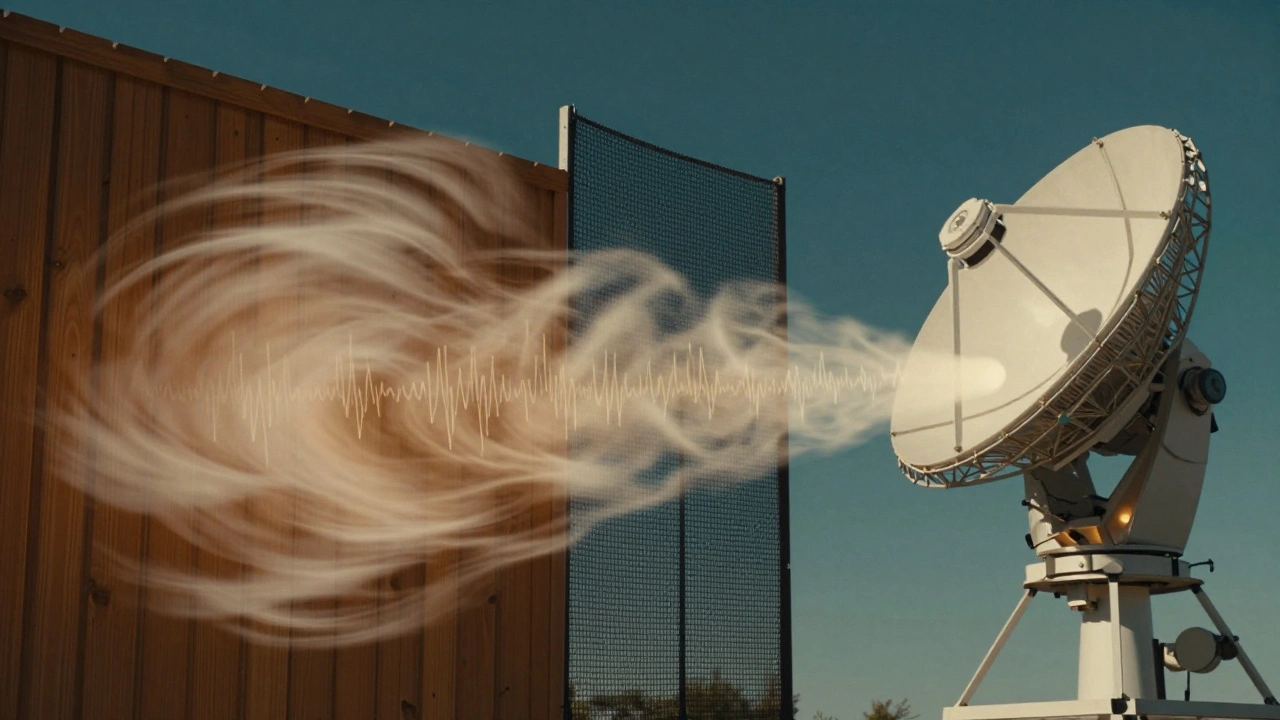
How Windbreaks Work
A windbreak isn’t a wall. It’s a buffer. The goal isn’t to stop wind completely-that’s impossible and can even make things worse. Instead, you want to slow it down, redirect it, and break up its flow before it reaches your telescope. Think of it like a fence in a garden: a solid fence catches wind and creates a chaotic vortex on the downwind side. A porous fence lets air pass through, smoothing the flow.
Effective windbreaks for observatories use this principle. They’re designed to reduce wind speed by 50-70% within 5 to 10 meters behind them. That’s enough to drop turbulence levels from damaging to manageable. The best windbreaks don’t block wind-they manage it.
Materials That Actually Work
Not all windbreaks are created equal. Many amateur astronomers try using wood fencing, plastic sheeting, or even stacked bricks. These often make things worse. Solid barriers create standing waves and eddies that vibrate the telescope more than the original wind.
Here’s what works:
- Perforated metal panels-with 30-40% open area-are the gold standard. They’re rigid, don’t sag, and let air through cleanly. Used by professional observatories from Chile to Hawaii.
- Heavy-duty polyethylene mesh-specifically designed for wind reduction-costs less and works well for smaller setups. Look for 50% permeability and UV-stabilized material.
- Evergreen hedges-like arborvitae or juniper-are natural, low-maintenance options. They take years to grow but provide permanent, wind-smoothing barriers. A 6-foot-tall hedge reduces wind by 60% at 10 feet behind it.
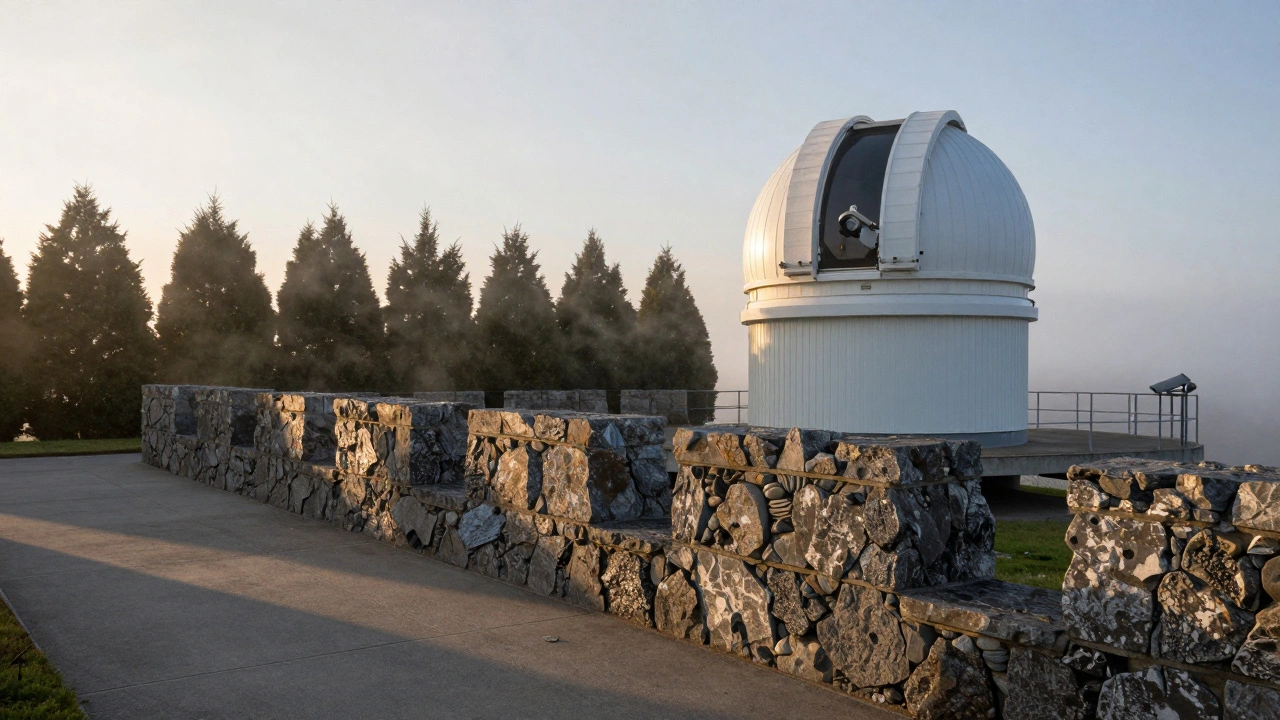
- Stacked stone walls-with gaps between stones-work surprisingly well. The gaps break up airflow, and the mass absorbs thermal shifts that cause air instability.
Avoid solid fences, vinyl panels, or plastic tarps. They create turbulence zones that make image quality worse than having no windbreak at all.
Designing Your Windbreak
Location matters more than material. A windbreak placed too close to your telescope can channel wind right toward it. Too far away, and it does nothing. The sweet spot is 1.5 to 3 times the height of your telescope above ground.
For example: if your telescope tube is 4 feet tall, place the windbreak 6 to 12 feet away. That distance lets the wind slow down before it hits your equipment. Always place the windbreak on the prevailing wind side. In most of the Northern Hemisphere, that’s the northwest. Check your local wind patterns using NOAA’s free wind rose maps-available for any U.S. observatory location.
Height is critical, too. The windbreak should be at least as tall as your telescope’s highest point. For domes, extend it 1-2 feet above the dome’s peak. Wind flows over obstacles, and if the windbreak is too short, air will just roll over the top and hit your scope anyway.
Length matters as well. A windbreak should extend at least 20% beyond the width of your telescope’s field of view. If you rotate your scope 180 degrees, you don’t want wind sneaking in from the side. Think of it as a protective tunnel, not a single wall.
Real-World Example: A Home Observatory in Oregon
In Portland, winter winds from the Columbia River Gorge regularly hit 15-20 mph at night. One amateur astronomer built a windbreak using 6-foot-tall perforated aluminum panels, spaced 2 feet apart, arranged in a U-shape around his 12-inch reflector. He placed it 8 feet from the telescope, aligned with the dominant northwest wind.
Before the windbreak, his 5-minute exposures of M42 showed visible blurring. After installation, the same exposure showed crisp details in the Trapezium stars-clear enough to detect subtle color shifts in the gas clouds. He didn’t change his mount, his camera, or his software. He just managed the wind.
Additional Tips for Maximum Stability
- Place your observatory on a solid foundation. Concrete piers sunk below the frost line reduce ground-borne vibrations better than wooden decks.
- Use a dew shield on your telescope. It reduces air movement across the lens or mirror, cutting down one source of internal turbulence.
- Wait 30 minutes after closing your dome. Temperature equalization reduces thermal air currents that mix with wind.
- Monitor wind speed with a small anemometer. If it hits 8 mph, consider pausing long-exposure imaging.
When Windbreaks Aren’t Enough
Some sites have persistent high winds-mountaintops, coastal cliffs, open plains. In those cases, windbreaks help, but you need more. Professional observatories use active systems: wind sensors that trigger automated dome shutters, or air curtains that redirect flow with controlled fans. For amateurs, the next step is a fully enclosed observatory with filtered ventilation. It’s expensive, but it works.
For most backyard setups, though, a well-placed, properly designed windbreak is the single most effective upgrade you can make. It’s cheaper than a new camera, easier than aligning a mount, and gives you sharper images without touching your gear.
Final Thought: It’s Not About Blocking Wind
Windbreaks aren’t about fighting nature. They’re about working with it. The best observatories don’t hide from the wind-they tame it. A good windbreak doesn’t stop the breeze; it turns chaos into calm. And in astronomy, calm air is the rarest, most valuable resource you have.
Can I use a regular garden fence as a windbreak for my telescope?
No. Solid garden fences create turbulent airflow that makes telescope vibrations worse. Windbreaks must be porous-allowing air to pass through-so it flows smoothly instead of crashing into your scope. Use perforated metal, mesh, or spaced wooden slats with at least 30% open area.
How far should a windbreak be from my telescope?
Place it 1.5 to 3 times the height of your telescope above the ground. For a typical 4-foot-tall telescope, that’s 6 to 12 feet away. This distance lets wind slow down before it reaches your equipment, reducing turbulence without creating a dead zone.
Do windbreaks work in all seasons?
Yes, but materials matter. Plastic mesh can become brittle in freezing temperatures. Perforated metal and stone walls work year-round. Living hedges lose leaves in winter but still provide structure. For winter use, choose durable, non-flexible materials.
Can I build a windbreak myself?
Absolutely. Most amateur windbreaks are built with basic tools. Perforated metal panels can be bolted to wooden posts. Mesh can be stretched between T-posts. Even stacked stone walls can be built with dry-laid techniques. The key is design-not construction skill.
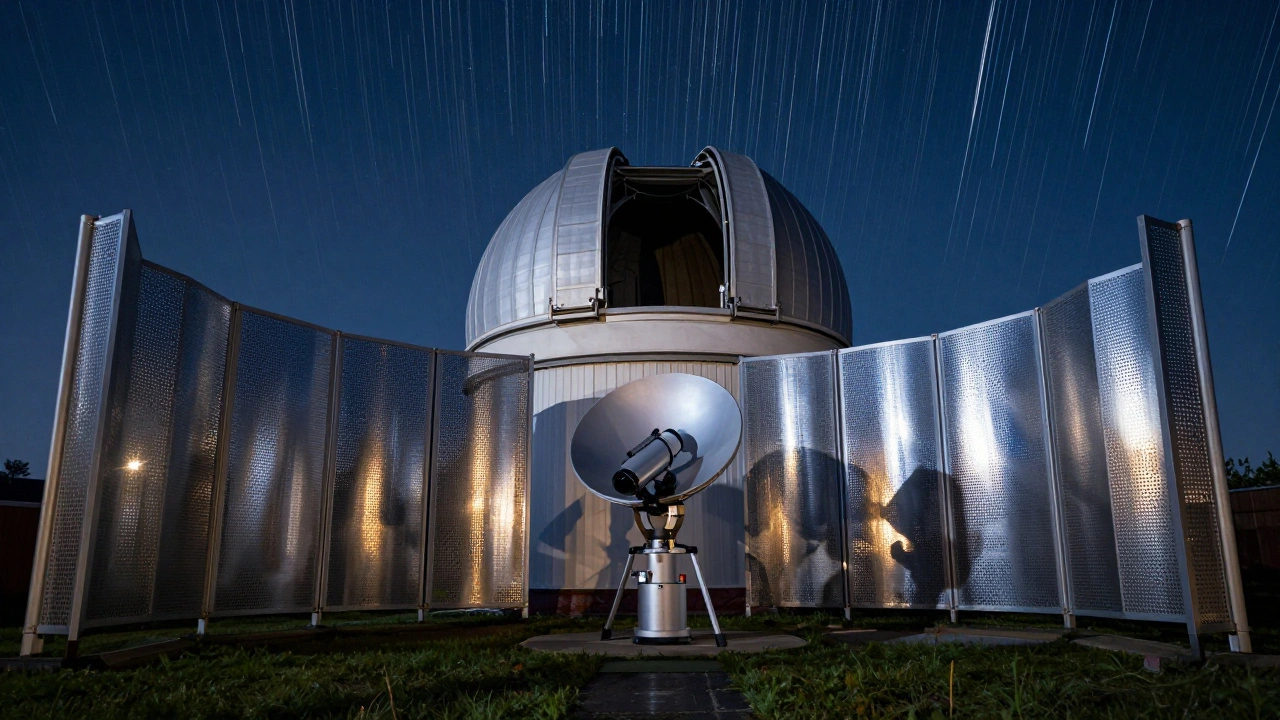
Do I still need a windbreak if I have a dome?
Yes. Domes reduce wind, but they don’t eliminate it. Air still flows over the dome, creating vortices that hit the telescope. A windbreak placed outside the dome reduces this effect. Many professional observatories use both.