16 Aug 2026
- 0 Comments
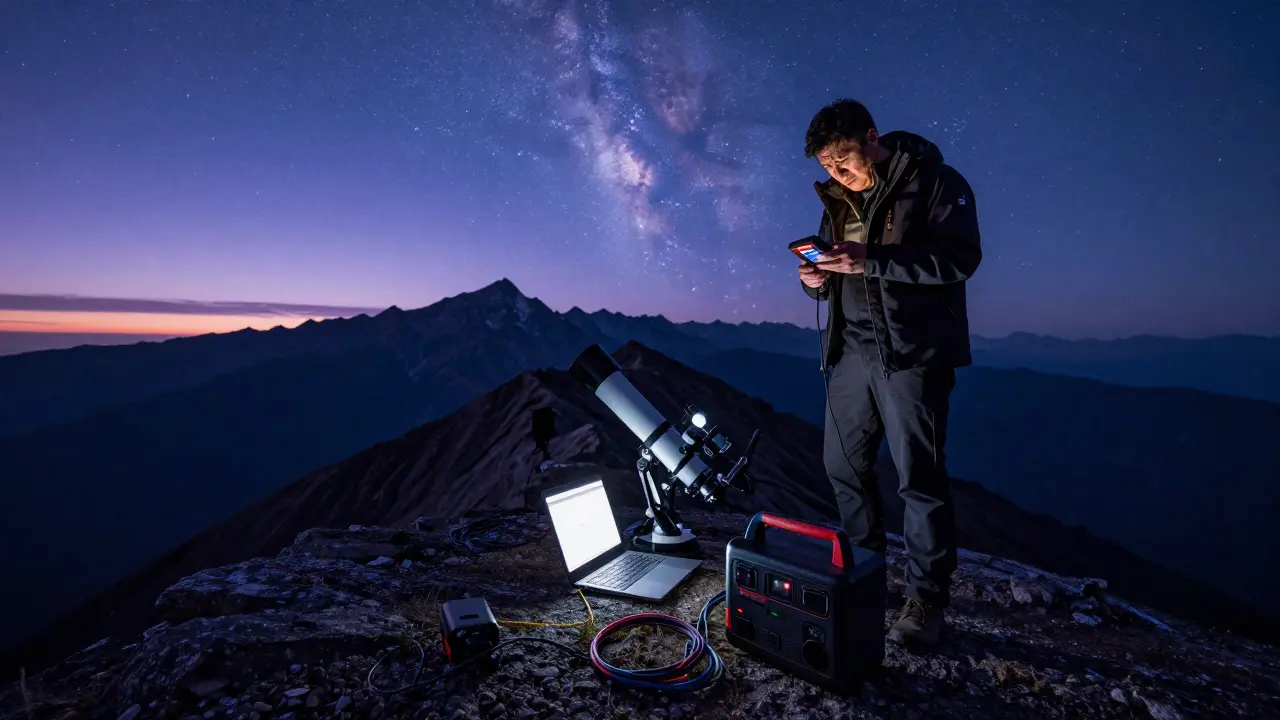
You’ve hauled your telescope, camera, laptop, and dew heater up a mountain only to watch the voltage drop right when you’re capturing that faint nebula. It’s a frustrating reality for many astrophotographers who treat their power setup as an afterthought. The difference between a ruined session and a successful one often comes down to a single calculation: estimating the total amp-hours required by your gear.
Power planning isn’t just about guessing if your battery will last; it’s about understanding how different components drain energy at varying rates. A motorized mount consumes power continuously, while a computer might spike in usage during processing. If you don’t account for these fluctuations, you’ll end up with a system that dies at the worst possible moment. This guide breaks down exactly how to calculate your needs so you can stop worrying about the red light on your battery monitor and start focusing on the stars.
Understanding the Core Concept: Watts vs. Amps
Before you can estimate amp-hours, you need to understand the relationship between power consumption and current draw. Most equipment labels list power in watts (W), but batteries store energy in amp-hours (Ah) or watt-hours (Wh). To bridge this gap, you use Ohm’s Law principles adapted for DC circuits.
The basic formula is simple: Amps = Watts / Volts. However, in astronomy setups, we typically work with 12V systems. So, if you have a device that draws 10 watts, you divide 10 by 12 to get approximately 0.83 amps. That number tells you how much current the device pulls from your battery every hour. Multiply that by the number of hours you plan to run the device, and you have your amp-hour requirement for that specific item.
It’s crucial to note that not all devices operate at a constant wattage. A dew heater might cycle on and off, meaning its average draw is lower than its peak rating. A computer, on the other hand, might idle at low power but spike when writing data to a hard drive. For planning purposes, it’s safer to use the maximum rated power for critical items like mounts and cameras, and an estimated average for variable loads like computers and heaters.
Calculating Load for Common Astronomy Gear
Let’s look at typical power draws for standard astrophotography equipment. These values can vary by brand and model, so always check your specific manual, but these averages provide a solid baseline for initial planning.
| Equipment Type | Average Power Draw (Watts) | Estimated Current Draw (Amps @ 12V) | Notes |
|---|---|---|---|
| Equatorial Mount (Tracking) | 5 - 10 W | 0.4 - 0.8 A | Constant draw during tracking |
| Camera Body (Cooling/Imaging) | 5 - 15 W | 0.4 - 1.2 A | Higher if using active cooling |
| Laptop (Guiding/Capture) | 20 - 60 W | 1.7 - 5.0 A | Varies greatly by workload |
| Dew Heater | 10 - 20 W | 0.8 - 1.7 A | Cycles on/off; use avg. estimate |
| Focuser Motor | 2 - 5 W | 0.2 - 0.4 A | Intermittent use |
Notice the laptop. It is often the biggest power hog in a modern setup. If you are running a high-end workstation with multiple drives spinning up, you could easily hit 60 watts. That translates to 5 amps. If you plan to shoot for 6 hours, that laptop alone will consume 30 amp-hours. This is why knowing your specific hardware’s efficiency is vital. Older laptops or those with mechanical hard drives tend to draw more power than newer SSD-based ultrabooks.
Accounting for Inefficiencies and Safety Margins
Here is where most plans go wrong: assuming your battery provides 100% of its rated capacity. In reality, lithium-ion batteries should not be drained completely to avoid damaging their lifespan. Most experts recommend keeping a lithium battery above 20% charge. Lead-acid batteries, which are cheaper but heavier, should never drop below 50% depth of discharge.
This means if you have a 100 Ah lithium battery, you effectively only have 80 Ah of usable energy. Add in the inefficiency of voltage regulators and USB chargers, which can lose another 10-20% of energy as heat, and your usable capacity drops further. A good rule of thumb is to multiply your calculated total amp-hour requirement by 1.5. This safety factor accounts for cold temperatures (which reduce battery performance), unexpected surges, and component inefficiencies.
For example, if your raw calculation shows you need 40 Ah for a night, you should aim for a battery system that offers at least 60 Ah of *usable* capacity. If using a 12V lead-acid battery, you would need a 120 Ah battery to stay safe. If using lithium, a 100 Ah battery might suffice, but 120 Ah gives you peace of mind.
Step-by-Step Planning Methodology
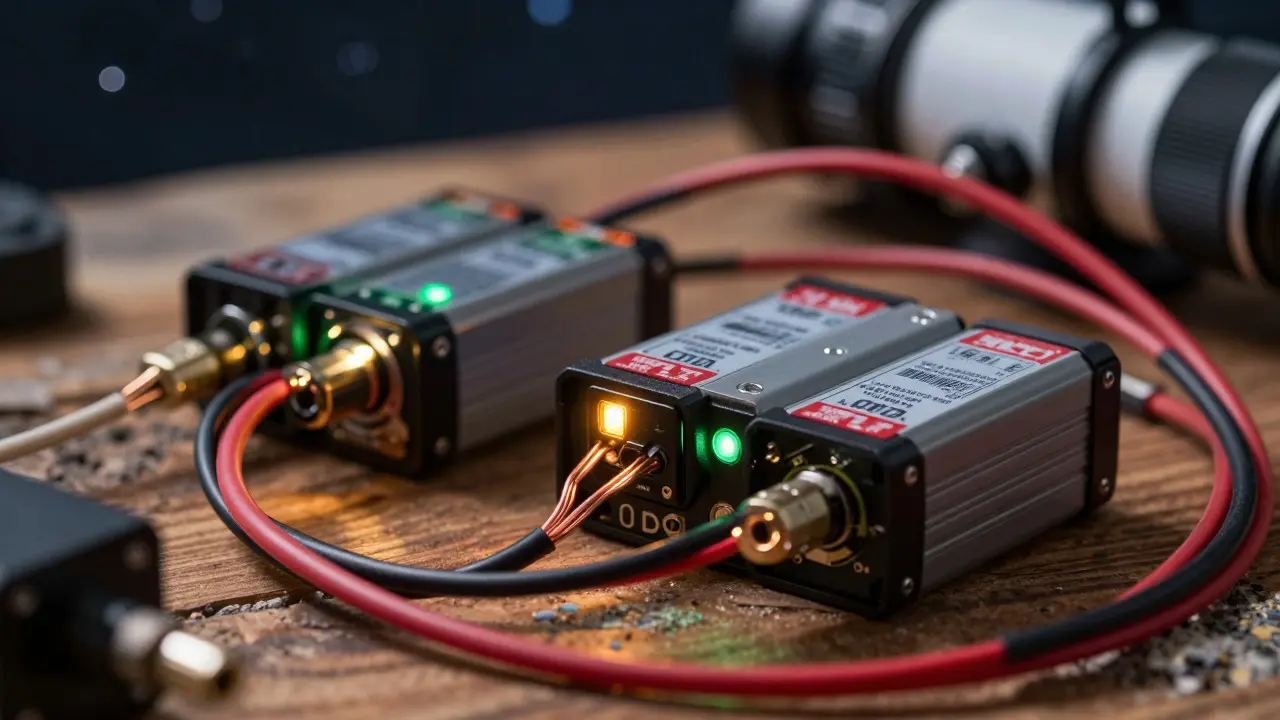
To create a reliable power plan, follow this structured approach:
- List All Powered Devices: Write down every item connected to your battery. Include hidden consumers like LED lights, fans, or heated seats in your vehicle.
- Determine Wattage for Each: Check manuals or measure with a multimeter. If unsure, look up similar models online. Assign a wattage value to each.
- Estimate Usage Time: How long will each device run? The mount runs the whole time. The laptop runs the whole time. The focuser might only run for 10 minutes. Be realistic.
- Calculate Amp-Hours per Device: Use the formula: (Watts / 12V) x Hours = Amp-Hours.
- Sum the Total: Add up all the individual amp-hour requirements.
- Apply Safety Factor: Multiply the total by 1.5 to account for inefficiencies and battery health.
- Select Battery Capacity: Choose a battery with a rated capacity equal to or greater than your adjusted total.
Let’s apply this to a hypothetical scenario. You have a mount (8W), a cooled camera (10W), a laptop (40W), and a dew heater (15W average). You plan to shoot for 5 hours.
- Mount: (8/12) * 5 = 3.3 Ah
- Camera: (10/12) * 5 = 4.2 Ah
- Laptop: (40/12) * 5 = 16.7 Ah
- Dew Heater: (15/12) * 5 = 6.2 Ah
Choosing the Right Power Source
Once you know your amp-hour needs, you have several options for powering your setup. Each has trade-offs regarding weight, cost, and maintenance.
Lithium Iron Phosphate (LiFePO4) is a type of rechargeable battery known for its long cycle life, stable voltage output, and lightweight design compared to lead-acid alternatives. These are the gold standard for modern astronomy. They weigh half as much as lead-acid batteries of the same capacity, hold their charge better in cold weather, and can be discharged deeper without damage. The downside is price. A 100 Ah LiFePO4 battery costs significantly more than a lead-acid equivalent.
Lead-Acid Batteries are traditional rechargeable batteries that are inexpensive and widely available but heavy and sensitive to deep discharging. Deep Cycle AGM (Absorbent Glass Mat) versions are sealed and require no water maintenance, making them suitable for field use. They are a budget-friendly option if you don’t mind carrying extra weight. Just remember to keep them above 50% charge to preserve their life.
Portable power stations are another popular choice. These units combine a built-in battery with an inverter to provide AC power. They are convenient because they often come with USB ports and AC outlets, reducing the need for separate cables. However, they add weight due to the internal electronics and inverters. If your setup is entirely DC-powered (like most telescopes and cameras), a dedicated 12V battery bank is lighter and more efficient than a power station with an inverter.
Troubleshooting and Pro Tips
Even with perfect calculations, issues can arise. Here are some common pitfalls and how to avoid them.
Cold Weather Impact: Batteries perform poorly in the cold. A lithium battery at 0°F may only deliver 60-70% of its rated capacity. If you are imaging in winter, increase your safety factor to 2.0 instead of 1.5. Keeping the battery inside your vehicle or near a heat source can help mitigate this.
Voltage Drop Over Long Cables: If you are running long cables from a battery bank to your equipment, voltage drop becomes a real issue. Thin wires cause resistance, which reduces the voltage reaching your device. This can cause mounts to stall or cameras to reset. Use thicker gauge wires (lower AWG number) for longer runs. As a rule of thumb, keep cable lengths under 10 feet if possible, or use 10-gauge wire for runs over 15 feet.
Monitoring Your Load: Don’t guess. Use a battery monitor with a shunt. Devices like Victron Orion or Renogy monitors show you exactly how many amp-hours you have used and how much remains. This allows you to adjust your expectations in real-time. If you see your usage is higher than planned, you can shorten your session or turn off non-essential devices early.
Finally, consider modularizing your power setup. Instead of one massive battery, use two smaller ones. This allows you to scale your power based on the session. A short lunar session might only need 20 Ah, while a deep-sky marathon requires 100 Ah. Modular setups are easier to transport and maintain.
Frequently Asked Questions
How do I measure the actual power draw of my equipment?
The most accurate way is to use a DC power meter or a multimeter set to measure current (amps). Connect the meter in series with the device and the battery. Run the device under normal operating conditions for at least 10 minutes to get an average reading. Multiply the measured amps by the voltage to get watts. This is far more accurate than relying on manufacturer estimates, which often represent peak rather than average consumption.
Can I use car batteries for astrophotography?
Technically yes, but it’s not ideal. Standard car starter batteries are designed for short bursts of high current, not sustained low-current drainage. If you drain a starter battery deeply, it can suffer permanent sulfation and lose capacity quickly. If you must use a car battery, ensure it is a deep-cycle variant or a hybrid marine battery. Dedicated deep-cycle AGM or Lithium batteries are much better suited for the slow, steady drain of astronomy equipment.
What happens if my voltage drops too low?
Most astronomy equipment has a minimum operating voltage, usually around 10.5V to 11V for 12V systems. If the voltage drops below this threshold, devices may shut down unexpectedly. Mounts might lose track, causing star trails. Computers might crash if the power supply cuts out. Cameras may stop cooling. To prevent this, set up a low-voltage alarm on your battery monitor to warn you before the cutoff point is reached.
Is it better to run everything from one battery or split the load?
Running everything from one central battery bank is generally simpler and more efficient. It reduces wiring complexity and ensures consistent voltage across all devices. Splitting the load into separate batteries for different components can be useful if you want to isolate a failing component, but it adds weight and management overhead. For most users, a single well-sized battery bank with a master switch and fuses is the best approach.
How does temperature affect battery capacity?
Temperature has a significant impact on battery performance. Cold temperatures slow down chemical reactions inside the battery, reducing available capacity. At 32°F (0°C), a lithium battery might only deliver 80% of its rated capacity. At 0°F (-18°C), it could drop to 60%. Conversely, extreme heat can degrade the battery over time. For winter imaging, always size your battery larger than your calculated needs to compensate for the reduced capacity in the cold.