10 Sep 2026
- 0 Comments
You know that feeling. You've spent weeks planning your imaging session for a specific nebula or galaxy. The forecast looks perfect-zero clouds, low humidity. But when you finally get the scope on the target at 2 AM, the stars look like they're boiling in a pot of water. The image is soft, fuzzy, and utterly disappointing. Why? Because you ignored one critical variable: altitude is not just about height; it is your primary defense against the murk layer of our atmosphere.
Here is the hard truth most beginners miss: the Earth's atmosphere is not uniform. It has layers of stability and chaos. When you observe near the horizon, you are looking through the thickest, most turbulent part of the air. This "murk" blurs fine detail and kills resolution. To get sharp images, you don't just need dark skies; you need to understand how to plan your observations around the altitude of your target relative to these atmospheric layers.
The Anatomy of Atmospheric Seeing
To fix the problem, you first have to understand what you are fighting. Astronomers measure the quality of the sky using a metric called seeing, which describes how much the atmosphere distorts incoming light from celestial objects. Good seeing means the air is stable; bad seeing means it is churning with heat pockets and wind shear.
Most amateur observers think seeing is constant throughout the night. It isn't. Seeing changes hourly, even minute-to-minute, based on local weather patterns. However, there is a structural component to seeing that depends entirely on where you point your telescope. This is where altitude comes into play.
When you look straight up (at the zenith), you are looking through the minimum amount of atmosphere. As you move toward the horizon, the path length of light increases exponentially. This path length is measured as airmass. An airmass of 1.0 is the zenith. An airmass of 2.0 occurs at an altitude of roughly 30 degrees. At 30 degrees, you are forcing starlight to travel twice the distance through the lower atmosphere compared to looking overhead.
This longer path does two things:
- It increases extinction: Dust and moisture absorb more light, dimming faint targets.
- It amplifies turbulence: The lower atmosphere is where ground-level heat rises and mixes with cooler air above. This mixing creates the "boiling" effect that ruins high-resolution details.
Defining the Murk Layer
What exactly is this "murk layer" we keep talking about? In practical terms, it refers to the boundary layer of the atmosphere closest to the ground, typically extending up to 1-2 kilometers (roughly 0.6-1.2 miles) depending on weather conditions. This layer is directly influenced by the temperature of the terrain below your telescope.
If you live in Portland, Oregon, like I do, you know how rapidly temperatures can shift here. During the day, the sun heats the pavement, buildings, and trees. At night, this stored heat radiates back upward. If your observing site is near urban areas or paved roads, this rising hot air creates massive turbulence. Even if the upper atmosphere is perfectly calm, your view will be degraded because you are looking through this chaotic thermal soup.
| Target Altitude | Airmass | Atmospheric Path Length | Expected Image Quality |
|---|---|---|---|
| 90° (Zenith) | 1.0 | Minimum | Best possible seeing; minimal distortion. |
| 60° | ~1.15 | Slightly Increased | Good seeing; suitable for planetary work. |
| 45° | ~1.41 | Moderate Increase | Acceptable for deep-sky imaging; slight softening. |
| 30° | 2.0 | Double Zenith Path | Poor seeing; significant blurring and color dispersion. |
| 15° | ~3.8 | Nearly 4x Zenith Path | Very poor; only useful for very bright, large targets. |
Planning Your Night Around Altitude
So, how do you use this knowledge? You stop treating all targets equally. A galaxy that looks great in a chart might be useless for high-resolution imaging if it never rises above 40 degrees during your available observing window. This requires strategic planning.
Before you pack your gear, check the ephemeris data for your targets. Most astronomy software (like Stellarium or Cartes du Ciel) allows you to simulate your location and time. Look for the maximum altitude each object reaches. If a target peaks at 25 degrees, you are doomed to fight the murk layer all night. You might get a wide-field shot, but forget about resolving spiral arms or planetary disks.
Here is a simple heuristic I use when scheduling my nights:
- Planetary Targets: Only observe when altitude > 60°. Planets require high magnification, so any atmospheric blur is magnified too. Jupiter at 30 degrees will look like a blurry blob compared to Jupiter at 70 degrees.
- Deep-Sky Imaging: Aim for altitude > 45° for long exposures. Below 45°, differential refraction becomes a nightmare. Blue light bends more than red light as it passes through thick air, causing colored fringes around stars that are hard to correct in post-processing.
- Wide-Field Mosaics: These are more forgiving. You can push down to 30° if necessary, but expect larger stars and less contrast.
Site Selection Matters More Than Gear
You might think buying a bigger aperture telescope solves everything. It doesn't. A 12-inch scope on a bad night will often produce worse results than a 6-inch scope on a good night. Why? Because a larger aperture gathers more light from a larger area of the turbulent wavefront. If that wavefront is distorted, the big scope just captures a bigger version of the mess.
Choosing your observing site is essentially choosing how thick the murk layer is beneath you. Urban backyards suffer from "dome seeing," where heat trapped under roofs or inside houses rises and disturbs the air directly above the house. Moving just 50 feet away from a warm building can improve seeing dramatically.
Ideally, you want a site with:
- Stable ground: Grass or soil cools faster than asphalt or concrete.
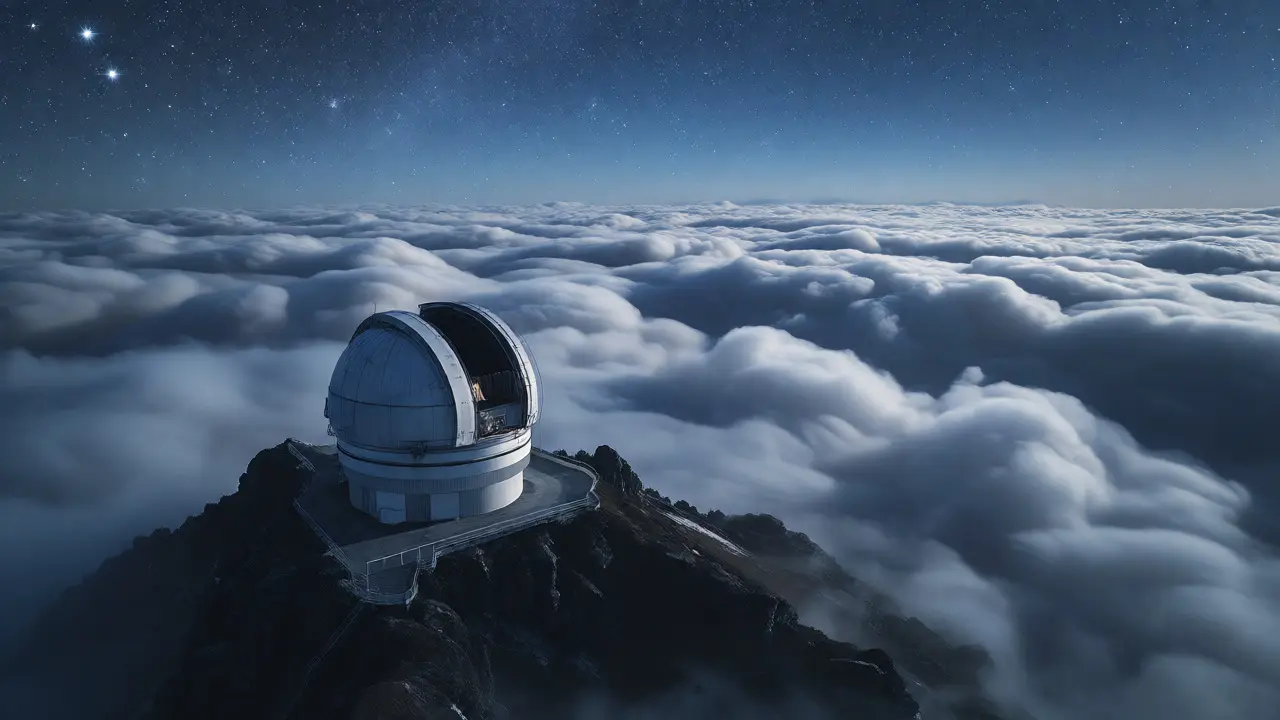
- Elevation: Higher altitude sites put you physically above some of the lower, dustier, and more turbulent air layers. Mountain observatories aren't just there for the views; they are escaping the murk.
- Distance from heat sources: Avoid parking next to idling cars or recently heated driveways.
Timing Your Observation Window
Time of night also plays a role. Early evening often brings unstable air because the ground is still releasing the day's heat. As the night progresses, the ground cools, and the lower atmosphere stabilizes. This is why many experienced amateurs report better seeing after midnight.
However, there is a trade-off. As the night goes on, the targets you want to observe may set below the optimal altitude threshold. This creates a narrow "sweet spot" window. For example, if you want to photograph the Andromeda Galaxy at its best, you need to catch it when it is both high in the sky (above 50°) and late enough in the night that the ground has cooled. Missing this window means settling for subpar data.
Use tools like Clear Outside or AstroBin's visibility charts to overlay altitude limits with cloud cover predictions. Don't just ask "Is it cloudy?" Ask "Will my target be high enough when the sky clears?"
Correcting for Low Altitude
What if your favorite target only gets to 35 degrees? Do you give up? Not necessarily. You can mitigate some effects of the murk layer with equipment choices and processing techniques.
First, use shorter focal lengths. Wide-angle lenses or short-refractor telescopes are less sensitive to atmospheric distortion than long-focal-length reflectors. The blur circle caused by turbulence covers fewer pixels on a wide-field sensor, making the image appear sharper relative to the field size.
Second, rely on lucky imaging or stacking. For planetary work, take thousands of frames and stack only the sharpest 10%. This technique filters out the moments when the atmosphere momentarily stabilized. For deep-sky work, dithering helps, but it won't fix fundamental blurring caused by thick air.
Finally, accept that some nights are just for learning, not for publishing. If the seeing forecast predicts poor conditions, use that time to align your mount, test your guiding, or shoot broad-field landscapes. Save your precious clear nights for targets that will be high overhead.
Practical Checklist for High-Altitude Success
Before you head out, run through this quick audit to ensure you are setting yourself up for success rather than frustration.
- Check Max Altitude: Verify your primary target rises above 45° during your planned session.
- Assess Local Heat: Is your car parked near a warm wall? Move it. Let your telescope cool for at least 30 minutes before observing to avoid tube currents.
- Review Seeing Forecast: Check local meteorological data for wind speed and temperature gradients. High winds usually mean bad seeing.
- Prepare Backup Targets: Have a list of circumpolar objects or high-altitude alternatives ready in case your main target drops too low or seeing deteriorates.
Observing above the murk layer isn't just about picking the right date; it's about respecting the physics of light passing through air. By prioritizing altitude, you reduce the variables working against you. You let the universe speak clearly, rather than shouting through a crowded room. Next time you plan a session, look up-not just at the stars, but at the angle you're viewing them from. That small adjustment could be the difference between a blurry snapshot and a stunning portrait of the cosmos.
Why do stars twinkle more near the horizon?
Stars twinkle due to atmospheric turbulence. Near the horizon, starlight travels through a thicker layer of the atmosphere (higher airmass). This longer path increases the interaction with varying air densities and temperatures, causing greater refraction fluctuations, which we perceive as intense twinkling and blurred images.
What is considered a good seeing condition for astrophotography?
Seeing is measured in arcseconds. Excellent seeing is under 1 arcsecond, average is 1-2 arcseconds, and poor is over 2 arcseconds. For high-resolution planetary imaging, you generally want seeing under 1.5 arcseconds. For deep-sky wide-field imaging, seeing up to 2.5 arcseconds is often acceptable since the focus is on collecting photons rather than resolving tiny details.
Does moonlight affect seeing conditions?
Moonlight affects contrast and background sky brightness, but it does not directly change atmospheric turbulence (seeing). However, a bright moon can make it harder to visually assess seeing conditions because the glare washes out the subtle blurring of stars. You can still observe during a full moon if you use narrowband filters, but the physical quality of the air remains independent of lunar phase.
How does elevation help with observing?
Higher elevation places your telescope physically higher in the atmosphere, reducing the total amount of air (and dust/water vapor) between you and the stars. It also often places you above the lowest, most turbulent boundary layer caused by ground heating. This results in clearer, steadier images, provided the mountain itself doesn't generate its own thermal turbulence.
Can I improve seeing by waiting longer after sunset?
Yes, often. Immediately after sunset, the ground is still radiating heat absorbed during the day, creating rising warm air columns (thermal plumes) that disturb the view. As the night progresses, the ground cools, and the lower atmosphere stabilizes. Waiting until an hour or two after sunset can significantly improve visual and photographic results.