31 Aug 2026
- 0 Comments
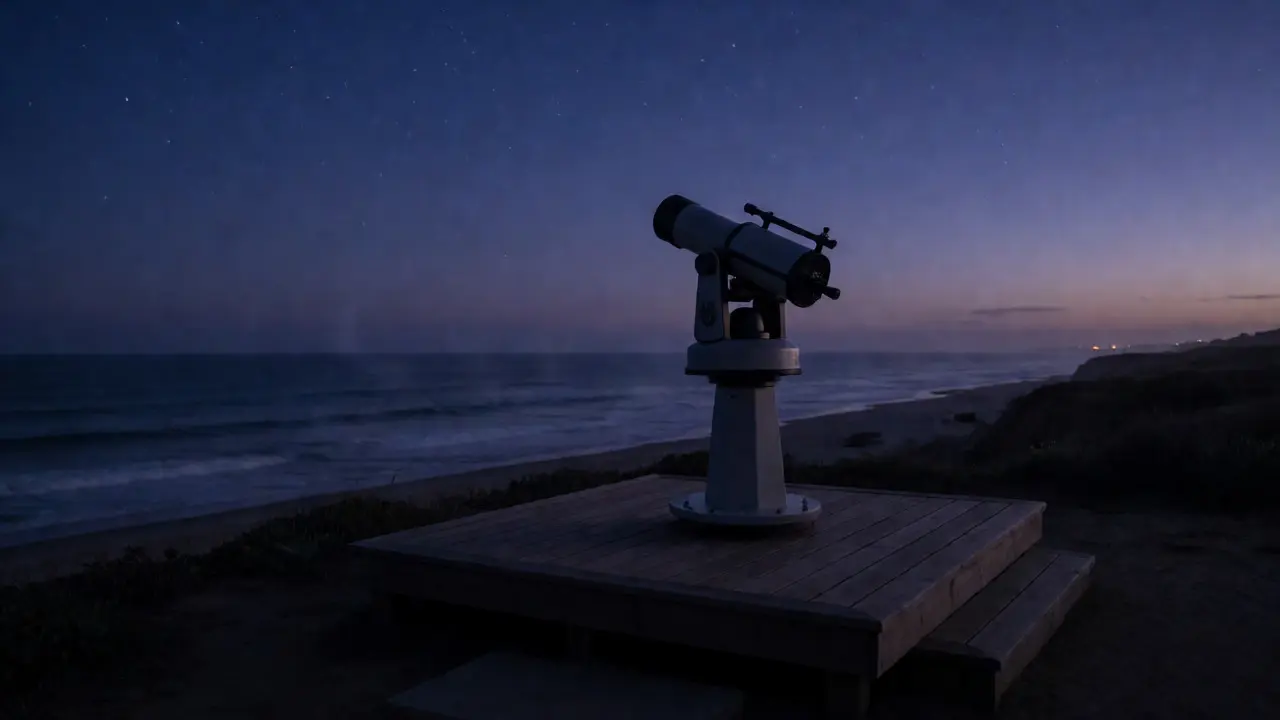
You know that feeling. You've set up your telescope on the beach or a coastal cliff, waiting for Jupiter to rise above the horizon. The planet looks huge in your eyepiece, but it's boiling. The edges are wavy, the bands are smeared, and the Great Red Spot is just a blurry pink smudge. You check your collimation. You check your focus. Everything seems fine. But the image is still garbage.
It’s not your gear. It’s the air. Specifically, it’s atmospheric turbulence, which includes phenomena like astronomical mirage and low-altitude distortion caused by thermal gradients near the ground. For coastal observers, this is the enemy. But here’s the good news: you can beat it. You don’t need a $10,000 mount or a new primary mirror. You need to understand how heat moves over water and land, and you need to change when and where you look.
Why Coastal Air Ruins Your Views
Let’s get the physics out of the way quickly, because understanding the "why" helps you fix the "how." Starlight travels through space in straight lines. When it hits Earth’s atmosphere, it passes through layers of air with different temperatures and densities. Warm air is less dense than cool air. Light bends when it moves between these layers-a process called refraction.
In stable conditions, this bending is uniform. The star shifts slightly higher in the sky (refraction), but the image stays sharp. In unstable conditions, the temperature changes rapidly and randomly over small distances. This creates turbulent cells of air that act like bad lenses. They magnify, shrink, shift, and blur the image constantly. This is what astronomers call "bad seeing."
Coasts are notorious for bad seeing at low altitudes because of two main factors:
- Thermal Contrast: Water has a high heat capacity. It heats up and cools down much slower than land. During the day, the land gets hot while the ocean stays cool. At night, the land cools faster than the water. This difference creates constant wind and mixing layers right at the surface.
- Surface Turbulence: Even if there’s no wind, the ground radiates heat upward after sunset. This rising column of warm air (thermal plumes) distorts light coming from objects near the horizon. If you’re standing on sand or asphalt, you’re looking through a furnace exhaust pipe.
When you observe planets low in the sky, their light must pass through a thicker slice of this chaotic lower atmosphere. The longer the path, the more turbulence it encounters. That’s why Jupiter looks terrible at 20 degrees altitude but crisp at 60 degrees.
The Mirage Effect: What It Looks Like
Mirage isn’t just a desert trick. In astronomy, we see specific types of mirages that mimic or worsen distortion. Recognizing them helps you decide whether to keep observing or pack up.
Inferior Mirage: This happens when the ground is hotter than the air above it. Light rays curve upward away from the hot surface. To an observer, objects appear lifted or reflected below themselves. On a hot beach, you might see the base of a distant ship or a planet seem to dance or stretch vertically. This adds vertical stretching artifacts to your planetary images.
Superior Mirage: This occurs when cold air lies near the surface, trapping warmer air above. Light curves downward. Objects appear elevated or inverted above their true position. This is common in early morning over cold water. It can make planets look like they’re floating higher than they actually are, sometimes doubling the image.
Fata Morgana: A complex stack of alternating mirages. It causes extreme warping, making round planets look like squashed ovals or jagged shapes. If your Mars looks like a twisted pretzel, you’re likely dealing with Fata Morgana effects near the horizon.
| Phenomenon | Cause | Visual Symptom | Best Time to Avoid |
|---|---|---|---|
| Turbulence | Rapid temp mixing | Boiling, shaking image | Midday to early evening |
| Inferior Mirage | Hot ground, cool air | Vertical stretching, reflections | Summer nights, sandy sites |
| Superior Mirage | Cold ground, warm air | Elevation, inversion | Early morning, winter |
| Airmass Extinction | Long atmospheric path | Dimming, reddening | Always at low altitude |
Timing Is Everything: The Golden Window
If you want sharp planetary views from the coast, stop trying to catch them as soon as they rise. Patience pays off. The best time to observe low-altitude targets is often not immediately after sunset, but several hours later.
Here’s why: After sunset, the land continues to radiate heat stored during the day. This keeps the boundary layer of air turbulent for hours. However, around 2-4 AM, the land has cooled significantly. The temperature gradient between the ground and the air stabilizes. The thermal plumes die down. The air becomes laminar (smooth flow) rather than turbulent.
This phenomenon is known as the "post-midnight stability window." Many professional observatories schedule their critical planetary imaging sessions late at night for this exact reason. If you’re working a standard 9-to-5 job, try waking up at 3 AM once a week. You’ll be shocked at how much clearer Mars looks compared to 9 PM.
There’s also the "pre-dawn calm." Before sunrise, the air is coldest and most stable. But beware of superior mirages if the water is warmer than the air. Check local weather reports for temperature inversions before committing to a pre-dawn session.
Site Selection: Where to Set Up
Not all coastal spots are created equal. Your choice of location within 100 feet can make or break your viewing experience.
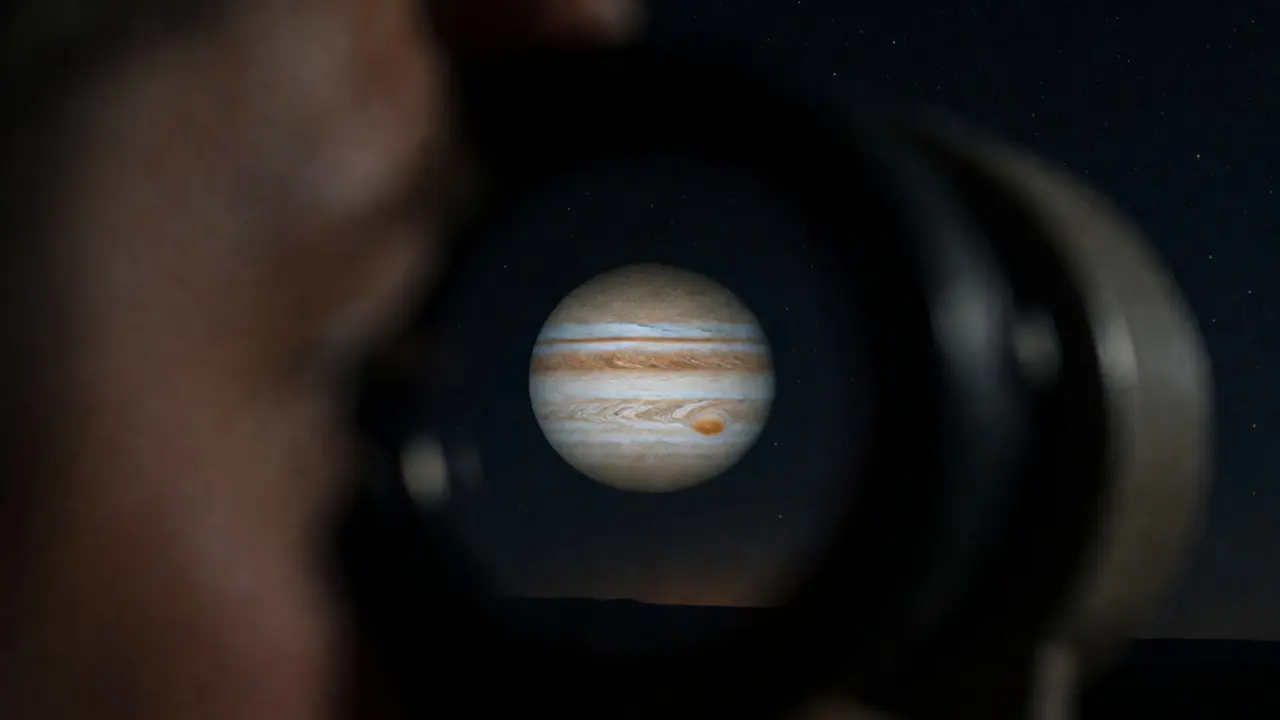
Avoid Sand and Concrete: These materials have low albedo (they absorb heat) and high thermal inertia. They stay hot long after sunset. If you set up on a parking lot or a sandy beach, you’re looking through rising heat waves. Stand on grass, dirt, or wooden decking instead. Grass cools faster and doesn’t radiate heat upward as aggressively.
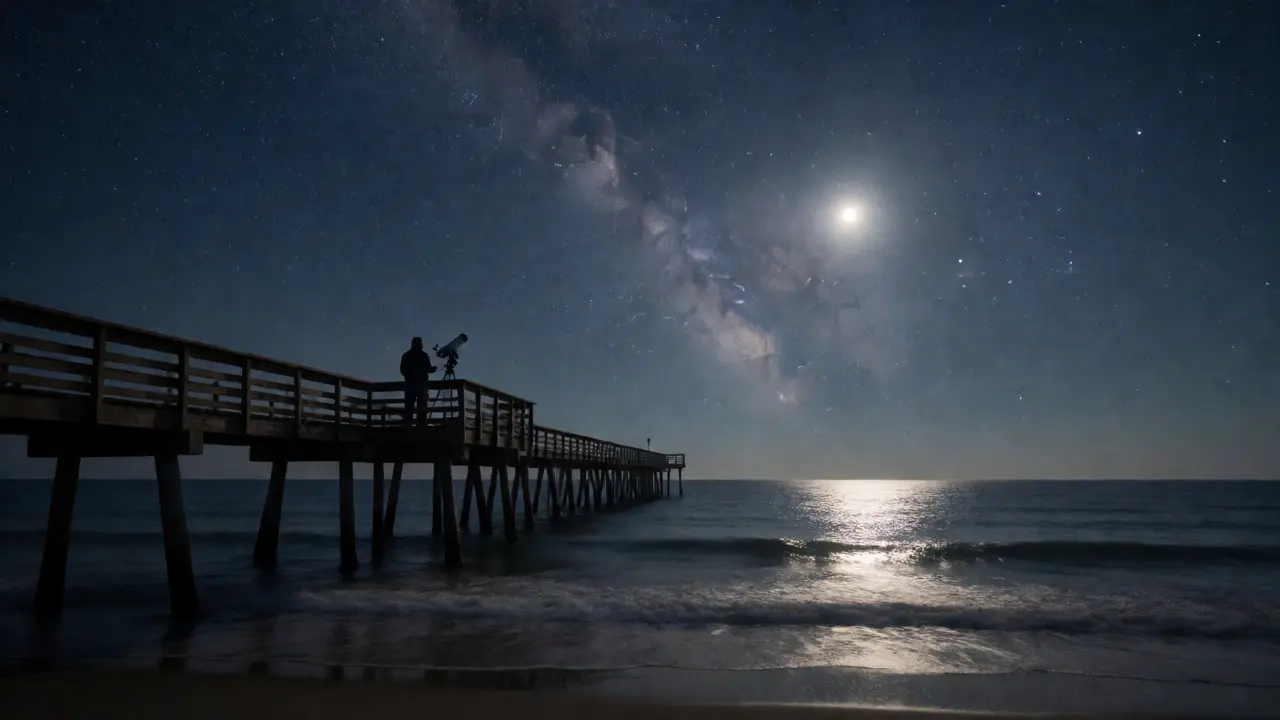
Get Off the Ground: Use a sturdy platform or deck. Elevating yourself 3-6 feet above the ground puts your telescope aperture above the thickest layer of turbulent air. This simple step can improve seeing dramatically. If you’re on a pier, stand in the middle, away from railings that block airflow and trap heat.
Wind Direction Matters: Observe with the wind at your back, not in your face. Wind blowing from land to sea carries heat and dust from the shore toward your optics. Wind blowing from sea to land brings cooler, cleaner air. However, strong winds (>15 mph) cause mechanical vibration in your mount. Aim for a gentle breeze (5-10 mph) from the water.
Shield From Local Heat Sources: Are you near a building? Cars? Streetlights? Radiators? These emit localized heat plumes. Move at least 20 feet away from any structure that was absorbing sunlight all day. A car engine cooling down can ruin a view for 30 minutes.
Equipment Tweaks for Turbulent Air
You can’t control the atmosphere, but you can optimize your gear to cope with it. Here are practical adjustments for coastal observers.
Acclimation Time: Let your telescope sit outside for at least 45-60 minutes before observing. If the tube is warmer than the ambient air, convection currents inside the tube will distort the image. This internal seeing is worse than external turbulence. Remove lens caps early. Use fans on your mirror cell if you have a Newtonian reflector. Cool it down properly.
Focal Length Strategy: High magnification amplifies turbulence. A shaky image at 200x looks like a earthquake at 400x. Start low. Find the moment of stability. If the seeing is poor, drop to 100x. You’ll see more detail than you would at 300x with a blurred image. Only push magnification when the image stops boiling.
Use Filters: Color filters help contrast against atmospheric haze. Haze scatters blue light, reducing contrast on planets. Use a yellow (#80A) or orange (#21) filter on Jupiter and Saturn to cut through the haze. A red filter (#25) works well on Mars. This doesn’t fix turbulence, but it makes features pop against the noisy background.
Barlow Lens Placement: If using a Barlow lens, place it close to the eyepiece, not close to the objective. This minimizes the optical path length inside the turbulent zone if you’re using a long focal ratio scope. Actually, for refractors, keep the train short. Every extra element adds potential aberrations that compound with atmospheric blur.
Techniques to Capture Detail
Visual observing requires patience. Digital imaging requires data management. Here’s how to handle both.
For Visual Observers: The "Eye Relaxation" Trick
Your brain tries to stabilize the image, causing eye strain. Instead, stare at the planet but relax your eyes. Don’t try to focus hard. Look slightly off-center (averted vision) to detect faint details. Wait for moments of clarity-those split-second instances where the image snaps into focus. These happen more frequently than you think. Train yourself to recognize them. Keep your logbook ready to jot down notes only during those clear moments.
For Imagers: Lucky Imaging
Modern webcams and CMOS cameras capture thousands of frames per second. Most are blurry. But some are sharp. Software like AutoStakkert! or RegiStax analyzes each frame, scores its quality based on contrast, and stacks only the top 10-20% of frames. This "lucky imaging" technique effectively bypasses average seeing conditions. It relies on the fact that even in bad seeing, brief moments of good seeing occur.
Derotation: Planets rotate. Jupiter spins every 10 hours. If you’re stacking frames over 10 minutes, the features move. Use software that corrects for rotation. Otherwise, you’ll smear the details you worked so hard to capture.
Weather Forecasting for Seeing
Don’t just check cloud cover. Check "seeing forecasts." Sites like Astro-Seek or Clear Outside provide metrics like:
- Seeing Index: Predicted arcseconds of blur (lower is better).
- Transparency: How much haze/dust is present.
- Sky Brightness: Light pollution levels.
Look for days with high pressure systems. High pressure usually means sinking air, which suppresses convection and leads to stable skies. Low pressure systems bring instability and clouds. Also, watch the jet stream. A strong jet stream overhead can indicate upper-atmosphere turbulence, which ruins high-altitude stars too.
Real-World Example: Observing Jupiter from a California Coast
Imagine it’s July. You’re in Santa Barbara. Sunset is at 8:00 PM. Jupiter rises at 10:00 PM at 15 degrees altitude. If you set up at 9:30 PM, the land is still radiating heat. The air is choppy. Jupiter looks like a disco ball-shimmering, undefined.
Instead, go home. Eat dinner. Sleep. Wake up at 2:30 AM. Jupiter is now at 45 degrees altitude. The land has cooled. The sea breeze is steady but gentle. You set up on a wooden deck, 4 feet off the ground. You let the scope acclimate for 45 minutes. At 3:15 AM, you look through a 10mm eyepiece. The image is rock solid. You can see the festoons and the shadow of Io transiting the disc. That’s the power of timing and site selection.
Key Takeaways
- Altitude is King: Wait until planets are at least 30-40 degrees above the horizon. The extra wait is worth the clarity.
- Time of Night: Late night (2-4 AM) offers the most stable air due to land cooling.
- Ground Cover: Avoid sand and concrete. Use grass or elevated decks.
- Acclimation: Cool your telescope thoroughly to eliminate internal seeing.
- Patience: Watch for moments of stability rather than staring continuously.
Why do planets look blurry near the horizon?
Light from low-altitude objects passes through a thicker layer of Earth's atmosphere, specifically the turbulent boundary layer near the ground. Temperature differences between the ground and air cause refraction fluctuations, leading to blurring, shaking, and color fringing.
Does wind help or hurt planetary viewing?
Gentle wind (5-10 mph) helps by mixing air layers and dissipating heat plumes, improving stability. Strong wind (>15 mph) hurts by vibrating the telescope mount and introducing mechanical shake. Ideally, have a steady breeze from the water toward you.
Can I use a fan to reduce seeing issues?
Yes, but carefully. Fans on the primary mirror help cool the glass, reducing internal convection currents. However, pointing a fan directly at the open end of the tube can introduce turbulence. Use fans to equalize temperature, not to blow air across the optical path.
What is the best time of year for coastal observing?
Winter generally offers better seeing than summer because the land-air temperature differential is smaller and the air is drier. Summer nights often have stronger thermal turbulence due to daytime heating. However, winter brings more moisture/haze, so balance seeing with transparency.
How does humidity affect planetary views?
High humidity reduces contrast by scattering light (haze). It also slows the cooling of your telescope equipment. While humidity doesn't cause turbulence directly, it often accompanies stable, high-pressure systems which *can* have good seeing, provided the dew point isn't reached and optics aren't fogging.