9 Sep 2026
- 0 Comments
You know that feeling when you're trying to spot the faint arms of a galaxy, but everything looks like a blurry gray smudge? Or maybe the image is so dark you feel like you're staring into a void? Before you blame your eyes or buy a more expensive eyepiece, check your math. Specifically, check your exit pupil. It’s not just some obscure number in a manual; it’s the single most critical factor determining whether your night sky viewing feels effortless or exhausting.
The exit pupil is essentially the diameter of the beam of light leaving your eyepiece and entering your eye. If this beam is too small, your vision becomes sensitive to every tiny flaw in the atmosphere and your own eyeball. If it’s too big, you’re wasting light because your pupil can’t physically take it all in. Finding the right balance transforms a frustrating hobby into a relaxing experience. Let’s break down how to calculate it, why it matters, and how to use an exit pupil calculator logic in your head to pick the perfect setup for tonight’s target.
What Exactly Is the Exit Pupil?
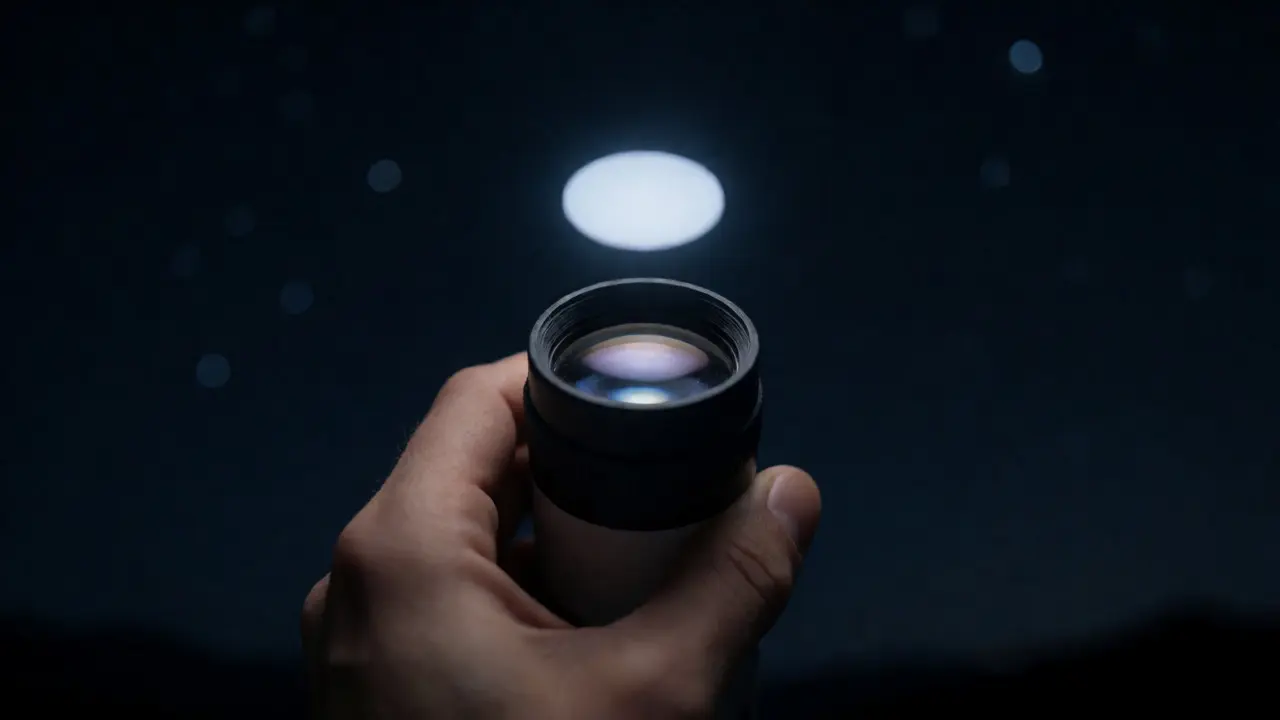
To understand the exit pupil, you have to think about how telescopes work. A telescope gathers light with its main mirror or lens (the objective) and funnels it toward a focal point. The eyepiece then takes that concentrated bundle of light and projects it outward as a cylinder of parallel rays. This cylinder is the exit pupil.
Imagine shining a flashlight through a tube. At the end of the tube, there’s a bright circle of light. That circle’s width is the exit pupil. When you look through an eyepiece, you should see a bright disk floating above the glass if you hold the eyepiece at arm’s length. The size of that disk determines how much of your eye’s pupil you are actually using.
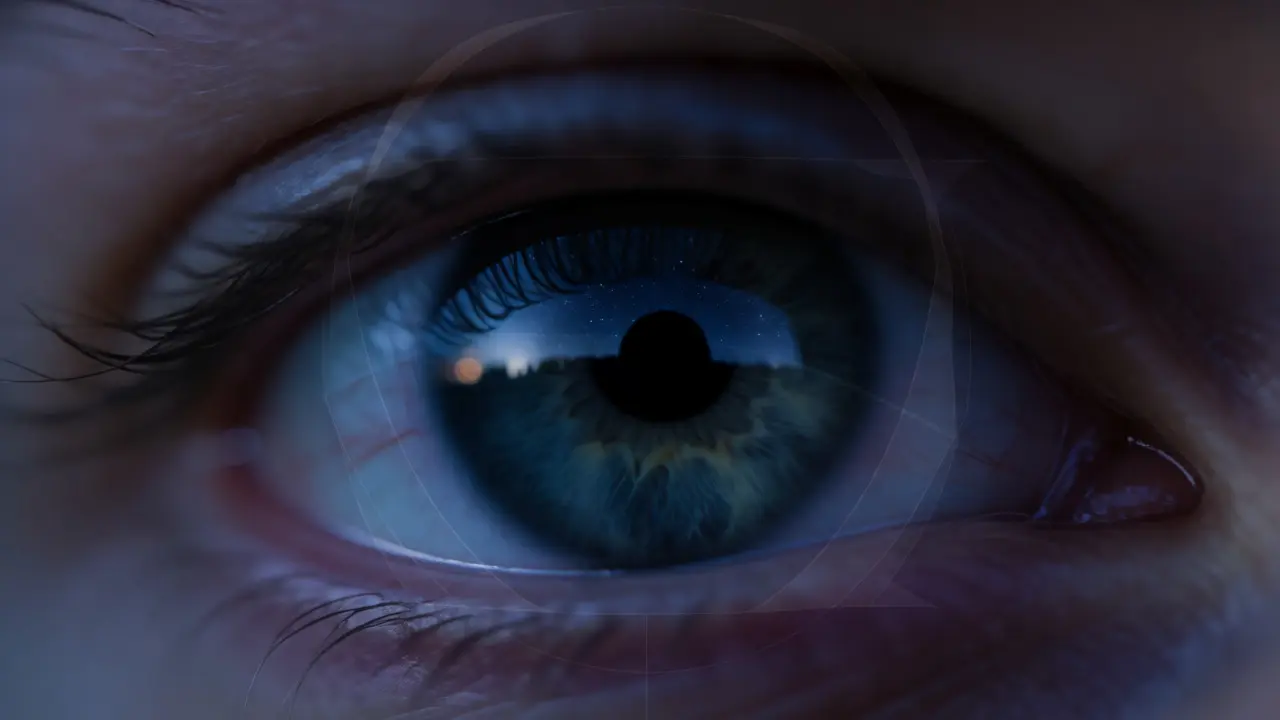
Your human eye has a variable aperture called the pupil. In daylight, it might shrink to 2mm or 3mm. In complete darkness, after your eyes have adapted for 30 minutes, it can dilate up to 7mm or even 8mm in younger observers. As we age, our maximum dilation decreases. A 50-year-old might only open to 5mm. This biological limit dictates what exit pupil sizes are actually useful for you.
The Simple Math Behind the Magic
You don’t need a complex computer program to find this number. The formula is basic division. To calculate the exit pupil, divide the aperture of your telescope by the magnification you are using.
- Aperture: The diameter of your telescope’s main mirror or lens, usually in millimeters (e.g., 100mm, 8 inches which is ~200mm).
- Magnification: How many times larger the object appears compared to naked-eye view.
Here is the formula:
Exit Pupil = Aperture / Magnification
But wait, you rarely know the exact magnification offhand. You usually know your eyepiece focal length. So, here is the practical version used by astronomers worldwide:
Exit Pupil = Focal Length of Eyepiece / Focal Ratio of Telescope
Focal ratio (f-number) is just the telescope’s focal length divided by its aperture. For example, an 8-inch f/6 telescope has a focal length of 1200mm. If you use a 25mm eyepiece, the calculation is simple: 25mm / 6 = 4.16mm exit pupil. Easy, right?
Why Size Matters: The Goldilocks Zone
Not all exit pupils are created equal. There is a sweet spot for different types of observing. If you get it wrong, you lose detail, contrast, or field of view.
| Exit Pupil Size | Best For | Visual Experience | Risks |
|---|---|---|---|
| > 7mm | Deep Sky Objects (Galaxies, Nebulae) | Bright, wide field, easy to find targets | Wasted light (if > eye pupil); central obstruction visible |
| 4mm - 7mm | General Deep Sky & Clusters | Good balance of brightness and detail | Minimal; generally very comfortable |
| 2mm - 4mm | Planets, Moon, Double Stars | High detail, sharper edges | Image gets darker; sensitive to seeing conditions |
| < 2mm | Extreme Planetary Detail | Maximum resolution potential | Very dim; diffraction spikes obvious; shaky hand ruins view |
Let’s talk about the "wasted light" issue first. If you have a 100mm refractor and you use a low-power eyepiece that creates a 9mm exit pupil, but your eye only opens to 7mm, you are throwing away light. The extra 2mm ring of light misses your retina entirely. This is especially common with large Dobsonian telescopes where people use ultra-wide eyepieces hoping for a "spacewalk" effect. Sometimes, you’re just looking at a bigger black border around a slightly smaller bright circle.
On the flip side, going too small hurts. An exit pupil under 1mm makes the image incredibly dim. You’ll struggle to see anything other than the brightest stars and planets. Plus, at high magnifications, atmospheric turbulence (seeing) blurs the image significantly. No amount of aperture can fix bad air.
Matching Exit Pupil to Your Eye’s Age
This is the part most beginners miss. Your equipment isn’t static; your body changes. If you are 20 years old, your pupils might dilate to 7.5mm. You can benefit from a 7mm exit pupil. It will feel bright and immersive.
If you are 60, your maximum dilation might be 5mm. Using a 7mm exit pupil won’t make the image brighter than a 5mm one. It just means you are carrying around extra weight in your eyepiece case for no gain. In fact, older observers often prefer slightly higher magnifications (smaller exit pupils) because their eyes resolve less detail anyway, and the increased contrast helps them see planetary bands better.
A quick rule of thumb: Start with an exit pupil matching your estimated max pupil dilation. If you aren’t sure, test it. Go outside on a moonless night. Look at a distant streetlight through a pinhole card held close to your eye. Or better yet, use a smartphone camera in video mode with macro focus to photograph your own eye while looking at a bright screen. Measure the pupil diameter in pixels relative to your iris. It’s not lab-grade precision, but it gives you a ballpark figure to aim for.
Practical Scenarios: Choosing the Right Eyepiece
Let’s apply this to real gear. Suppose you own a popular 8-inch f/5 Newtonian reflector. Its aperture is 203mm. Here is how different eyepieces perform.
Scenario 1: Hunting Faint Galaxies
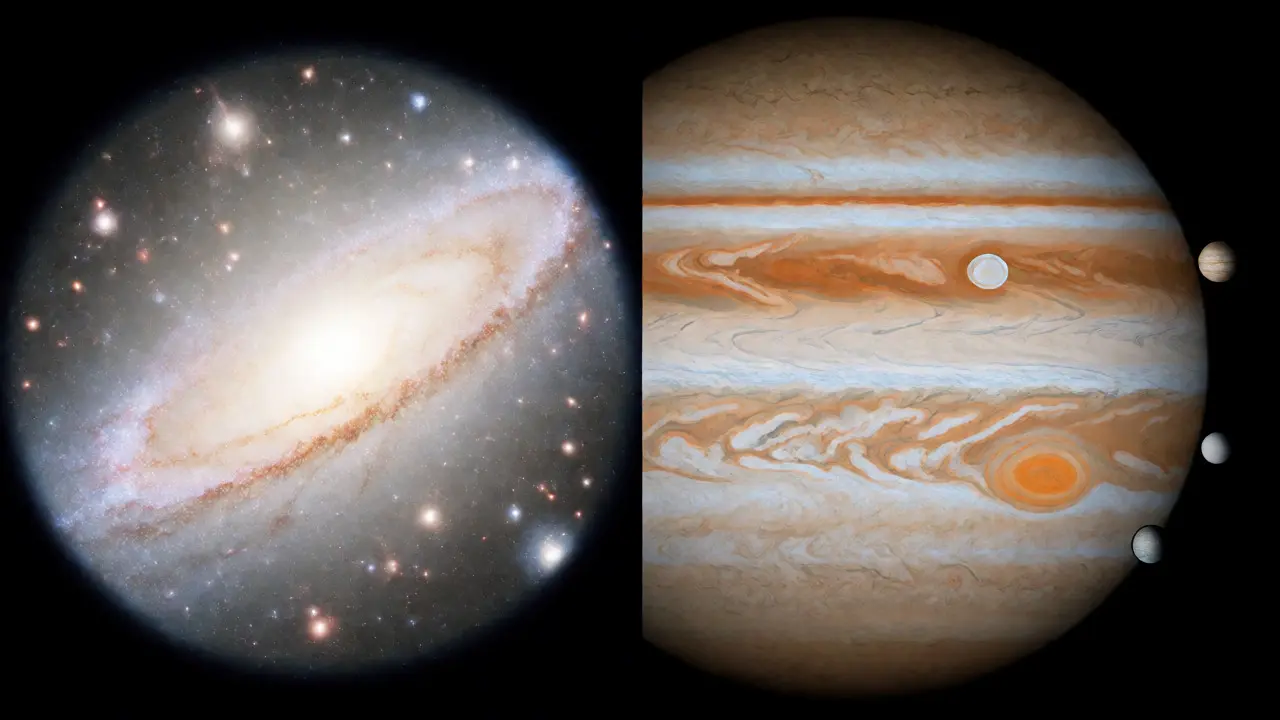
You want to see M51, the Whirlpool Galaxy. It’s surface-brightness limited, meaning it’s spread out and faint. You need brightness. Aim for a 5-6mm exit pupil.
Calculation: 203mm aperture / 6mm exit pupil = ~34x magnification.
Eyepiece needed: 34x magnification * f/5 focal ratio = ~170mm focal length? No, that’s wrong. Wait. Magnification = Focal Length Telescope / Focal Length Eyepiece.
So, 203 / 6 = 33.8x Magnification.
Focal Length Eyepiece = 1015mm (Telescope FL) / 33.8 = 30mm.
Use a 30mm or 32mm eyepiece. This gives you a wide, bright view. Perfect for scanning the sky.
Scenario 2: Viewing Jupiter’s Clouds
Jupiter needs contrast and resolution. You want a 2mm exit pupil.
Calculation: 203mm / 2mm = 101.5x Magnification.
Eyepiece needed: 1015mm / 101.5 = 10mm.
Use a 10mm eyepiece. The image will be sharp, though slightly dimmer than the 30mm view. But the details on Jupiter’s belts will pop.
Scenario 3: The "Too Much" Mistake
You try a 5mm eyepiece on that same 8-inch scope.
Magnification: 1015 / 5 = 203x.
Exit Pupil: 203 / 203 = 1mm.
This is pushing the limits. On a night with average seeing, the image will boil and shimmer. It’s often better to back off to a 12mm or 15mm eyepiece (approx 1.5-2mm exit pupil) unless the air is crystal clear.
Common Pitfalls and Pro Tips
One major pitfall is ignoring the central obstruction in reflectors. In a Newtonian telescope, the secondary mirror blocks some light from the center of the aperture. This reduces contrast, especially at low magnifications (large exit pupils). If you have a fast f/4 scope with a large secondary, a 7mm exit pupil might show a noticeable gray halo around bright stars. Switching to a 4mm or 5mm exit pupil often cleans up the background sky color, making nebulae stand out more against the darkness.
Another tip: Don’t obsess over exact numbers. Optics aren’t perfect. Coatings absorb light. Glass quality varies. Treat these calculations as guidelines, not laws. If a 25mm eyepiece gives you a 4.2mm exit pupil on your f/6 scope, and it looks great, keep using it. Don’t switch to a 24mm just to hit exactly 4.0mm.
Also, remember that Barlow lenses change the game. Adding a 2x Barlow doubles your magnification, which halves your exit pupil. If you have a 20mm eyepiece giving you a 5mm exit pupil, adding a 2x Barlow turns it into a 2.5mm exit pupil. This is a cheap way to double your eyepiece collection without buying new ones. Just be careful not to push the exit pupil below 1mm.
How to Use an Exit Pupil Calculator Tool
While mental math works, digital tools help when comparing multiple scopes or planning purchases. Many online calculators ask for three inputs: Aperture, Focal Length, and Eyepiece Focal Length. They output Magnification and Exit Pupil.
When using these tools, look for features that let you input your "Max Pupil Dilation." Some advanced simulators will warn you if your chosen combination exceeds your eye’s capability. They might also estimate "True Field of View" based on the apparent field of view (AFOV) of the eyepiece. Remember, a wider AFOV doesn’t change the exit pupil size, but it does change the immersion factor. A 100-degree AFOV eyepiece with a 4mm exit pupil feels like looking through a window; a 50-degree AFOV with the same exit pupil feels like looking through a keyhole.
Ultimately, the best exit pupil is the one that lets you see the most detail comfortably. For deep-sky objects, err on the side of larger exit pupils (4-6mm). For planets, go smaller (1-2mm). Adjust based on atmospheric conditions. If the stars twinkle violently, increase your exit pupil (lower magnification). If the sky is dead calm, decrease it (raise magnification). Master this dynamic adjustment, and your telescope will feel twice as powerful.
Is a larger exit pupil always better?
No. While a larger exit pupil provides a brighter image, if it exceeds your eye’s maximum pupil dilation (usually 5-7mm), you waste light. Additionally, in reflector telescopes, very large exit pupils can reveal the shadow of the secondary mirror, reducing contrast. There is a trade-off between brightness and contrast.
What is the minimum useful exit pupil?
Generally, an exit pupil below 1mm is considered too dim for most visual observing. At this level, the image becomes difficult to see clearly, and atmospheric turbulence (bad seeing) heavily degrades the view. Most astronomers consider 1mm to 2mm the lower limit for usable planetary views.
Does exit pupil affect field of view?
Not directly. The True Field of View (TFOV) is determined by the Apparent Field of View (AFOV) of the eyepiece divided by the magnification. However, since exit pupil is inversely proportional to magnification, changing your eyepiece to change the exit pupil will also change the TFOV. Lower magnification (larger exit pupil) yields a wider true field.
How do I measure my eye’s maximum pupil dilation?
Go outside on a dark night after letting your eyes adapt for 30 minutes. Have a friend take a close-up photo of your eye using a smartphone flash or a dim light source. Alternatively, use a ruler and a mirror in dim light. Compare the pupil size to standard millimeter markings. Younger adults typically range from 6-8mm, while older adults may range from 4-6mm.
Can I use a Barlow lens to adjust exit pupil?
Yes. A Barlow lens increases magnification, which decreases the exit pupil. A 2x Barlow halves the exit pupil. This allows you to reach higher magnifications (smaller exit pupils) using your existing low-power eyepieces, effectively doubling your set’s utility.