17 Aug 2026
- 0 Comments
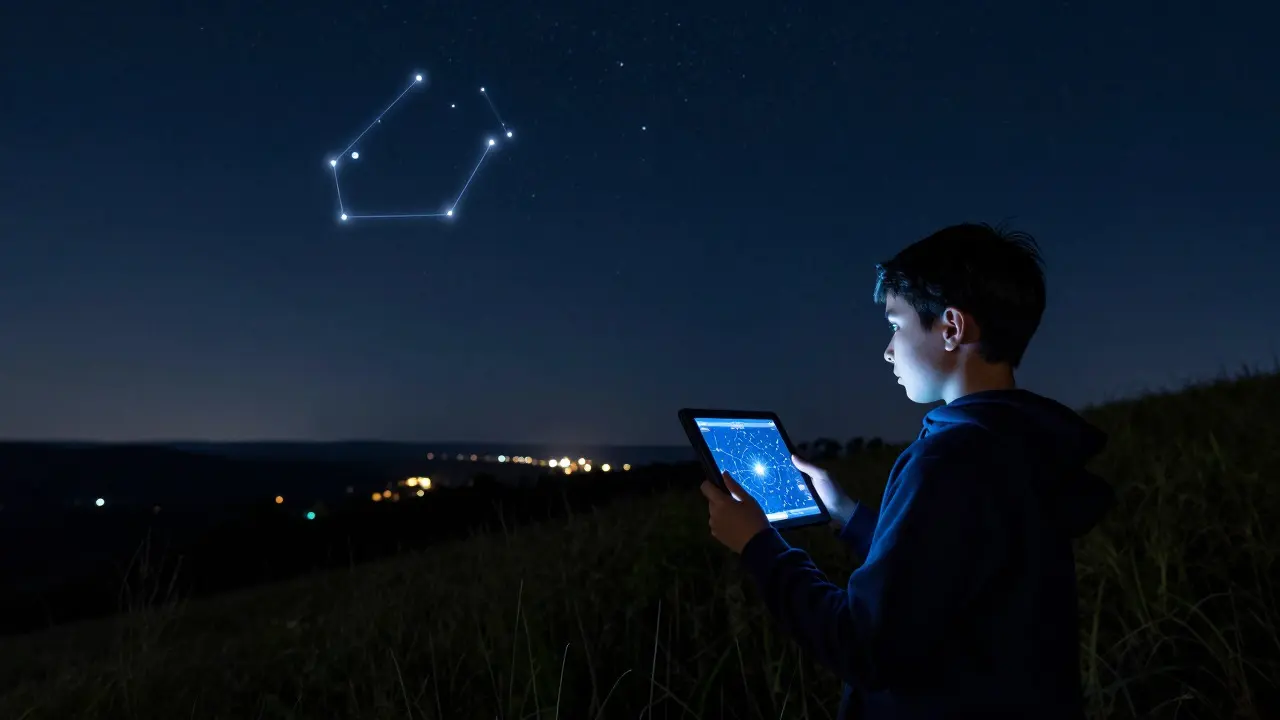
Nothing kills a stargazing session faster than looking up at the night sky and realizing your Star Simulator is showing constellations that don't match reality. You see Orion in the app, but it’s nowhere to be found overhead. Or worse, the Moon is on the opposite side of the sky from where you know it to be. For beginners, this disconnect can feel like the software is broken or that they have made a catastrophic mistake in their setup.
The good news is that simulators are rarely "wrong." They are mathematical models based on precise data. When the display doesn't match your eyes, it is almost always a configuration issue with how you have told the software where and when you are. This guide walks through the four most common reasons why your star chart disagrees with the real world and how to fix them quickly.
The Time Zone Trap
The single most frequent cause of misaligned star fields is an incorrect Time Zone setting. Simulators calculate the position of celestial objects based on Universal Time (UT). If your local time input is off by even one hour, the entire sky rotates by 15 degrees. That is roughly the width of the full Moon times two. It is enough to move Jupiter from the horizon to high overhead, or vice versa.
Many users assume that because their phone or computer shows the correct local time, the simulator will automatically inherit this. While modern apps often sync with device clocks, desktop software or web-based tools sometimes default to UTC or require manual selection. Check your settings menu specifically for a "Time Zone" or "Local Offset" field. Ensure it matches your current location exactly, including any daylight saving adjustments if applicable in your region. A simple test: set the simulator to the exact moment you are reading this. Does the Sun appear in the correct part of the sky? If it is daytime and the Sun is hidden, your time offset is likely wrong.
Location Accuracy Matters
Closely related to time is Geographic Location. The sky looks different depending on whether you are in London or Los Angeles. Latitude determines which stars rise above the horizon, while longitude affects the timing of their transit. If you are using a simulator on a laptop away from home, or if you recently moved, double-check the coordinates entered into the software.
For handheld devices, GPS usually handles this automatically. However, if you are using Wi-Fi positioning instead of GPS, the accuracy can drop significantly. In urban canyons or indoors, your device might place you several kilometers away. This small error can shift the apparent position of stars near the horizon. To verify, manually enter your city name or use a known landmark. Compare the altitude of Polaris (the North Star) in the simulator to its actual height above the northern horizon. They should be nearly identical. If Polaris is at 40 degrees in the app but looks like 35 degrees to you, your latitude input is slightly off.
Orientation and Compass Errors
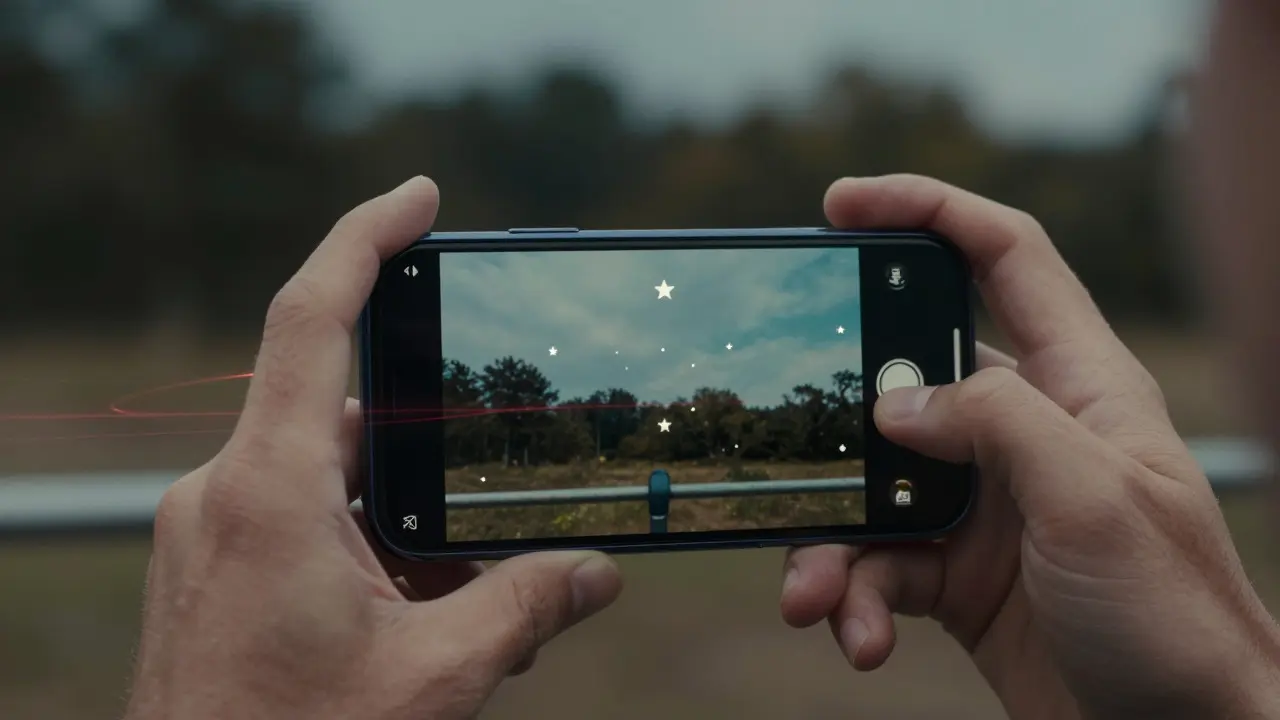
If you are using a smartphone or tablet with an augmented reality (AR) mode, the issue might not be what is displayed, but how the device interprets direction. AR features rely on the Magnetic Compass to align the digital sky with the physical world. Modern phones have sensitive magnetometers that can be easily confused by nearby magnetic fields.
Metal tables, steel-framed furniture, car keys, or even the internal speakers of your own phone can distort the compass reading. If the stars seem rotated relative to the horizon, try moving away from large metal objects. Perform a figure-eight motion with your phone to recalibrate the sensor. Some apps also offer a manual calibration screen where you can align the top of the screen with True North. Using a physical compass or knowing the direction of the Sun during the day can help you set this baseline accurately. Remember, magnetic north is not true north; there is a difference called declination. Most quality simulators account for this automatically, but older or simpler apps might not, leading to a slight rotational offset.
Date and Daylight Saving Shifts
A subtle but persistent problem occurs around the transition periods for Daylight Saving Time. When clocks spring forward or fall back, the relationship between civil time and astronomical time shifts. If your simulator does not automatically update for these changes, or if you have set the date manually without adjusting for the time change, the sky will be offset by one hour.
This is particularly confusing for beginners who notice the discrepancy only after the change has occurred. For example, if you set up your observation plan in March and then observe in April without updating the time zone setting, your charts will be wrong. Always verify the current date and time in the simulator before starting an observation session. A quick sanity check is to look at the phase of the Moon. The simulator should show the same illuminated portion as what you see in the sky. If the Moon is waxing gibbous in the app but appears as a thin crescent in reality, your date or time is likely set incorrectly.
Comparison of Common Errors and Fixes
| Symptom | Likely Cause | Quick Fix |
|---|---|---|
| Stars shifted east/west | Wrong Time Zone or Date | Check local time offset and DST status |
| Missing Northern/Southern stars | Incorrect Latitude | Verify geographic coordinates against a map |
| Sky rotated/skewed | Compass Interference | Recalibrate magnetometer; move away from metal |
| Moon phase mismatch | Wrong Date | Sync device clock or manually set correct date |
Verifying Your Setup
Before heading out to a dark site, perform a 30-second verification routine. Open your simulator and identify three bright objects visible right now: the brightest planet, the Moon, and a prominent constellation. Point your device or head toward each one. If the simulator places them within a few degrees of their actual positions, your setup is solid. If they are far off, work backward through the list above. Start with time, then location, then orientation. Once aligned, trust the tool. It will guide you to fainter objects that are invisible to the naked eye, making the difference between frustration and discovery.
Frequently Asked Questions
Why do my stars look rotated compared to the real sky?
This is usually caused by compass interference or incorrect magnetic declination settings. Move away from metal objects and recalibrate your device's magnetometer. If using a manual setting, ensure you are pointing the top of your screen toward True North, not Magnetic North.
Does light pollution affect the simulator's accuracy?
No, light pollution affects what you can see with your eyes, not the mathematical model. However, some advanced simulators allow you to adjust the "limiting magnitude" to hide stars that would be washed out by city lights, helping you focus on what is actually visible from your specific location.
What if I am traveling across time zones?
Always update your location and time zone settings upon arrival. Do not rely on the previous day's settings. The sky moves 15 degrees per hour, so a cross-country flight can completely change the view. Sync your device clock to the local network or GPS immediately after landing.
Can weather conditions mess up the star positions?
Weather does not change the position of stars, but atmospheric refraction can make them appear slightly higher than their true geometric position, especially near the horizon. Most simulators account for average refraction, but extreme temperature inversions can cause minor visual discrepancies that are normal and expected.
Which is more important: accurate time or accurate location?
Accurate time is generally more critical for identifying specific objects because the sky rotates constantly. An error in time shifts all objects horizontally. An error in location shifts the entire coordinate system vertically and horizontally. If you must choose one to prioritize, get the time right first, then refine your location coordinates.