7 Sep 2026
- 0 Comments
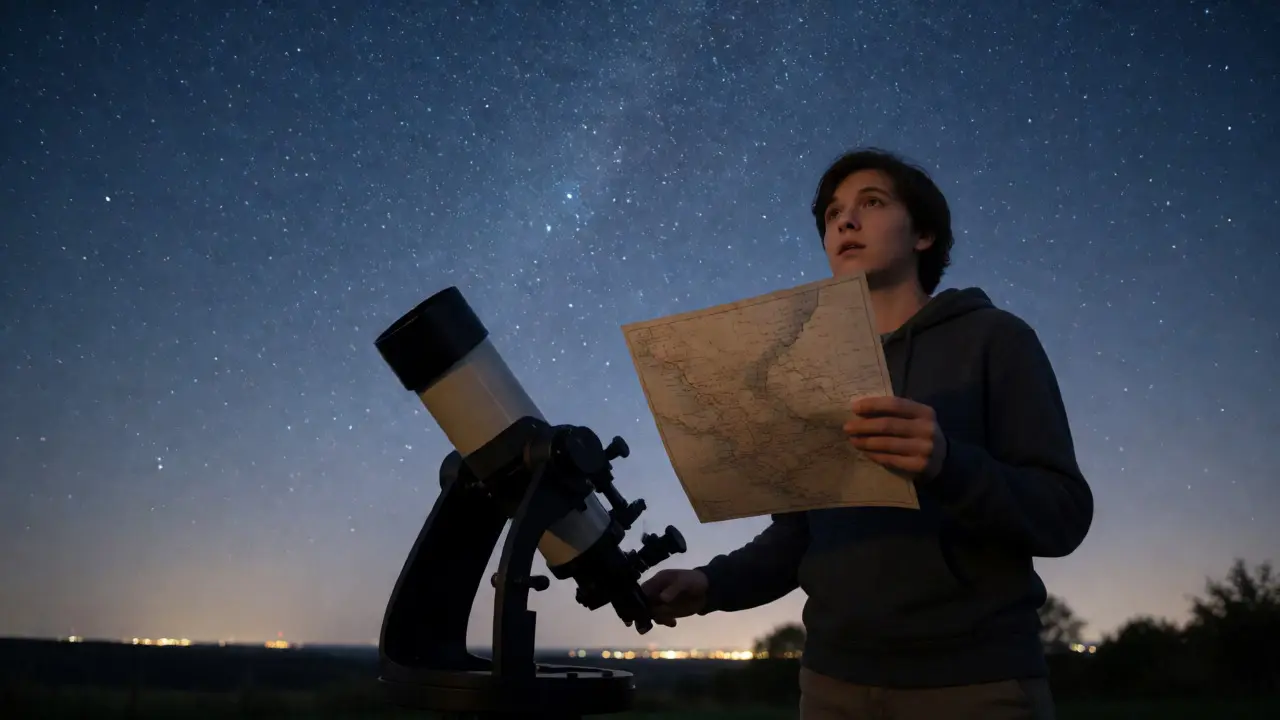
You just bought your first telescope. It’s beautiful, the optics are crisp, and you can’t wait to see Saturn’s rings or the Orion Nebula. But then reality hits: your sky is a blur of stars, and without a computerized GoTo mount, you feel completely lost. This is where the Star Hopping Technique comes in. It is a method of navigating the night sky by using bright, easily identifiable stars as landmarks to locate fainter deep-sky objects (DSOs). Think of it like driving with a paper map instead of GPS-you need to know where you are before you can figure out where you’re going.
| Concept | Definition | Why It Matters |
|---|---|---|
| Landmark Stars | Bright, naked-eye visible stars used as starting points. | They provide stable reference points that don't move relative to each other. |
| Field of View (FOV) | The area of the sky visible through the eyepiece. | Determines how many hops are needed; wider FOV makes hopping easier. |
| Sky Charts | Maps showing star positions and DSO locations. | Essential for planning the route between stars. |
| Apparent Magnitude | A measure of brightness of an astronomical object. | Helps identify which stars are "bright enough" to use as guides. |
Why Skip the Computer?
Modern telescopes with GoTo mounts are convenient, sure. You press a button, and the telescope slews to the target. But relying solely on technology has downsides. Batteries die. Motors fail. And more importantly, you miss the journey. When you manually navigate, you learn the constellations. You start recognizing patterns. You notice that M42 (the Orion Nebula) isn't just a blob; it's right below the middle star of Orion's Belt. This knowledge sticks. Plus, there’s a raw satisfaction in finding a faint galaxy because you tracked it down star-by-star, not because a motor did the work for you.
Gathering Your Toolkit
You don’t need fancy gear to start. In fact, simpler is often better. First, you need a reliable Sky Chart. While apps like Stellarium or SkySafari are great for planning at home, nothing beats a physical chart under red light. Paper charts don’t run out of battery, and they show the whole sky at once, helping you understand the bigger picture. If you must use a phone, ensure it has a red-light mode to preserve your night vision.
Next, consider your Finder Scope. A traditional optical finder scope is ideal for beginners because it shows a wide field of view. Red dot finders are popular, but they can be tricky if you aren't used to aligning them perfectly. For star hopping, seeing multiple stars in the finder helps confirm you’re looking at the right cluster. Finally, have a laser pointer handy-not to point at planets (you won’t see the beam), but to help others spot what you’ve found.
Mastering the Field of View
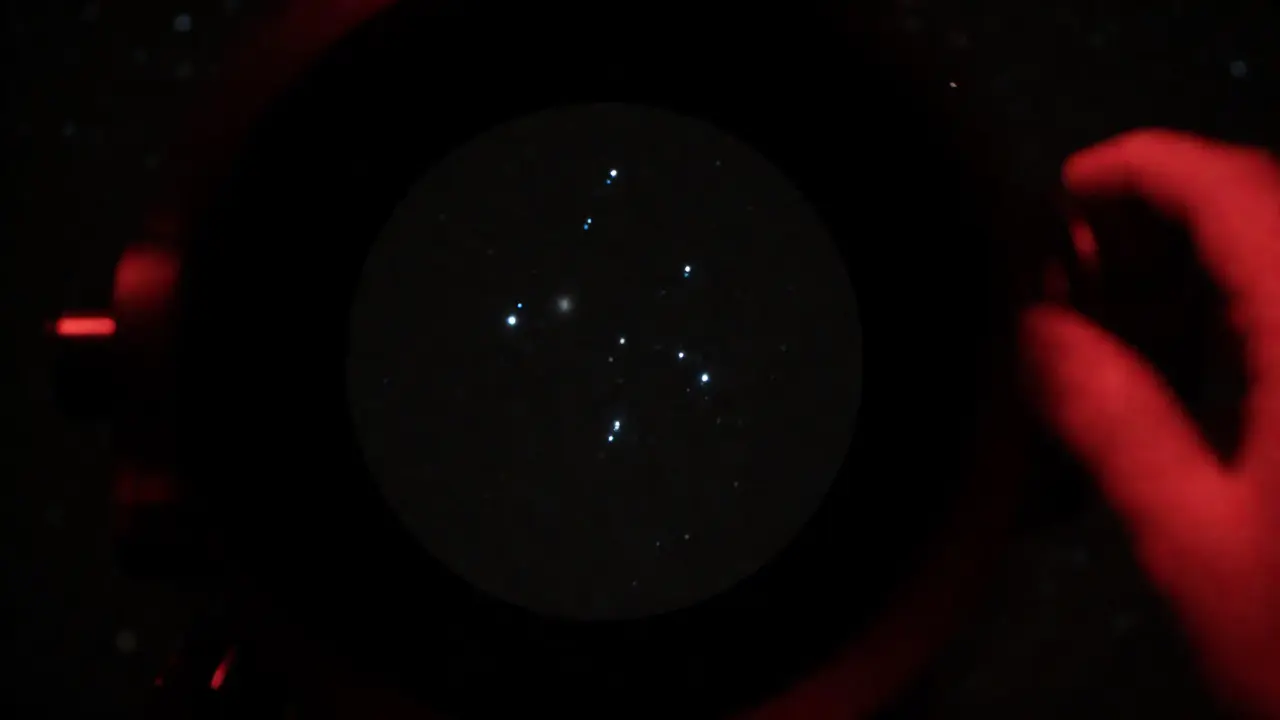
Here is the most common mistake beginners make: they try to hop with high-power eyepieces. Stop. Put down the 10mm eyepiece. Pick up a low-power one, like a 25mm or 32mm. Why? Because a lower magnification gives you a wider True Field of View (TFOV). With a wide view, you can see both the starting star and the next star in the chain simultaneously. If your TFOV is only 0.5 degrees, you’ll lose your bearings constantly. Aim for a TFOV of at least 1 degree when learning. Once you’ve locked onto the target, you can swap to higher power to zoom in.
The Step-by-Step Hop
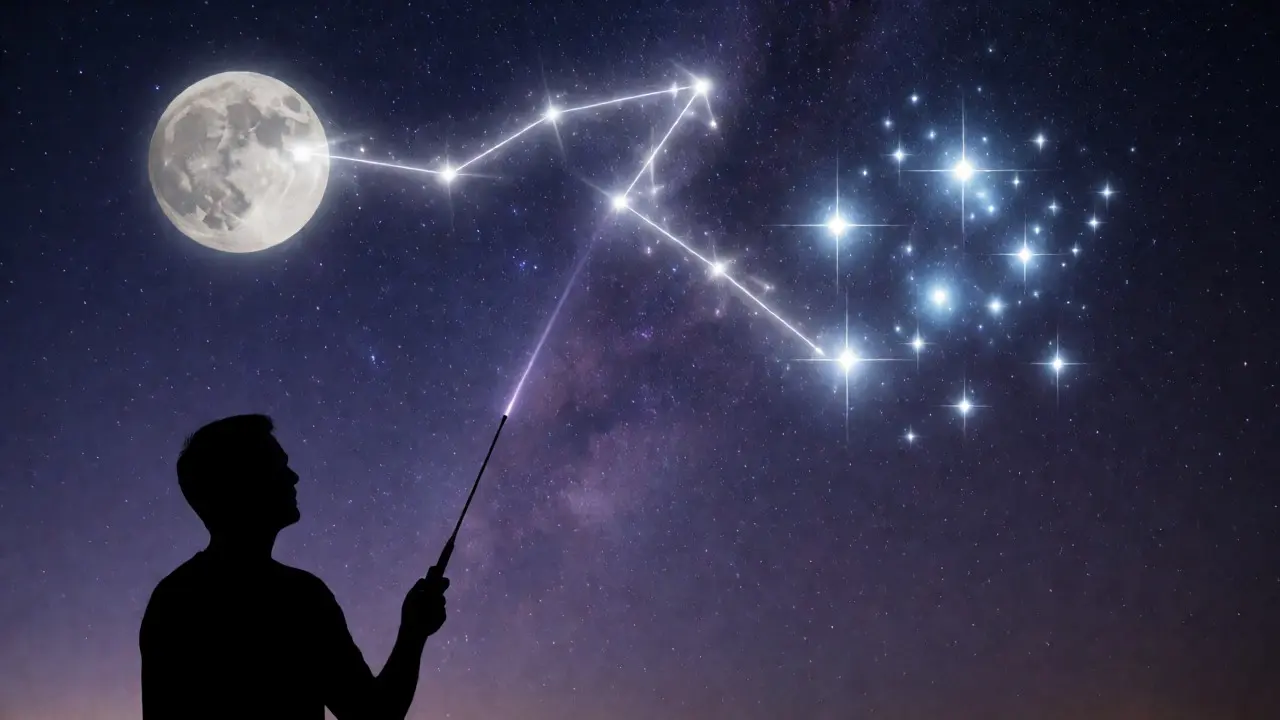
Let’s say you want to find the Pleiades Cluster (M45) from the Moon. Here’s how you do it:
- Identify the Start Point: Find the Moon. It’s bright and unmistakable. Note its position relative to nearby stars.
- Plan the Route: Look at your chart. The Pleiades are usually about 10-15 degrees away from the Moon, depending on the lunar phase. Draw an imaginary line from the Moon toward the cluster.
- Slew the Telescope: Move your telescope so the Moon is centered in your finder scope.
- Switch to Low Power: Insert your 25mm eyepiece. The Moon will likely disappear from view because it’s too bright and large. That’s okay.
- Hop One: Slowly move the telescope along the imaginary line. Look for a distinctive pattern of stars that matches your chart. Maybe you see a triangle of three medium-brightness stars. Align those in your eyepiece.
- Hop Two: From that triangle, look further in the direction of the Pleiades. You might see a faint smudge. Adjust slightly until it sharpens into a cluster of blue-white stars.
Dealing with Orientation Issues
One thing nobody warns you about: your view might be flipped. Depending on your telescope type and whether you use a diagonal mirror, north might be left, south right, east down, and west up. Or it could be rotated 90 degrees. Before you start hopping, take ten minutes to determine your orientation. Point the telescope at Polaris (the North Star). Then, rotate your eyepiece or check the image rotation. Write down which way is "up" in your eyepiece. If you ignore this, you’ll end up pointing your telescope at empty space while thinking you’re following the chart correctly.
Common Pitfalls and Fixes
Are you stuck? Here are the usual suspects:
- Poor Alignment: If your finder scope isn’t aligned with the main telescope during the day, every hop will be off. Align them at dusk or dawn, not in total darkness.
- Misidentifying Stars: Not all stars are equal. Use magnitude estimates. If a star looks dimmer than expected, it might not be the one on your chart. Double-check surrounding patterns.
- Atmospheric Distortion: Near the horizon, stars twinkle and shift. Try to observe targets when they are higher in the sky. If a target is low, give yourself extra time to stabilize the view.
- Overlooking Faint Targets: Some galaxies and nebulae are ghostly faint. Don’t expect them to pop out. Use averted vision-look slightly to the side of the object rather than directly at it-to engage the rod cells in your eyes, which are more sensitive to light.
Building Confidence with Practice
Start small. Don’t jump straight to the Whirlpool Galaxy. Begin with open clusters like the Beehive Cluster (M44) in Cancer or the Double Cluster in Perseus. These are forgiving because they contain many stars, making it easy to recognize when you’re close. Once you can find five different clusters consistently, graduate to planetary nebulae, then globular clusters, and finally galaxies. Each type presents unique challenges. Galaxies, for instance, are often featureless smudges, requiring precise positioning to distinguish them from background stars.
Keep a logbook. Write down what you found, how long it took, and any tricks that helped. Over time, you’ll build a mental map of the sky. You’ll stop needing the chart for familiar regions. This process transforms stargazing from a passive activity into an active exploration. You become part of the observation, not just a spectator.
FAQ
Do I need a special telescope for star hopping?
No. Any telescope with a stable mount and a functional finder scope works. Dobsonians are excellent for this because they are simple and intuitive. Refractors and Schmidt-Cassegrains also work well, provided you have a good finder.
How accurate does my finder scope need to be?
It needs to be aligned within a few arcminutes. During the day, pick a distant telephone pole or chimney top. Center it in the main telescope with a low-power eyepiece. Then adjust the finder scope screws until the same object is centered in the finder. Repeat until both views match perfectly.
What if I can’t see the target even after reaching it?
First, check your focus. Second, ensure your eye pupil is dark-adapted (wait 20-30 minutes in darkness). Third, use averted vision. Fourth, verify you’re actually at the correct coordinates by checking neighboring stars against your chart. Sometimes atmospheric haze obscures faint objects; wait for a clearer night.
Can I use apps instead of paper charts?
Yes, but be careful. Apps are great for planning routes, but staring at a glowing screen ruins night vision. Use a red filter on your phone or print out the relevant section of the app’s chart beforehand. Paper charts remain superior for real-time navigation because they offer context and don’t require interaction.
How do I handle light pollution?
Light pollution washes out faint stars, making landmark identification harder. Stick to brighter stars as landmarks. Focus on targets with higher surface brightness, like planetary nebulae or bright open clusters. Using a narrowband filter (like OIII) can help contrast emission nebulae against the sky glow.