4 Apr 2026
- 0 Comments
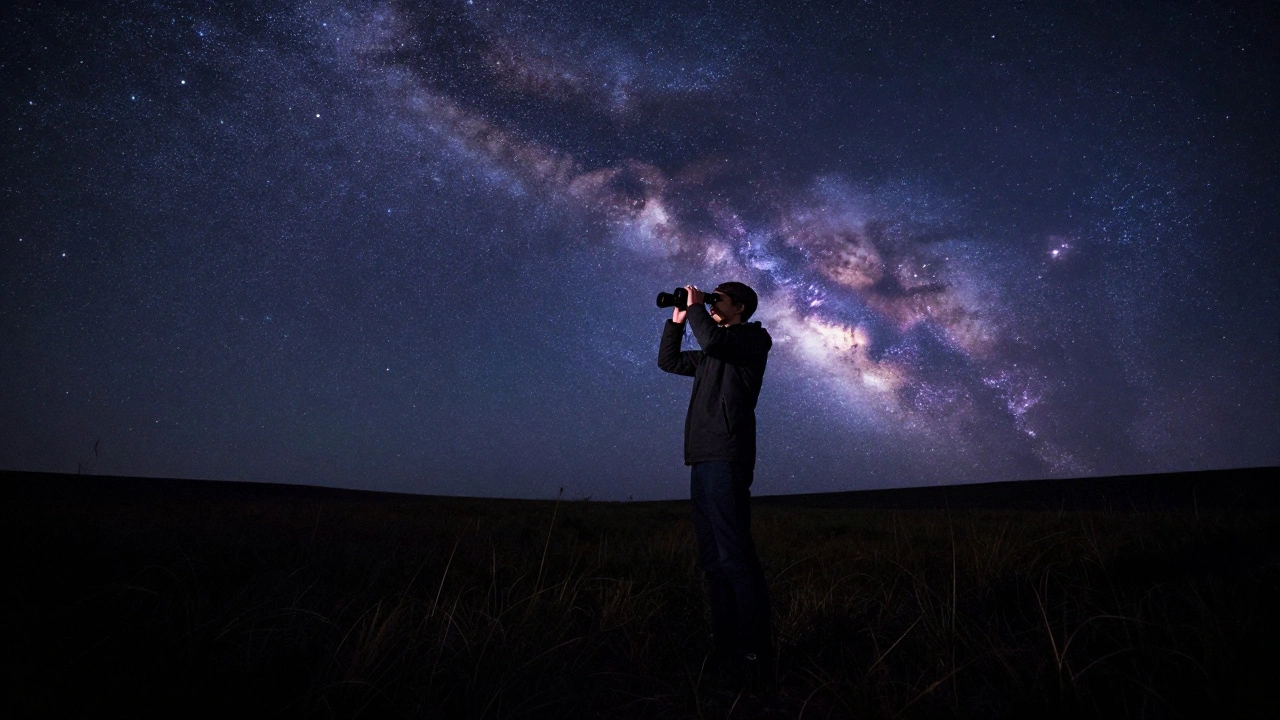
Imagine standing under a pitch-black sky, squinting at a tiny smudge of light in a star chart, and then looking up only to feel completely lost. It happens to the best of us. When you use a high-magnification telescope, the view is like looking through a drinking straw; you see a tiny sliver of space, and if your target isn't exactly in the center, it's gone. This is where binocular navigation changes the game. By using a wider perspective, you can bridge the gap between the constellations you know and the faint, fuzzy patches of deep space you're hunting for.
Key Takeaways for Better Sky Searching
- Binoculars act as a "bridge" between naked-eye viewing and telescope observation.
- A wider field of view prevents "tunnel vision" and makes it easier to recognize star patterns.
- Star hopping is more effective when you move from bright, known "anchor stars" to dimmer targets.
- Choosing the right magnification (typically 7x to 10x) is critical for maintaining a stable image.
The Problem with Tunnel Vision
Most beginners make the mistake of jumping straight to a telescope. While a 200mm Dobsonian gives you amazing detail, it also gives you a claustrophobic field of view. If you're trying to find a galaxy like M81 in Ursa Major, you might find yourself staring at a random patch of blackness for ten minutes because you're off by just a few arcminutes.
Binoculars solve this by offering a wide-angle window. Instead of seeing one star, you see the whole neighborhood. This allows you to perform star hopping-the process of using a known, bright star to "hop" to a nearby dimmer one, and then to your final target. It's essentially a celestial game of connect-the-dots. When you can see the surrounding context, you don't just find the object; you understand where it sits in the cosmos.
Choosing the Right Glass for Navigation
Not all binoculars are created equal. If you grab a pair of 20x80 giants, you'll find that your own heartbeat shakes the image, making navigation a nightmare. For scouting observing areas, you want a balance between magnification and stability.
| Type | Typical Field of View | Best Use Case | Stability |
|---|---|---|---|
| 7x50 | Very Wide (~6-7°) | Scanning the Milky Way, beginners | Excellent (Handheld) |
| 10x50 | Moderate (~5-6°) | Deep sky hunting, general use | Good (Handheld) |
| 15x70 | Narrow (~4°) | Detailed clusters, nebula cores | Poor (Needs Tripod) |
The 7x50 binoculars are the gold standard for navigation. The 7x magnification keeps the image steady enough to hold by hand, and the 50mm aperture lets in plenty of light to reveal objects that are invisible to the naked eye. If you go higher, like a 15x70 pair, you start seeing more detail, but you'll struggle with the "shivers" unless you have a steady mount.
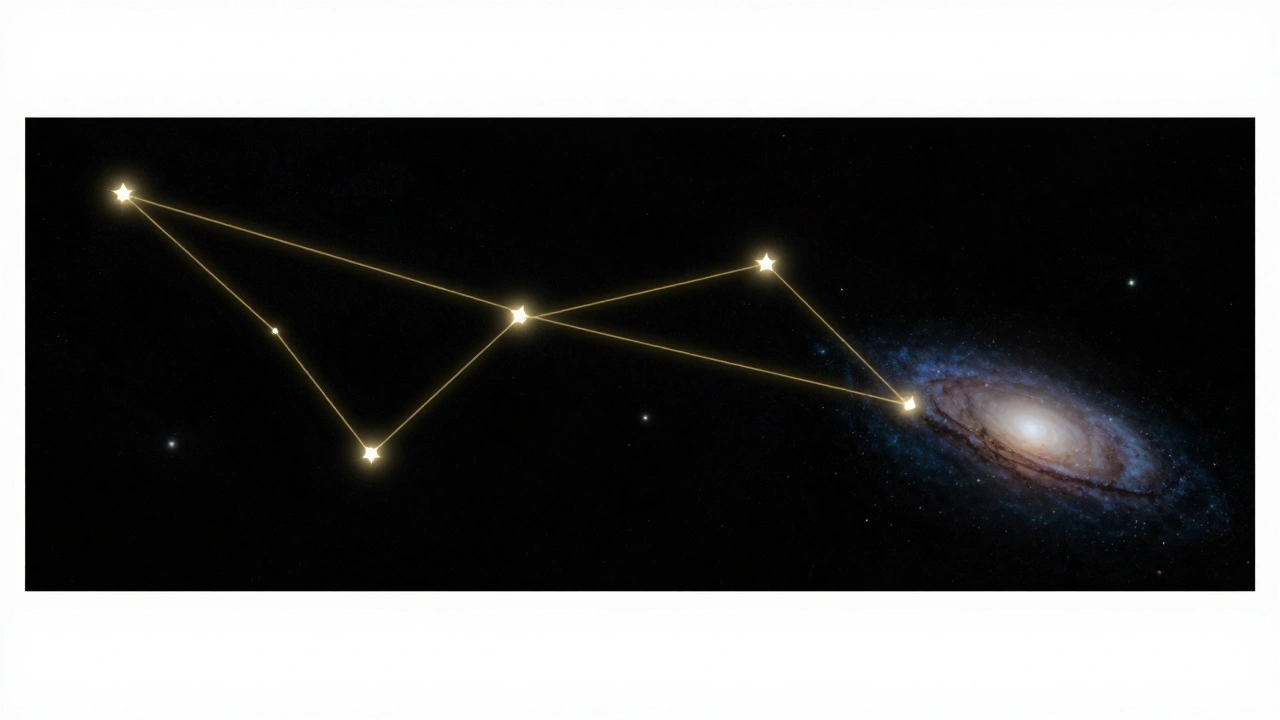
The Art of the Celestial Hop
To successfully navigate to an observing area, you need a starting point. In astronomy, we call these anchor stars. These are the brightest stars in a constellation-think Betelgeuse in Orion or Vega in Lyra.
Here is the practical workflow for a successful hop:
- Identify the Anchor: Find the brightest star in the vicinity using your naked eye.
- Map the Gap: Use a star chart to see which stars lie between your anchor and the target. Note the angles and distances.
- Scan and Match: Bring the binoculars up to your eyes. Find the anchor star, then look for the first "stepping stone" star.
- The Final Leap: Move from your last stepping stone to the target. Because you have a wide field of view, the target will likely appear as a faint smudge rather than a pinpoint of light.
For example, if you're looking for the Andromeda Galaxy (M31), don't just look for a smudge. Start at the "Square" of Pegasus, hop over to the constellation Andromeda, and use the star Mirach as your final guidepost. Through 10x50 binoculars, M31 looks like a ghostly oval-a sight that's far more satisfying when you've navigated to it yourself.
Avoiding Common Navigation Pitfalls
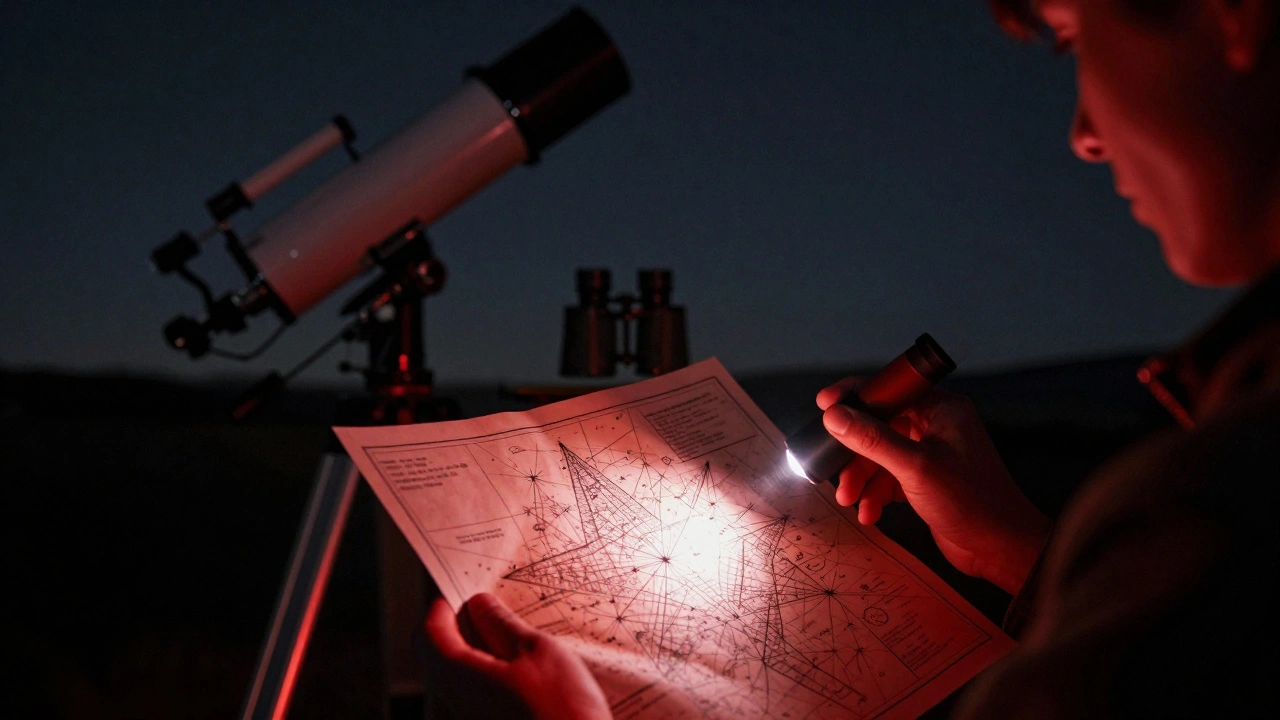
Even with the right gear, it's easy to get turned around. One of the biggest mistakes is trusting a digital screen too much. Your phone's brightness ruins your dark adaptation, which is the process where your eyes become sensitive to low light. Once you look at a bright white screen, those faint nebulae you were hunting disappear for about 20 minutes.
Use a red flashlight or a "night mode" app. Better yet, print a physical star map and use a red filter. This keeps your pupils dilated, allowing you to see the dim "stepping stone" stars required for accurate hopping. Another tip: don't rush. Give your eyes a few seconds to adjust every time you move your gaze from the map to the sky.
Expanding Your View: The Role of Averted Vision
When you've finally located your observing area, you might find that the object looks dim when you look directly at it. This is because the center of your eye (the fovea) is packed with cones, which are great for color but terrible for low light. To see more detail in your binoculars, try averted vision.
Simply look slightly to the side of the object. This directs the light to the rods in your periphery, which are far more sensitive to light. It feels counterintuitive-looking away from the thing you want to see-but it's the secret weapon of experienced observers. It can make a faint star cluster suddenly pop into view or reveal the subtle dust lanes in a galaxy.
Integrating Binoculars with Your Telescope
Think of binoculars as the "scout" and the telescope as the "sniper." You use the wide field of the binoculars to locate the exact region of the sky and perhaps even identify the object. Once you've locked onto the target, you can switch to your telescope's finder scope.
If you're using a telescope with a very narrow field, try this: look through your binoculars, memorize the exact shape of the star pattern around the object, and then move to the telescope. This reduces the time spent "searching the void" and increases your actual observation time. It turns a frustrating night of hunting into a productive session of exploring.
Are expensive binoculars always better for star hopping?
Not necessarily. While high-end glass reduces chromatic aberration (those weird purple fringes around bright stars), the most important factor for navigation is the field of view and stability. A mid-range pair of 7x50s from a reputable brand is often better for scouting than a high-powered, expensive pair that requires a tripod to keep still.
What is the best way to learn the constellations for navigation?
Start with one "anchor" constellation per season. For winter, master Orion; for summer, focus on the Summer Triangle. Once you can find those without a map, use them as launchpads to find smaller, neighboring constellations. Using a star app for initial identification and then switching to a paper map for the actual hop is a great way to build your mental map of the sky.
Can I use binoculars for astrophotography?
Yes, but it's tricky. You can use a smartphone adapter to take photos through the eyepiece, though the results are mostly for personal records. For serious work, some people use "binocular telescopes" or specialized mounts, but for most, binoculars are best kept as a visual tool for location and observation.
Why do I see a black circle around the view in some binoculars?
That's the edge of the eyepiece. If it's very prominent, you might be experiencing "eye relief" issues, meaning your eye isn't positioned correctly. Adjust your distance from the lens or twist the eyepieces (if they are adjustable) to get a full, clear view of the field.
What happens if I use 10x50s instead of 7x50s?
You get more magnification, which means objects look larger and more detailed. However, your field of view shrinks, and the image becomes more sensitive to your hand shakes. 10x50s are a great middle-ground, but 7x50s are generally more "relaxed" for wide-area scanning.
Next Steps for Your Observing Session
If you're just starting out, your first mission should be to find the Pleiades star cluster. It's a perfect target for binocular navigation because it's bright enough to be an anchor but detailed enough to show the power of the glass. Once you've mastered that, try hopping from the Pleiades over to the Andromeda Galaxy.
If you find that your handheld view is still too shaky, consider investing in a simple monopod or a basic L-bracket mount. This will let you use higher-powered binoculars (like 15x70s) without the frustration of a vibrating image. Remember, the goal isn't just to see the object, but to enjoy the journey of finding it. Happy hunting!