16 Aug 2026
- 0 Comments
It’s 10 PM, the sky is clear, and you’re ready to observe. You focus on a bright star, but instead of a crisp point of light, you see a fuzzy blob that seems to dance around in the eyepiece. Your first instinct? Check your collimation. But here’s the catch: if the atmosphere is unstable, your optical alignment might be perfectly fine. This is where collimation under poor seeing conditions becomes a tricky puzzle. Many amateur astronomers waste hours tweaking mirror screws only to realize later that the wind was the real culprit. Understanding how to distinguish between optical misalignment and atmospheric distortion is the key to saving your observing time.
Why Seeing Ruins Your Alignment Checks
Airseeing is the apparent blurring and shifting of stars caused by turbulent layers of air in the Earth's atmosphere. When temperature gradients exist between the ground and the sky, or when wind blows across the site, these layers move at different speeds. To your eye, this looks like the star image wiggling, expanding, or contracting rapidly. If you try to adjust your secondary mirror while the image is doing this, you are essentially chasing a moving target. The result is often over-correction, leading to a worse optical state than before.
The human eye has a limited ability to integrate light over time. Under good seeing, the star remains stable enough for your brain to process a sharp image. Under poor seeing, the image changes faster than your visual system can adapt. This makes subjective judgment unreliable. You might think the star looks "off-center" in the diffraction rings, but it’s actually just drifting due to wind gusts. Recognizing this distinction is the first step toward effective troubleshooting.
Distinguishing Optical Errors from Atmospheric Distortion
Before touching any adjustment screws, you need a diagnostic method that isolates the optics from the atmosphere. The most reliable technique is the defocused star test. Here’s how it works:
- Focus on a moderately bright star (magnitude 3-4) using a high-power eyepiece.
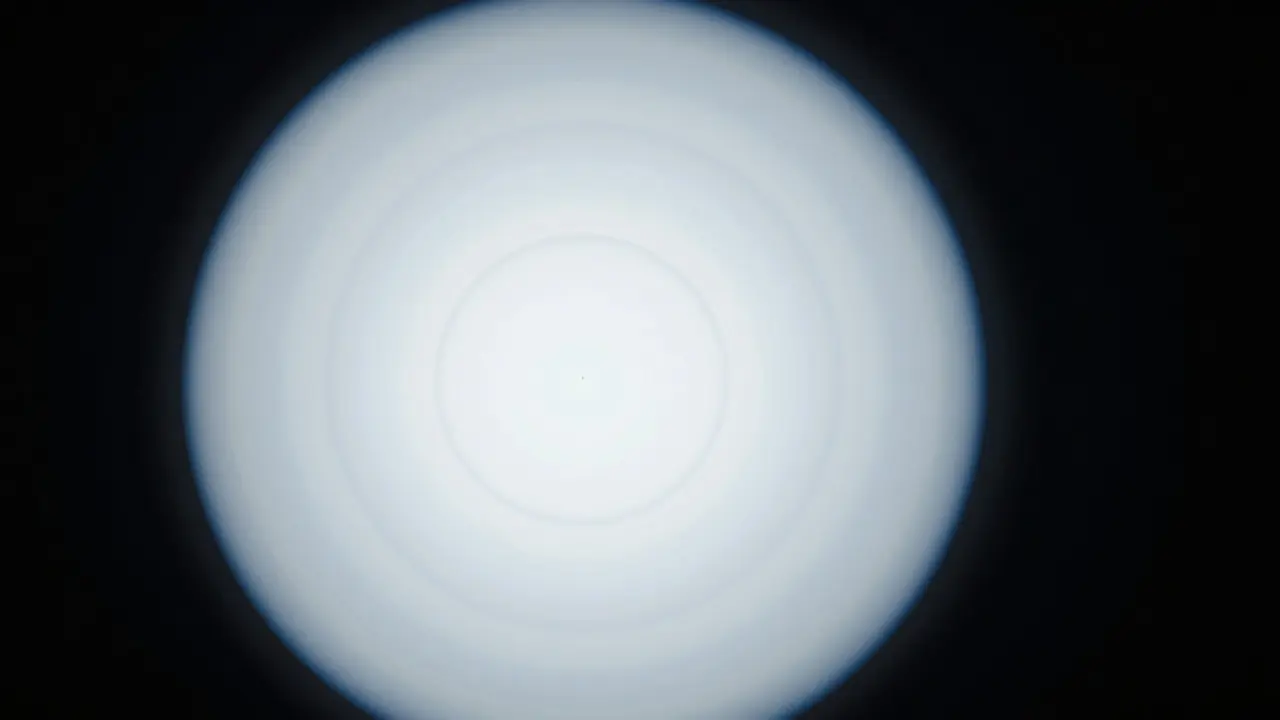
- Pull the focus slightly out of focus until the star appears as a large, soft disk with concentric rings.
- Observe the pattern for 30 seconds. If the rings remain symmetrical and centered, your collimation is likely good, regardless of how much the star wiggles.
- If the rings are offset, elliptical, or have a dark spot that doesn't align with the center of the disk, you have a true collimation error.
This method works because defocusing magnifies optical errors. A small tilt in the primary mirror creates a distinct asymmetry in the diffraction pattern that is easier to spot than subtle shifts in a focused image. However, even this test has limits. If the seeing is extremely bad (seeing class 1 or 2 on a 5-point scale), the entire defocused disk may distort. In such cases, wait for a break in the turbulence or use a lower power eyepiece to reduce the impact of atmospheric noise.
Practical Techniques for Stable Adjustments
When you confirm that collimation is indeed off, how do you make adjustments without introducing new errors? The strategy depends on your scope type. For Newtonian reflectors, which are the most common telescopes requiring regular collimation, stability is paramount.
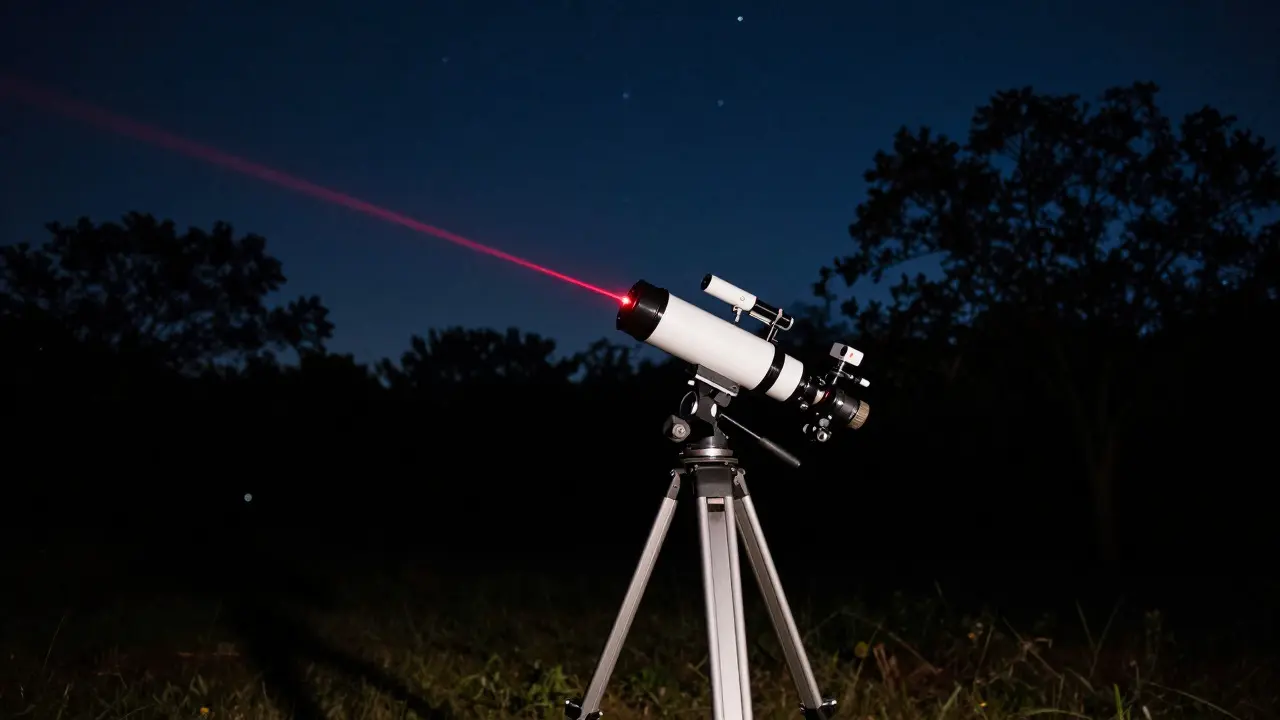
- Use a Cheshire Collimator or Laser: A laser collimator provides an instant reference line. While it doesn’t account for atmospheric effects directly, it allows you to set the secondary mirror alignment quickly and accurately without relying on visual star tests. Once the secondary is aligned, you can use the defocused star test for the primary.
- Adjust in Small Increments: Never turn a mirror screw more than a quarter turn at a time. Under poor seeing, your feedback loop is noisy. Small, incremental changes allow you to verify progress without overshooting.
- Stabilize the Telescope Mount: Vibration from the mount can mimic seeing issues. Ensure your tripod legs are firmly planted and the counterweights are balanced. If you are using an equatorial mount, park it in a stable position away from drafts.
- Wait for Thermal Equilibrium: A telescope that hasn’t reached thermal equilibrium will create its own internal seeing. Let your tube cool down for at least 30 minutes after bringing it outside. This reduces internal air currents that can distort the image independently of the sky conditions.
The Role of Power and Eyepiece Choice
Your choice of eyepiece significantly impacts your ability to judge collimation. High magnification reveals fine details but also amplifies atmospheric turbulence. If you are struggling with wobbly images, drop down to a lower power. A 25mm or 32mm eyepiece in an 8-inch Dobsonian, for example, provides a wider field of view and a more stable image. It may not show the finest diffraction spikes, but it gives you a clearer picture of the overall symmetry of the star disk.
Conversely, using too low a power can hide subtle collimation errors. A rule of thumb is to use the highest power that still yields a reasonably steady image. If the star jumps around violently, go lower. If the image is stable but blurry, check your focus first, then your collimation. Remember, focus errors can sometimes look like collimation issues, especially in fast focal ratio scopes like f/4 or f/5 designs.
Comparison of Diagnostic Tools
Not all collimation tools work equally well under challenging conditions. Here is a comparison of popular methods and their suitability for poor seeing scenarios.
| Method | Reliability in Bad Seeing | Required Skill Level | Key Advantage | Limitation |
|---|---|---|---|---|
| Laser Collimator | High | Beginner | Instant visual reference; no stars needed | Can introduce parallax errors if not calibrated |
| Cheshire Collimator | Medium-High | Intermediate | Optical accuracy; verifies secondary alignment | Requires dark adaptation; harder to read in bright twilight |
| Defocused Star Test | Medium | Advanced | Tests actual optical performance | Unreliable if seeing is class 1-2; requires patience |
| Snoeyselle Collimator | Low-Medium | Expert | High precision for primary mirror | Complex setup; sensitive to vibration |
For most observers dealing with occasional poor seeing, a combination of a laser collimator for initial setup and a defocused star test for final verification offers the best balance of speed and accuracy. The laser gets you 90% of the way there quickly, while the star test ensures you haven’t introduced any residual errors.
Common Pitfalls to Avoid
Even experienced astronomers fall into traps when the sky isn't cooperating. One common mistake is assuming that a wobbly image always means bad collimation. As we’ve discussed, seeing is usually the culprit. Another pitfall is adjusting the secondary mirror based on a focused star image. The secondary should be aligned using a dedicated tool, not a star, because the star image is affected by both the primary and secondary mirrors. Trying to fix two variables at once leads to confusion.
Also, be wary of "chasing the dot." If you use a laser collimator, don’t obsess over getting the red dot perfectly centered on the crosshair if the surrounding environment is windy. A slight offset is acceptable if the defocused star test confirms symmetry. The goal is optical performance, not a perfect visual display on the laser reticle.
When to Give Up and Wait
Sometimes, the best strategy is to do nothing. If the seeing is consistently bad for several nights in a row, it might be worth pausing your collimation efforts. Atmospheric conditions are cyclical. Frontal systems often bring clear skies followed by poor seeing as winds pick up. Waiting 24-48 hours can yield a night with stable air, making collimation straightforward. In the meantime, use the time to practice focusing techniques or review your equipment maintenance schedule. A well-collimated scope is a baseline requirement, not a nightly ritual. If your last check was within the past month and you haven’t moved the scope, it’s likely still good enough for visual observation, even if the stars look fuzzy tonight.
Frequently Asked Questions
How often should I collimate my telescope?
Most Newtonian reflectors require collimation every 2-4 weeks or after any significant transport. Refractors and catadioptric scopes generally hold alignment longer, often lasting months or years. Always perform a quick check before major observing sessions, especially if the scope has been moved.
Can I collimate during the day?
Yes, you can collimate during the day using a laser collimator or a Cheshire collimator pointed at a distant object or the sun (with proper solar filter). Daytime collimation is useful for setting the secondary mirror, but final verification of the primary mirror is best done at night with stars.
What is the difference between seeing and transparency?
Seeing refers to the stability of the air, affecting how sharp and steady stars appear. Transparency refers to the clarity of the air, affecting how far you can see and how bright faint objects are. You can have excellent transparency (clear air) but poor seeing (turbulent air), resulting in bright but fuzzy stars.
Does a laser collimator guarantee perfect collimation?
No. A laser collimator aligns the secondary mirror relative to the optical axis defined by the laser housing. If the laser itself is not mounted perfectly parallel to the focuser, it can introduce errors. It is a starting point, not a final verification tool. Always confirm with a star test if possible.
How does humidity affect collimation checks?
High humidity can cause dew to form on the optics, which distorts the image and makes collimation difficult. It also increases atmospheric turbulence near the ground. Use a dew heater or wait for the humidity to drop before performing precise optical adjustments.