17 Aug 2026
- 0 Comments
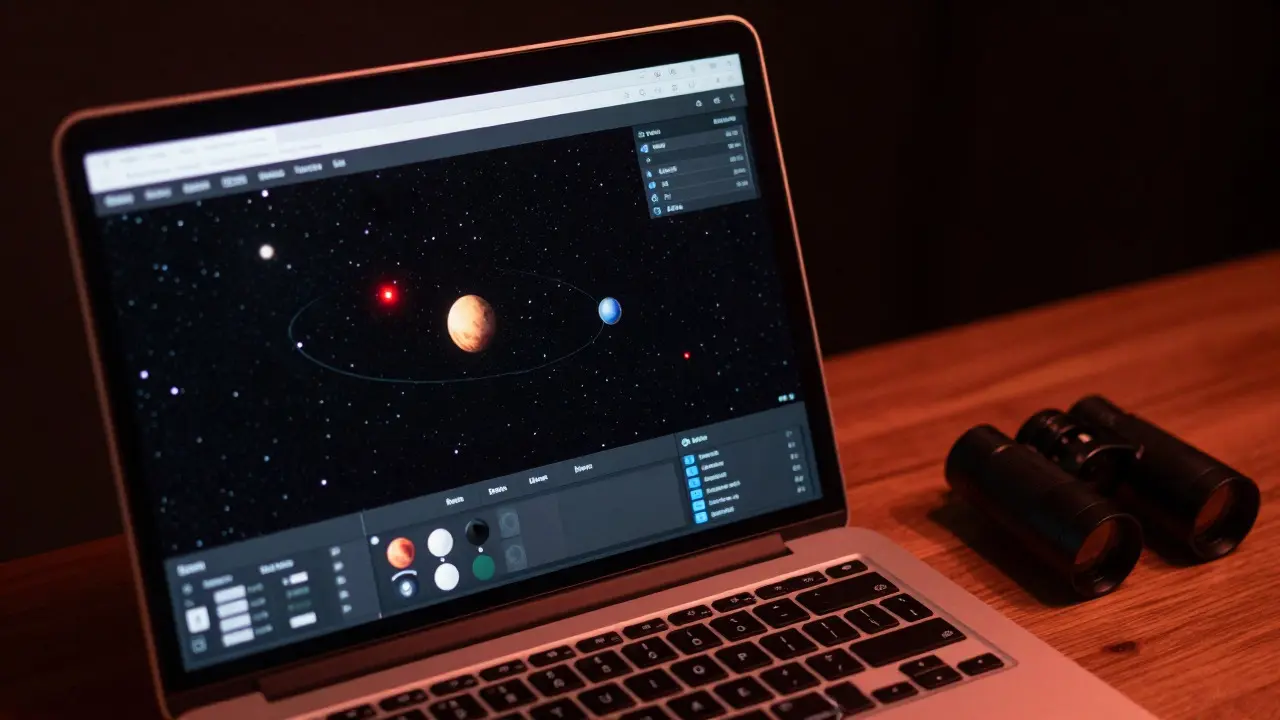
Ever stared up at the night sky and felt completely lost? You’re not alone. The dark canvas above is filled with thousands of stars, but without a map, it’s just noise. That’s where a telescope simulator comes in. It’s a digital tool that overlays real-time data on your view, turning chaos into clarity. Whether you’re using a dedicated app like Stellarium or a planetarium software on your laptop, these tools bridge the gap between seeing the sky and actually understanding what you’re looking at.
This guide breaks down how to get started without getting overwhelmed by technical jargon. We’ll look at the best free options, how to set them up correctly, and the specific features that make learning faster. By the end, you won’t just be pointing your telescope randomly; you’ll know exactly where Mars is hiding and why that bright dot isn’t a star.
Why You Need a Digital Sky Map
Your eyes are great at detecting light, but they aren’t great at measuring distance or identifying objects. A telescope simulator solves this by acting as a GPS for the cosmos. It tells you three critical things instantly: what you’re looking at, where it is relative to other objects, and when it will be visible again.
For beginners, the biggest hurdle isn’t equipment-it’s orientation. When you point a telescope toward Orion, do you see the belt? Or just a blurry patch? A simulator shows you the expected field of view (FOV) before you even lift the scope. This prevents the frustration of hunting for targets that are technically there but hard to spot due to light pollution or atmospheric conditions.
- Identification: Distinguishes planets from stars and deep-sky objects.
- Timing: Shows rise and set times for every object in the database.
- Education: Provides historical context and scientific facts about each target.
Choosing Your Simulator: Free vs. Paid Options
You don’t need to spend hundreds of dollars to start. In fact, some of the most powerful tools are completely free. However, knowing which one fits your workflow matters. Most beginners stick to two main categories: mobile apps and desktop planetariums.
Stellarium is a free, open-source planetarium program that renders realistic skies based on the user's location and time. It is widely considered the gold standard for visual learners because its graphics are stunningly accurate. If you want to see how the sky looks through your specific eyepiece, Stellarium lets you simulate that exact magnification.
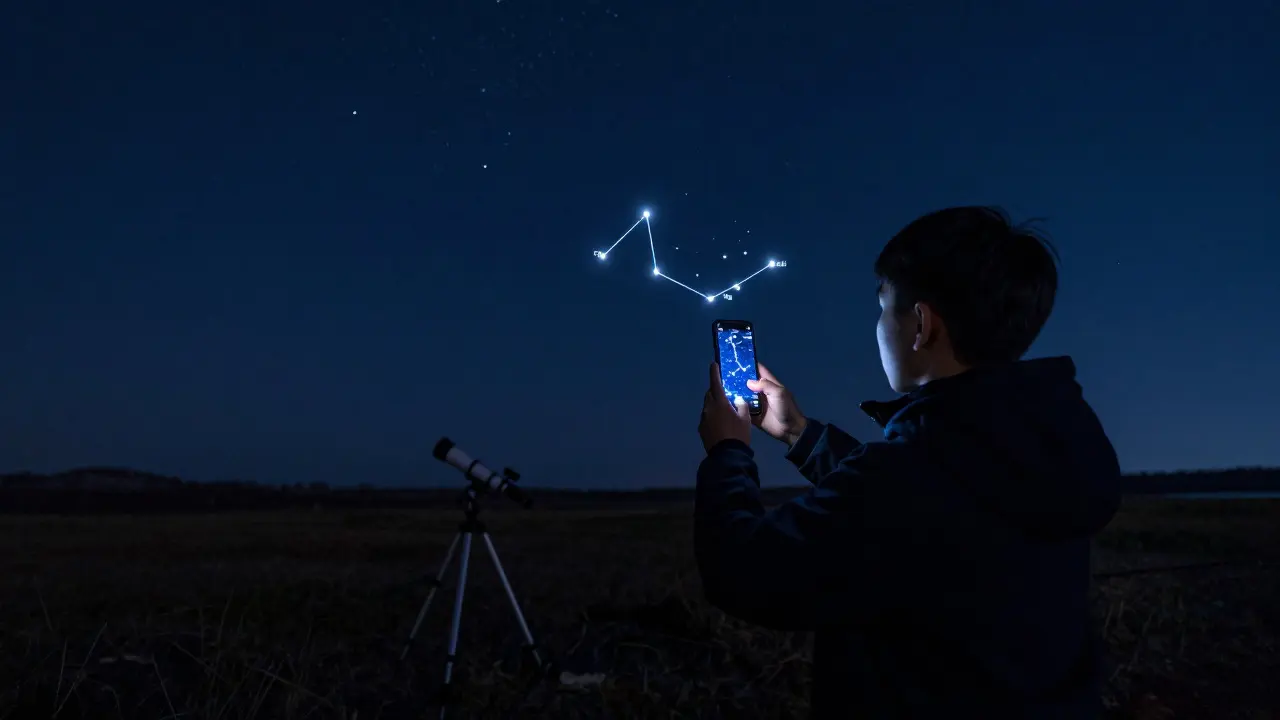
SkySafari, on the other hand, shines with its augmented reality capabilities. Hold your phone up to the sky, and it labels objects in real-time. This is incredibly useful for casual observers who want quick answers without setting up a laptop.
Celestia takes a different approach. Instead of just showing a static sky, it allows you to "fly" through space. You can zoom into Jupiter’s moons or travel back in time to see where the planets were last year. It’s less pretty than Stellarium but offers deeper interactive exploration.
Setting Up Your Location and Time Zone
The single most common mistake beginners make is ignoring location settings. If your simulator thinks you’re in New York while you’re standing in Portland, Oregon, your star charts will be wrong. The position of constellations changes dramatically depending on your latitude and longitude.
- Enable GPS: On mobile devices, allow the app to access your location automatically. This ensures accuracy within meters.
- Set Manual Coordinates: For desktop software, enter your precise coordinates. For example, Portland, OR is approximately 45.5152° N, 122.6784° W.
- Check Time Zone: Ensure the app recognizes Daylight Saving Time (DST). If your clock is off by an hour, your planetary positions will be shifted significantly.
Once these are set, the simulator becomes a reliable compass. You can trust that if it says Saturn is rising in the southeast at 8 PM, it actually is. This reliability builds confidence, which is crucial when you’re trying to locate faint nebulae or distant galaxies.
Mastering the View: Magnification and Field of View
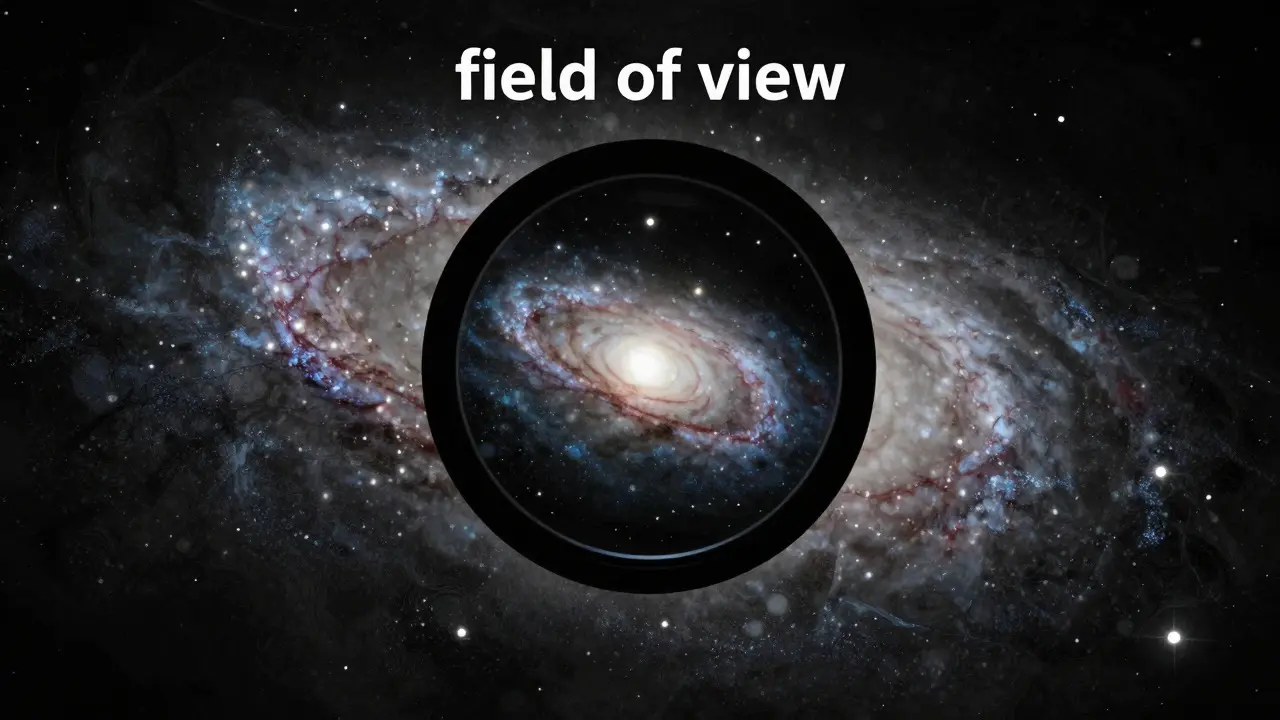
A telescope doesn’t just show you more stars; it compresses space. What looks like a wide area in the naked eye becomes a tiny window in your eyepiece. Understanding Field of View (FOV) is essential for successful observing.
Your FOV is determined by your eyepiece. A 25mm eyepiece gives you a wider view than a 10mm eyepiece. In your simulator, you can input your specific eyepiece focal length to see exactly what your scope will show. This feature is called "eyepiece simulation."
Here’s a practical example: If you’re trying to observe the Andromeda Galaxy (M31), a high-magnification eyepiece might only show the core, missing the beautiful spiral arms. A lower magnification reveals the full extent. By checking this in the simulator first, you save yourself from switching eyepieces repeatedly during a cold night out.
- Low Power (Wide FOV): Best for finding objects and viewing large nebulae.
- High Power (Narrow FOV): Best for planets and double stars.
- Rule of Thumb: Start low, find the target, then increase power slowly.
Navigating Deep-Sky Objects
Planets are easy to find-they move and shine brightly. Deep-sky objects (DSOs) like nebulae, clusters, and galaxies are much harder. They are faint, diffuse, and often require averted vision (looking slightly to the side) to see clearly.
Your simulator helps here by providing magnitude estimates. Magnitude measures brightness. The lower the number, the brighter the object. The Milky Way has a magnitude of -20.9, while the faintest galaxy visible to the naked eye under perfect conditions is around +6.0. Most binoculars can reach magnitude +8.0, and small telescopes can reach +10.0 or higher.
When planning a session, filter your list by magnitude. If you live in a city with heavy light pollution, focus on objects brighter than magnitude +7.0. Don’t waste time trying to see a magnitude +12.0 galaxy; it simply won’t be visible no matter how good your telescope is. The simulator lets you adjust for Bortle Scale (light pollution levels) to give you a realistic expectation of visibility.
Using Augmented Reality for Quick Identification
If you prefer hands-free operation, AR mode is a game-changer. Apps like SkySafari and Star Walk use your device’s camera to overlay labels on the sky. Point your phone at the Big Dipper, and it identifies each star in the asterism.
However, AR has limitations. It works best against a dark background. If you’re looking through a tree branch or near a streetlight, the tracking can glitch. Also, AR labels can be cluttered. Turn off unnecessary layers (like satellites or asteroids) to keep the screen clean.
Pro Tip: Use AR to identify a bright star or constellation, then switch to the manual map view to plan your next target. This hybrid approach combines the convenience of AR with the precision of a traditional chart.
Common Pitfalls and How to Avoid Them
Even with the best software, beginners make mistakes. Here are the top three issues and how to fix them.
- Ignoring Atmospheric Conditions: A clear sky isn’t always a good sky. High humidity causes stars to twinkle violently, blurring images. Check weather forecasts for seeing conditions, not just cloud cover.
- Over-Reliance on Software: The simulator is a guide, not a replacement for observation skills. Practice finding objects manually occasionally. If you rely solely on the screen, you lose the ability to navigate by memory.
- Not Updating the Database: Celestial bodies move. Planetary ephemerides change daily. Make sure your app has internet access or updated files so that Mars is where it should be, not where it was last month.
Frequently Asked Questions
Do I need a smartphone to use a telescope simulator?
No. While mobile apps are convenient, desktop versions like Stellarium offer more detailed controls and larger screens, which are easier to read in dim lighting. You can run these programs on any modern laptop or desktop computer.
How accurate are telescope simulators?
They are extremely accurate for positioning, usually within arcseconds. The main source of error is user input-if you enter the wrong location or time, the results will be off. Otherwise, the mathematical models used are based on NASA and ESA data, making them highly reliable.
Can I use a simulator during the day?
Yes, but it’s less useful. During the day, the sun washes out most celestial objects. However, you can use the simulator to plan your evening observations, check moon phases, or study the movement of the sun and planets for educational purposes.
What is the difference between a star chart and a simulator?
A star chart is a static image that shows a fixed time and date. A simulator is dynamic; it updates in real-time based on your current location and time. Simulators also include additional data like magnitudes, distances, and object types, which static charts often lack.
Which simulator is best for total beginners?
Stellarium is generally recommended for beginners due to its intuitive interface and free cost. Its visual fidelity helps users connect what they see on the screen with what they see through the telescope. SkySafari is a strong alternative if you prefer a mobile-first experience with AR features.