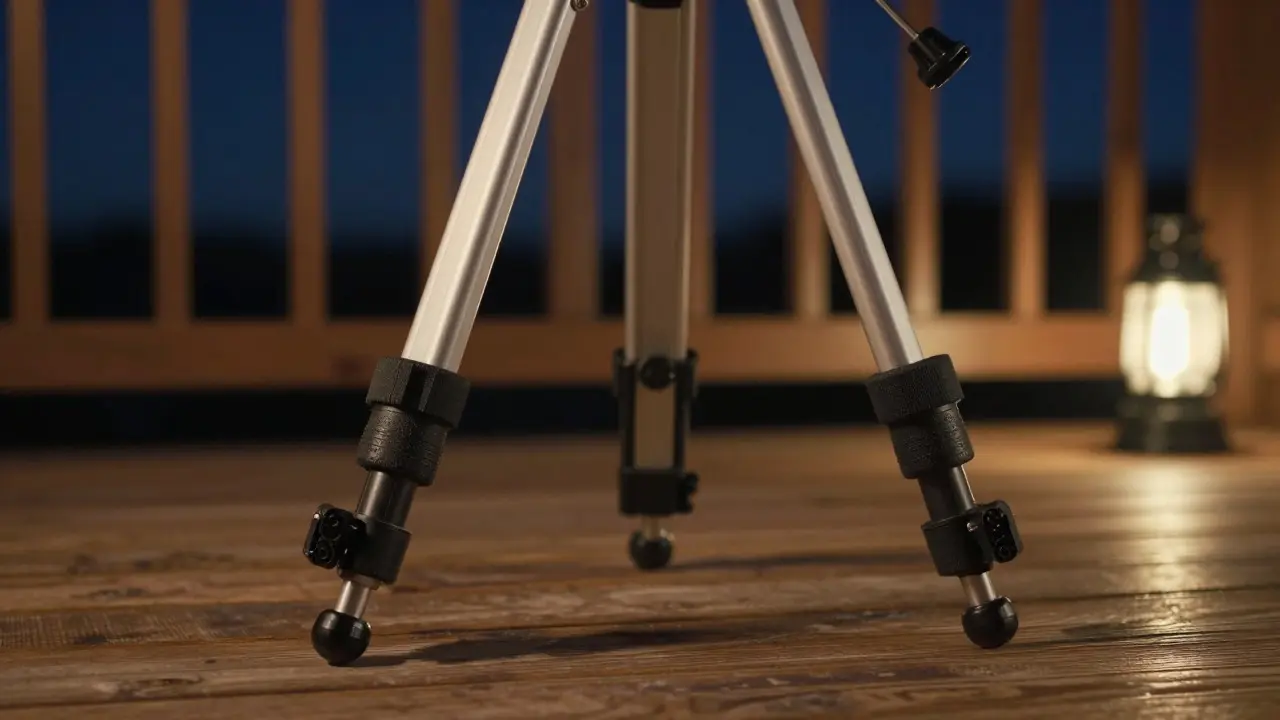
17 Aug 2026
- 0 Comments
There is a specific kind of frustration that hits every serious astrophotographer at some point. You have spent hours aligning your camera, the sky is perfectly clear, and the wind has died down. You start a long exposure, only to find later that your stars are trailing or your image is soft. The culprit is rarely the lens or the sensor; it is almost always the ground beneath you. A standard tripod, no matter how sturdy it looks, is a flexible structure designed for human weight, not for holding a rigid optical train steady against micro-vibrations.
Upgrading your mount's support system is often the single most cost-effective step to improving image quality. You do not necessarily need to buy a new telescope or a more expensive equatorial mount. Instead, you can transform an existing setup by addressing the three main sources of instability: leg flex, ground resonance, and environmental vibration. This guide breaks down the three primary upgrade paths-spreader bars, pier mounts, and anti-vibration pads-and explains exactly when each one makes sense for your workflow.
Understanding the Physics of Mount Stability
Before buying hardware, it helps to understand what you are fighting. When you take a long-exposure photograph, your mount must track the Earth's rotation with extreme precision. Any deviation from this path results in star trails. These deviations come from two sources: mechanical error within the mount itself and external disturbances transmitted through the support structure.
A standard aluminum or carbon fiber tripod acts like a cantilever beam. As you extend the legs, the effective stiffness decreases. If you add a heavy scope and camera to the top, the center of gravity shifts, creating torque on the legs. Even a slight breeze or a footstep nearby can cause the entire structure to oscillate. In photography terms, this is called 'micro-shake.' While invisible to the naked eye, micro-shake destroys the sharpness required for planetary imaging or high-magnification deep-sky work.
The goal of any upgrade is to increase the natural frequency of the support system. If the support system vibrates at a frequency much higher than the disturbance (like wind or footsteps), the energy dissipates before it reaches the optics. Stiffer structures have higher natural frequencies. Therefore, making your tripod stiffer is the fundamental principle behind all these upgrades.
Spreader Bars: The Low-Cost Rigidity Solution
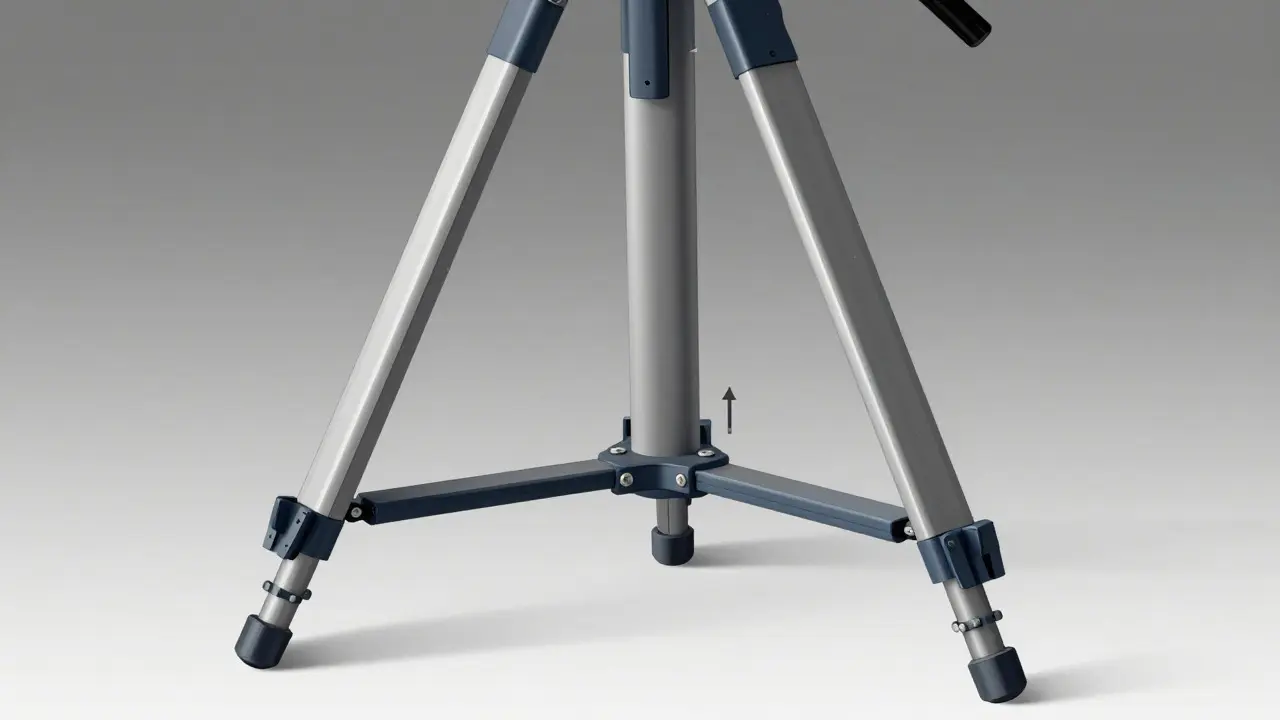
Spreader bars are triangular metal or wooden braces that connect the three legs of a tripod near their upper joints. They are the simplest and most affordable upgrade available for most users. By triangulating the legs, spreader bars prevent them from splaying outward under load. This keeps the apex of the tripod stable and reduces the amount of flex in the legs themselves.
For visual observers using refractors or small Newtonians, spreader bars are often enough. They eliminate the 'wobble' you feel when moving the scope around. However, for astrophotography, they have limits. If you are using a heavy Dobsonian-style fork mount or a large equatorial mount, spreader bars alone may not stop vertical bounce. They primarily address lateral stability. Think of them as the first line of defense. If your tripod legs are already stiff (like high-end carbon fiber models), spreader bars provide diminishing returns. But if you are using a budget aluminum tripod, adding spreader bars can double the effective rigidity of the structure.
When choosing spreader bars, look for ones that fit your specific tripod model. Universal kits exist, but custom-fit bars ensure maximum contact pressure without forcing the legs into awkward angles. Avoid plastic spreaders if possible; metal or solid wood offers better long-term durability and less creep over time.
Pier Mounts: Eliminating the Tripod Entirely
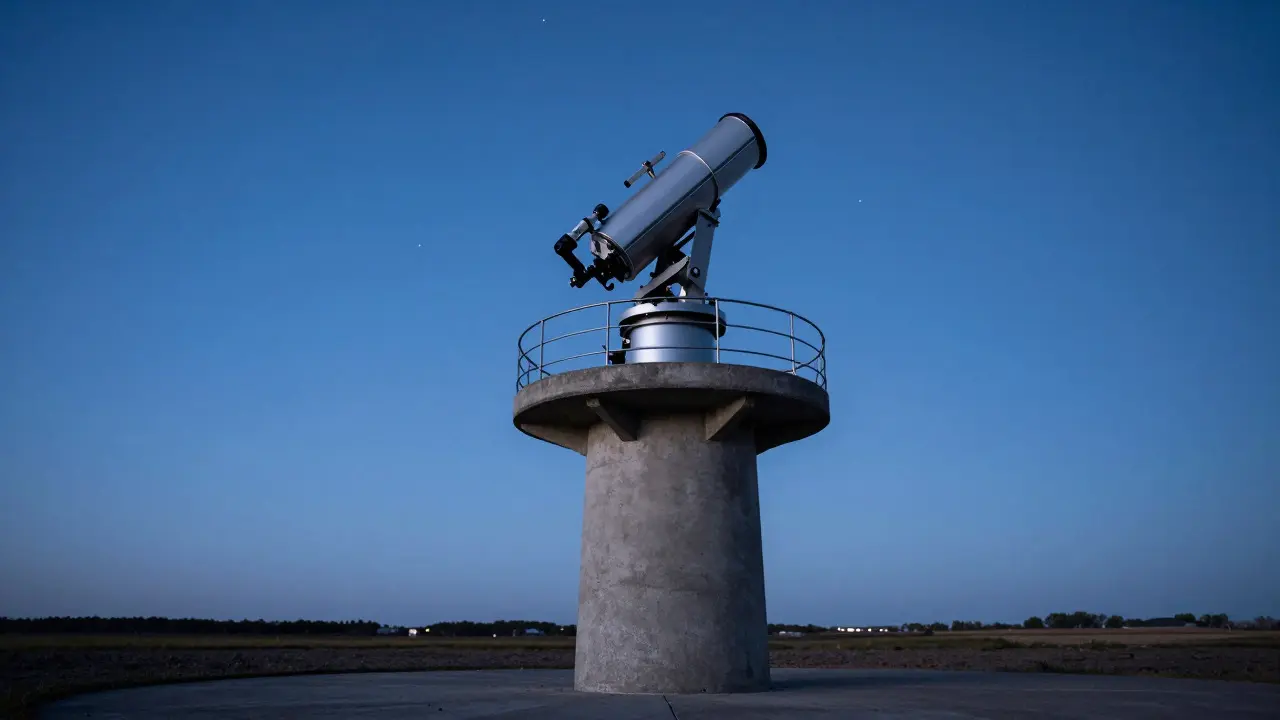
If you are committed to serious astrophotography, the ultimate solution is to remove the tripod from the equation entirely. This is where a Pier mount comes in. A pier is a fixed column, usually made of masonry, concrete, steel, or heavy-duty PVC, that supports the mount head directly from the ground. Unlike a tripod, which has three points of contact and inherent flexibility, a pier provides a single, rigid axis of rotation.
The advantage of a pier is absolute stability. There are no legs to flex, no joints to loosen, and no risk of the structure shifting during tracking. For imagers who spend months on a single target, the reliability of a pier is unmatched. It also allows for heavier payloads because the weight is transferred directly into the earth rather than balanced on thin tubes.
However, piers require planning. You need a dedicated location, either indoors or outdoors, that can support the weight. Building a concrete pier takes time and effort, while commercial steel piers are expensive. Portable piers exist, such as those made from stacked PVC pipes or heavy-duty tripods converted into a single column, but they still lack the mass of a permanent foundation. If you move your setup frequently, a full pier might not be practical. In that case, a hybrid approach-a very heavy, low-profile tripod with a central post-can mimic some pier-like stability.
Anti-Vibration Pads: Damping the Ground
Sometimes the problem isn't the tripod flexing, but the ground transmitting vibrations up into it. Walking on a wooden deck, running a generator, or even strong winds hitting a fence nearby can send waves through the floor. This is where Anti-vibration pads come in. These are dense, rubberized mats or individual feet placed under the tripod legs to decouple the structure from the surface.
Anti-vibration pads work by absorbing kinetic energy. Instead of the vibration traveling straight up the leg, it is dissipated in the pad material. This is particularly effective for indoor setups or when observing from a balcony or deck. For outdoor use on grass or dirt, pads are less critical because the ground is already somewhat compliant, but they help if you are on a hard surface like concrete or asphalt.
Not all pads are created equal. Thin foam sheets do little more than keep dust off. Look for high-density neoprene or specialized engineering rubber compounds. Some advanced pads include internal damping layers that target specific frequency ranges. For most amateur astronomers, a thick, high-density rubber mat placed under the tripod is sufficient. It adds a layer of isolation that prevents footstep vibrations from reaching the camera sensor.
Choosing the Right Upgrade for Your Setup
The best upgrade depends on your current equipment, your budget, and how often you move your gear. Let's look at how these solutions compare in practice.
| Upgrade Type | Cost Range | Best For | Limitations | Portability |
|---|---|---|---|---|
| Spreader Bars | $30 - $150 | Budget tripods, visual observing, light astro | Limited effect on heavy loads | High |
| Anti-Vibration Pads | $20 - $80 | Indoor setups, decks, hard floors | Less effective on soft ground | Very High |
| Pier Mounts | $500 - $5,000+ | Serious astrophotography, heavy payloads | Fixed location, high initial cost | Low |
If you are just starting out with astrophotography, start with spreader bars and anti-vibration pads. They are cheap, easy to install, and will likely solve 80% of your stability issues. If you find yourself constantly battling soft images despite these upgrades, consider whether your tripod is simply too light for your payload. In that case, investing in a heavier, more robust tripod or a portable pier system is the next logical step.
For those who observe from a fixed location, such as a backyard observatory, a pier is the gold standard. It removes guesswork from the setup process. You can leave the mount attached, calibrate it once, and focus solely on capturing data. The investment pays off in cleaner images and less time spent troubleshooting mechanical issues.
Practical Tips for Implementation
Regardless of which upgrade you choose, installation details matter. Here are some practical tips to get the most out of your investment.
- Tighten everything: Before taking any photos, check all bolts and clamps on your tripod and mount. Vibration loosens parts over time. A loose leg clamp can undo the benefits of expensive spreader bars.
- Balance your payload: Even with a rigid support, an unbalanced mount puts extra stress on the gears. Counterbalance your setup properly to reduce strain on the motor drivers.
- Test in the field: Do not rely on indoor tests. Take your setup outside and perform a 'shake test.' Gently tap the tripod leg and watch the crosshairs or a star. If the image jumps significantly, you need more damping or stiffness.
- Use a cable release: Pressing the shutter button manually introduces vibration. Always use a remote release or intervalometer to trigger exposures without touching the camera.
- Consider the environment: If you observe near traffic or construction, anti-vibration pads become more critical. If you are in a remote area, focus on wind resistance and tripod rigidity.
Remember that stability is a system, not a single component. A perfect pier with a wobbly mount base will still produce bad images. A rigid tripod with a loose camera strap will also fail. Every part of the chain from the ground to the sensor must be secure.
Frequently Asked Questions
Are spreader bars worth it for carbon fiber tripods?
It depends on the specific model. High-end carbon fiber tripods are already very rigid, so spreader bars offer minimal improvement. However, if you are using a lightweight travel tripod for astrophotography, spreader bars can help stabilize the legs under heavy loads. Test your tripod without them first; if you notice significant flex, add them.
Can I use a pier for portable astrophotography?
Yes, but with limitations. Portable piers, such as those made from stacked PVC pipes or heavy-duty single-column tripods, can work well. They are easier to transport than concrete piers but lack the mass of a permanent foundation. They are ideal for campsite astrophotography where you want stability without carrying a full tripod.
Do anti-vibration pads work on grass?
They are less necessary on grass because the ground is already soft and absorbs some vibration. However, if you are on a hard-packed dirt path or gravel, pads can still help isolate the tripod from minor tremors. On soft grass, focus more on ensuring the tripod legs are firmly planted and not sinking unevenly.
Which is better: a heavier tripod or a pier?
A pier is generally better for stability because it eliminates leg flex entirely. However, a heavy tripod is more versatile and portable. If you move your gear frequently, a high-quality heavy tripod with spreader bars is a practical compromise. If you have a fixed location, a pier is the superior choice for long-term imaging projects.
How do I know if my tripod is too weak for my mount?
Check the manufacturer's weight rating. If your total payload (mount + scope + camera) exceeds 70-80% of the tripod's rated capacity, you are likely pushing it. Signs of weakness include visible flex when moving the scope, slow settling after adjustments, and inconsistent tracking performance across different nights. If you see these signs, upgrade to a stronger tripod or add stabilizing accessories.