1 Sep 2026
- 0 Comments
Imagine staring at the Moon through a telescope on a clear night. Suddenly, a tiny, bright pinpoint of light flashes on the surface for a fraction of a second. Did you see it? Or was it just a trick of the eye, a satellite passing by, or a reflection from your own equipment? This is the core challenge of Lunar Flash Detection, also known as observing Lunar Transient Phenomena (LTP). It’s one of the most rewarding yet frustrating pursuits in modern astronomy. Unlike tracking a planet that stays put, catching a lunar impact flash requires luck, patience, and-most importantly-the right technical setup.
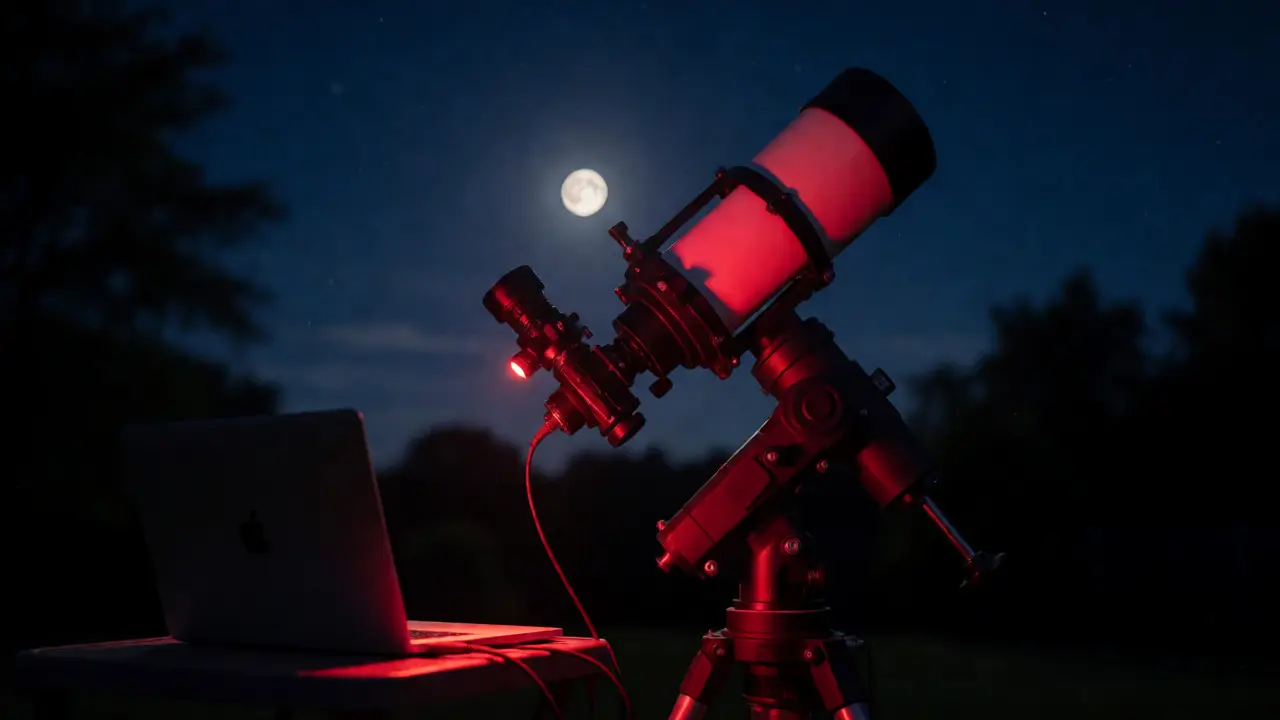
If you’re an amateur astronomer looking to contribute to real science, you don’t need a million-dollar observatory. You need a stable mount, a sensitive camera, and a strategy for recording data that can be analyzed later. This guide breaks down exactly how to set up your gear, what settings to use, and how to verify if that flash was real or fake.
Why Citizen Science Needs Your Eyes (and Cameras)
You might wonder why professional astronomers care about what your backyard telescope sees. The answer lies in coverage. Professional observatories are few, expensive, and often pointed at distant galaxies or exoplanets. They cannot monitor the entire near side of the Moon every single minute of every night. That’s where the global network of amateur observers comes in. Organizations like NASA’s Meteoroid Environment Office rely on these distributed observations to track meteoroid impacts.
When a small asteroid or comet fragment hits the Moon, it creates a brief burst of thermal radiation and light. These events happen roughly once every few hours somewhere on the visible lunar disk. By combining footage from dozens of amateurs across different time zones, scientists build a statistical picture of how often our neighbor gets hit. Your video isn’t just pretty; it’s data. But only if it’s recorded correctly.
The Hardware Foundation: Stability Is King
Before you worry about frame rates, look at your mount. A shaky image is useless for flash detection. If your telescope vibrates due to wind or motor backlash, you’ll create false positives. When analyzing video, software looks for sudden changes in brightness within a specific pixel area. If the whole image jumps, the software might interpret that movement as a flash.
- Equatorial Mounts: Preferred because they track celestial objects smoothly with a single axis. Ensure your polar alignment is tight.
- Alt-Azimuth Mounts: Workable but harder to keep centered for long periods without field rotation issues. Use them for shorter observation windows.
- Stabilization: Add counterweights. If your setup feels light, it will wobble. Heavy-duty tripod legs help dampen vibrations from footsteps or traffic.
Once stability is sorted, focus on the optical path. You need a telescope that provides enough magnification to resolve lunar features clearly, but not so much that the field of view becomes too narrow. A focal length between 1000mm and 2000mm is usually the sweet spot for wide-field lunar monitoring. Too much zoom, and you miss flashes happening just outside your view; too little, and the flash signal gets lost in the noise of the lunar terrain.
Camera Selection: CMOS vs. CCD
Your camera is the heart of this operation. While DSLRs are great for still astrophotography, they struggle with continuous high-speed video needed for flash detection. You need a dedicated astro-camera or a webcam modified for astronomy.
| Feature | DSLR/Mirrorless | Dedicated Astro-Camera (CMOS) | Modified Webcam |
|---|---|---|---|
| Frame Rate | Low (30-60 fps max in video mode) | High (100+ fps easily) | Moderate (30-60 fps) |
| Sensitivity | Good, but noisy at high ISO | Excellent (low read noise) | Poor to Moderate |
| Heat Management | Overheats during long sessions | Cooled options available | Runs hot, causes drift |
| Data Format | Compressed MP4/MOV | Uncompressed FITS/SER | Uncompressed AVI/FITS |
| Best For | Widefield scanning | High-fidelity impact detection | Budget entry-level |
For serious detection, a cooled CMOS camera is the gold standard. Why cooling? Heat generates "dark current" noise in the sensor. At high gain levels needed to catch faint flashes, this noise looks like random speckles. Cooling the sensor to -10°C or lower drastically reduces this background noise, making a real flash stand out clearly against the static.
Critical Video Capture Settings
This is where most beginners fail. They treat lunar video like YouTube content, aiming for smooth motion and perfect color. Forget aesthetics. You want data fidelity. Here are the non-negotiable settings.
Exposure Time
Moonlight is bright, but impact flashes are incredibly short-often lasting less than 0.1 seconds. If your exposure is too long, the flash energy spreads over many frames, diluting its intensity until it disappears into the noise floor. Aim for short exposures, typically between 5ms and 20ms. Yes, the image will look dark and grainy. That’s fine. We fix the brightness in post-processing.
Gain and ISO
Push your gain higher than you think. Since the exposure is short, you need amplification to make the photons visible. However, there’s a trade-off: higher gain means more electronic noise. Find the balance where the lunar surface details are just barely visible above the noise threshold. If the Moon looks pitch black, increase gain. If it looks like TV static, decrease it.
Frame Rate
Higher is better. A frame rate of 30fps misses half the potential information compared to 60fps. Many modern astro-cameras can push 100fps or more at reduced resolution. This increases your temporal resolution, allowing you to pinpoint the exact millisecond the flash occurred. More frames mean more chances to catch the peak brightness of the event.
Resolution and Binning
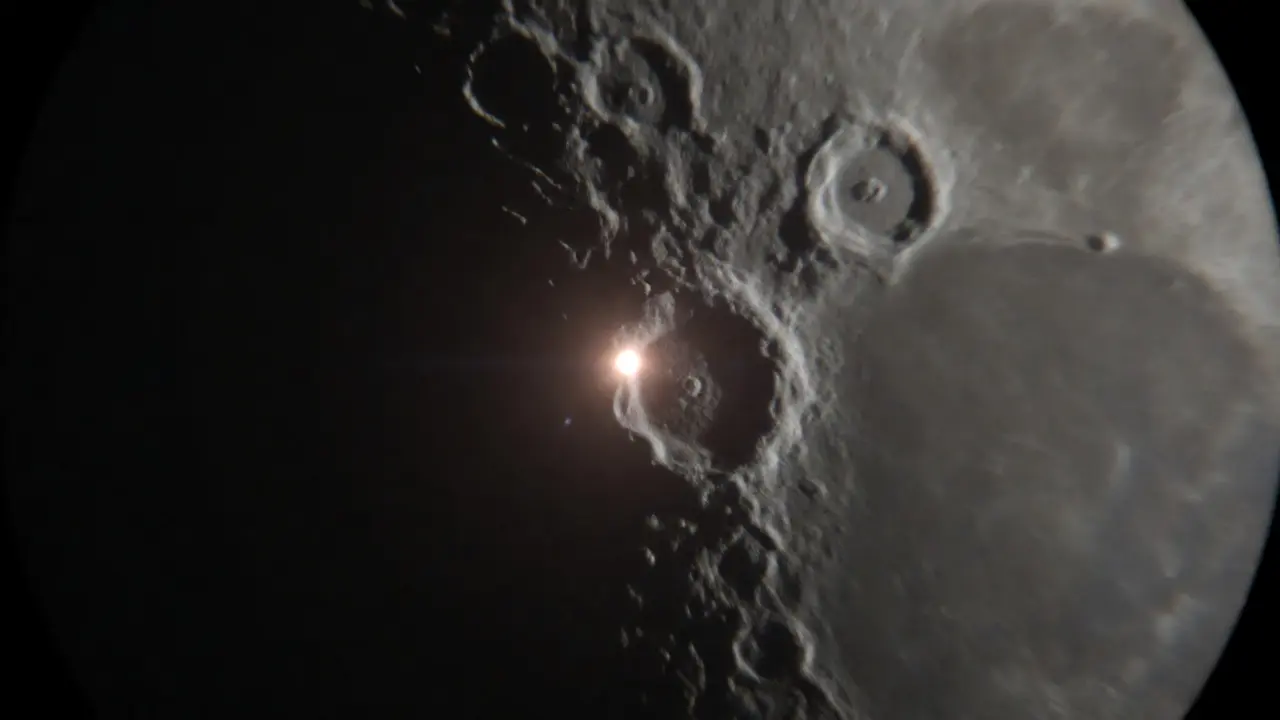
Do not record in full 4K resolution unless necessary. Larger files take longer to process and store. Instead, use binning (combining pixels) or crop the sensor area. Focus on the terminator line-the boundary between the lit and dark sides of the Moon. Most impacts occur here because the contrast is highest. Recording a cropped region around the terminator saves massive amounts of storage space while keeping the critical data intact.
Observation Strategy: Where and When to Look
You can’t watch the whole Moon at once. Prioritize the areas with the highest probability of detectable events. The Terminator is your best friend. The sharp shadows cast by mountains and craters along this line provide high contrast, making a sudden spike in brightness easier to distinguish from ambient variations.
Additionally, target regions with historically high activity. The crater Tycho is famous for ejecta rays and frequent micro-impacts. So is Copernicus. Monitoring these specific coordinates repeatedly builds a baseline dataset. If you notice a flash near Tycho, check historical records to see if similar events have been reported there before.
Timing matters too. Avoid nights when the Moon is fully illuminated. The lack of shadows makes it hard to distinguish surface features from glare. New moon phases offer no target. The ideal window is 7 to 10 days after new moon, when the terminator is prominent and moving slowly across interesting terrain.
Analysis Basics: Separating Signal from Noise
Recording is only half the battle. Now you have gigabytes of video. How do you find the needle in the haystack? Manual review is impossible for hours of footage. You need automated tools followed by human verification.
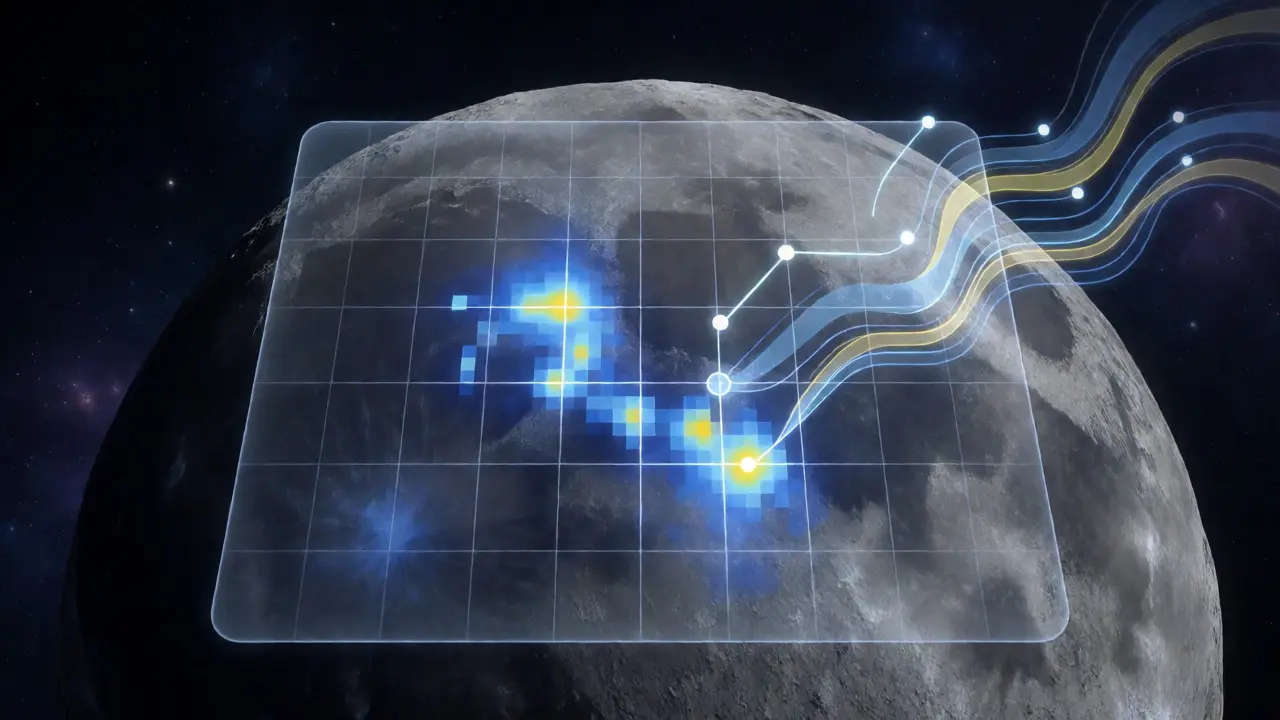
Software like LunarScan or PyLunar analyzes the video frame-by-frame. It calculates the average brightness of each pixel block over time. If a block’s brightness spikes significantly above the standard deviation of the surrounding frames, it flags it as a candidate event.
But algorithms make mistakes. Common false positives include:
- Satellites: Moving lights that cross the field of view. Real impacts stay stationary relative to the lunar surface.
- Space Debris: Similar to satellites but irregular shapes.
- Atmospheric Disturbances: Clouds or haze causing temporary dimming/brightening.
- Equipment Glitches: A loose cable or power fluctuation causing a screen flicker.
To verify, open the flagged clip. Does the light source move? If yes, discard it. Does it appear in multiple consecutive frames with a consistent rise and fall profile? If yes, it’s likely real. Check adjacent frames to ensure the surrounding lunar terrain hasn’t shifted (which would indicate a mount error).
Submitting Your Data
Once you’ve identified a potential flash, don’t just tweet a screenshot. Submit the raw video file or the extracted frames to a recognized database. Platforms like the International Meteor Organization (IMO) or NASA’s LUNAR program accept submissions. Include metadata: date, time (UTC), telescope aperture, focal length, camera model, and seeing conditions. This context helps analysts filter out low-quality data and correlate your finding with other observers’ reports.
Remember, negative results matter too. Reporting that you watched for four hours and saw nothing helps establish the frequency baseline. Consistency is key. Regular, shorter sessions are often more valuable than one marathon session with poor tracking.
Frequently Asked Questions
Do I need a telescope to detect lunar flashes?
Technically, you can try with binoculars, but the signal-to-noise ratio is very poor. A telescope with at least 80mm aperture is recommended to gather enough light and provide sufficient magnification to distinguish the flash from background noise and atmospheric interference.
How long should I record for?
There is no fixed rule, but consistency is vital. Sessions of 1 to 2 hours are practical for amateurs. Longer sessions increase the chance of catching an event but require excellent mount stability and battery management. Some automated setups run all night.
What does a real lunar flash look like?
It appears as a sudden, intense point of light that lasts for a few frames (typically 1-5 frames depending on frame rate). It remains stationary relative to the lunar surface and fades quickly. It does not streak across the sky like a satellite.
Can I use my smartphone camera?
Smartphones are generally unsuitable because their auto-exposure and compression algorithms alter the data. They also struggle with high frame rates and manual control. Dedicated astro-cameras or webcams allow precise control over exposure and gain, which is essential for scientific accuracy.
Is moonlight too bright for these settings?
No, moonlight is actually helpful. It illuminates the surface so you can navigate and focus. The key is using short exposures to underexpose the background slightly, ensuring that any sudden increase in brightness (the flash) stands out clearly against the darker baseline.