17 Aug 2026
- 0 Comments
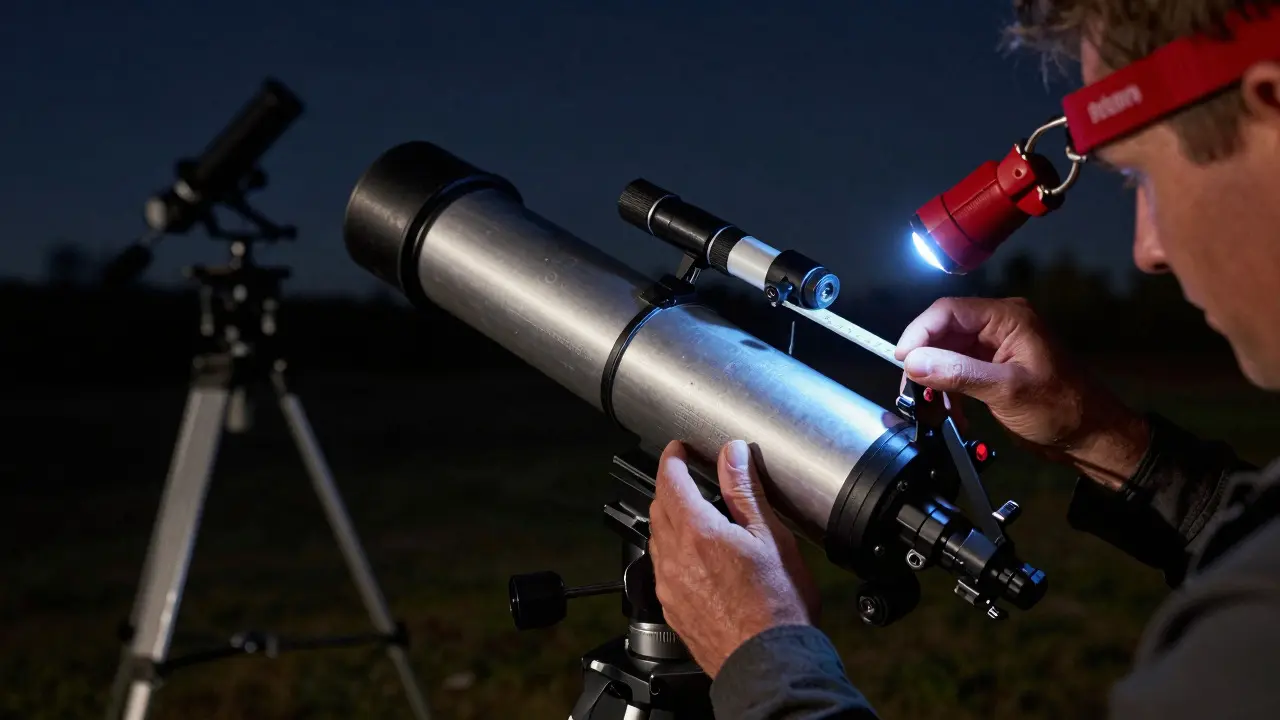
There is nothing quite like the frustration of pointing your scope at a nebula, only to find it’s missing from the field of view. You check the star chart, you trust the simulator, but something feels off. The culprit is rarely the sky; it’s almost always the settings inside Stellarium is a free, open-source planetarium software that simulates the night sky with high precision. It allows users to configure their specific optical equipment to predict exactly what they will see through the eyepiece. If your digital twin doesn’t match your physical gear, the software becomes a guessing game rather than a guide.
Getting this right transforms how you observe. Instead of wondering if M42 is too big for your view, you know precisely how much of the Orion Nebula fills your eye. This article walks you through the three critical pillars of configuration: your mount type, your telescope’s focal length, and your eyepiece selection. We’ll skip the fluff and get straight to the numbers that matter.
Key Takeaways
- Focal Length is King: This single number determines magnification and field of view. Measure it or calculate it accurately before entering it into Stellarium.
- Mount Type Matters for Tracking: Equatorial mounts allow for long-exposure astrophotography simulation, while Alt-Azimuth mounts limit tracking time due to field rotation.
- Eyepiece Apparent Field of View (AFOV): Do not assume all 10mm eyepieces show the same amount of sky. A 68° AFOV eyepiece shows significantly more than a 52° one.
- Barlow Lenses Change Everything: Adding a 2x Barlow doubles magnification and halves the field of view. Update your Stellarium profile when using one.
- Test with a Star: Always verify your settings by comparing the apparent size of a bright star or double star against reality.
Understanding Your Telescope’s Focal Length
The most common mistake beginners make is confusing aperture with focal length. Aperture is the diameter of the main lens or mirror; focal length is the distance light travels to focus. In Stellarium, these are two different inputs, but focal length drives the visual experience.
For refractors, the focal length is usually printed on the tube. For reflectors, it’s often listed in the manual. If you have a Newtonian reflector, you can calculate it yourself: multiply the aperture (in millimeters) by the f-ratio. For example, an 8-inch (203mm) f/8 Dobsonian has a focal length of 1,624mm. Enter this number into Stellarium, not the aperture.
Why does this matter? Because magnification is calculated as: Telescope Focal Length / Eyepiece Focal Length. If you put a 25mm eyepiece in a 1,000mm telescope, you get 40x magnification. If you accidentally entered the aperture (203mm) instead of the focal length, Stellarium would tell you you’re at 8x, which is wildly wrong. Accurate focal length input ensures your simulated field of view matches reality.
Choosing the Right Mount Type in Stellarium
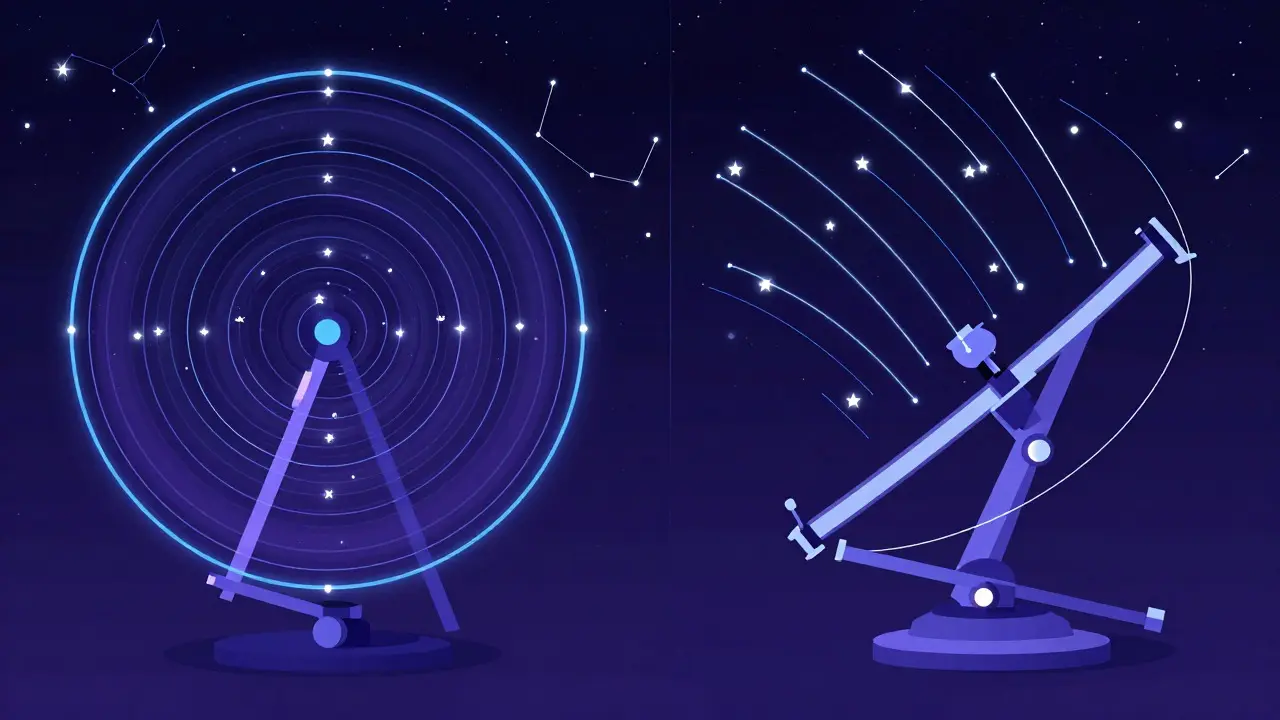
Stellarium distinguishes between Alt-Azimuth and Equatorial mounts because they behave differently under the stars. This distinction is crucial if you plan to use the software for planning astrophotography sessions or long-duration visual observations.
Alt-Azimuth (Alt-Az) mounts move up/down and left/right. They are intuitive for visual observing but suffer from "field rotation" when tracking objects. As Earth rotates, the background stars rotate within your field of view. In Stellarium, if you select Alt-Az, the software will simulate this rotation over time. This is useful for knowing how long you can track a target before the stars start swirling around your subject.
Equatorial mounts align with Earth’s axis. When set correctly, they track objects in a straight line without field rotation. If you use a GoTo equatorial mount, selecting this option in Stellarium allows you to simulate precise pointing and longer tracking times. Note that even equatorial mounts need periodic correction (drift), so don’t expect perfect alignment forever.
| Feature | Alt-Azimuth | Equatorial |
|---|---|---|
| Field Rotation | Yes (significant over time) | No (if aligned properly) |
| Best For | Visual observing, short exposures | Astrophotography, long tracking |
| Setup Complexity | Low (just level it) | High (requires polar alignment) |
| Stellarium Simulation Accuracy | High for visual FOV | High for tracking duration |
Configuring Eyepieces: The AFOV Factor
This is where most configurations go wrong. People enter the focal length of their eyepiece (e.g., 10mm) and assume that’s all Stellarium needs. But every eyepiece has an Apparent Field of View (AFOV), which is the angle of sky visible through the eyepiece itself, measured in degrees.
A standard Plössl eyepiece might have a 50° AFOV. A modern wide-angle eyepiece like a Celestron X-Cel LX could have a 70° AFOV. Even though both are 10mm, the X-Cel LX shows a much wider slice of the universe. If you don’t enter the correct AFOV in Stellarium, your simulated field of view will be too narrow or too wide.
To find your eyepiece’s AFOV, check the manufacturer’s specs. If you lost the box, look at the rim of the eyepiece; some brands print it there. If you still can’t find it, assume 50° for older designs and 60-70° for newer wides. Once you have the AFOV, Stellarium calculates the True Field of View (TFOV) using this formula: TFOV = AFOV / Magnification.
Example: You have a 1,000mm telescope and a 10mm eyepiece with a 60° AFOV. 1. Magnification = 1000 / 10 = 100x. 2. TFOV = 60 / 100 = 0.6 degrees. In Stellarium, when you point at the Moon, you should see roughly 0.6 degrees of lunar surface. If you see less, your AFOV entry is likely too low.
Step-by-Step Configuration Guide
- Open Stellarium and click on the bottom toolbar icon that looks like a telescope (Equipment Menu).
- Add a Telescope: Click "+" to add a new telescope. Give it a name (e.g., "My 8" Dob").
- Set Optical Type: Choose Refractor, Reflector, or Catadioptric based on your hardware.
- Enter Focal Length: Input the total focal length in millimeters. Remember: Aperture x f-ratio = Focal Length.
- Select Mount Type: Choose Alt-Azimuth or Equatorial. This affects tracking simulations.
- Add Eyepieces: Click the eyepiece tab within the telescope menu. Add each eyepiece you own. Enter the focal length (e.g., 25mm) and the AFOV (e.g., 50 degrees).
- Save and Test: Close the menu. Point your real telescope at a bright star or double star. Open Stellarium and point it at the same object. Compare the spacing and brightness. If the double star looks closer together in reality than in Stellarium, your focal length might be entered incorrectly.
Common Pitfalls and How to Avoid Them
Pitfall 1: Ignoring Barlow Lenses. If you use a 2x Barlow, your effective focal length doubles. Either create a separate telescope profile for "With Barlow" or manually adjust your calculations. Stellarium doesn’t automatically detect accessories unless you define them as part of the optical train.
Pitfall 2: Using Binoculars Settings for Telescopes. Don’t mix your 10x50 binoculars profile with your 8" Dobson. Keep profiles separate. Each piece of equipment has its own unique field of view characteristics.
Pitfall 3: Assuming Perfect Optics. Stellarium simulates ideal optics. Real scopes have aberrations, especially at high magnifications. If your image looks fuzzy at 200x, Stellarium won’t show that blur. Use the software for framing and magnitude estimation, not for judging optical quality.
Advanced Tips for Astrophotographers
If you use Stellarium for planning astro sessions, enable the "Atmospheric Extinction" module. This accounts for how much light is lost as it passes through Earth’s atmosphere, which varies by altitude and humidity. While not critical for visual observers, it helps photographers estimate exposure times more accurately. Also, consider setting your location’s latitude and longitude precisely. A 1-degree error in location can shift the position of celestial objects noticeably in the simulator, leading to missed targets.
Finally, keep your Stellarium database updated. New deep-sky objects are discovered regularly, and catalog updates ensure you’re seeing the latest information on variable stars and supernovae. The difference between a stale database and a current one can mean the difference between finding a faint galaxy and staring at empty space.
How do I find my telescope's focal length if it's not written on the tube?
Multiply the aperture (diameter of the primary lens/mirror in mm) by the f-ratio. For example, a 150mm f/10 telescope has a focal length of 1500mm. If you don't know the f-ratio, measure the distance from the center of the primary optic to the focal plane where the image comes into sharp focus.
Does the brand of my eyepiece matter for Stellarium settings?
The brand itself doesn't matter, but the Apparent Field of View (AFOV) does. Two 10mm eyepieces from different brands may have different AFOVs (e.g., 50° vs 68°). Enter the specific AFOV for each eyepiece model to get accurate field of view simulations.
Should I use Alt-Az or Equatorial in Stellarium for visual observing?
Use the mount type that matches your physical setup. If you have a Dobsonian (Alt-Az), select Alt-Az. This helps you understand field rotation limits. If you have a GoTo EQ mount, select Equatorial for better tracking simulations. The choice affects how long you can track an object before drift occurs.
What is the maximum useful magnification for my telescope?
A general rule of thumb is 50x per inch of aperture. For an 8-inch scope, that’s about 400x. Beyond this, atmospheric turbulence usually degrades the image. Stellarium can help you visualize how small objects appear at these magnifications, helping you decide if higher power is worth trying.
Can I simulate a camera sensor in Stellarium?
Yes, in recent versions, you can add a camera profile similar to an eyepiece. Enter the sensor width and height in millimeters. This allows you to see exactly how much of the sky fits on your camera frame, which is invaluable for planning astrophotography compositions.