24 Aug 2026
- 0 Comments
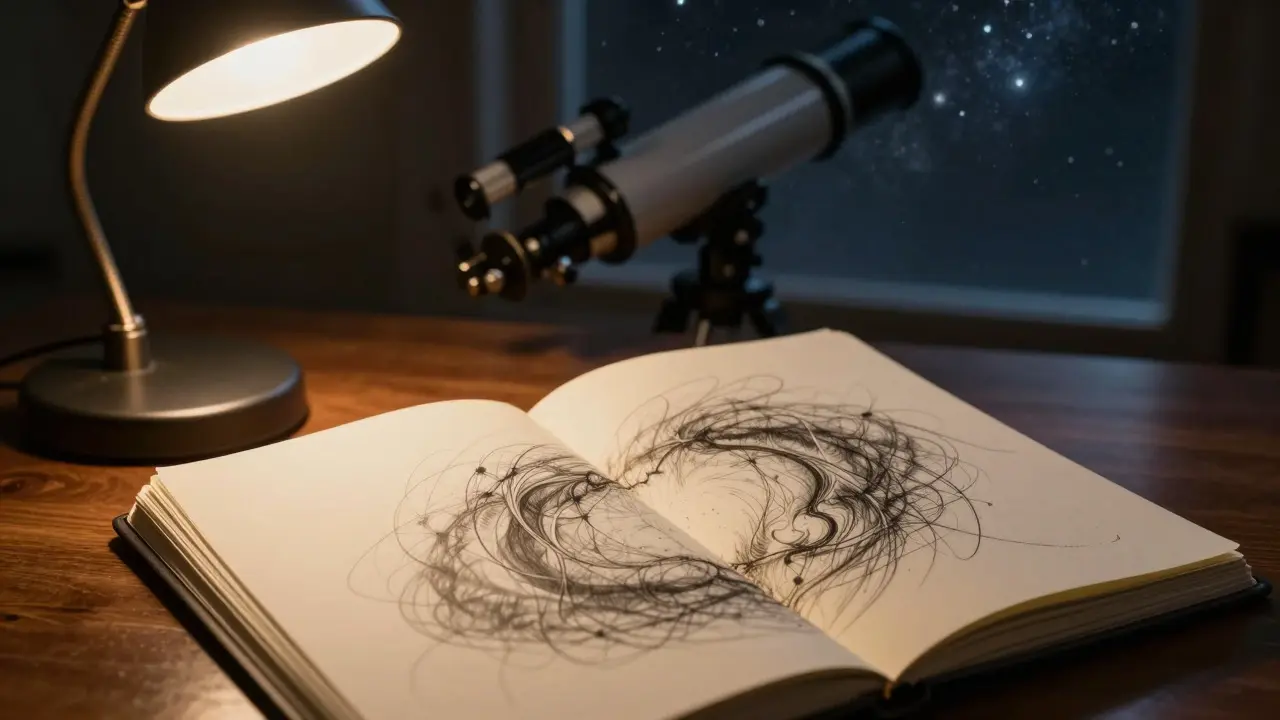
Ever tried to sketch the Veil Nebula and realized your notebook page just wasn't big enough? You zoom in to see the filaments, but lose the context. You zoom out, and the details vanish into a smudge. This is the classic problem of extended nebulae in visual astronomy. They are too large for a single field of view at high magnification, yet too faint for low-power detail work. The solution isn't better eyes or a bigger telescope-it's better geometry. Mosaic planning allows you to break a massive target into manageable "tiles," observe them systematically, and reassemble them into a complete, detailed map.
Why Single-Field Sketches Fail for Large Targets
Most visual sketchers start with a single frame. For compact objects like globular clusters or small planetary nebulae, this works fine. But when you point at something like the North American Nebula (NGC 7000) or the Lagoon Nebula (M8), you hit a wall. At the magnifications needed to resolve structure, the field of view shrinks. A typical 10-inch Dobsonian with a 32mm eyepiece gives you about 1 degree of sky. The North American Nebula spans roughly 2 degrees. You can only fit half of it in one sketch. If you try to lower the magnification to fit the whole thing, the surface brightness drops, and the delicate wisps disappear against the background stars.
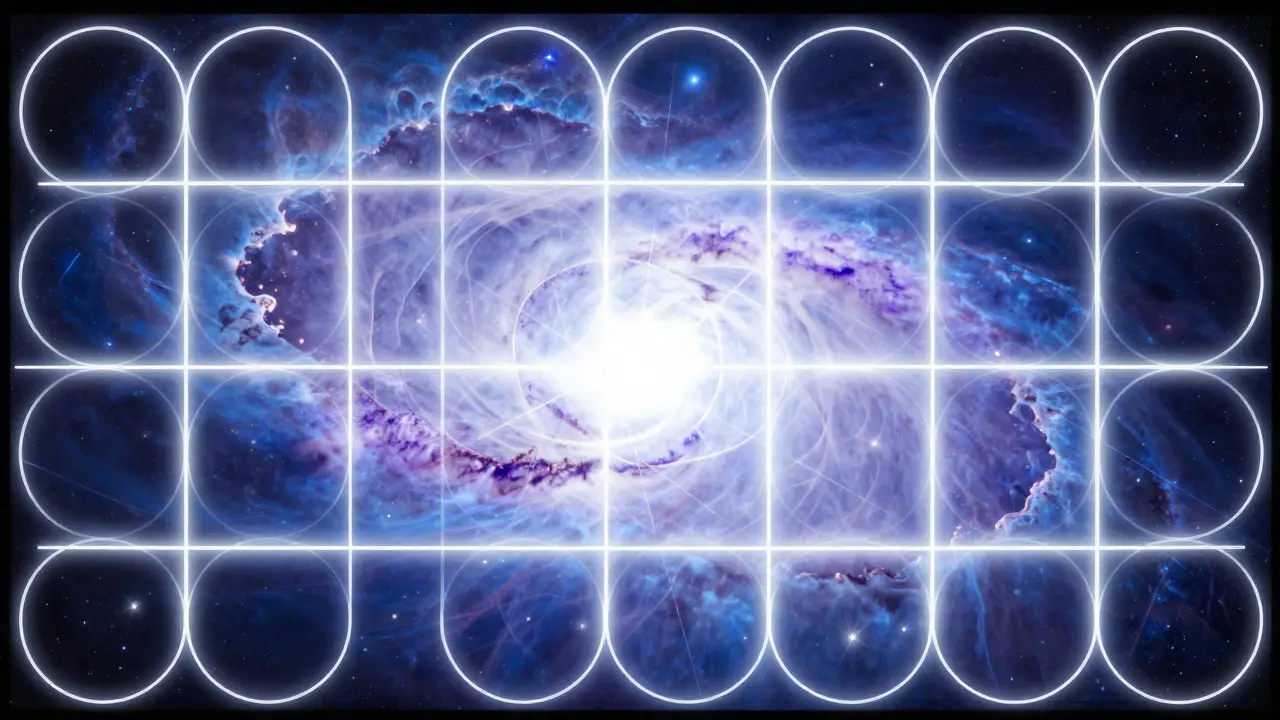
This disconnect between resolution and coverage is why mosaic planning exists. It treats the sky not as a continuous canvas, but as a grid of overlapping windows. By shifting the telescope slightly after each sketch, you capture adjacent sections. When you overlay these tiles later, you get a composite image that has both the wide-angle context and the high-magnification detail of a single-frame sketch.
The Core Principle: Overlap and Orientation
The secret to a successful mosaic lies in two factors: overlap and orientation. If your tiles don't overlap, you'll have gaps where no data exists. If your orientation shifts between tiles, you won't be able to align them properly during post-processing. A standard rule of thumb is to aim for 20% to 30% overlap between adjacent tiles. This ensures that even if your centering is off by a few arcminutes, you still have common reference points to stitch the images together.
Orientation is trickier. As you move the telescope, the apparent rotation of the sky changes slightly due to the Earth's rotation (field rotation). For short sessions, this is negligible. But for long mosaics covering several degrees, you need to account for it. The best way to handle this is to keep your telescope mount aligned consistently. If you use an equatorial mount, ensure your declination axis is locked firmly. If you use an alt-azimuth mount, consider using a GoTo system that corrects for field rotation automatically, or stick to very short observation windows per tile.
Step-by-Step: Creating Your Mosaic Plan
You don't need complex software to plan a mosaic, though tools like Stellarium or SkySafari help visualize the field of view. Here is a practical workflow you can use from your backyard in Portland, Oregon, or anywhere else under dark skies.
- Determine your Field of View (FOV): Calculate the exact diameter of your eyepiece's view in degrees. Use the formula: FOV = Apparent Field of View / Magnification. For example, a 68-degree eyepiece on a 1000mm focal length scope with a 25mm eyepiece gives a magnification of 40x. Your FOV is 68/40 = 1.7 degrees.
- Select your anchor star: Choose a bright, distinct star near the edge of your target nebula. This will be your starting point. Mark its position relative to the nebula's core.
- Define the grid: Imagine a grid over the nebula. If your FOV is 1.7 degrees and the nebula is 3 degrees wide, you need at least 2 tiles horizontally and 2 vertically, plus overlap. This creates a 2x2 or 3x3 grid depending on how much margin you want.
- Sketch the first tile: Center on your anchor star. Sketch the visible structures, noting the positions of any bright stars within the frame. These stars become your alignment markers.
- Shift and repeat: Move the telescope so that the next tile overlaps the previous one by 25%. Ensure the same reference stars appear in both frames. Sketch the new area, focusing on details that were too faint or compressed in the previous frame.
- Record metadata: Write down the time, date, eyepiece used, and the specific shift direction (e.g., "Move East 0.5 degrees") for every tile. This makes assembly much easier later.
Handling Faint Details and Background Noise
One of the biggest challenges in visual mosaic sketching is maintaining consistent contrast. As you move across the nebula, the background sky brightness might change slightly due to light pollution gradients or atmospheric extinction. To combat this, always include a patch of pure sky in the corner of each tile. Sketch the density of stars in that patch. If the background gets brighter in subsequent tiles, note it. During assembly, you can mentally adjust the contrast levels to match the original observations.
Also, pay attention to the "veiling" effect. In high-magnification tiles, faint nebulosity can disappear entirely. Don't assume it's gone; it might just be below your threshold. Compare your current tile with the adjacent one. If a filament fades out in one frame but appears in the other, trust the frame where it was visible and extrapolate its path gently.
Assembly: From Sketches to Map
Once you have all your tiles, the fun part begins: assembly. You can do this digitally using free tools like GIMP or Photoshop, or physically by tracing onto a larger sheet of paper. Digital assembly is more precise. Import your sketches as images. Align them using the reference stars you noted earlier. Most photo editing software has a "transform" tool that lets you scale, rotate, and warp images slightly to match the overlaps. Blend the edges using layer masks to hide the seams. The result is a single, cohesive map of the nebula that captures details impossible to see in one go.
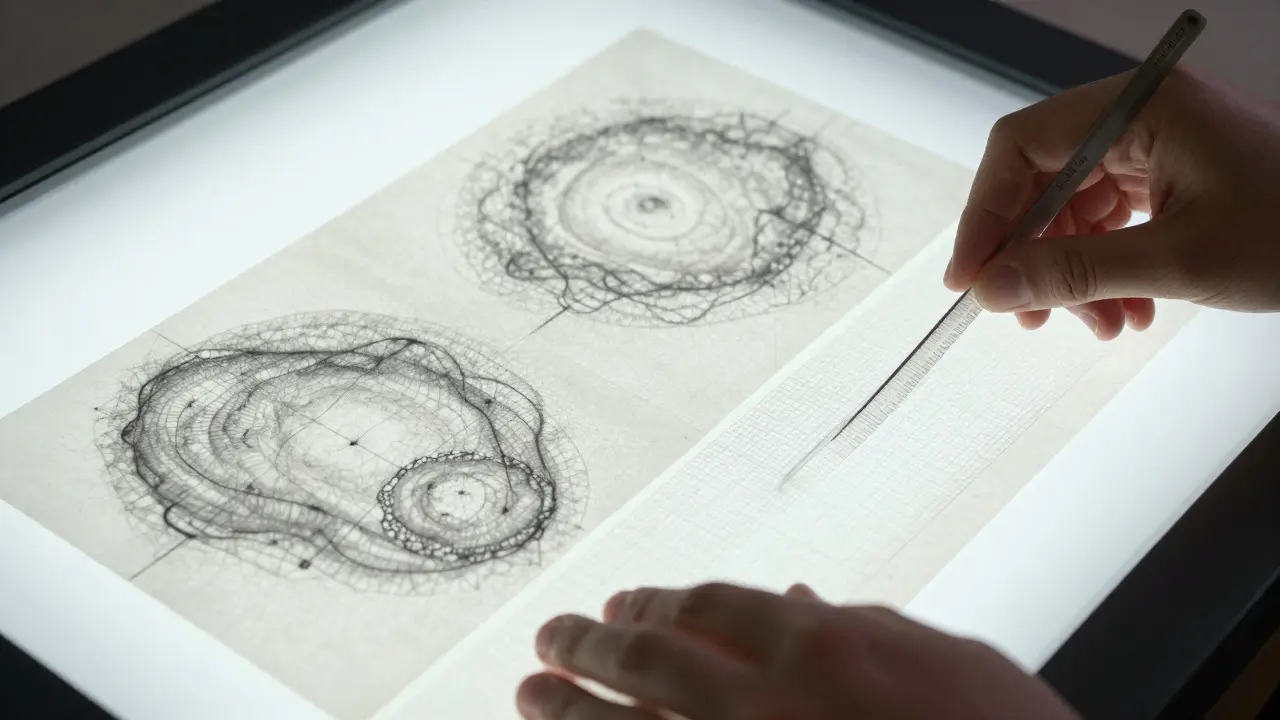
For physical assembly, use a light table or a window pane. Place your sketches in order, overlapping them by the planned percentage. Trace the outlines of the nebula features onto a master sheet. Fill in the details from each tile. This method is slower but gives you a tactile sense of the object's shape that digital files sometimes lack.
Common Pitfalls and How to Avoid Them
Many beginners make the mistake of trying to cover too much ground in one night. A mosaic of 12 tiles can take 3 to 4 hours, even if each sketch takes only 15 minutes. Factor in setup, cooling, and breaks. Start with a 4-tile mosaic for medium-sized targets before attempting the full Veil Nebula. Another pitfall is inconsistent eyepieces. Stick to one eyepiece for the entire session. Changing magnification mid-mosaic complicates alignment because the field of view changes, making the overlap percentages unpredictable.
Finally, don't ignore the weather. Humidity in places like Portland can fog up your optics quickly. Wipe your lenses between tiles if necessary, but avoid touching the glass directly. Use a lens pen or microfiber cloth. Consistency in conditions is just as important as consistency in technique.
Frequently Asked Questions
What is the minimum number of tiles needed for a mosaic?
The minimum is usually four tiles arranged in a 2x2 grid. This covers a target that is approximately twice the width and height of your field of view. Smaller targets may only require two tiles side-by-side, but four provides better context and easier alignment.
How much overlap should I use between tiles?
Aim for 20% to 30% overlap. Less than 20% risks gaps if your centering is off. More than 30% wastes time and increases the complexity of assembly. 25% is a good middle ground for most visual observers.
Can I use different eyepieces for different tiles?
It is possible but not recommended. Using different eyepieces changes the field of view and magnification, making it difficult to align the tiles accurately. Stick to one eyepiece for the entire mosaic to ensure uniformity.
Do I need a motorized mount for mosaic planning?
No, but it helps. Manual mounts work fine for small mosaics (4-6 tiles). For larger mosaics (10+ tiles), a GoTo system saves time and reduces fatigue. However, manual tracking requires careful attention to drift, especially in declination.
How do I align my sketches during assembly?
Use the reference stars you noted in each tile. Identify 3-4 bright stars that appear in overlapping regions. Match their positions in the digital or physical assembly. Adjust the scale and rotation of each tile until the stars line up perfectly.