30 Jan 2026
- 0 Comments
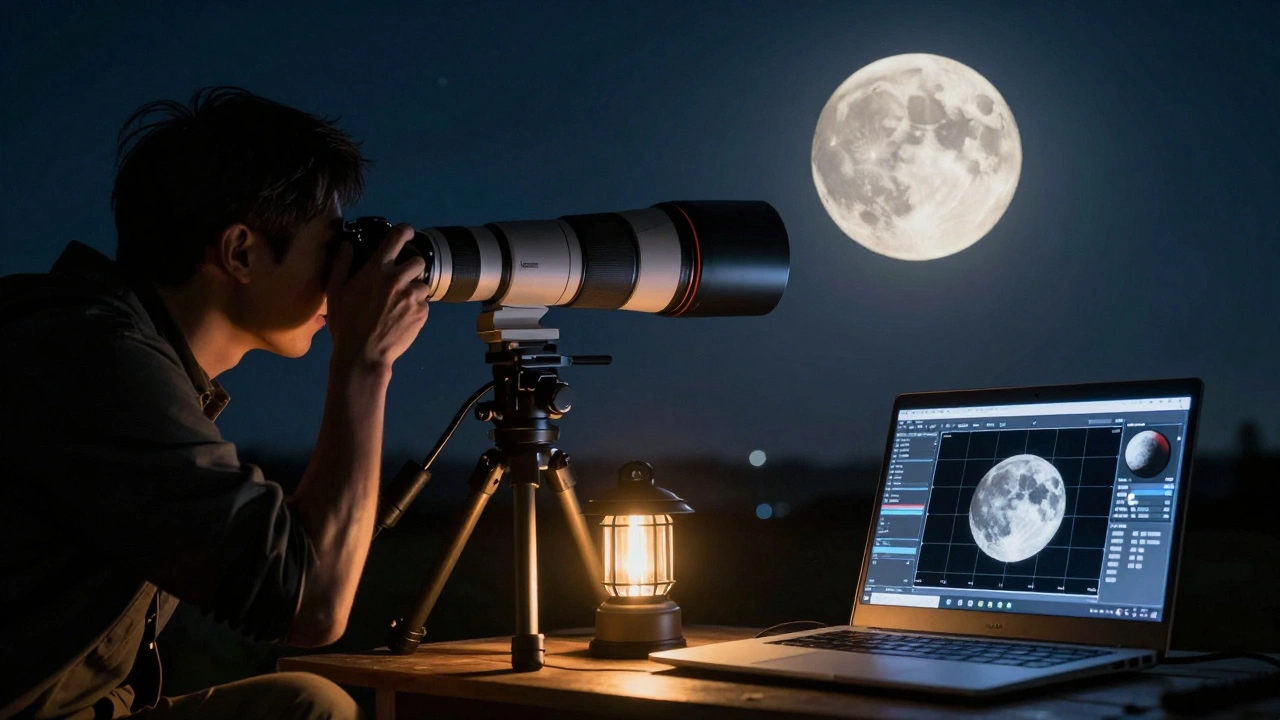
What You Really Need to Know Before Shooting the Moon
Most people think lunar photography is simple: point a camera at the moon and click. But if you’ve ever taken a shot of the moon only to get a blurry, overexposed blob, you know it’s not that easy. The moon isn’t just a bright disk-it’s a complex surface with craters, ridges, and shadows that demand precision. Planning ahead isn’t optional. It’s what separates a decent snapshot from a detailed, publishable image. This guide cuts through the noise and gives you real, actionable steps for choosing the right focal length, predicting seeing conditions, and stitching seamless lunar mosaics.
Why Focal Length Matters More Than You Think
The moon is about 3474 kilometers wide, but it’s 384,000 kilometers away. That means it fills only about 0.5 degrees of your field of view. If you shoot with a 50mm lens on a full-frame camera, the moon will look like a small coin in the frame. Not very impressive. To fill the frame, you need serious reach.
Here’s what works in practice:
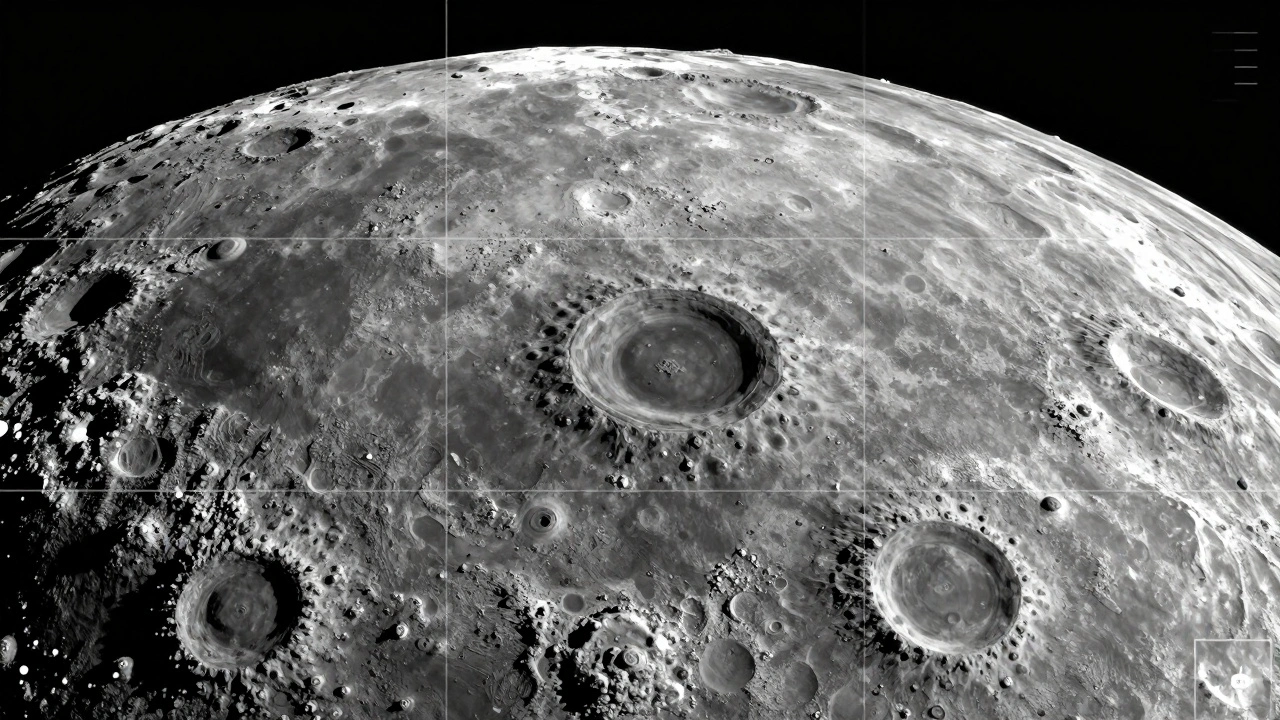
- 300mm to 500mm: Good for capturing the moon with some surrounding sky. You’ll see major craters like Tycho and Copernicus, but not fine detail.
- 800mm to 1200mm: The sweet spot for most amateur imagers. At this range, you can resolve features as small as 5 kilometers across. You’ll start seeing texture in the lunar highlands and the fine edges of rilles.
- 1500mm and beyond: This is where serious lunar imaging happens. With a 1500mm telephoto or a 2000mm telescope, you can pick out individual boulders and shadow lines in the terminator zone. But you’ll also need a sturdy mount and perfect tracking.
Don’t forget about crop sensors. A 300mm lens on an APS-C camera gives you the same field of view as a 450mm lens on full-frame. That’s why many lunar photographers use crop-sensor DSLRs-they get more reach without the cost of a longer lens.
Seeing Conditions: The Silent Killer of Lunar Detail
Even the best equipment won’t help if the air is turbulent. This is called seeing. It’s not about cloud cover-it’s about how steady the atmosphere is. On nights with poor seeing, the moon shimmers like it’s viewed through a heat haze. Fine details vanish.
You can’t control the weather, but you can predict seeing. Here’s how:
- Check the lunar altitude. The moon should be at least 30 degrees above the horizon. Low angles mean you’re looking through more atmosphere, which means more distortion.
- Use seeing forecasts. Sites like Astronomy Tools or Clear Sky Chart show seeing estimates based on wind speed and temperature gradients. Look for values below 2 arcseconds-anything above 3 is rough.
- Watch for thermal currents. If you’re imaging from your backyard, wait until the ground has cooled. Heat rising off rooftops or pavement can ruin your view. Wait at least an hour after sunset.
- Test the air. Point your telescope at a bright star. If it twinkles violently, the seeing is bad. If it stays steady, you’re good to go.
I’ve lost three nights in a row to what looked like perfect skies-only to realize the upper atmosphere was turbulent. Now I check seeing forecasts religiously. It saves time, battery, and frustration.
How to Build a Lunar Mosaic Without Losing Your Mind
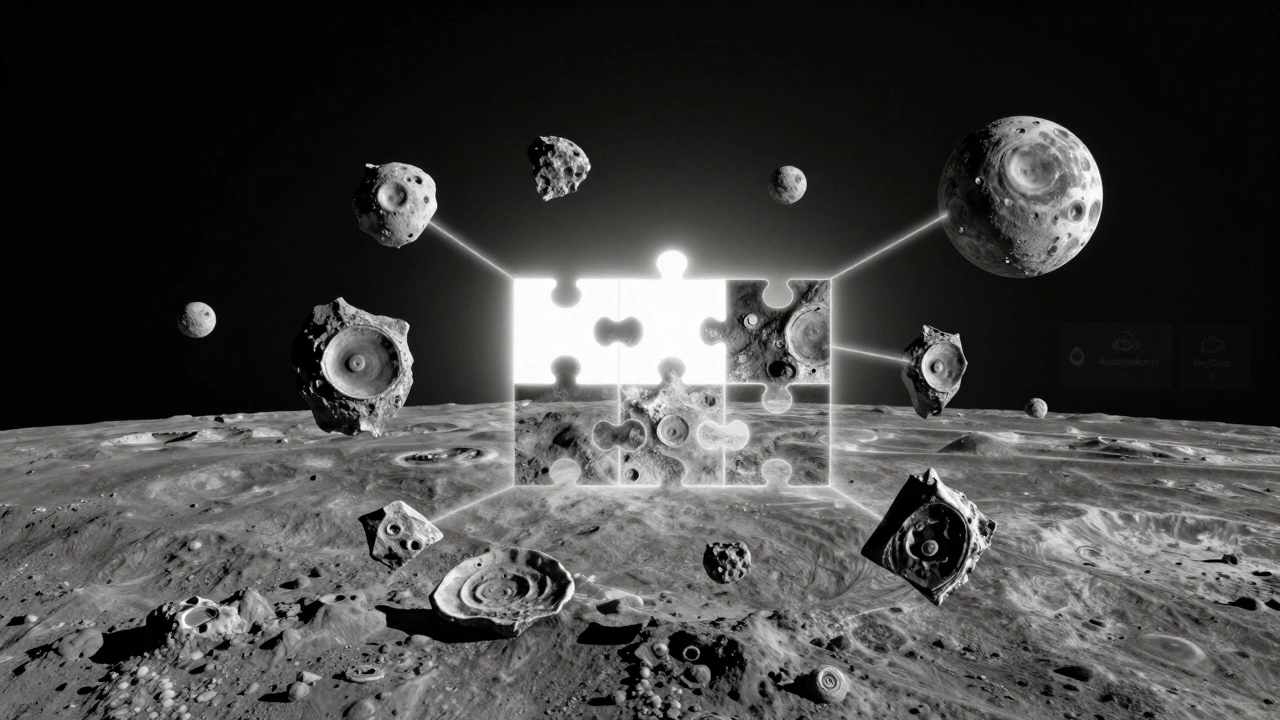
Even with a 2000mm scope, you can’t capture the whole moon in one shot. That’s where mosaics come in. A mosaic is a stitched panorama of multiple frames that covers the entire lunar disk.
Here’s the real workflow:
- Plan your grid. Use software like SharpCap or AS!3 to generate a grid pattern. Most lunar mosaics use a 3x3 or 4x4 grid. Don’t go beyond 5x5-you’ll spend hours aligning frames.
- Set consistent exposure. The moon’s brightness changes dramatically from limb to center. Use manual exposure and lock it. A good starting point is 1/125s at ISO 100 and f/8. Adjust based on your focal length and sensor.
- Overlap by 30%. Each frame should overlap the next by at least 30%. This gives stitching software enough data to align images perfectly. Don’t be stingy with overlap.
- Shoot in RAW. You’ll need the dynamic range to recover shadows in the terminator and highlights on the bright plains.
- Shoot during good seeing. If the moon is shimmering, don’t shoot. Wait. A mosaic with blurry frames is worse than a single sharp shot.
After shooting, use Autostakkert! to stack each frame individually, then RegiStax or Photoshop to align and blend them. The key is to align on surface features, not the edge of the moon. The terminator zone is your best friend-it’s full of contrast and detail.
Tools That Actually Help
You don’t need expensive gear to start, but some tools make the difference between chaos and control:
- Planetary imaging software: FireCapture, SharpCap, or AstroDMx. These let you record video streams, which you’ll later stack to reduce noise.
- Mount with tracking: A sturdy equatorial mount like the Sky-Watcher HEQ5 or iOptron CEM26 is essential for exposures longer than 1/30s.
- Lunar filter: A neutral density filter (like a 13% transmission) helps balance exposure across the bright and dark areas. A color filter (red or blue) can enhance contrast.
- Remote shutter: Even the slightest touch can blur your image. Use a wireless trigger or app-based shutter release.
Common Mistakes and How to Avoid Them
Here’s what goes wrong-and how to fix it:
- Overexposing the moon: The moon reflects sunlight, but not like a light bulb. Use the histogram. If the right side is clipped, you’re losing detail. Dial back exposure.
- Using autofocus: Autofocus will hunt endlessly on the moon. Switch to manual. Focus on a bright crater rim. Use live view at 10x zoom.
- Shooting during a full moon: Full moon means no shadows. All the texture disappears. Go for first or last quarter. That’s when the terminator casts long shadows and reveals depth.
- Ignoring the libration: The moon wobbles slightly. This libration lets you see different parts of the far side over time. Use apps like Stellarium to see which features will be visible on your shoot date.
When to Shoot: The Best Lunar Windows in 2026
In early 2026, the best windows for detailed lunar imaging are:
- February 23-25: First quarter. Perfect terminator lighting. Craters like Aristarchus and Herodotus pop.
- March 10-12: Waxing gibbous. Good balance of light and shadow. Mare Serenitatis is clearly defined.
- April 7-9: Last quarter. Great for the southern highlands and Tycho’s rays.
Avoid full moon dates: March 4, April 3. The surface is flat and washed out. You’ll miss the texture you came for.
Final Tip: Patience Beats Gear
The best lunar images aren’t taken with the most expensive equipment. They’re taken by someone who waited for the right night, the right moment, and the right exposure. Don’t rush. Check the forecast. Test your focus. Shoot multiple frames. Wait for the air to settle. The moon will be there tomorrow. And the next day. And the day after that. But only once will the seeing be perfect-and when it is, you’ll know.
What focal length do I need to fill the frame with the moon?
To fill a full-frame sensor with the moon, you need around 1200mm. On APS-C sensors, 800mm works well. Most amateur imagers use 800mm to 1500mm setups with telescopes or long telephotos. Anything shorter than 500mm will show the moon as a small disk.
How do I know if the seeing is good tonight?
Check seeing forecasts on Astronomy Tools or Clear Sky Chart. Look for values under 2 arcseconds. You can also test it visually: point your telescope at a bright star. If the star twinkles or dances, the seeing is poor. If it stays sharp and steady, you’re good to shoot.
Can I shoot a lunar mosaic with a DSLR and a telephoto lens?
Yes, but only if you have a stable mount and a lens longer than 500mm. A 600mm f/4 on a full-frame camera works. You’ll need to shoot in manual mode, use a remote shutter, and overlap each frame by 30%. Stack each frame individually before stitching.
Why is the full moon a bad time for lunar photography?
The full moon has no shadows. All the craters, ridges, and valleys lose their depth because the sun is directly overhead. The surface looks flat and washed out. The best detail appears during first or last quarter, when the sun hits the moon at a low angle, casting long shadows.
Do I need a filter for lunar photography?
Not always, but they help. A neutral density filter (13% transmission) reduces overall brightness, making exposure easier. A blue filter enhances contrast in the highlands. A red filter brings out volcanic features in the maria. Start without one, then add filters if you’re struggling with overexposure.