17 Aug 2026
- 0 Comments
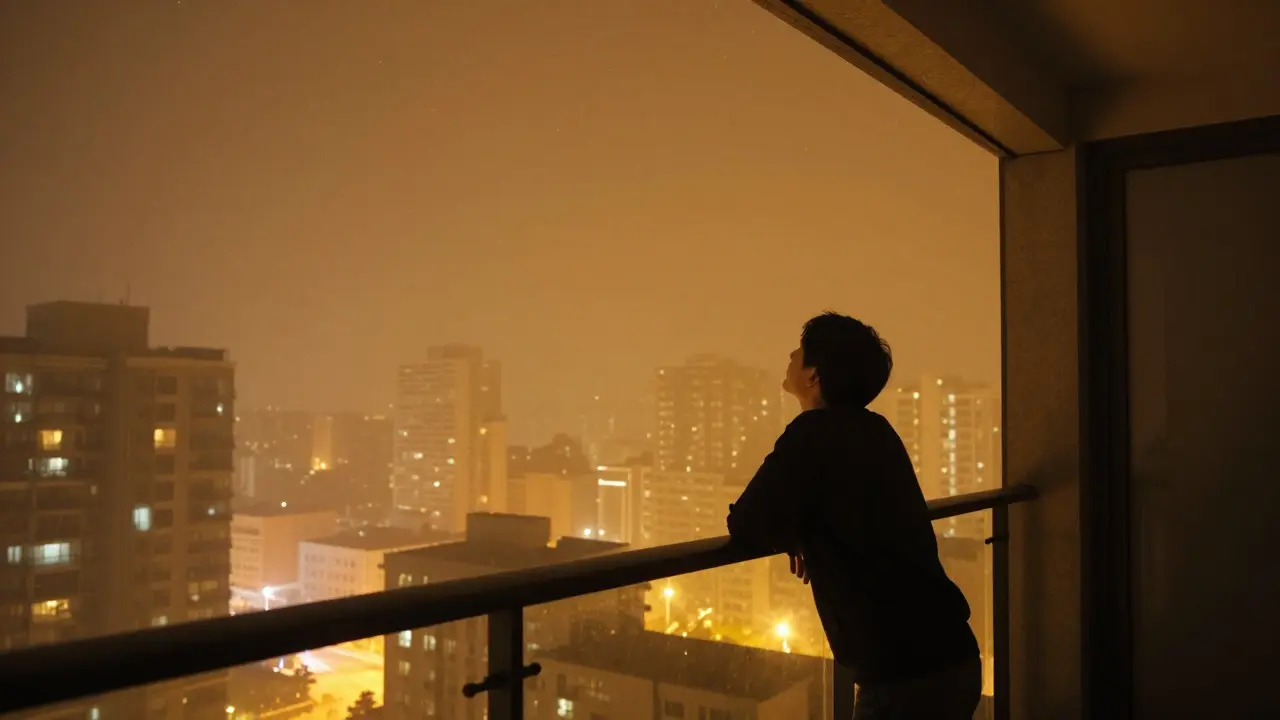
You look up at the night sky from your city apartment and see a glowing orange haze. The stars are there, but they’re faint, buried under the ambient glow of streetlights and billboards. For many urban observers, the dream of seeing the Milky Way feels like it belongs to people living in rural cabins, not those with concrete jungles around them. But you don’t need to drive eight hours into the wilderness to find a good view. With the right strategy, you can locate surprisingly dark spots just a few miles from your front door.
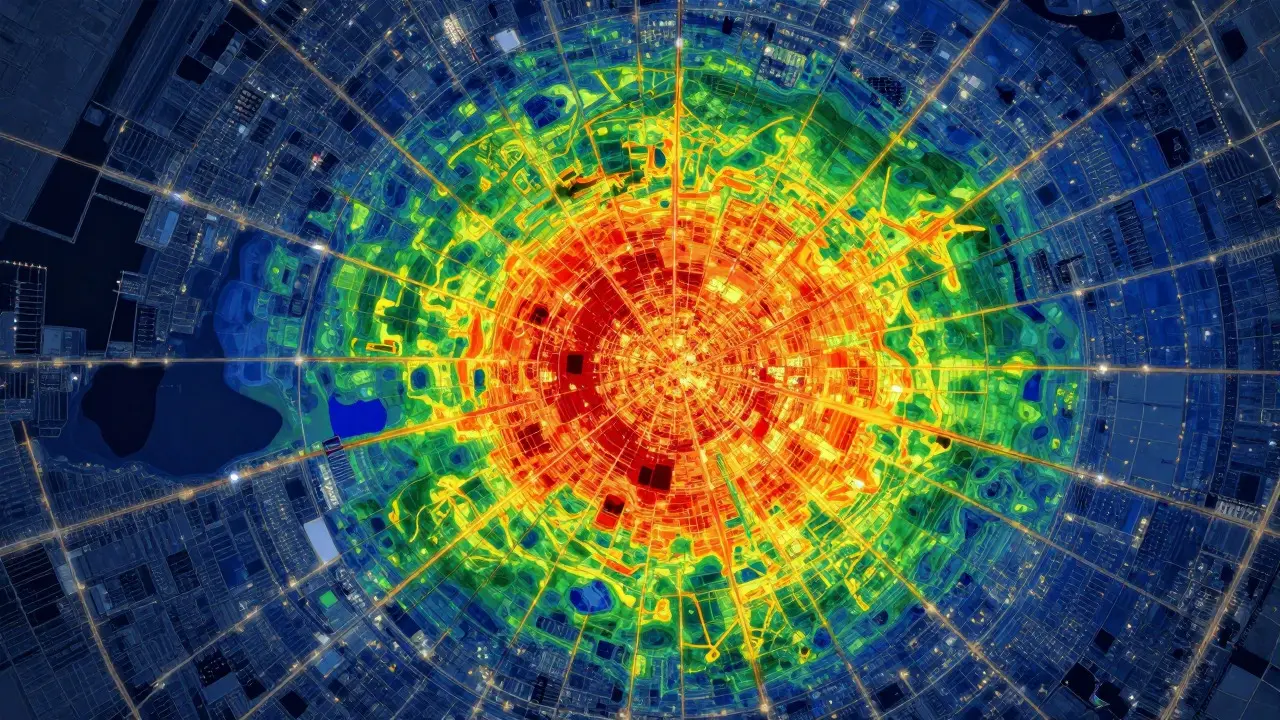
The key isn't just finding "no lights"; it's understanding how light behaves and using data to your advantage. Light pollution is the brightening of the night sky due to artificial light sources, which obscures astronomical observation. It doesn't stop at the horizon. It creates a dome of glare that extends hundreds of miles. By mapping this glare, you can identify pockets of darkness that remain hidden even in metropolitan areas.
Understanding the Light Pollution Map
Before you pack your binoculars, you need to read the landscape of light. The most useful tool for this is the Bortle Scale, a nine-point system that classifies the darkness of the night sky. In the center of a major city, you're likely at a Bortle Class 9 or 8. Here, the zodiacal light is invisible, and only the brightest planets and constellations show up. As you move outward, the scale drops. A Bortle Class 5 site allows you to see the core of the Milky Way on a clear, moonless night. That’s the sweet spot for most urban observers-close enough to be accessible, dark enough to be rewarding.
To find these zones, use online tools like the Light Pollution Map or the Dark Site Finder app. These platforms overlay satellite imagery with calculated light intensity. Look for green or yellow patches within the red and orange clouds of your city. Don't trust the map blindly, though. Satellite data can miss local quirks like a new highway interchange or a brightly lit sports complex. Always cross-reference digital maps with recent photos from other observers on forums or social media groups.
Strategic Location Selection for City Dwellers
Once you have a candidate location, evaluate it based on three factors: elevation, horizon obstruction, and proximity to specific light sources.
- Elevation: Higher ground helps you rise above the local heat islands and lower-level light scatter. A hilltop park two miles away often offers a darker sky than a valley floor ten miles out.
- Horizon Obstruction: Trees, buildings, and hills block light. While they reduce the visible area of the sky, they also cut off the worst of the city glow if positioned correctly. A dense tree line between you and the city center can drop the effective Bortle class by one or two levels.
- Directionality: Light pollution is rarely uniform. It often comes from specific directions (e.g., a downtown skyline to the east). Choose a site where the darkest part of the sky is unobstructed. If the city glow is to the west, face east for your best views.
A common mistake is driving straight away from the city center in a single direction. Instead, try moving perpendicular to the main light source. Often, the side streets leading to suburban parks or industrial zones offer darker skies than the direct radial routes because the light scatter is less concentrated.
Timing Your Observation Session
Even the best location will fail if you pick the wrong time. The moon is the biggest competitor to dark skies. When the Moon is full, it washes out faint stars regardless of how far you've driven. Check lunar phases before you go. The best windows are during the new moon or when the moon sets early in the evening.
Air quality matters too. Haze, humidity, and smog act like a filter, scattering light and reducing contrast. On humid summer nights, the sky might look brighter and more washed out than on dry winter nights, even at the same location. Use weather apps to check for cloud cover and visibility metrics. A clear, dry night with low humidity is your golden ticket.
Essential Gear for Urban Stargazing
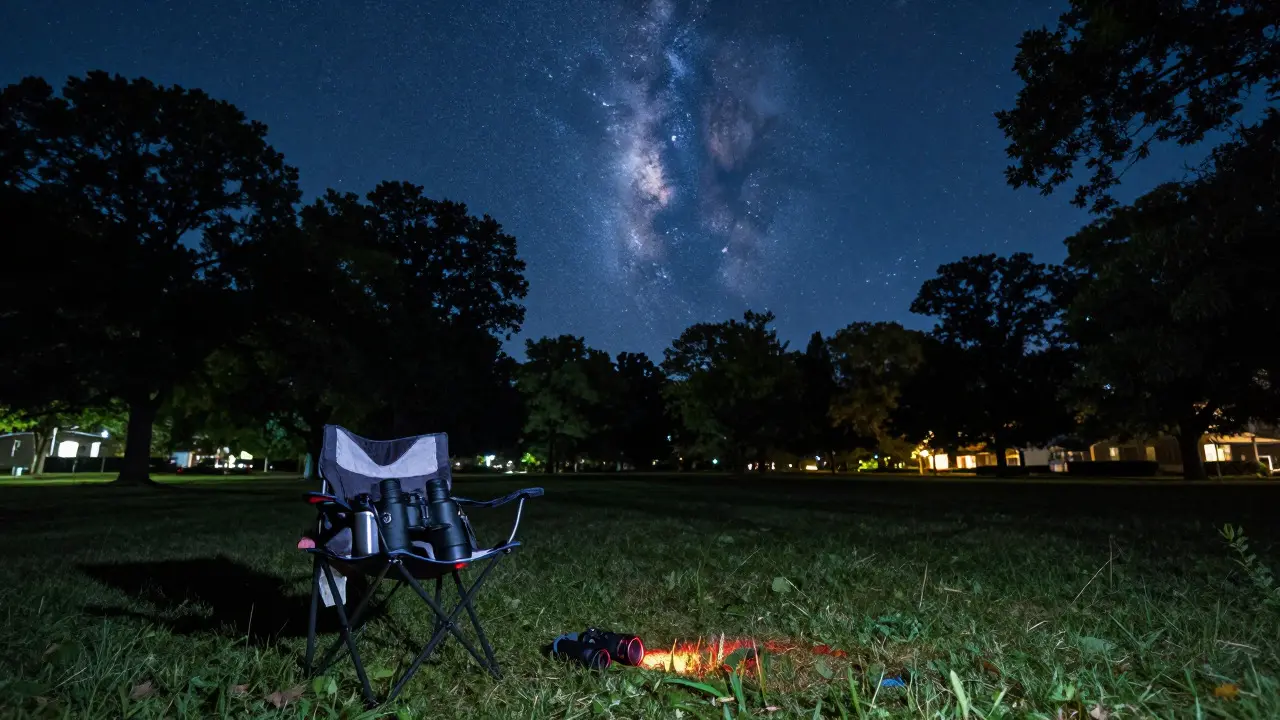
You don’t need a telescope to enjoy a dark sky site near an urban area. In fact, wide-field views are often more impressive than magnified ones in semi-polluted environments. Here is what actually works:
- Binoculars: A pair of 10x50 or 15x70 binoculars reveals star clusters and nebulae that are invisible to the naked eye. They gather significantly more light than your eyes, cutting through some of the residual glow.
- Red Headlamp: White light destroys your dark adaptation. Red light preserves your night vision. Keep the brightness as low as possible while still being able to read your star charts.
- Star Chart App: Apps like Stellarium or SkySafari help you identify objects quickly. Since you're close to home, you want to make the most of your limited time.
- Comfort Items: A blanket, a thermos of hot drink, and a comfortable chair. Staring at the sky is passive, but staying warm and comfortable is active work, especially in cooler months.
If you do bring a telescope, choose one with a large aperture and short focal length. Refractors or fast reflectors are better suited for planetary viewing and bright deep-sky objects in higher Bortle classes. Avoid long-focal-length instruments designed for very faint galaxies unless you're truly in a remote area.
Common Pitfalls to Avoid
Many urban observers get frustrated because they expect the sky to look like a postcard from a national park. Adjust your expectations. At a Bortle Class 6 site, the Milky Way will be visible as a broad band, but it won't be detailed or colorful. That’s normal. The goal is to see more than you can from your backyard, not to replicate a professional observatory environment.
Another pitfall is ignoring local regulations. Some parks have quiet hours, curfews, or restrictions on camping. Check the rules before you arrive. Leaving no trace is crucial, especially in popular dark sky sites that may be under pressure from development. Be a good neighbor, and the access will last longer.
| Bortle Class | Sky Description | Visible Objects | Typical Location |
|---|---|---|---|
| 8-9 | Inner city sky. Strong twilight all around. | Moon, planets, bright stars only. | Downtown centers |
| 6 | Bright suburban sky. Milky Way barely visible. | Bright clusters, nebulae, double stars. | Suburban edges |
| 4-5 | Rural sky. Milky Way well-developed. | Faint nebulae, galaxy cores, zodiacal light. | Rural outskirts, state parks |
| 1-3 | Truly dark sky. Airglow visible. | Faintest galaxies, comets, zodiacal light details. | National parks, remote deserts |
Building a Local Dark Sky Network
Knowledge is power, especially when it comes to finding hidden gems. Join local astronomy clubs or online communities dedicated to your region. Members often share real-time updates on cloud cover, air quality, and newly discovered dark spots. They can also tell you about upcoming events like meteor showers or planetary conjunctions that are worth the drive.
Consider contributing to citizen science projects like GLOBE at Night. By submitting your own sky brightness measurements, you help create more accurate maps for everyone else. This collaborative effort ensures that the data remains fresh and relevant, accounting for new construction or changes in lighting infrastructure.
Frequently Asked Questions
How far do I need to drive from the city to see the Milky Way?
It depends on the size of your city and the surrounding terrain. In many mid-sized cities, 30 to 50 miles is sufficient to reach a Bortle Class 5 or 6 site where the Milky Way is visible. In larger metropolitan areas, you might need to travel 80 to 100 miles. Elevation plays a significant role; a high vantage point closer to the city can sometimes provide a better view than a flat area farther away.
What is the best time of year for stargazing in urban areas?
Late summer and early autumn are often ideal. The nights are cool, humidity is lower, and the sky is clearer. Winter nights are cold but offer excellent atmospheric stability, which improves image quality. Spring can be challenging due to lingering humidity and pollen, while summer has shorter nights and higher humidity, which scatters more light.
Do I need a telescope to observe from a dark sky site near the city?
No, binoculars are often superior for general observation in semi-polluted skies. They provide a wider field of view, allowing you to take in the grandeur of star fields and the Milky Way structure. Telescopes are useful for specific targets like the Moon, planets, or bright double stars, but they narrow your view and can make the experience feel less immersive for beginners.
How does humidity affect my ability to see stars?
High humidity increases the amount of water vapor in the air, which scatters light and reduces transparency. This makes the sky appear hazier and brighter, washing out fainter stars. On dry nights, the atmosphere is clearer, allowing more starlight to reach your eyes. Check the dew point; if it's close to the air temperature, expect poor visibility.
Are there legal issues with stargazing in public parks?
Generally, no, provided you follow standard park rules such as no camping without permission, no fires, and quiet hours. However, some parks restrict vehicle access after dark or require permits for large groups. Always check the specific regulations for your chosen site to avoid fines or removal by rangers.