17 Aug 2026
- 0 Comments
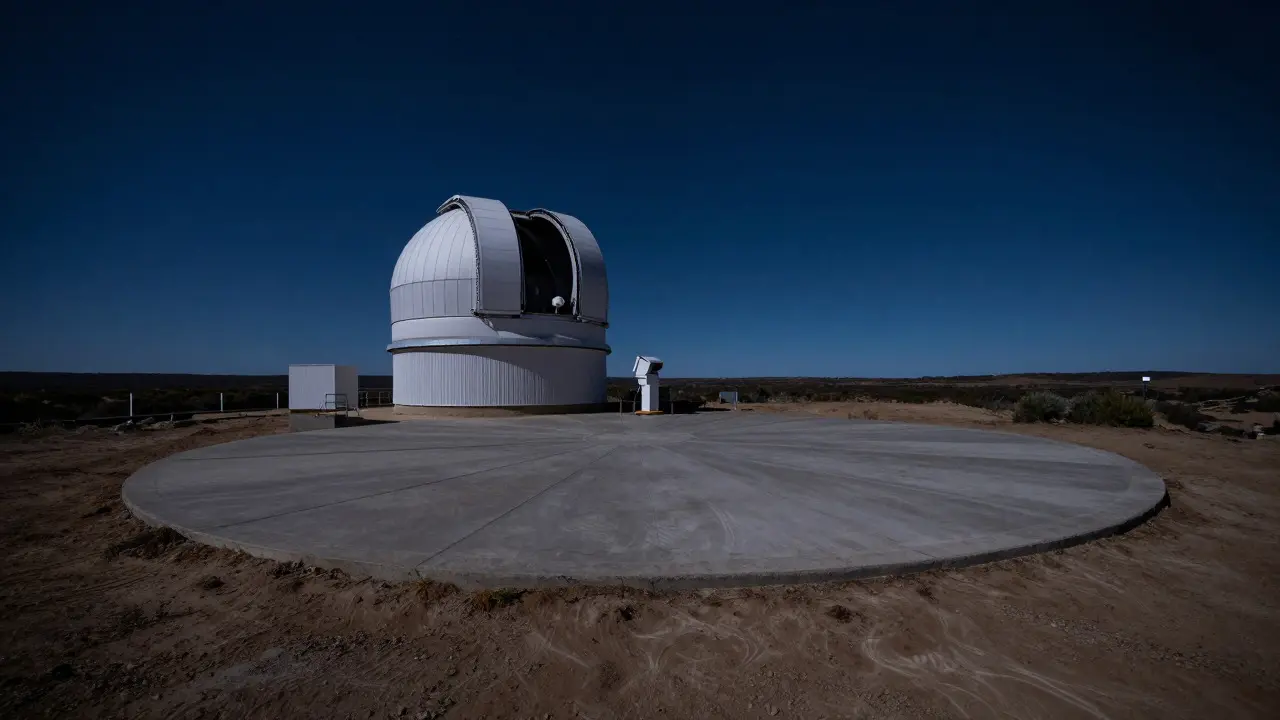
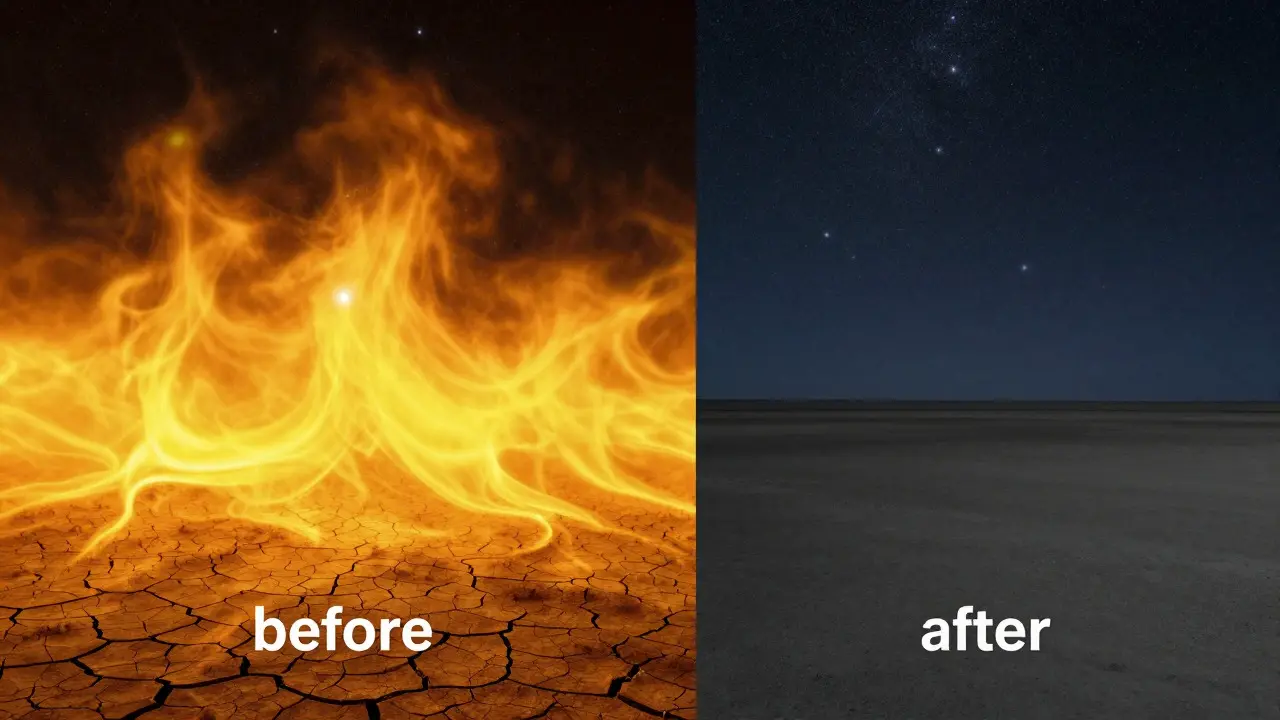
There is a specific type of frustration that only astronomers know. You set up your telescope on a clear, moonless night in the middle of nowhere. The stars look sharp for ten minutes. Then, the air starts to shimmer. High-resolution images turn into blobs. This isn't bad weather; it’s local turbulence caused by the ground releasing heat stored during the day. To fix this, serious observers use ground heating and manage radiating slabs to stabilize the boundary layer between the earth and the sky.
Most people think "seeing" depends solely on atmospheric conditions high above their heads. While true to an extent, the air right next to the ground plays a massive role in image stability. When the ground cools faster than the air, it creates cold, dense pockets that sink and mix with warmer air, creating ripples. These ripples distort light waves before they even reach your optics. By controlling the temperature of the surface below your feet, you can significantly reduce these distortions and unlock higher resolution views of planets and double stars.
Why the Ground Ruins Your View
To understand why we need to heat the ground, we first have to understand how the atmosphere behaves at night. During the day, the sun warms the soil, pavement, or grass. At sunset, the sky begins to cool rapidly through radiation. However, the ground retains heat much longer. This temperature difference drives convection currents.
If the ground is warmer than the air, warm air rises. If the ground is cooler, cold air sinks. Both scenarios create turbulent mixing. For visual astronomy, sinking cold air is often worse because it forms distinct, heavy layers that act like lenses with shifting focal points. This phenomenon is known as "differential refraction" or simply, poor seeing. The goal of site management is not just to find a dark spot, but to find a thermally stable one.
The Concept of Thermal Equilibrium
Ideal observing conditions occur when the ground temperature matches the ambient air temperature. In this state, there is no buoyancy force driving vertical air movement. The air remains stratified and calm. Achieving this naturally is rare, especially in the early evening hours when the ground is still warm from the day. This is where artificial intervention comes in.
By actively managing the ground temperature, you can force the system toward equilibrium faster. There are two main approaches: passive management using materials with high thermal mass, and active management using electric heating elements. Each has its place depending on your budget, location, and level of commitment.
Radiating Slabs: The Passive Approach
A radiating slab is a large, flat surface made of a material with high thermal conductivity and specific heat capacity. Common materials include concrete, asphalt, or specialized gravel beds. The idea is simple: spread out the heat source over a larger area to reduce localized hot spots.
When you pour a concrete pad under your observatory dome or pier, you are creating a thermal buffer. Concrete stores heat during the day and releases it slowly at night. Because the release is gradual, it minimizes the sharp temperature gradients that cause violent convection cells. A well-designed radiating slab should be slightly larger than the footprint of your equipment to ensure the entire boundary layer is influenced by the stabilized surface.
However, radiating slabs have limitations. They work best in climates with moderate diurnal temperature swings. In very dry, desert environments, concrete can get extremely hot during the day, making the nighttime cooling phase more intense unless managed carefully. Additionally, vegetation around the slab can reintroduce moisture and uneven heating, negating the benefits of the solid surface.
Active Ground Heating Systems
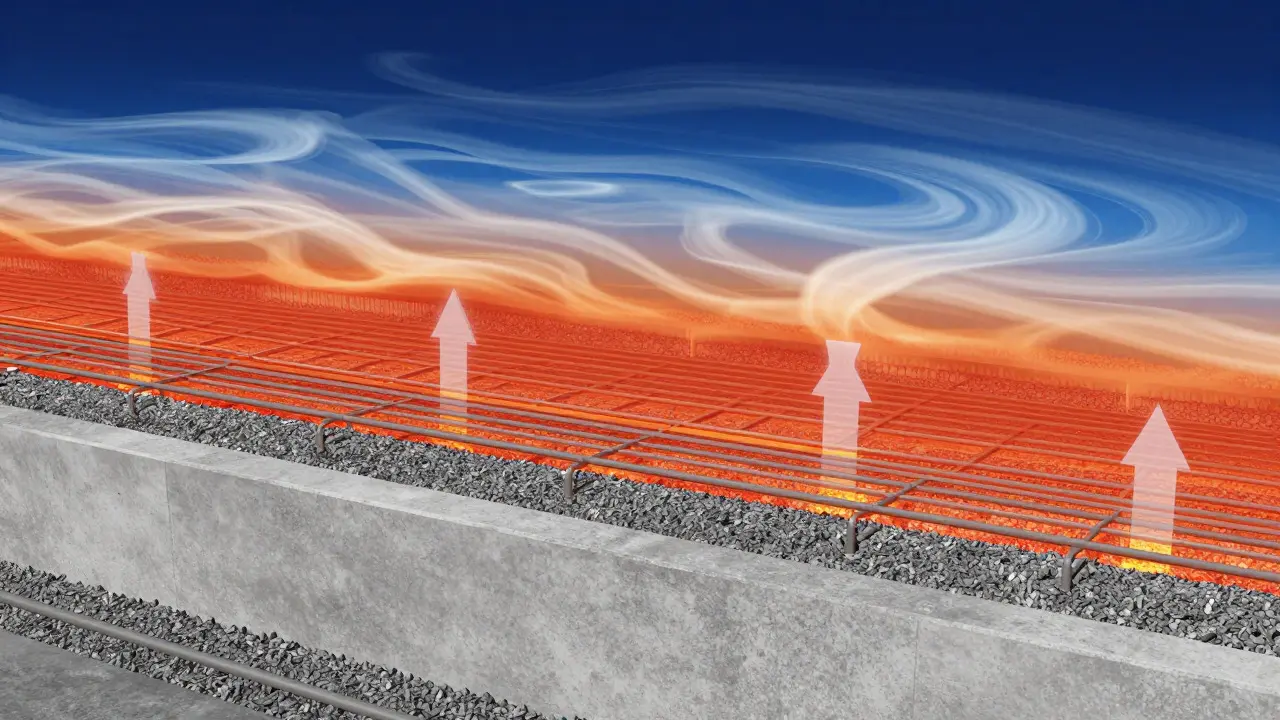
For those who demand consistent seeing regardless of the time of night, active ground heating is the gold standard. This involves embedding electric heating cables or mats beneath a thin layer of concrete or gravel. The system is controlled by sensors that monitor both ground temperature and ambient air temperature.
The controller keeps the ground temperature within a few degrees of the air temperature. If the air drops, the heater kicks in to prevent the ground from becoming a cold sink. If the air warms up (perhaps due to a passing cloud cover), the heater turns off to prevent the ground from overheating. This dynamic adjustment maintains a neutral boundary layer throughout the night.
Installation requires careful planning. The heating elements must be evenly distributed to avoid creating new hot spots. Insulation around the edges of the heated zone helps contain the energy and prevents heat loss to the surrounding unheated ground. Power consumption is generally low, often less than 100 watts per square meter, making it an affordable long-term investment for dedicated astrophotographers.
Comparing Surface Materials and Techniques
Choosing the right surface depends on your specific site conditions. Below is a comparison of common approaches to managing ground-induced turbulence.
Notice that effectiveness in the early evening is the critical differentiator. Natural surfaces almost always struggle here because the thermal lag is too great. Active systems bridge this gap by forcing immediate thermal balance. For photographers shooting planetary mosaics, where every second counts, this early-evening stability is worth the extra cost.
Site Selection Criteria Beyond Darkness
Before you even consider installing a heating system, you need to evaluate the natural characteristics of your site. Not all locations benefit equally from ground modification. Wind speed is a major factor. Strong winds shear the boundary layer, mixing the air and reducing the impact of ground temperature differences. In very windy locations, the benefits of ground heating diminish because the wind does the mixing for you.
Humidity also plays a role. Dry air has lower thermal conductivity, which can actually make temperature gradients more pronounced. In humid climates, the latent heat released during condensation can further complicate the thermal profile. Therefore, active heating systems are most beneficial in dry, calm environments where the ground-to-air temperature differential is the primary driver of turbulence.
Elevation matters too. Sites at higher altitudes often experience stronger winds and colder nights, which can accelerate the cooling process. However, the thinner atmosphere means less scattering, so the quality of the seeing is more directly tied to local surface conditions. A heated pad at 5,000 feet can yield dramatically better results than an unmanaged site at sea level, provided the wind is controlled.
Practical Implementation Tips
If you decide to upgrade your site, start small. Don’t replace your entire backyard with concrete overnight. Begin by measuring. Use infrared thermometers to track the temperature difference between your current ground surface and the air at 1 AM. Log this data for a week. If the delta exceeds 3-4 degrees Celsius, you have a problem worth solving.
Next, test a small patch. Pour a 2x2 meter concrete slab near your telescope. Observe the change in seeing compared to the adjacent grass. You’ll likely notice a reduction in shimmering after the first hour of darkness. From there, you can expand the slab or add heating elements if the passive approach isn’t sufficient.
Finally, keep the perimeter clean. Weeds growing at the edge of your slab will create micro-turbulence zones. Regular maintenance ensures that the engineered surface remains the dominant thermal feature in your observing field.
Frequently Asked Questions
Does ground heating work for visual observing?
Yes, but the benefits are more subtle than in astrophotography. Visual observers may notice steadier star images and reduced twinkling, especially in the first two hours after sunset. It allows for higher magnification use earlier in the night without waiting for the atmosphere to settle naturally.
How much power does a typical ground heating system use?
Most residential-scale systems consume between 50 and 150 watts per square meter. For a 10-square-meter pad, expect a draw of roughly 500 to 1500 watts when active. Since the system cycles on and off based on temperature differentials, average nightly consumption is often much lower, typically under 5 kilowatt-hours.
Can I use a car tire or other rubber material as a radiating slab?
Rubber has high heat retention but low thermal conductivity. While it stays warm, it doesn't distribute that heat evenly across a wide area. This can create localized hot spots that actually worsen seeing. Concrete or asphalt is preferred because they conduct heat laterally, smoothing out temperature variations.
What is the ideal temperature difference between ground and air?
The closer to zero, the better. Most experts recommend keeping the differential within ±1 degree Celsius for optimal seeing. Differences greater than 3 degrees Celsius usually result in noticeable image distortion, particularly for high-magnification planetary viewing.
Is it worth installing ground heating if I live in a windy area?
It depends on the wind consistency. If winds are constant and strong, they will dominate the atmospheric mixing, making ground heating less effective. However, if winds are variable or light during prime observing hours, ground heating can still provide significant benefits by stabilizing the lower boundary layer when the wind dies down.