
28 Apr 2026
- 0 Comments
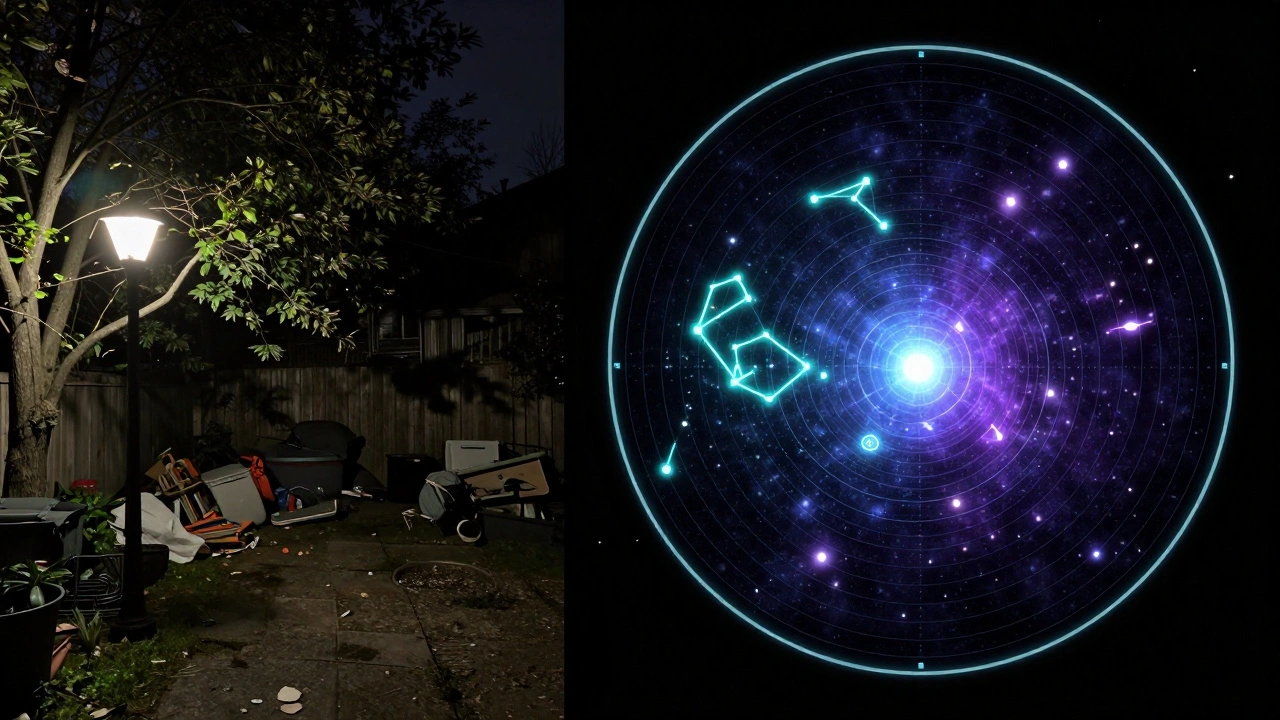
Imagine spending two hours in a freezing field only to realize the nebula you wanted to see is actually behind a thick cluster of winter clouds or simply too low on the horizon to spot. It's a frustrating experience that many amateur astronomers face. The secret to avoiding this is not better eyesight, but better preparation using software that mimics the night sky. By the time you step outside, you should already know exactly where your targets are and how they look through your specific lens.
Key Takeaways for Digital Planning
- Simulators remove the guesswork by showing precise object coordinates for any date and time.
- Virtual walkthroughs help you identify "guide stars" to navigate the sky manually.
- Testing equipment settings digitally prevents wasting precious clear-sky hours on trial and error.
- Seasonal planning allows you to build a curated list of targets based on altitude and visibility.
The Power of Digital Sky Mapping
Before you lug a heavy tripod into the backyard, you need a way to see the sky without the clouds. telescope simulators is specialized software that recreates the celestial sphere in real-time, allowing users to simulate the view from any location on Earth. These tools aren't just maps; they are dynamic environments. If you change the date to December 21st, the software shifts the entire cosmos to show you the winter solstice sky. This means you can plan a tour for a date months in advance, ensuring that the constellations you want to showcase are actually visible.
When you use a simulator, you're essentially doing a dry run. You can check if a specific galaxy is obscured by a nearby tree or a street lamp. Instead of hunting for a faint smudge in the dark, you can mark the exact stargazing planning coordinates in the software and then simply match that image to the real-sky view. It turns a chaotic search into a structured tour.
Choosing Your Planning Tool
Not all simulators are built the same. Depending on whether you want a scientific deep dive or a simple visual guide, your choice will change. Stellarium is an open-source planetarium for your computer that shows a realistic sky in 3D, synchronized with any given location on Earth. It's the gold standard for most because it allows you to simulate the exact field of view (FOV) of your telescope's eyepiece. If you have a 25mm lens, you can set the simulator to show exactly what that lens captures, so you aren't surprised by how much-or how little-of a constellation actually fits in the frame.
On the other hand, if you're moving toward professional-grade tracking, you might look at Cartes du Ciel, also known as SkyChart. This tool focuses more on the technical mapping and coordinates, making it ideal for those using GoTo mounts. While Stellarium is great for the "look and feel," SkyChart is better for the "where and when." Combining these allows you to build a tour that is both visually stunning and technically accurate.
| Feature | Stellarium | Cartes du Ciel | SkySafari |
|---|---|---|---|
| Primary Use | Visual Exploration | Technical Mapping | Mobile Field Use |
| FOV Simulation | Excellent | Moderate | Good |
| Ease of Setup | Very High | Moderate | High |
| Hardware Control | Basic | Advanced | Advanced |
Mapping the Seasonal Cycle
The stars shift throughout the year, which is why a "seasonal tour" is the only way to organize your sightings. You can't see the Andromeda Galaxy clearly in the peak of summer, and you certainly can't spot the Orion Nebula in July. Your simulator allows you to create four distinct "playlists" for your year.
For a seasonal astronomy approach, start with the Winter tour. Use the simulator to track the "Winter Triangle"-the stars Procyon, Betelgeuse, and Sirius. Because these are bright, they act as anchors. In your software, practice "star hopping" from these anchors to fainter targets, like the Pleiades cluster. By practicing this digitally, you memorize the geometry of the sky. When you're actually outside in the cold, you won't be staring at your phone screen every ten seconds; you'll be looking at the stars.
When moving to Spring, the focus shifts to the Leo and Virgo constellations. Simulators are vital here because spring targets are often fainter. You can use the software to check the altitude of the constellations. If a target is only 10 degrees above the horizon, the atmosphere will distort the image (atmospheric extinction). A simulator tells you the optimal time to view a target-usually when it reaches its highest point in the sky, known as the meridian transit.
Executing the Virtual Walkthrough
Planning a tour isn't just about picking objects; it's about the order of operations. A common mistake is jumping randomly across the sky, which wastes time and makes the experience disjointed for guests. Instead, use your simulator to map a logical path.
- Start with the Brightest: Pick a primary constellation as your starting point. This anchors the group and gives everyone a sense of direction.
- Establish the Path: Use the simulator to find the shortest angular distance between your first and second targets. Moving linearly across the sky is much easier than zig-zagging.
- Set the Time-Slices: Remember that the Earth rotates. An object that is perfectly placed at 8 PM will have shifted by 10 PM. Use the "time scrub" feature in your software to see how the constellation tour evolves over three hours.
- Check for Interferences: Switch to the "landscape" or "light pollution" overlay if your software supports it. This prevents you from pointing your telescope directly at a neighbor's security light.
For example, if you're planning a Summer tour, you might start with the Summer Triangle (Vega, Deneb, and Altair). From there, you can move toward the Milky Way's core in Sagittarius. By simulating this path, you can note that Sagittarius stays low in the south, meaning you'll need to clear any low-lying fences or shrubs in your viewing area before the guests arrive.
Avoiding Common Planning Pitfalls
Even with the best software, a few things can go wrong. The biggest is ignoring the moon. A full moon washes out the sky, making a tour of faint nebulae impossible. Use your simulator to check the Lunar Phase, which is the appearance of the Moon as seen from Earth, cycling from new moon to full moon over about 29.5 days. If the moon is at 90% illumination, pivot your tour toward the moon itself and bright planets, rather than deep-sky objects.
Another mistake is forgetting about Light Pollution, the brightening of the night sky caused by street lights and urban sprawl, which obscures celestial objects. Simulators can show you the theoretical visibility, but they can't always account for a new LED street lamp installed on your corner. Always cross-reference your simulator's output with a local light pollution map to see if your chosen targets are even reachable from your specific backyard.
Connecting to the Real Hardware
The final step in using simulators is bridging the gap between the screen and the glass. If you use a Equatorial Mount, which is a telescope mount that compensates for the Earth's rotation by aligning with the planet's axis of rotation, you can actually export coordinates from your software directly to your telescope. This is called "slewing."
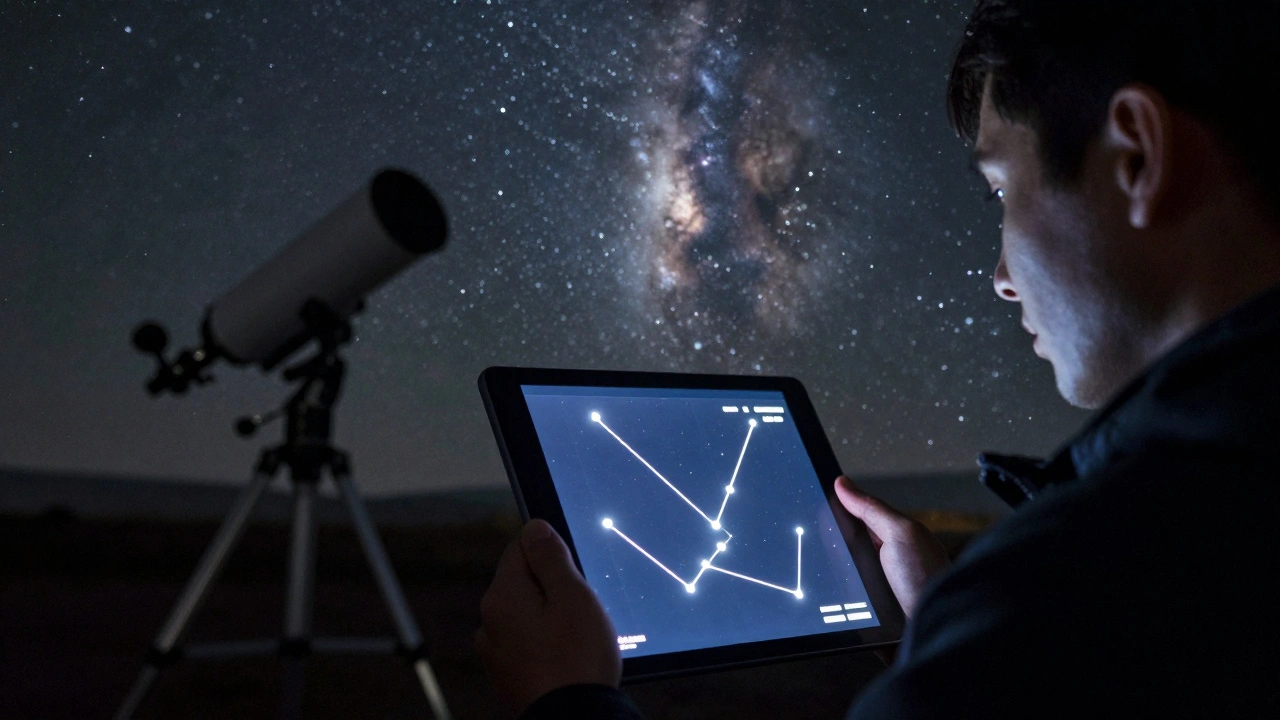
However, for those who prefer manual tracking, the simulator serves as a visual cheat sheet. Take a screenshot of the simulated field of view for each target. Print these out or keep them on a tablet. When you look through the eyepiece and see a pattern of stars, compare it to your screenshot. This is far more effective than trying to read a list of Right Ascension and Declination numbers in the dark.
Can I use a free simulator for professional planning?
Yes, Stellarium is free and open-source, and it is used by thousands of serious amateurs. It provides enough accuracy for almost any constellation tour, provided you set your location and time correctly.
How do I know if an object is too low to see?
In your simulator, look at the altitude (measured in degrees from the horizon). Generally, anything below 15 to 20 degrees will suffer from significant atmospheric distortion and may be blocked by buildings or trees.
What is the difference between a star map and a simulator?
A star map is usually a static image. A simulator is a dynamic model that changes based on time, date, and your specific location, allowing you to predict exactly where a star will be at 11:15 PM on a Tuesday in October.
Do simulators account for planetary movement?
Yes, high-quality simulators use ephemeris data to track the orbits of planets. This is essential for tours because planets move against the background of fixed stars throughout the year.
How do I simulate my specific telescope eyepiece?
In software like Stellarium, you can go to the "telescope" or "view" settings and enter the focal length of your telescope and the focal length of your eyepiece. The software then crops the view to match what you will actually see.
Next Steps for Your Stargazing Journey
If you've mastered the basic simulator, try creating a "target database." Instead of just following a general tour, track which objects you've successfully seen each season. This turns your hobby into a personal quest.
For those using a mobile device in the field, try syncing your desktop simulator with a mobile app like SkySafari. You can plan the complex tour on your big monitor at home and then export the list to your phone. When you're outside, the app uses your phone's GPS and gyroscope to point you in the right direction, effectively bringing your simulated plan into the real world.
If you encounter issues where the stars in the simulator don't match the sky, first check your "Location" settings. Even a few miles can change the horizon line. Second, ensure your computer's system clock is accurate; a difference of just a few minutes can shift the position of fast-moving objects like the International Space Station or certain asteroids.