22 Feb 2026
- 0 Comments
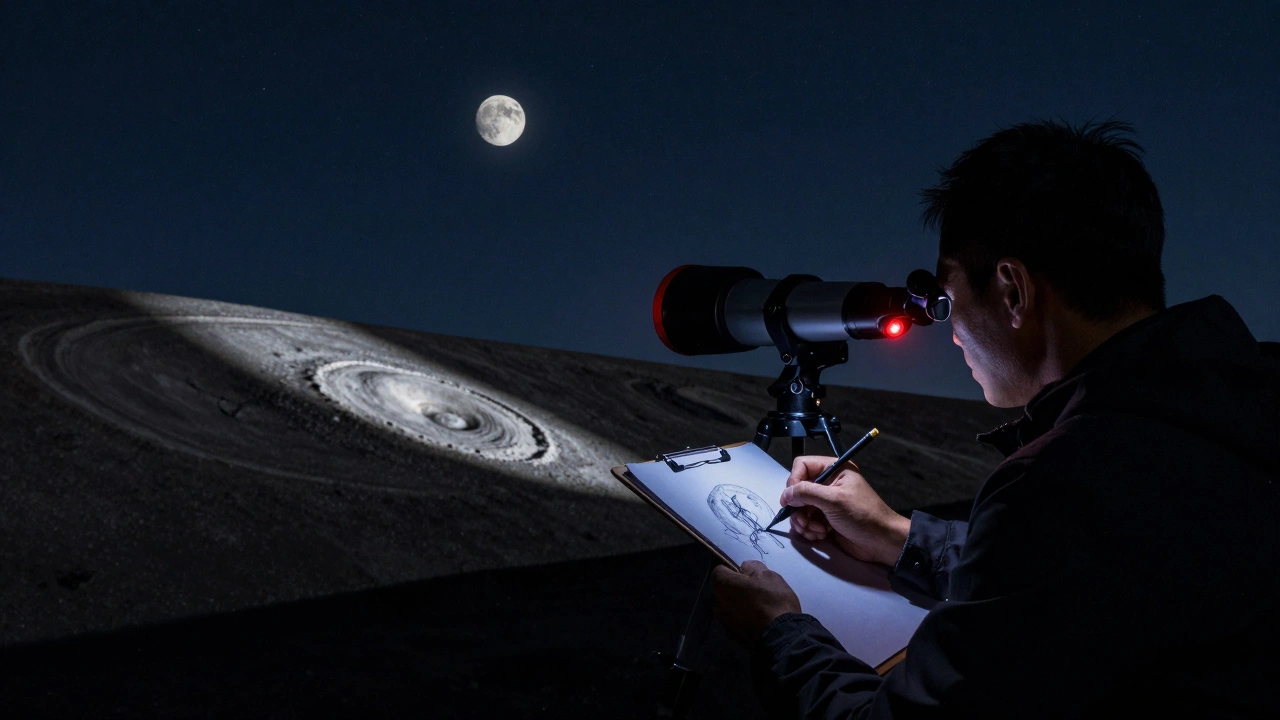
When you look at the Moon through a telescope, you don’t just see a gray disk. You see craters with jagged rims, mountains casting long shadows, and valleys that look like dried riverbeds frozen in time. The trick isn’t just seeing these details-it’s capturing them. That’s where lunar sketching comes in. It’s not about artistic skill. It’s about training your eye, slowing down your mind, and learning to record what’s really there. Many amateur astronomers skip sketching, thinking it’s outdated. But if you want to truly understand the Moon’s surface, nothing beats putting pencil to paper under the night sky.
Why Sketch the Moon at All?
Cameras capture detail, yes. But they also capture everything at once-the bright highlands, the dark maria, the faintest rilles-all in a single exposure. Your eye doesn’t work that way. It adjusts. It focuses. It sees depth. When you sketch, you force yourself to notice what the camera ignores: the way a shadow stretches across a crater wall, how a ridge fades into the darkness, or how a tiny bump on the rim casts a longer line than you thought possible.
Studies from the Lunar and Planetary Institute show that observers who sketch lunar features retain more detail over time than those who rely solely on photographs. Why? Because drawing requires active engagement. You’re not just pressing a shutter-you’re deciding what matters, what to emphasize, and what to leave out.
Tools You Actually Need
You don’t need fancy gear. In fact, too much equipment can distract you. Here’s what works:
- Dark-adapted eyes: Spend at least 20 minutes in darkness before sketching. No phones. No red lights unless absolutely necessary.
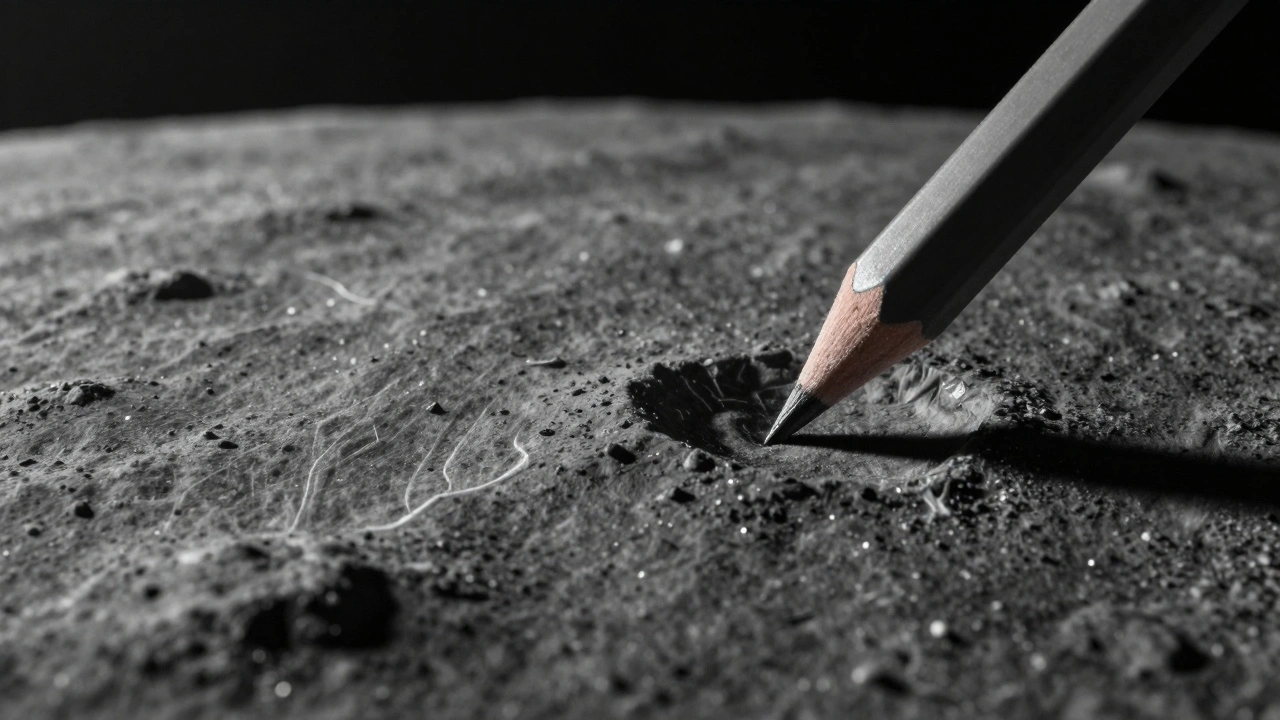
- Hard pencil (2H to 4H): Soft pencils smear. Hard ones give sharp lines and let you build up texture gradually.
- Smooth, dark paper: Use black or dark gray sketch paper. It mimics the night sky and makes the highlights pop.
- Lightproof sketchbook: A small, bound notebook that blocks ambient light. Clip it to a clipboard if you’re using a telescope.
- Red LED headlamp (low setting): Only for checking your notes or adjusting your position. Keep it off while observing.
Forget colored pencils, watercolors, or blending tools. This isn’t art class. It’s data collection.
Step-by-Step: How to Capture Shadows
Shadows are the key to seeing texture. They reveal height, depth, and slope. Here’s how to draw them right:
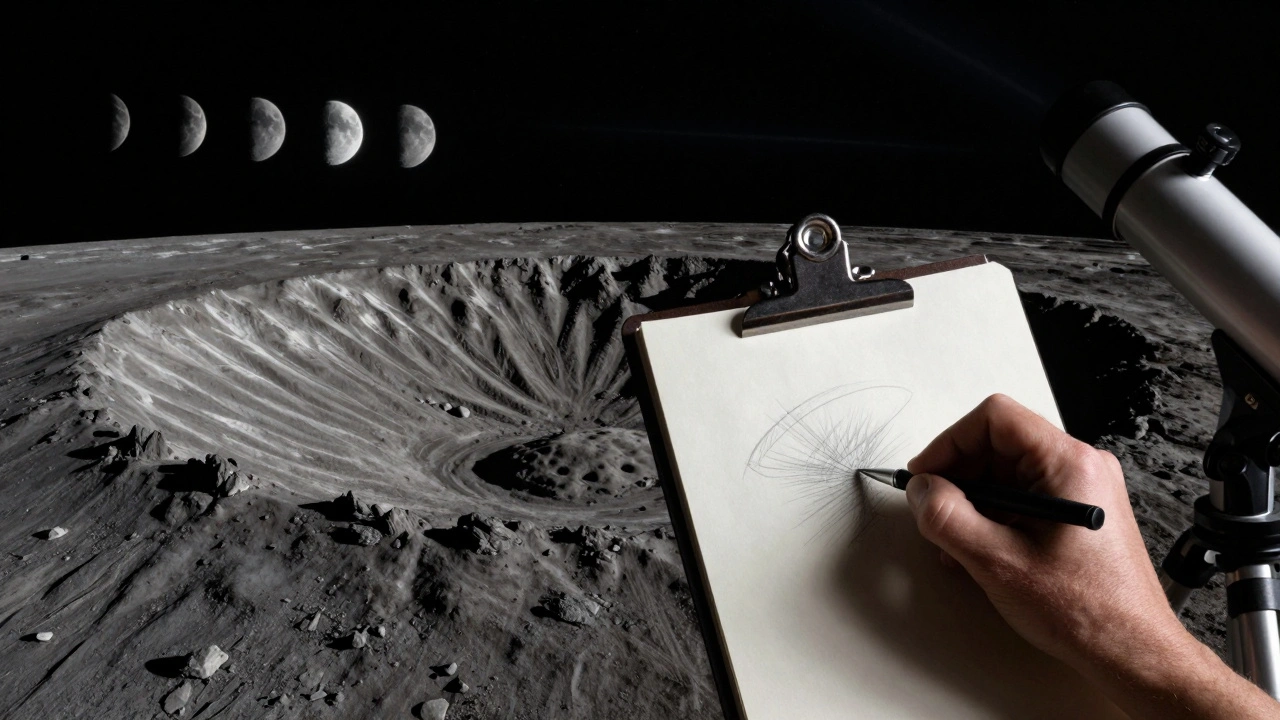
- Start with the terminator: The line between day and night on the Moon is where shadows are longest and most dramatic. Focus here first. That’s where you’ll see the most detail.
- Sketch the rim: Lightly outline the edge of a crater. Don’t try to make it perfect. It’s okay if it’s wobbly. What matters is the shadow’s shape beneath it.
- Follow the shadow’s edge: Use short, light strokes to trace the boundary between light and dark. Don’t shade yet. Just map where the shadow begins and ends.
- Gradually darken: Once you’ve mapped the shadow’s shape, start adding pressure to darken the interior. Use circular strokes, not back-and-forth. This avoids streaks and mimics the way light fades across uneven terrain.
- Leave highlights: Don’t fill in every spot. The brightest parts-the crater walls catching direct sunlight-should remain untouched. That’s where the texture lives.
Try this: Sketch a single crater for 15 minutes. Then look away. Look back. Do you see something new? That’s your eye adjusting. That’s the Moon revealing itself.
Texture: The Invisible Detail
Texture isn’t just about roughness. It’s about how light interacts with surface irregularities. On the Moon, that means:
- Regolith: The fine dust covering the surface creates a soft, grainy texture. You’ll see it as tiny speckles in the bright highlands.
- Rocky outcrops: Boulders cast tiny, sharp shadows. These look like dots or dashes along crater walls.
- Impact melt: In large craters, the melted rock that flowed and solidified leaves wavy, ridged patterns. These are hard to see, but if you squint and focus on the edges of shadows, you’ll start to notice them.
Here’s how to draw texture:
- Use a hard pencil with minimal pressure. Tap the paper lightly-don’t drag it.
- For regolith, make random, scattered dots. No pattern. Real texture doesn’t repeat.
- For rocky areas, use short, broken lines. Think of them as tiny shadows clinging to the surface.
- Never fill in large areas with solid gray. Texture lives in contrast.
One of the most surprising things I’ve learned: the Moon’s texture changes with the phase. At first quarter, the highlands look grainy. At full Moon, they look smooth. That’s not because the surface changed-it’s because the angle of sunlight changed how the dust reflects light.
Common Mistakes (And How to Fix Them)
Most beginners make the same errors. Here’s what to avoid:
- Over-shading: If your sketch looks like a smudged gray blob, you’re trying too hard. Less is more. Shadows should be deep, not muddy.
- Ignoring scale: Don’t draw a crater twice as big as it appears. Use your telescope’s field of view as a guide. If you know the diameter of a crater (say, 25 km), measure how many millimeters it takes up on your paper. Stick to that ratio.
- Sketching too fast: The Moon moves. But your eye moves slower. Take your time. If you’re rushing, you’re missing details.
- Using a white background: White paper tricks your brain into thinking the sky is bright. Dark paper keeps your focus on the Moon.
What to Sketch Next
Start simple. Pick one feature per session:
- Tycho Crater: Great for long shadows and rays.
- Alphonsus Crater: Watch for the dark central peak and the irregular floor.
- Hadley Rille: A long, narrow valley near the Apollo 15 landing site. Its shadow reveals depth better than any photo.
- Plinius and Sulpicius Gallus: Two craters side by side with contrasting textures-one rough, one smooth.
After a few sessions, you’ll start noticing things no telescope manual mentions. Like how the shadow of a tiny bump on the rim of a crater looks like a finger pointing into the dark. Or how a single rock on a slope casts two shadows at once-one from the sun, one from the crater wall behind it.
Why This Still Matters in 2026
High-res lunar images are everywhere. NASA’s LRO has mapped the entire Moon in 50-centimeter detail. So why sketch?
Because no image can show you what your eye sees in real time. No algorithm can replicate the way your brain connects shadow length to slope angle, or how a faint line on the edge of a mare hints at ancient lava flow. Sketching turns observation into understanding. It’s not about making a pretty picture. It’s about building a mental map of the Moon-one stroke at a time.
Next time you’re at the telescope, don’t just look. Draw. Even if it’s messy. Even if it takes 10 minutes. That sketch? It’s not just lines on paper. It’s your memory of the Moon, preserved in real time.
Do I need a telescope to sketch the Moon?
No, you don’t. A good pair of binoculars is enough to see major features like Mare Imbrium, the Alps mountain range, and large craters like Copernicus. But a telescope gives you the detail needed to sketch shadows and texture accurately. Start with what you have, then upgrade as your interest grows.
How long should a lunar sketch take?
It depends on the detail. A basic outline of a large crater can take 5-10 minutes. To capture fine shadows and texture, aim for 15-30 minutes. The goal isn’t speed-it’s accuracy. If you’re still seeing new details after 20 minutes, you’re doing it right.
Can I use a digital tablet instead of paper?
You can, but it’s not ideal. Screens emit light, which ruins your night vision. If you must use one, set it to the lowest brightness and use a red filter app. But paper and pencil still win for true observational sketching. They’re passive, reliable, and don’t distract.
What if I can’t draw well?
You don’t need to be an artist. Lunar sketching is about recording what you see, not making art. Stick figures of craters are fine. Wobbly lines? Perfect. The value is in the process, not the outcome. Many professional astronomers started with messy sketches. Their skill came from repetition, not talent.
How do I know if my sketch is accurate?
Compare your sketch to a lunar map or photo taken under similar lighting. But don’t rely on them during observation. Use them afterward to check for major errors. The real test? Next time you observe the same feature, does your sketch help you recognize it instantly? If yes, you’ve succeeded.