17 Aug 2026
- 0 Comments
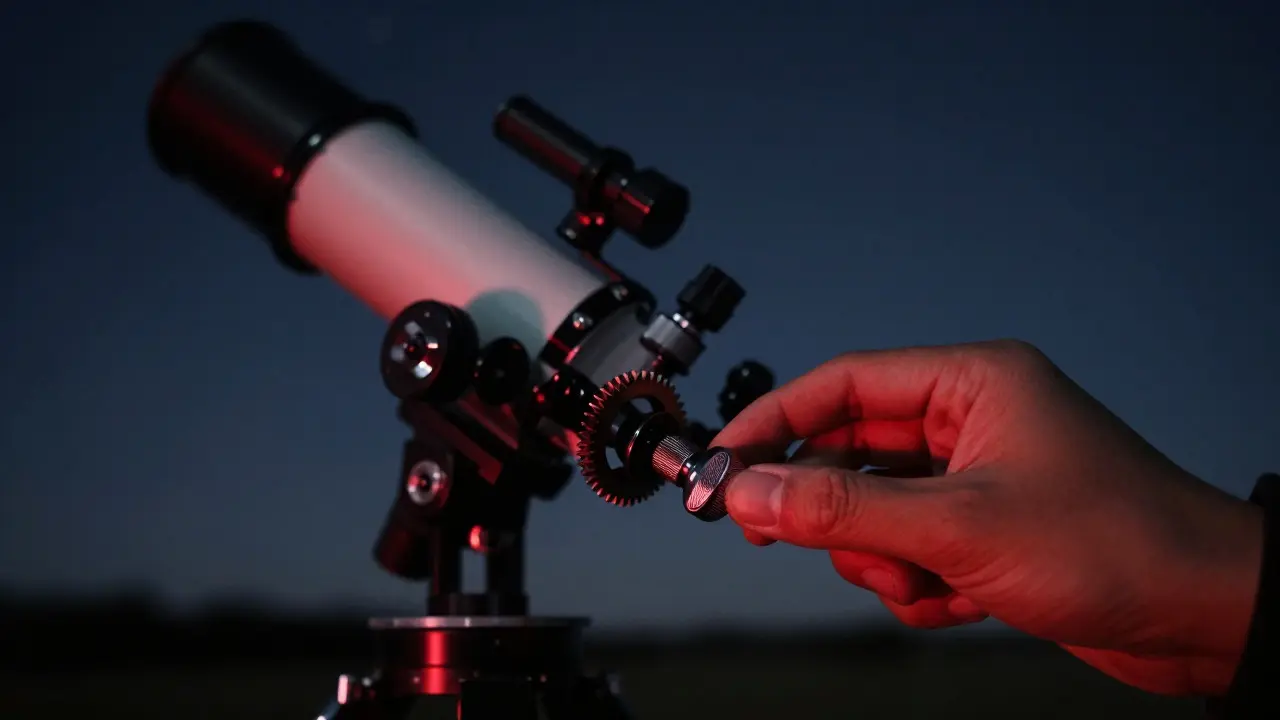
There is a specific moment in every deep-sky imaging session where the stars start to smear. You have aligned your Equatorial Mount is a device that rotates around an axis parallel to Earth's rotational axis, allowing telescopes to track celestial objects as they move across the sky., checked your polar alignment, and started the exposure. But by frame two or three, those crisp points of light turn into short lines. The culprit is rarely software; it is usually the mechanical limits of your hardware. This is where Slow-Motion Controls are manual adjustment mechanisms on telescope mounts that allow for precise, incremental movement in right ascension and declination. come into play.
Many amateur astronomers overlook these tiny knobs and levers, treating them as relics from the pre-digital era. Yet, for high-magnification planetary viewing or fine-tuning guide stars during long exposures, manual slow-motion controls offer a level of tactile feedback that automated systems sometimes lack. Understanding how to use them effectively can mean the difference between a blurry image and a sharp capture of the Orion Nebula’s core.
Why Manual Precision Still Matters
Automated GoTo systems are impressive, but they rely on motors and encoders that have their own error rates. Backlash, gear slop, and periodic error can cause a telescope to drift slightly off target. When you are guiding an image, your autoguider corrects these errors by sending pulses to the mount. However, if the error is large, the correction might be too abrupt, causing the star to jump rather than glide back into place. This is known as "chasing" the star.
Manual Right Ascension (RA) and Declination (Dec) controls allow you to make micro-adjustments without relying on motor steps. By turning a knob a fraction of a degree, you can nudge the telescope into perfect alignment with a guide star. This is particularly useful when:
- You are setting up a new target and need to center it before starting auto-guiding.
- Your autoguider is struggling with a faint star, requiring manual intervention to re-center.
- You are observing planets at high magnification, where even small tracking errors result in visible smearing.
Understanding the Mechanics: RA vs. Dec
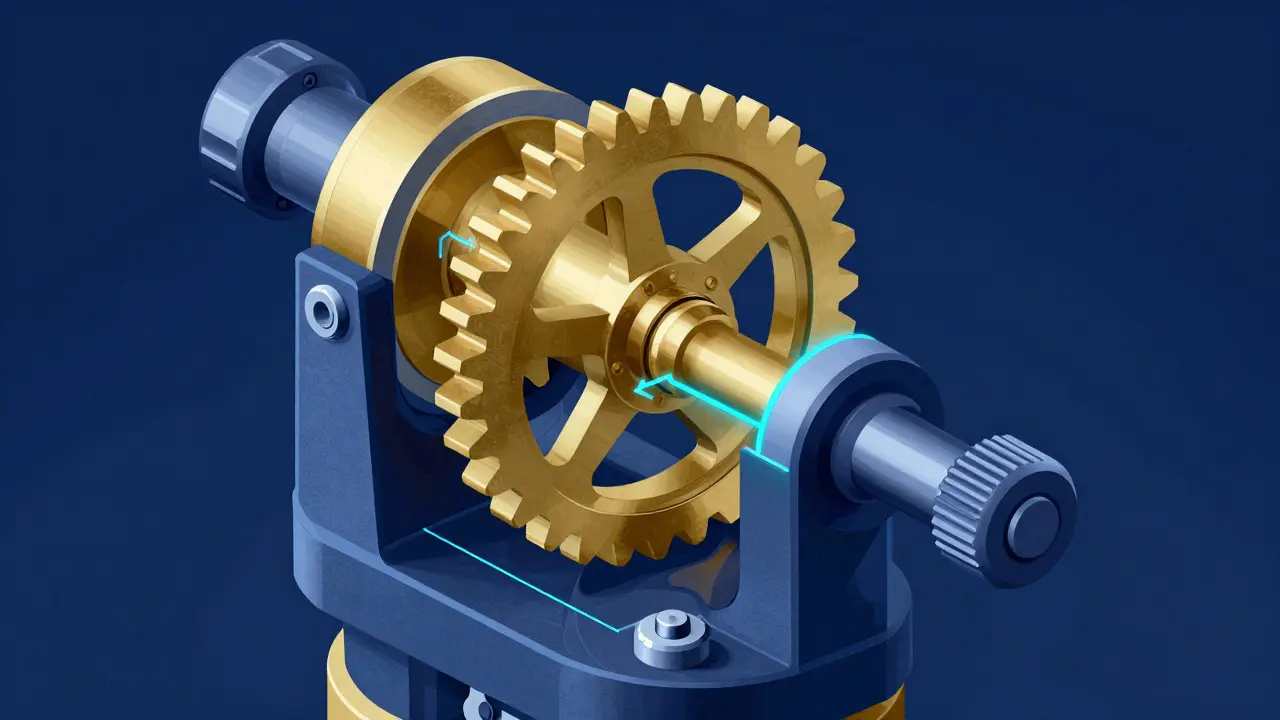
To use these controls effectively, you must understand what each axis does. The Right Ascension Axis is the axis of rotation that moves the telescope east-west, counteracting Earth's rotation. The Declination Axis is the axis of rotation that moves the telescope north-south, changing the latitude of the viewed object.
Most modern equatorial mounts feature independent slow-motion controls for both axes. These are typically spring-loaded knobs or lever arms connected to the main drive gears via friction clutches. The key attribute here is the ratio. A good slow-motion control should move the telescope significantly less than one full turn of the knob. For example, one full turn might equal 0.5 degrees of movement. This ratio ensures that small finger movements translate to minute changes in position.
The Art of Nudging: Practical Techniques
Using slow-motion controls is not just about turning a knob; it is about developing a feel for your specific mount. Every piece of hardware has unique friction characteristics. Some mounts are stiff, while others are loose. Here is a step-by-step approach to mastering this skill:
- Center Your Guide Star: Start with your autoguider active. Look at the guiding graph. If the star is drifting consistently in one direction, pause the auto-guide.
- Identify the Axis: Determine if the drift is in Right Ascension (East-West) or Declination (North-South). Check your guiding software settings to ensure you know which direction corresponds to which knob.
- Make Small Moves: Turn the corresponding slow-motion knob in small increments-no more than a quarter turn at a time. Watch the star in the finder scope or camera view.
- Check for Backlash: As you turn the knob, you will eventually hit a point where the knob turns freely but the telescope doesn't move. This is backlash. Keep turning until the gear teeth engage, then stop. Never reverse direction without first taking up this slack, or you will lose your position.
- Resume Auto-Guide: Once the star is centered within the crosshairs, resume auto-guiding. The software should now show minimal corrections.
A common mistake is moving too fast. Because the controls are geared down, it takes several turns to move the telescope a significant amount. Patience is key. Rushing leads to overshooting, which requires even more corrections and introduces more error.
Troubleshooting Common Issues
If your slow-motion controls feel ineffective, there are a few likely causes. First, check the clutch tension. Many mounts have a locking mechanism that must be released before the slow-motion knobs work. If the lock is engaged, the knobs will spin without moving the telescope.
Second, inspect for wear. Over time, the gears connecting the knobs to the main axis can wear out, creating excessive play. If you feel a lot of "slop" before the telescope responds, your mount may need servicing. Replacing worn gears or adjusting the clutch springs can restore precision.
Third, consider the weight of your payload. If you are running a heavy refractor or a large camera setup, the inertia of the system makes manual adjustments harder. The slower the response, the more difficult it is to judge the movement. In such cases, relying more on automated guiding and using manual controls only for initial setup is often a better strategy.

Integrating Manual and Automated Systems
The best workflow combines both methods. Use automated GoTo to get close to your target. Use visual inspection or a low-magnification camera view to roughly center the object. Then, engage your slow-motion controls for the final pixel-perfect centering. Only after the star is perfectly centered should you enable full auto-guiding for the duration of the exposure.
This hybrid approach minimizes the workload on your autoguider. Instead of constantly correcting large errors, the guider only handles minor periodic errors caused by the mount's mechanical imperfections. This results in tighter stars and higher signal-to-noise ratios in your final images.
Remember, technology assists you, but it doesn't replace understanding. Knowing how your hardware behaves mechanically gives you confidence in the field. When the electronics fail or the weather turns, your hands and knowledge remain your most reliable tools.
Frequently Asked Questions
Do I need slow-motion controls if I have an autoguider?
Yes. While an autoguider handles sustained tracking, slow-motion controls are essential for initial centering and troubleshooting. They allow you to make precise adjustments that the autoguider might struggle with due to latency or weak signals.
Which direction should I turn the RA knob to move the star left?
This depends on your mount's orientation and whether you are looking through a diagonal. Generally, turning the RA knob clockwise moves the telescope East. If the star appears to move West in your eyepiece, you likely need to turn the knob counter-clockwise. Always test with a bright star to confirm your specific setup's behavior.
What is backlash and how do I avoid it?
Backlash is the empty space between gear teeth that allows the knob to turn without moving the telescope. To avoid losing position, always turn the knob in the same direction when making adjustments. If you need to reverse direction, turn the knob past the neutral point to take up the slack before making your corrective move.
Can I use slow-motion controls for alt-azimuth mounts?
Yes, but the axes are different. On an alt-azimuth mount, you adjust Altitude (up/down) and Azimuth (left/right). The principles of small, incremental movements and checking for backlash remain the same, though the relationship to celestial coordinates is more complex.
How often should I lubricate my slow-motion controls?
It depends on the manufacturer's recommendations, but generally, once a year or after extensive use in dusty environments is sufficient. Use a light machine oil or silicone spray. Avoid heavy grease, which can attract dust and increase friction, making the controls feel sticky.