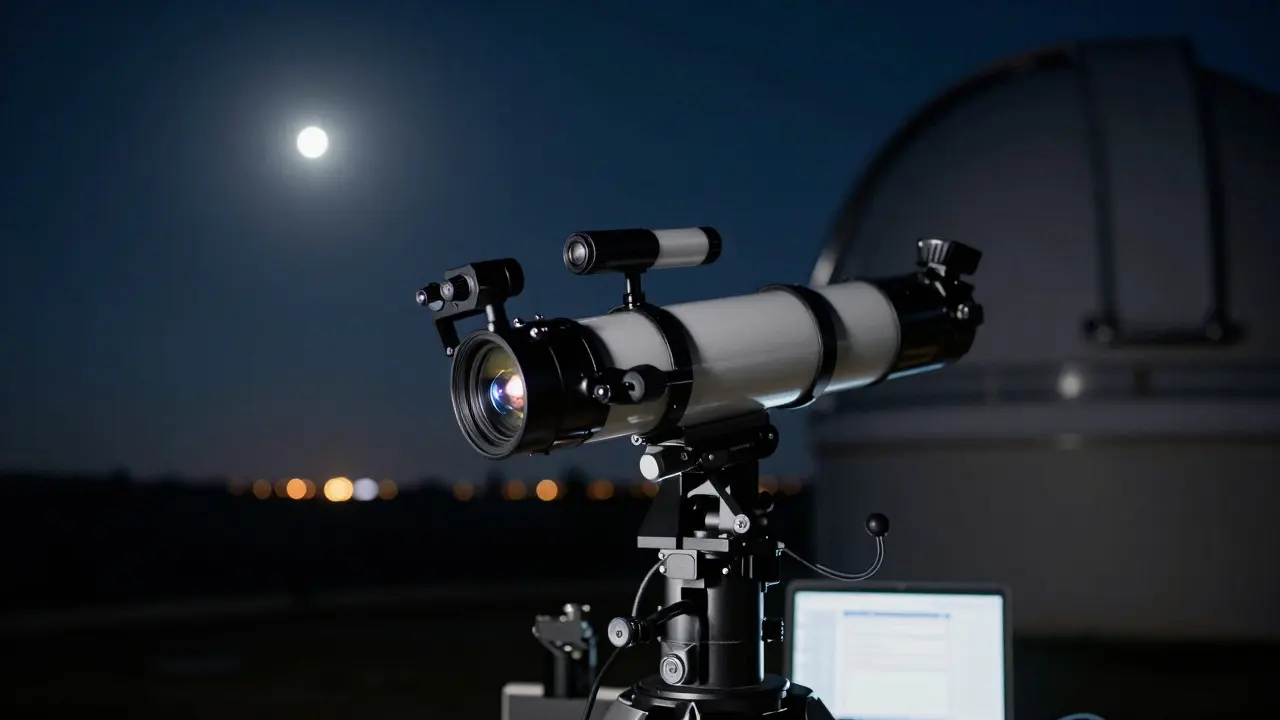
17 Aug 2026
- 0 Comments
Ever tried to take a long-exposure photo of the Andromeda Galaxy only to find your stars look like tiny streaks instead of sharp points? That’s tracking error. Your mount is doing its best, but friction, gear backlash, and atmospheric turbulence are throwing it off by fractions of an arcsecond. Autoguiding is the fix. It’s a feedback loop that watches the sky in real-time and nudges your mount back on target every few seconds.
You don’t need expensive gear to start. You just need to understand how the system works, which components matter most, and how to avoid the common pitfalls that ruin sessions for beginners. This guide breaks down the mechanics, the hardware choices, and the practical steps to get clean, round stars in your images.
What Autoguiding Actually Does
Autoguiding is a process where a secondary camera monitors a guide star and sends correction signals to your telescope mount to maintain precise alignment during long exposures. Think of it as a co-pilot. While your main camera captures the deep-sky object, the guider acts as a dedicated navigator. It doesn’t care about color or detail; it only cares about position.
The system relies on three core components working together:
- The Guide Camera: A small sensor (usually monochrome) that looks at a specific star.
- The Optical Path: Either a separate guide scope or an Off-Axis Guider (OAG) that feeds light from the same optical axis as your main camera.
- The Controller: Software running on a laptop or tablet that calculates the offset between where the star should be and where it actually is, then sends pulses to the mount’s motor drivers.
Without autoguiding, even a high-end equatorial mount suffers from periodic errors caused by worm gear imperfections. With autoguiding, you can correct these errors in real-time, effectively turning a mechanical limitation into a digital solution.
Guide Scopes vs. OAGs: Choosing Your Optical Path
This is the biggest decision point for new astrophotographers. Do you use a separate tube pointed at a different star, or do you tap into the light path of your main telescope?
| Feature | Separate Guide Scope | Off-Axis Guider (OAG) |
|---|---|---|
| Optical Alignment | Independent; requires manual polar alignment for both | Shares optical axis with main camera; inherits collimation |
| Field of View | Can select any bright star in the sky | Limited to stars within the main camera's field of view |
| Complexity | Simpler setup; no internal mirrors/lenses | More complex; sensitive to focus and positioning |
| Cost | $100-$300 (scope + camera) | $300-$800 (depending on focal length) |
| Best For | Beginners, refractors, short focal lengths | Long focal lengths, Newtonians, critical imaging |
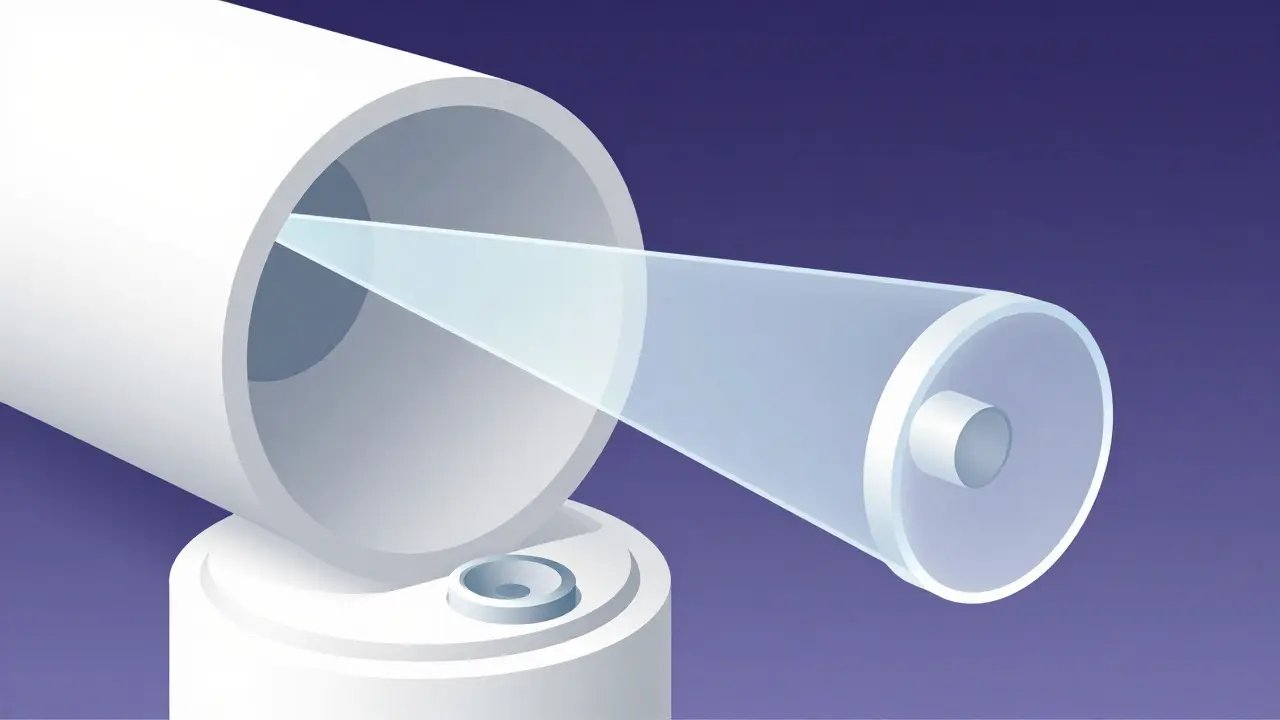
A Guide Scope is a small, low-power telescope attached parallel to your main instrument, typically using a 50mm or 60mm lens. Its advantage is simplicity. You point it at a bright, isolated star. If your main telescope gets out of focus, the guide scope doesn’t care. It has its own independent optical train. However, because it’s a separate tube, it must be aligned perfectly parallel to your main telescope. If one shifts, the other does too, but if they aren’t initially collimated relative to each other, you’ll have issues.
An Off-Axis Guider (OAG) is a device that uses a prism or mirror to divert a small percentage of light from the main optical path to a guide camera. Because it uses the same optics as your main camera, it eliminates differential flexure-the problem where the guide star and target star move differently due to mechanical stress. This makes OAGs superior for long focal length setups, like 1000mm+ refractors or large Newtonians. The downside? You’re limited to guiding on a star that falls within your main camera’s field of view. If that star is faint, crowded, or disappears when you change targets, you’re stuck.
Essential Hardware Components
Once you’ve chosen your optical path, you need the right sensors and controllers. Here’s what matters:
The Guide Camera
You don’t need a full-frame DSLR here. In fact, smaller sensors are better for guiding because they offer higher pixel density per arcsecond. Popular options include the ZWO ASI120MM Mini, QHY5L-II-M, or the older but reliable QHY5L-II. These cameras are monochrome, meaning they see everything in grayscale. This is ideal because color filters slow down readout speeds. You want the fastest possible frame rate to catch rapid tracking errors.
The Mount Interface
Your mount needs to accept external correction signals. Most modern GoTo mounts (like Sky-Watcher EQ6-R Pro, Celestron AVX, or iOptron CEM series) have a dedicated ST-4 port or USB connection for this. If you’re using a basic alt-azimuth mount, check if it supports “tracking assist” via software like NINA or PHD2. Without proper interface support, autoguiding won’t work.
The Computer
You can run guiding software on a Windows PC, Mac, or even a Raspberry Pi. A dedicated laptop is often preferred because it isolates the guiding process from your imaging computer, reducing cable clutter and potential interference. Ensure the computer has sufficient processing power to handle real-time image analysis without lag.
Setting Up Your First Guiding Session
Getting started is less about buying the right gear and more about getting the geometry right. Follow these steps to ensure a smooth first session:
- Polar Align Precisely: Autoguiding cannot fix a bad polar alignment. Use a drift alignment method or a polar scope to align your mount’s RA axis within 1-2 arcminutes of the celestial pole. The closer you are, the less strain the guider has to put on the motors.
- Select a Good Guide Star: Aim for a star with a magnitude between 9 and 14. Too bright, and it saturates the pixels; too faint, and it lacks signal-to-noise ratio. Avoid stars near the edge of the field of view, as distortion can confuse the algorithm.
- Focus the Guide System: Focus the guide camera until the star appears as a tight, circular point. If using an OAG, ensure the prism is correctly positioned so the guide image isn’t clipped or distorted.
- Calibrate Directionality: Open your guiding software (PHD2 is the industry standard). Run the “Calibrate” function. This determines which direction the mount moves RA and Dec. Getting this wrong will cause the guider to fight itself, making things worse.
- Set Exposure Time: Start with a 1-second exposure. If the RMS error is high, try 2 seconds. Longer exposures average out noise but reduce responsiveness. Shorter exposures react faster but may be noisy. Find the sweet spot where your RMS values stabilize.
Understanding RMS Error and Performance Metrics
How do you know if your guiding is good? Look at the RMS (Root Mean Square) error values in your software. These numbers represent the average deviation from the perfect center point, measured in arcseconds.
- Excellent: Below 0.5" RMS. This allows for very long sub-exposures without trailing.
- Good: Between 0.5" and 1.0" RMS. Suitable for most wide-field and mid-focal-length imaging.
- Fair: Between 1.0" and 2.0" RMS. Acceptable for short subs, but you may see slight elongation in longer exposures.
- Poor: Above 2.0" RMS. Indicates a problem with alignment, wind, or mechanical issues.
Don’t obsess over getting 0.1" RMS if your seeing conditions are poor. Atmospheric turbulence limits how sharp a star can appear, regardless of how well your mount tracks. On a clear night in Portland, Oregon, with stable air, you might achieve 0.7" RMS. On a windy evening, 1.5" might be your best bet. Learn to distinguish between mechanical error and atmospheric seeing.
Common Pitfalls and How to Fix Them
Even experienced imagers run into trouble. Here are the most frequent issues and their solutions:
The “Sawtooth” Pattern
If your guiding graph shows a regular zig-zag pattern, you likely have gear backlash in your mount’s worm gear. The guider corrects, the gear slips, and the star jumps back. To fix this, add “backlash compensation” in your mount settings or guiding software. Alternatively, ensure your worm gear is properly lubricated and tensioned.
Rapid Drift in One Axis
If the RA or Dec axis constantly drifts in one direction, check your counterweights. Are they balanced? Is the clutch tension correct? If the mount is under-tensioned, gravity pulls the scope off-axis, and the guider fights a losing battle. Tighten the clutches slightly until the mount holds position against gentle pushes.
Wind Interference
Strong gusts shake the entire rig, causing random spikes in RMS error. This isn’t a tracking issue; it’s a physical vibration issue. Move to a sheltered location, lower your tripod height, or wait for calmer conditions. No amount of software correction can fix a physically shaking telescope.
Wrong Guide Star
If you switch targets and lose guiding, you probably chose a star that wasn’t in the new field of view (if using an OAG) or a star that was too faint/bright for the new conditions. Always re-select your guide star after moving to a new target. Use tools like Stellarium to pre-plan which stars will be available in your field of view.
Software Choices: PHD2 vs. Alternatives
PHD2 is the most widely used open-source autoguiding software, known for its reliability, extensive community support, and compatibility with nearly all major mounts and cameras. It’s free, cross-platform, and constantly updated. For most users, PHD2 is the default choice.
Alternatives exist, such as AstroPulse (commercial, integrated with certain mounts) or built-in guiding features in some camera control panels. However, PHD2 offers the most granular control over parameters like aggressiveness, filter selection, and data logging. If you’re serious about improving your tracking, mastering PHD2 is worth the learning curve.
Next Steps for Better Imaging
Once you’ve got stable guiding, you can push your exposure times further. Instead of taking 30-second subs, you might capture 120-second or even 300-second frames, dramatically increasing your signal-to-noise ratio. This means less total integration time needed for the same quality image.
Remember, autoguiding is a skill, not just a setting. Practice on bright targets first. Monitor your graphs. Adjust your parameters slowly. Over time, you’ll develop an intuition for what your specific setup can handle. Whether you’re shooting nebulae in the Orion Complex or galaxies in Virgo, consistent guiding is the foundation of professional-grade astrophotography.
Do I need autoguiding for wide-field astrophotography?
Yes, even for wide-field imaging. While short exposures (under 30 seconds) might tolerate minor tracking errors, autoguiding ensures sharper stars and allows you to stack more frames effectively. It prevents subtle elongation that accumulates over time.
Can I use my main camera for guiding?
Technically yes, but it’s inefficient. Your main camera is busy capturing the target. Using a separate guide camera frees up your main sensor for continuous imaging and provides a dedicated, optimized view for tracking. It also avoids the complexity of switching lenses or filters mid-session.
What is a good starting exposure time for guiding?
Start with 1 second. If your RMS error is noisy, increase to 2 seconds. If it’s stable, you can try 0.5 seconds for faster response. The goal is to balance noise reduction with responsiveness. Most users settle between 1 and 3 seconds depending on their seeing conditions.
How do I know if my OAG is focused correctly?
When focused, the guide star should appear as a small, round dot in the center of the guide camera’s view. If it’s blurry, elongated, or cut off, adjust the OAG’s focus ring. Remember, the OAG focuses independently of your main camera, so you may need to refocus it whenever you change your main camera’s focus.
Is autoguiding worth it for visual astronomy?
Generally, no. Visual observers rely on the human eye’s ability to adapt and ignore minor drift. Autoguiding adds complexity and cost that doesn’t significantly improve the visual experience. It’s primarily beneficial for astrophotography, where precision is critical for stacking multiple exposures.