29 Apr 2026
- 0 Comments
Quick Wins for Your Night Out
- Target bright objects first (like M57 or M27) to calibrate your eyes.
- Use high-contrast filters to make the gas clouds pop against the black background.
- Avoid looking directly at the object; use averted vision to spot faint outer shells.
- Wait for a night with steady air (good seeing) to resolve the central star.
What Exactly Are You Looking At?
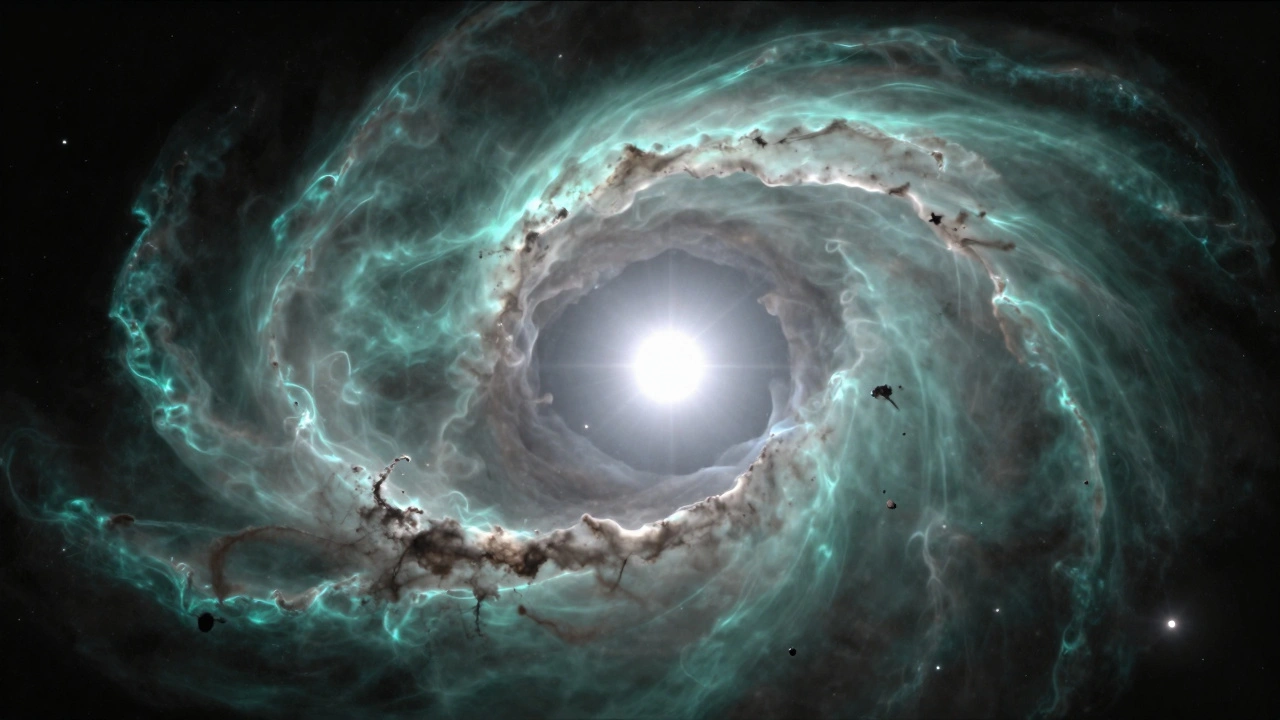
When you point your scope at a planetary nebula is an expanding shell of ionized gas ejected from an asymptotic giant branch star late in its life. Despite the name, these have nothing to do with planets. Early astronomers like William Herschel thought they looked like round planets through low-power lenses, so the name stuck. In reality, you are witnessing a star's final gasp.
The core of the drama is the White Dwarf. This is the hot, dense remnant of the original star. It blasts the surrounding gas with ultraviolet radiation, causing the clouds to glow. In a small scope, this often looks like a tiny, sharp pinprick of light sitting inside a ghostly ring or oval. If you can see that star, you've successfully resolved the engine driving the whole nebula.
Mastering the Ring and Shell Structures
Most beginners expect a perfect circle, but nature is rarely that tidy. Depending on the nebula, you will encounter different morphologies. Some look like simple disks, while others have complex "shells"-layers of gas thrown off in pulses over thousands of years.
Take the Ring Nebula (M57) in Lyra. Through a 4-inch or 5-inch refractor, it looks like a tiny, bright donut. If you use a high-power eyepiece, you can start to see that the "ring" isn't actually a circle, but a cylinder of gas viewed end-on. The edges are sharper, and the center is slightly dimmer. This is where planetary nebula observation becomes a game of perception. By slowly moving your eye slightly off-center, the faint outer edges of the shell often become more apparent.
Then there are the "irregular" types. The Dumbbell Nebula (M27) is a great example. It doesn't look like a ring at all; it looks like a glowing smudge with a pinched middle. In a small scope, it's much brighter than M57, which makes it a perfect target for testing your filters.
| Target | Visual Appearance | Best Eyepiece Type | Difficulty to Resolve Star |
|---|---|---|---|
| M57 (Ring) | Small, bright donut | High Power / Planetary | Moderate |
| M27 (Dumbbell) | Irregular, glowing cloud | Medium Power / Wide Angle | Hard |
| NGC 7662 (Blue Snowball) | Tiny, concentrated disk | Very High Power | Very Hard |
| NGC 6826 (Blinking Nebula) | Circular, distinct edges | High Power | Moderate |
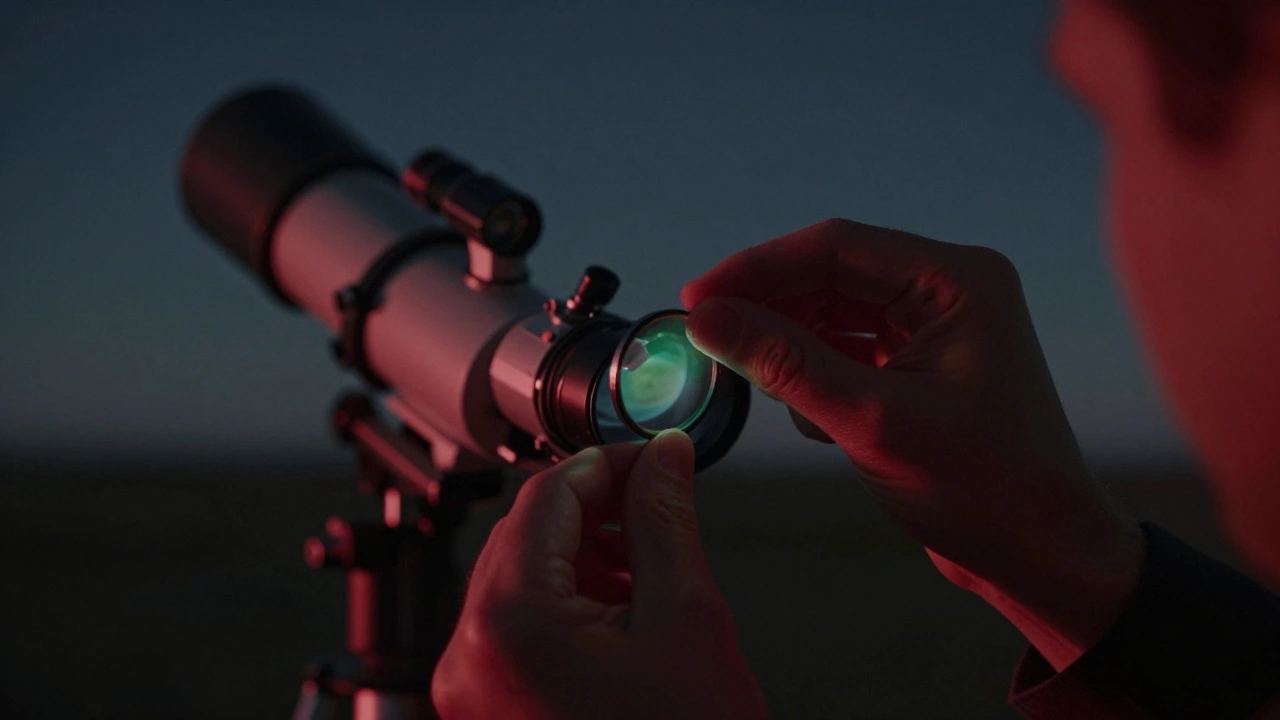
The Secret Weapon: Oxygen-III Filters
If you really want to see shells and rings, you need to stop seeing everything. The sky is filled with light pollution and generic starlight that washes out the faint glow of ionized gas. This is where an OIII Filter (Oxygen III) comes into play.
These filters are designed to block almost everything except the specific wavelength of light emitted by doubly ionized oxygen. When you drop an OIII filter into your eyepiece, the background sky turns ink-black, and the nebula suddenly "pops." You'll notice that the contrast increases dramatically, making it much easier to distinguish the nebula's boundary from the surrounding space. It's the difference between seeing a faint gray smudge and seeing a defined, glowing object.
Pro tip: Try "blinking." This is a technique where you quickly move the filter in and out of your field of view. Because the stars disappear with the filter but the nebula stays, your brain can more easily map the exact shape of the gas shell.
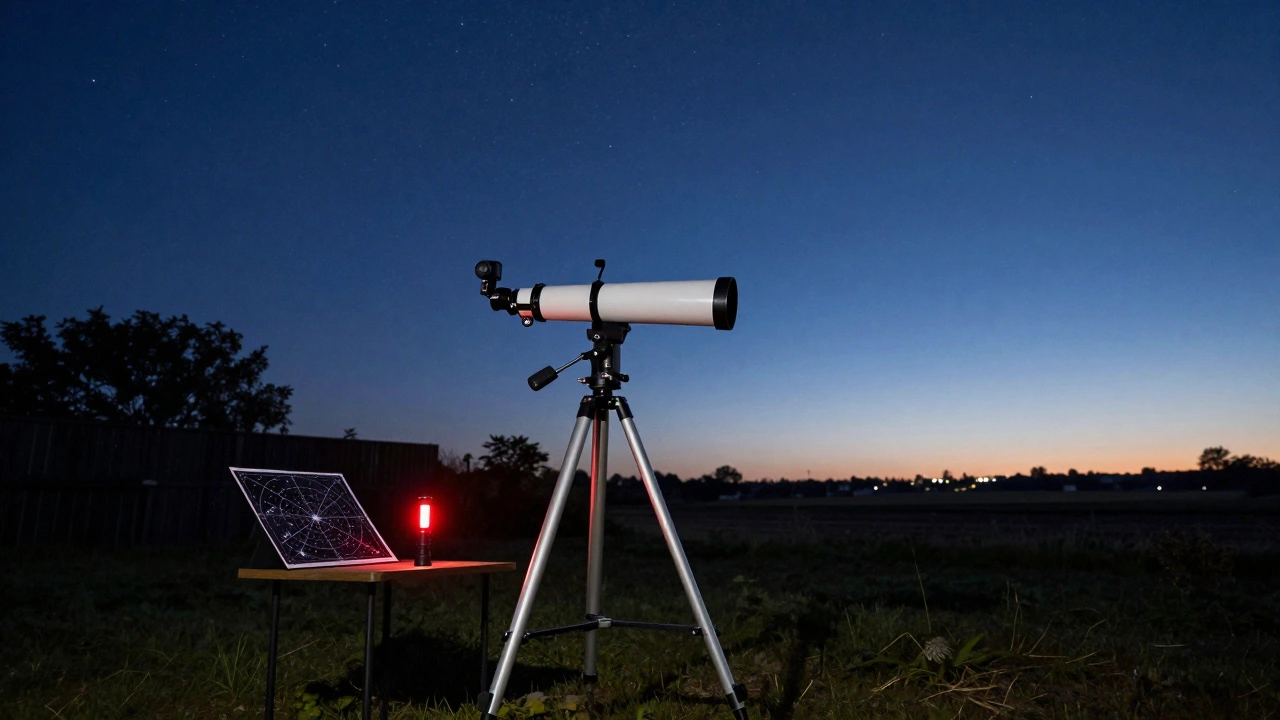
Planning Your Session for Maximum Detail
You can't just point and shoot. To see the central star or the thin outer shells, you need a strategy. First, check the "seeing" conditions. If the stars are twinkling wildly, the atmosphere is turbulent. This turbulence will blur the tiny central star into the surrounding gas, making it impossible to separate. You want a night where the stars look steady and rock-solid.
Second, manage your expectations based on your aperture. If you have an 80mm or 100mm telescope, don't push the magnification to the absolute limit. Over-magnifying a small aperture just gives you a "big, blurry smudge." Instead, find the "sweet spot"-usually around 150x to 200x-where the image remains crisp but the object is large enough to analyze.
Third, use a Star Chart or a digital app to find the target, but then switch to manual hopping. Once you find a bright nearby star, use the precise offsets to center the nebula. This keeps your eyes adjusted to the dark, which is critical for spotting the faint, extended halos that often surround the main ring.

Common Pitfalls and How to Avoid Them
A lot of people give up because they "don't see what's in the photos." You have to remember that Astrophotography uses long exposures to collect light for hours. Your eye sees in real-time. You will never see a bright red or green nebula through a small scope; they will almost always appear as shades of gray, pale blue, or ghostly green.
Another mistake is ignoring the cooling period. If you take your telescope from a warm living room and put it immediately under the winter sky, you'll get "tube currents." These are swirls of warm air inside the scope that distort the image. Give your gear at least 30 to 60 minutes to reach the outdoor temperature. If you don't, that central star will look like it's dancing, and you'll never be able to tell if it's actually there.
Finally, don't forget about your pupils. If you've been looking at a phone screen or a bright flashlight, your night vision is gone. Use a dim red light and give your eyes 20 minutes to fully adapt. The difference in the brightness of a planetary nebula shell when your eyes are dark-adapted is staggering.
Can I see planetary nebulae with binoculars?
Yes, you can see the brighter ones like M27 or M57, but they will look like tiny, dim stars rather than rings. You won't be able to see the shell structure or the central star without a telescope and higher magnification.
Which is better, a refractor or a reflector for this?
For planetary nebulae, a high-quality refractor is often preferred because they provide a higher-contrast image and sharper views of the central star. However, a small reflector (like a 6-inch Dobsonian) gives you more aperture, which helps gather more light to see the fainter outer shells.
Why do some nebulae look blue and others green?
This is due to the composition of the gas and the temperature of the central star. Oxygen-rich nebulae often glow green, while hydrogen-rich ones can lean toward a pale blue or red. Through a small scope, these usually blend into a silvery-gray.
What magnification is best for the Ring Nebula?
For most small scopes, 100x to 150x is the sweet spot. This allows you to see the "hole" in the middle of the ring without losing too much brightness or introducing too much atmospheric blur.
Do I really need a filter if I have a dark sky?
Even in a dark sky, an OIII filter helps by increasing the contrast between the nebula and the background. It doesn't make the nebula "brighter," but it makes it stand out more clearly by cutting out competing light wavelengths.
Next Steps for Your Observation Log
Once you've nailed the basics, start a log. Note the date, the eyepiece used, and the "seeing" quality. Try to sketch what you see. Sketching forces your brain to look closer at the edges of the shell and the position of the star, often revealing details you'd miss if you were just glancing through the lens.
If you've mastered the Ring and Dumbbell, move on to more challenging targets like the Blue Snowball. These require more precision and better atmospheric conditions, but the feeling of finally resolving that tiny, glowing disk is one of the most rewarding parts of amateur astronomy.