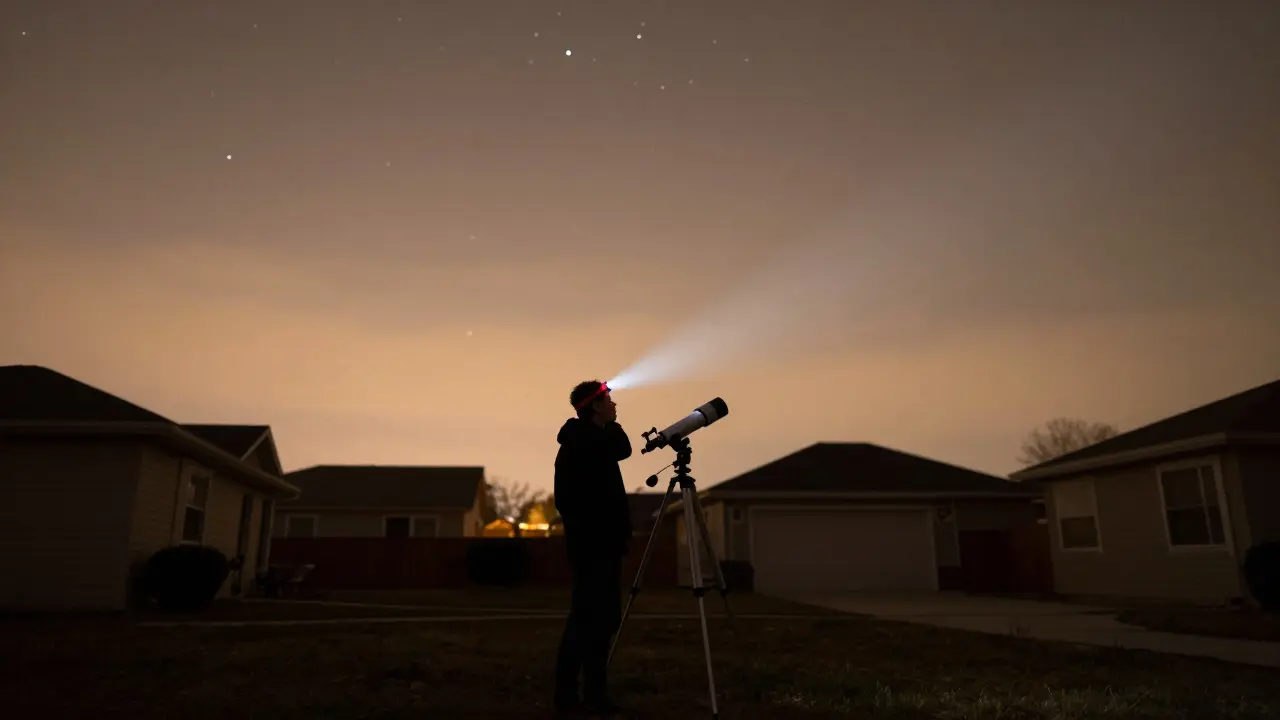
16 Aug 2026
- 0 Comments
Staring up at the night sky from a suburban backyard, you see maybe 50 to 100 stars. From a dark site, that number jumps to thousands. If you are trying to navigate deep-sky objects using only your eyes and a telescope, this difference changes everything. Star hopping is a method of locating celestial objects by moving from one known bright star or pattern to another until you reach the target. In pristine darkness, this is straightforward. Under city lights, however, the faint guide stars vanish, leaving you stranded in a void of confusion.
The good news? You can still navigate effectively if you adjust your technique. It isn't about seeing more; it's about seeing smarter. By leveraging contrast, timing, and specific optical tricks, you can turn a washed-out sky into a navigable map. This guide breaks down exactly how to do that without needing a $5,000 tracker or a trip to the desert.
Understanding the Impact of Light Pollution on Visual Navigation
Light pollution is the artificial brightening of the night sky caused by streetlights, buildings, and industrial lighting. It doesn't just make the sky look gray; it actively reduces the contrast between stars and the background glow. Your eye adapts to darkness over 20 to 30 minutes. If you look at a phone screen or a bright streetlamp, that adaptation resets instantly. For star hopping, you need maximum sensitivity because you are relying on stars that are barely visible to the naked eye to find your way through the constellation.
When the sky is bright, the "limiting magnitude"-the faintest star you can see-drops significantly. In a Bortle Class 9 (inner city) sky, you might only see stars down to magnitude 4.0. In a Bortle Class 2 (excellent dark sky), you can see down to magnitude 6.5. That gap means hundreds of potential guide stars disappear. To compensate, you must rely on brighter anchors and wider fields of view.
Preparation: Setting Up for Low-Contrast Viewing
Before you even point the telescope, your setup determines your success. Here is what actually matters when the sky is hostile:
- Use a Dark-Adapted Eye: Wear red-light headlamps. Blue and white light destroy night vision. Red light preserves your rod cell sensitivity, which is crucial for detecting faint points of light.
- Choose the Right Eyepiece: Do not start with high magnification. A wide-field eyepiece (like a 24mm or 32mm) gives you a larger field of view. This helps you identify constellations and patterns before zooming in. High power shrinks the field, making it harder to orient yourself in a crowded or dim area.
- Select the Correct Filter: A UHC filter (Ultra High Contrast) is your best friend for nebulae, but for general star hopping, a Solar System filter or a simple moon filter can help cut down the overall brightness of the sky glow, increasing the relative contrast of the stars.
Technique 1: The Bright Anchor Method
In a dark sky, you can hop from a magnitude 5 star to a magnitude 6 star. In a light-polluted sky, you often can't. So, change your strategy. Instead of small steps, take big leaps. Identify the brightest possible anchor stars in the constellation first. These are usually magnitude 1 to 3 stars. They remain visible even under heavy pollution. Once you have locked onto these bright beacons, use them as your primary reference points.
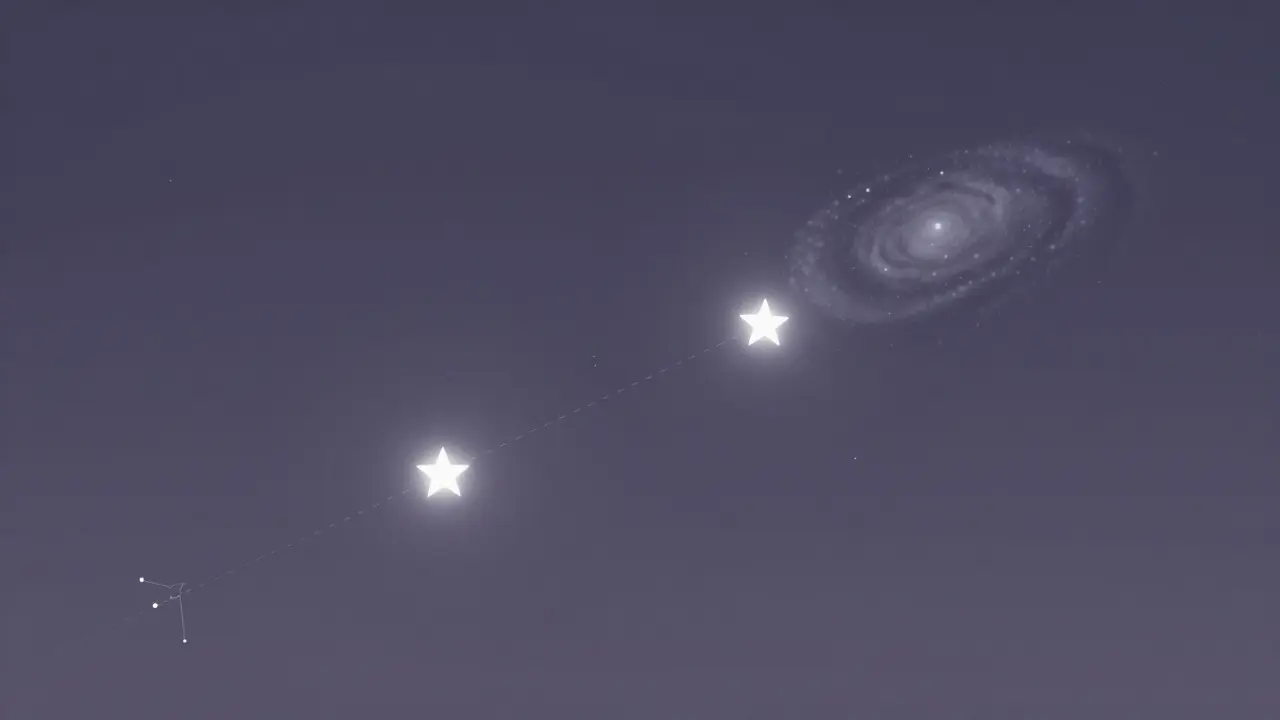
For example, if you are looking for the Andromeda Galaxy (M31), don't try to find the faint stars surrounding it immediately. Find Mirach (Beta Andromedae) and Alpheratz (Delta Andromedae). These are bright enough to see from most suburbs. Once you have these two points, you know where the galaxy lies relative to them. The galaxy itself is an extended object, so it requires a different viewing approach than a point-source star, but the navigation gets you close.
Technique 2: Indirect Vision and Averted Gazing
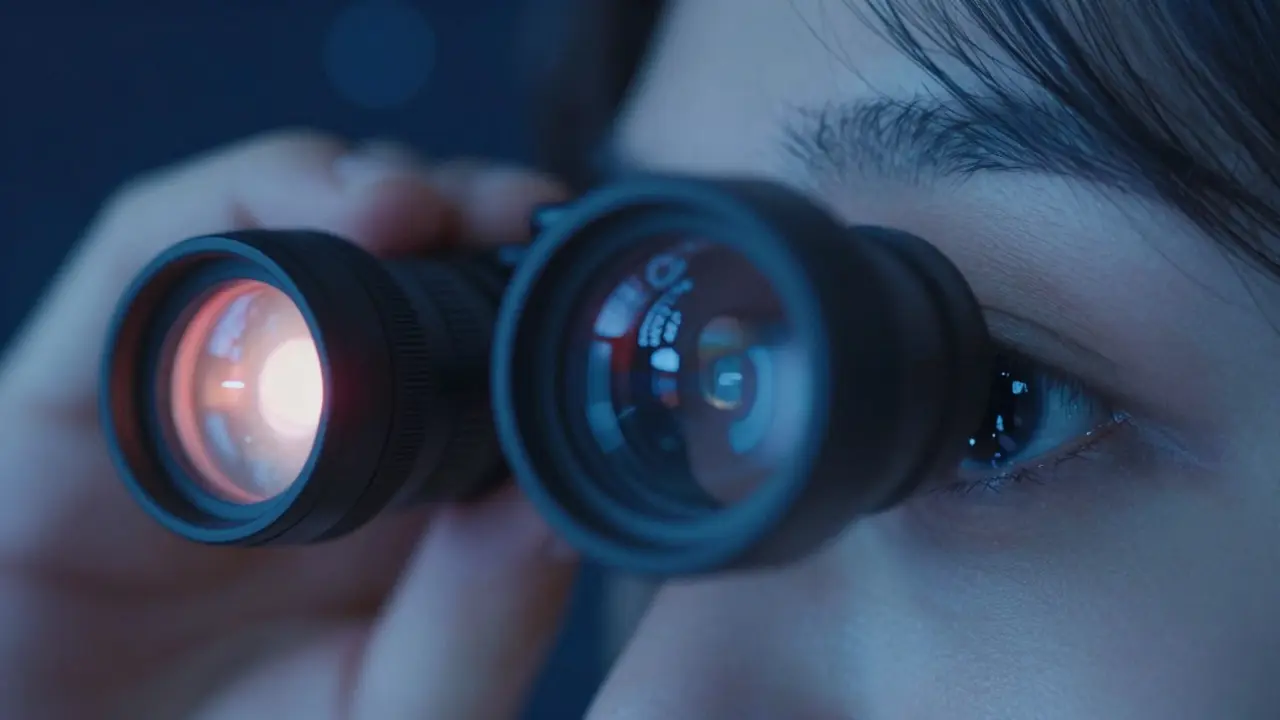
Your fovea-the center of your retina-is packed with cone cells, which work well in bright light but are terrible at detecting faint, dim objects. The periphery of your retina is packed with rod cells, which are highly sensitive to low light but lack color perception. When a star seems invisible, stop staring directly at it. Look slightly to the side, about 10 to 15 degrees off-center. This allows the rods to catch the light while the cones relax. This technique, known as averted vision, can reveal stars that are 1 to 2 magnitudes fainter than what you see with direct gaze. It is the single most effective tool for navigating faint skies.
Technique 3: Pattern Recognition Over Star Identification
Don't try to memorize every individual star name. Focus on shapes. Constellations are defined by their geometry, not just their brightest members. In a bright sky, the faint connecting lines disappear, but the main "stick figure" often remains. Learn the key asterisms-small, recognizable patterns like the Big Dipper, Orion's Belt, or the Summer Triangle. These patterns act as landmarks. If you can recognize the shape of Cygnus, you know where to point your scope, even if you can't see the faint stars filling out the swan's wings.
Practical Workflow: Step-by-Step Navigation
- Start Wide: Use a binoculars or a low-power eyepiece to locate the broad constellation boundaries. Binoculars are superior here because they gather more light and provide a wider context than a telescope.
- Identify Anchors: Pick out the 2-3 brightest stars in that region. Confirm their positions against a planisphere or app (using red mode).
- Calculate Vector:** Imagine a line between two bright stars. Your target object is usually described as "X degrees North-East of Star Y." Use this vector to move your telescope.
- Refine with Averted Vision:** As you get closer, switch to a higher power eyepiece. Use averted vision to spot the fainter stars that define the final approach path.
- Confirm Target:** Look for the object's characteristic shape. Galaxies look fuzzy; clusters look like scattered diamonds; nebulae look like ghostly wisps.
Common Pitfalls and How to Avoid Them
Many beginners fail in light-polluted skies because they rush. They point the scope, see nothing, and assume the object is gone. In reality, they just haven't given their eyes time to adapt or used the correct technique. Another common mistake is using too much magnification. At 200x power, the field of view is tiny, and the exit pupil is small, reducing the amount of light entering your eye. Stick to lower powers (under 100x) for initial navigation. Finally, avoid checking your phone with blue light. One glance can reset your dark adaptation for 30 minutes, ruining your session.
| Condition | Visible Stars (Approx.) | Recommended Technique | Best Tools |
|---|---|---|---|
| Bortle Class 2 (Dark) | Magnitude 6.5+ | Standard star hopping | Telescope, Red Headlamp |
| Bortle Class 5 (Suburban) | Magnitude 4.5 - 5.0 | Bright Anchor + Averted Vision | Binoculars, UHC Filter |
| Bortle Class 8 (City Edge) | Magnitude 3.5 - 4.0 | Pattern Recognition + Moon Filter | Wide-field Eyepiece, Planisphere |
Frequently Asked Questions
Can I star hop from a city apartment?
Yes, but with limitations. You will likely only be able to navigate to bright, large objects like the Moon, Jupiter, Saturn, and very bright double stars. Deep-sky objects require darker skies or significant light pollution reduction filters. Focus on learning the basic patterns of the zodiacal constellations first.
What is the best eyepiece for star hopping in light pollution?
A wide-field eyepiece with a focal length of 24mm to 32mm is ideal. It provides a large field of view, helping you orient yourself within the constellation before zooming in. Avoid high-power eyepieces (short focal lengths) for initial navigation as they shrink the field too much.
Do filters help with star hopping?
Filters help with contrast, not necessarily with finding stars. A UHC filter enhances nebulae by blocking sodium light. A moon filter or solar system filter can reduce overall sky brightness, making stars appear slightly more distinct. However, no filter can bring back stars that are completely washed out by extreme light pollution.
How long does it take for eyes to adapt to the dark?
Full dark adaptation takes 20 to 30 minutes. During this time, your pupils dilate and your rod cells become more sensitive. Any exposure to white or blue light resets this process. Use red light sources exclusively after the initial 10-minute warm-up period.
Is star hopping better than GoTo telescopes for beginners?
Star hopping teaches you the sky. It builds intuition and knowledge of constellations. GoTo telescopes are convenient but can make you dependent on technology. In light-polluted areas, GoTo systems may struggle with alignment due to missing reference stars. Manual star hopping forces you to learn the patterns, which is a valuable skill regardless of equipment.