16 Aug 2026
- 0 Comments
Ever pointed your camera at the sky only to realize the target object doesn't fit in your frame? Or maybe you tried to stitch two images together and ended up with a blurry mess where the stars didn't line up? Telescopius is a specialized desktop application designed for serious astrophotographers to plan shots, calculate precise fields of view, and simulate complex mosaics before they ever turn on their telescopes. It bridges the gap between what you see in a star chart and what your specific gear can actually capture. If you are tired of guessing how many frames you need for a large nebula or wondering if your wide-field lens will cover the entire Orion Nebula, this tool changes the workflow from trial-and-error to calculated precision.
Why You Need a Digital Twin of Your Setup
Before we get into the buttons, let's talk about why software like Telescopius matters. Every optical system has a unique "footprint" on the sky. This footprint depends on three things: your sensor size, your focal length, and any crop factors from binning or cropping. A full-frame Sony A7III with a 50mm lens sees a different patch of sky than a Canon R6 with a 135mm telephoto. Mixing these numbers up in your head is a recipe for disaster.
Telescopius solves this by letting you build a digital profile of your rig. You input your camera model and your telescope or lens. The software then calculates the exact degrees of sky covered per pixel. This is crucial because it allows you to visualize exactly where your reticle sits relative to deep-sky objects. It’s not just about seeing if an object fits; it’s about knowing if the background context you want-like the surrounding star fields or galactic dust lanes-is included in the shot.
- Sensor Size: Determines the physical area of light captured (e.g., Full Frame, APS-C, Micro Four Thirds).
- Focal Length: The distance from the lens center to the sensor, dictating magnification and field width.
- Pixel Pitch: The size of individual pixels on the sensor, affecting resolution and noise handling.
Mastering Field of View and Framing
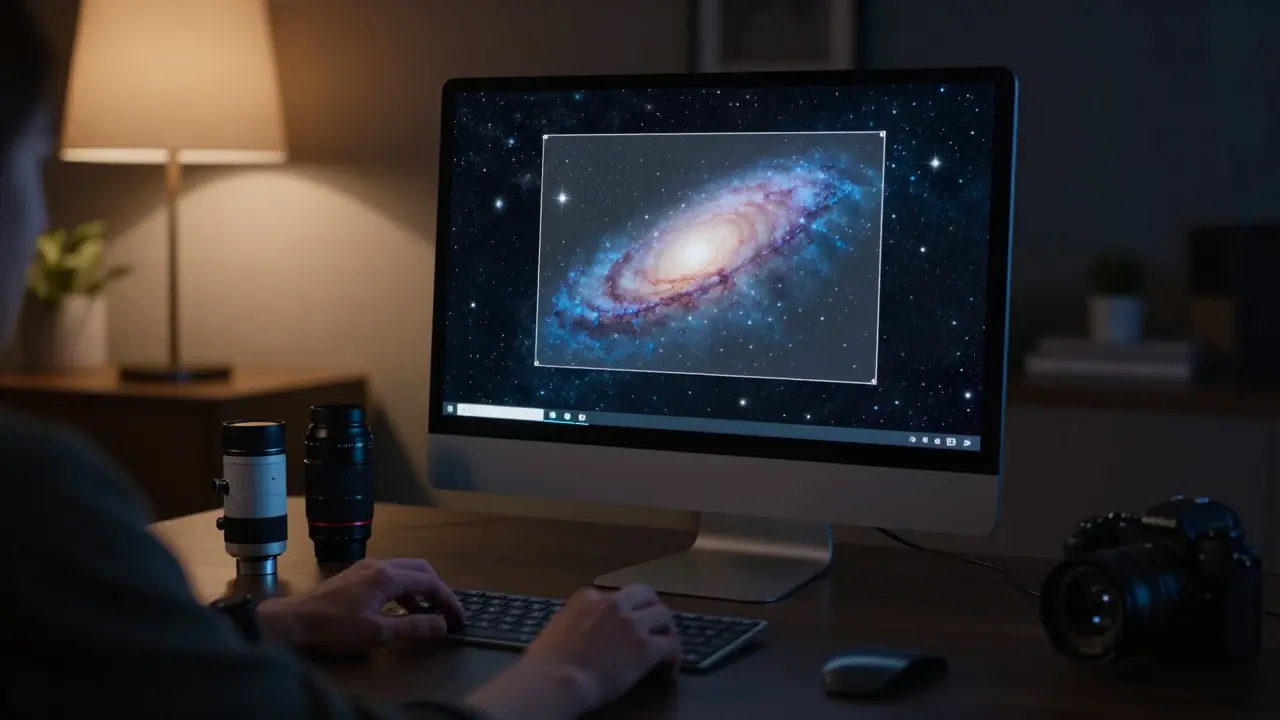
The core function of Telescopius is framing. When you select a target, say the Andromeda Galaxy (M31), the simulator draws a rectangle representing your field of view (FOV) over a high-resolution survey image. This overlay is your reality check. Does M31 fill the frame nicely? Is it too small? Can you shift the aim slightly to include the companion galaxy M32 without cutting off the main disk?
One common pitfall is assuming that if an object is centered, it looks good. Sometimes, off-center compositions are more dynamic. Telescopius lets you drag the FOV box around the target to test different angles. You can also zoom in and out to see how much detail you’re losing at longer focal lengths. For example, if you switch from a 400mm lens to a 1000mm refractor, the FOV box shrinks dramatically. What used to be a tight crop of M31’s core might now show the entire galaxy plus its surroundings. This visual feedback loop saves hours of dark site time because you know exactly where to point the mount before you even arrive.
Planning Complex Mosaics Without Guesswork
This is where Telescopius really shines for advanced users. Capturing a single image of a huge object like the Eagle Nebula (M16) or the Pleiades cluster is often impossible with standard focal lengths. You need a mosaic-multiple overlapping images stitched together later. But how do you know how many frames to take? How much overlap do you need? If you guess wrong, you either miss parts of the object or waste time taking redundant shots.
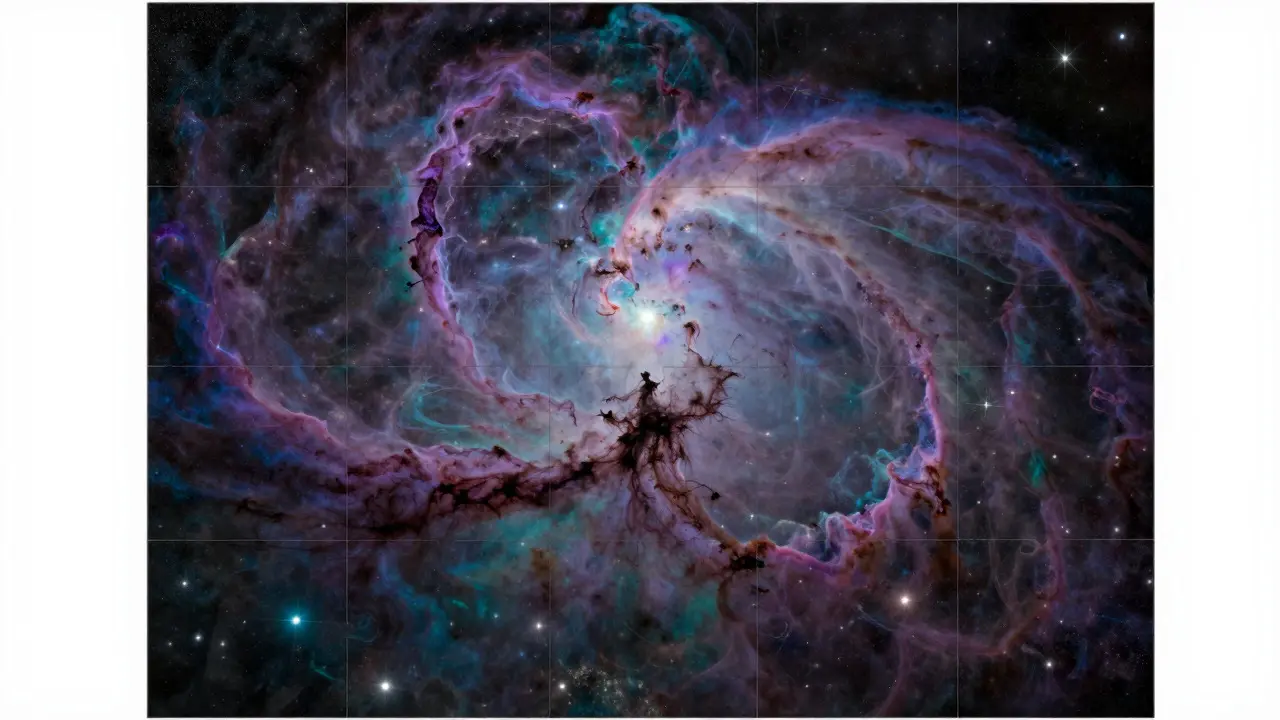
In the mosaic planner, you define the total area you want to cover. Telescopius then suggests a grid of sub-frames based on your current FOV. It visually displays these sub-frames as a tiled pattern over the survey image. You can adjust the overlap percentage. Generally, 20-30% overlap is recommended for easier stitching in post-processing software like PixInsight or Siril. Too little overlap makes alignment difficult; too much overlap means shooting the same stars twice, which wastes integration time.
The simulator also helps you identify potential issues. If a bright star falls right on the edge of two frames, it might cause problems during registration. By looking at the planned mosaic layout, you can shift the entire grid slightly to move that star into the center of one frame or away from the boundary. This proactive planning prevents headaches when you’re back home trying to align hundreds of gigabytes of data.
Leveraging Survey Backgrounds for Realism
A blank black screen isn’t helpful for planning. You need to see what’s actually there. Telescopius uses high-quality astronomical survey data as its background canvas. These aren’t just simple star charts; they are color-corrected images showing nebulosity, dust lanes, and faint galaxies. Sources like the Digitized Sky Survey (DSS) or modern wide-field surveys provide the texture needed to judge contrast and visibility.
You can toggle between different survey layers. For instance, a red-channel view might highlight hydrogen-alpha emission from nebulae, while a blue-channel view emphasizes reflection nebulae. This helps you decide if your filter choice will work well. If you’re planning a narrowband shoot, switching to a Ha-layer in the simulator shows you exactly where the brightest emissions are, allowing you to focus your exposure budget on those areas. It turns the abstract concept of "faint nebulosity" into a visible feature you can frame around.
Practical Workflow: From Idea to Execution
Let’s walk through a real scenario. Suppose you want to photograph the Whirlpool Galaxy (M51). First, open Telescopius and load your camera and telescope profile. Next, search for M51. The software centers the object and draws your FOV box. You notice that at 600mm, M51 fills the frame perfectly, but you’d like to include some foreground stars for depth. You zoom out slightly in the simulator, perhaps by using a shorter focal length or a wider lens, and see that the new FOV includes a nice arc of stars in the lower left corner. You save this configuration.
Now, consider a harder target: the Horsehead Nebula (B33). It’s small and requires a long focal length. At 1000mm, the FOV box is tiny. You realize you need to include Barnard 33 and the surrounding region. You switch to mosaic mode. Telescopius suggests a 2x2 grid. You review the overlap and ensure no critical features are cut off. You note the RA and Dec coordinates for each sub-frame. Now, when you’re at the dark site, you don’t have to fiddle with the mount settings. You just enter the pre-calculated coordinates, shoot, and move to the next frame. It’s efficient, stress-free, and guarantees a complete final image.
Common Pitfalls and How to Avoid Them
Even with powerful tools, mistakes happen. Here are a few things to watch out for:
- Ignoring Atmospheric Refraction: Near the horizon, stars appear higher than they actually are. Telescopius accounts for this if you set your latitude and altitude correctly. Always update these settings if you travel.
- Mismatched Sensor Profiles: Make sure your camera profile matches the actual sensor you’re using. If you crop your images in post, create a separate profile for the cropped version to get accurate FOV calculations.
- Overlapping Bright Stars: In mosaics, try to avoid having very bright stars on the seam lines. They can confuse alignment algorithms. Shift your grid if necessary.
- Forgetting to Check Seasonality: Some objects are only visible at certain times of the year. While Telescopius focuses on framing, always cross-reference with a planetarium app to ensure the target is high enough in the sky for your session.
Frequently Asked Questions
Is Telescopius free to use?
Yes, Telescopius is available as freeware for personal use. It is developed by the community and supported by donations. There are no hidden subscription fees or premium tiers that lock essential features behind a paywall.
Can I import my own custom telescope profiles?
Absolutely. If your telescope or lens isn’t in the default database, you can create a custom entry. You’ll need to input the focal length and the sensor dimensions. For prime lenses, this is straightforward. For scopes with reducers or barlows, calculate the effective focal length first.
How accurate are the survey backgrounds compared to real-time views?
The survey backgrounds are excellent for structural planning but may differ in brightness and color balance from what you see through your eyepiece or camera. Light pollution, atmospheric conditions, and seasonal variations affect real-time visibility. Use the simulator for geometry and framing, not for predicting exact exposure times.
Does Telescopius support planetary imaging planning?
Yes, though it is less critical for planets since they are point sources. However, it helps determine if your field of view is wide enough to capture Jupiter with its Galilean moons or Saturn with its rings fully extended. It also helps plan occultations or transits where timing and position are key.
What file formats does Telescopius export?
You can export your planned configurations as text files or CSVs. These lists contain the Right Ascension and Declination coordinates for each frame in a mosaic. Most guiding software and mount controllers can import these coordinates directly, saving you manual entry errors.