16 Aug 2026
- 0 Comments
There is a specific moment in every amateur astronomer’s life when they point their first serious scope at the Andromeda Galaxy the nearest large spiral galaxy to the Milky Way, visible to the naked eye under dark skies. It looks like a smudge. A faint, elongated cloud that barely holds your attention for ten seconds. If you are using a small refractor or binoculars, this is often where the magic stops. But if you step up in aperture, the scene transforms from a ghostly hint into a structured, three-dimensional city of stars and dust. The difference isn't just about brightness; it's about resolution, contrast, and the ability to separate the core from the halo. Understanding what your specific instrument can actually deliver prevents disappointment and helps you plan your night properly.
The Baseline: What Small Instruments Show
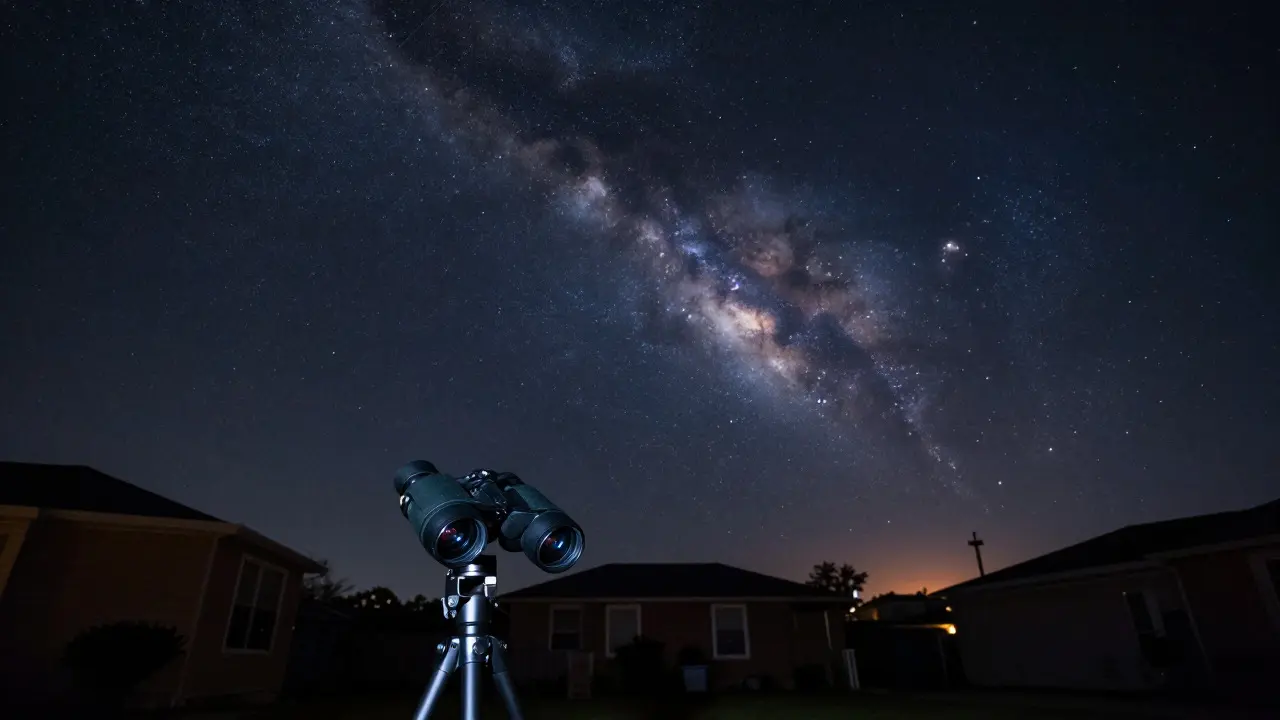
Let's start with the reality of limited light-gathering power. With 7x50 binoculars or a 60mm-80mm refractor, M31 appears as a diffuse, elliptical patch of light. At low magnification, it might span 1 to 2 degrees across the field of view, looking somewhat like a stretched-out comet without a tail. The core is slightly brighter, but there is no distinct structure. You cannot see the dust lanes. You certainly cannot resolve individual stars in the outer arms. This view is satisfying in its own right-it proves the object is real and massive-but it lacks the depth that makes galactic observation addictive. If your budget is tight or you are traveling, these instruments are fine for confirming presence, but don't expect detail. The main value here is context: seeing how M31 sits relative to nearby globular clusters like M32 and M110, which appear as tiny, fuzzy dots attached to the main body.
The Mid-Range Sweet Spot: 4 to 6 Inch Telescopes
This is where things get interesting. A 4-inch (100mm) to 6-inch (150mm) Newtonian reflector or Schmidt-Cassegrain telescope begins to reveal the true shape of the galaxy. At 50x to 100x magnification, the disk becomes clearly oval, not just a blob. You start to perceive a gradient: the center is distinctly brighter than the edges. In excellent dark-sky conditions, observers with 6-inch scopes report seeing the faintest hints of the inner ring structure surrounding the core. However, the famous dust lanes remain invisible at this aperture unless you use averted vision and have extremely stable air. The key attribute here is surface brightness. While total magnitude stays constant, the spread of light over a larger area means you need darker skies to appreciate the full extent of the halo. A 6-inch scope gives you a solid, reliable view that feels substantial, especially when you rotate the eyepiece to align the major axis horizontally. It’s the minimum aperture I recommend for anyone who wants more than a "smudge" experience.
Unlocking Detail: 8 to 10 Inch Apertures
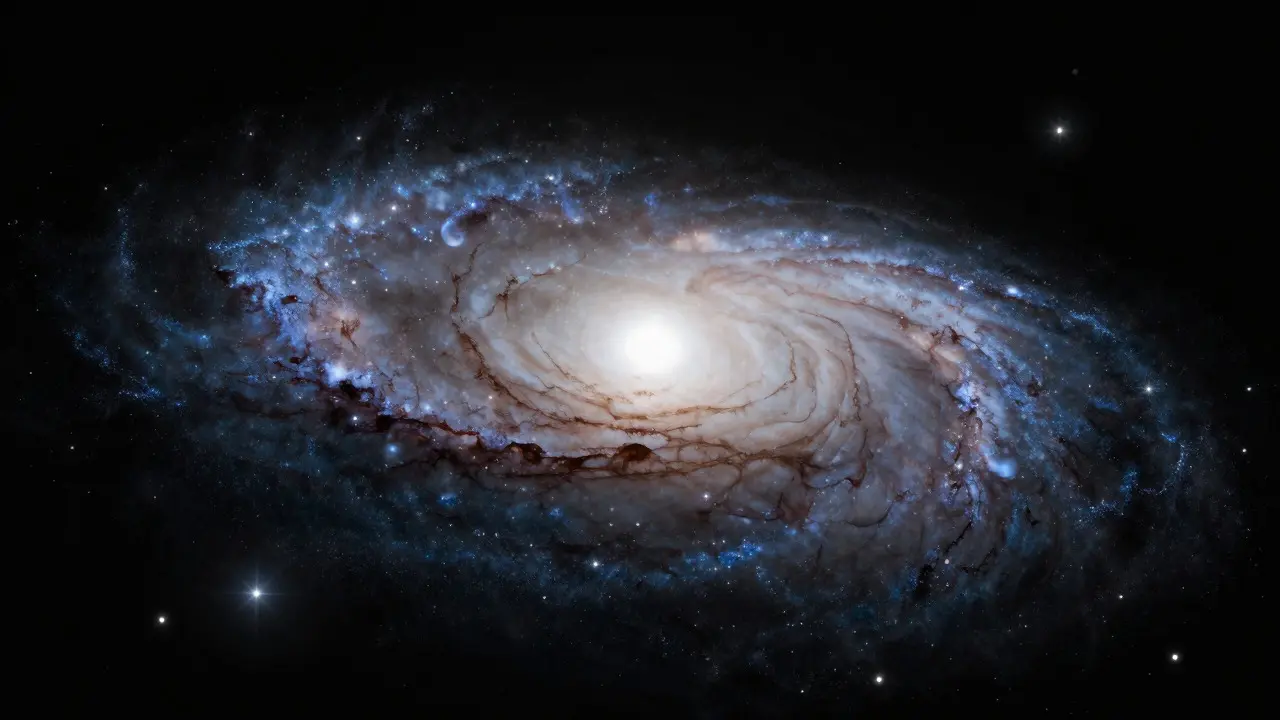
Jumping to an 8-inch (200mm) or 10-inch (250mm) telescope changes the game entirely. At this size, the dust lanes dark bands of interstellar matter that obscure starlight within spiral galaxies become visible objects in their own right. Under Bortle 4 or darker skies, you can trace the dark rift that cuts through the lower arm of M31. The core brightens significantly, allowing you to resolve the innermost regions without straining your eyes. Many observers note that the galaxy starts to look "three-dimensional," with the arms appearing to wrap around the central bulge. At 10 inches, you might also catch the faint, wispy extensions of the outer arms stretching further out than previously seen. This is the range where astrophotography enthusiasts often say "you're finally seeing what the camera sees," though the human eye still requires higher contrast to pick out subtle features. If you are planning to invest in a larger scope, this is the threshold where M31 stops being a background object and becomes the main event of the night.
The Big Guns: 12 Inches and Beyond
Do you really need a 12-inch (300mm) or 14-inch (350mm) Dobsonian for M31? For pure visual pleasure, yes, if you have the patience and the sky. At this aperture, the galaxy fills a significant portion of a low-power eyepiece. The dust lanes are crisp and well-defined, creating a stark contrast against the glowing stellar disks. You can resolve individual star clusters within the arms, turning the smooth glow into a textured landscape. The core becomes intensely bright, almost blinding at high magnifications, requiring careful adjustment of the iris or use of a nebula filter to reduce glare. One surprising benefit of large apertures is the ability to see the "fuzziness" of the halo extend much further than expected, revealing the sheer scale of the galaxy's reach. However, remember that M31 is a low-surface-brightness object. Going beyond 12 inches offers diminishing returns for visual observing compared to other deep-sky targets, but for the sheer awe of seeing a neighboring universe in such detail, it is worth the effort.
Aperture vs. Sky Quality: The Critical Interaction
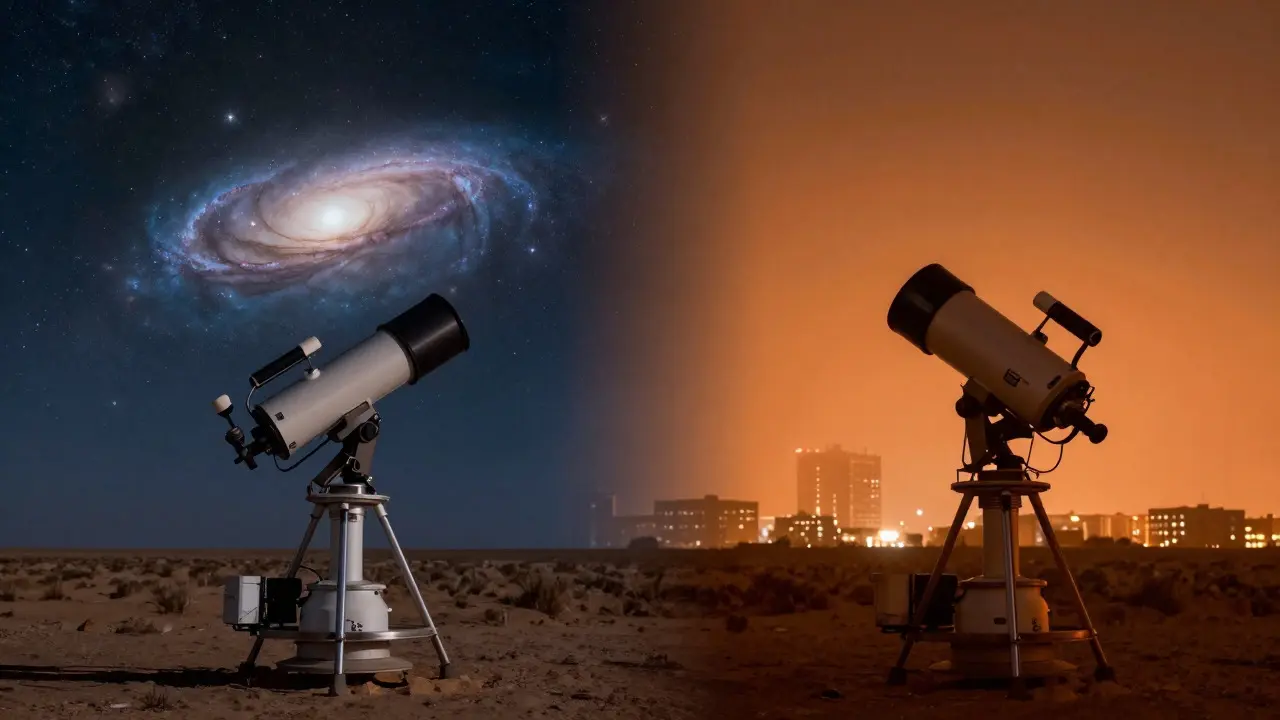
Here is the part most gear lists ignore: aperture is only half the equation. A 10-inch scope on a Bortle 8 suburban sky will show less detail than a 6-inch scope on a Bortle 3 rural site. Light pollution washes out the low-contrast features of M31-the dust lanes and outer arms-far faster than it affects point sources like stars. If you live in a city, prioritize a larger aperture to compensate for lost contrast, but also consider using a light pollution filter. These filters block the orange sodium glow from streetlights, enhancing the blue-white hue of the galaxy's stars and making the dust lanes pop. Conversely, if you have pristine dark skies, a mid-range scope performs remarkably well because the natural contrast ratio is high. Always match your expectations to your local conditions. A 4-inch scope in the desert will outperform a 12-inch scope in downtown Portland on a moonless night.
Magnification and Eyepiece Selection
Once you have the right aperture, choosing the correct magnification is crucial. M31 is a huge object, spanning about 3 degrees across the sky. You need a wide field of view to take it all in. Low power (30x to 60x) is essential for seeing the entire structure and its relationship with satellite galaxies. High power (200x+) is useful for zooming into the core and resolving the densest star fields, but you lose the overall shape. A good rule of thumb: start at the lowest comfortable magnification to establish the frame, then slowly increase until the details begin to fade. Use an eyepiece with a wide apparent field of view (68 degrees or more) to maximize the immersive feel. Avoid going too high with large apertures, as the exit pupil becomes smaller than your eye's dilated pupil, reducing brightness unnecessarily.
| Aperture Range | Core Brightness | Dust Lanes Visible? | Outer Arms Detail | Satellite Galaxies (M32/M110) |
|---|---|---|---|---|
| Binoculars / 60-80mm | Faint, uniform | No | None | Faint points |
| 100-150mm (4-6") | Brighter center | Hinted (excellent skies) | Faint extension | Circular fuzzies |
| 200-250mm (8-10") | Distinct core | Yes (Bortle 4+) | Visible structure | Clear round shapes |
| 300mm+ (12"+) | Intense, resolvable | Crisp, high contrast | Star clusters resolved | Detail in cluster cores |
Practical Observing Tips for M31
To get the most out of any aperture, follow these practical steps. First, let your eyes adapt fully. Give yourself at least 20 minutes in the dark before looking through the eyepiece. Second, use averted vision. Look slightly to the side of the galaxy rather than directly at it. This engages your rod cells, which are more sensitive to dim light, helping you detect the faintest parts of the halo and the dust lanes. Third, check the moon phase. A thin crescent moon is acceptable, but a quarter moon or fuller will wash out the outer arms completely. Fourth, use a red flashlight to preserve your dark adaptation while adjusting focus. Finally, sketch what you see. Drawing forces you to observe carefully and helps you calibrate your expectations for future sessions. Note specifically where the dust lanes appear and how bright the core is relative to the surroundings.
Frequently Asked Questions
What is the best aperture for viewing the Andromeda Galaxy visually?
For most observers, a 10-inch (250mm) telescope offers the best balance of portability and detail. It reveals the dust lanes clearly under dark skies and resolves the core well. Smaller scopes (6-8 inches) are sufficient for a good view of the overall shape, while larger scopes (12 inches+) provide enhanced contrast and texture in the arms.
Can you see the dust lanes in M31 with a small telescope?
It is very difficult to see the dust lanes with telescopes smaller than 8 inches. They require high contrast and significant light-gathering power. Under exceptional dark-sky conditions, a skilled observer with a 6-inch scope might detect a faint hint of the inner dust lane, but it is generally considered a feature for larger apertures.
How does light pollution affect the view of M31?
Light pollution has a disproportionate effect on M31 because it is a low-surface-brightness object. The glow from artificial lights washes out the faint outer arms and makes the dust lanes invisible. Even moderate light pollution (Bortle 5-6) can make the galaxy appear smaller and less detailed than it actually is. Using a light pollution filter can help mitigate this by blocking specific wavelengths of city light.
What magnification should I use for M31?
Start with low magnification, typically 30x to 60x, to see the entire galaxy and its satellites. This provides the best sense of scale and structure. Higher magnifications (100x-200x) are useful for examining the core and resolving individual star clusters in the arms, but you will lose the overall context. Avoid excessive magnification, as it reduces the field of view and brightness without adding significant detail.
Is M31 better viewed with a refractor or a reflector?
Reflectors (Newtonians or Dobsonians) are generally preferred for M31 because they offer larger apertures at lower cost. Since M31 benefits from maximum light gathering, a 10-inch Dobsonian is far superior to a 10-inch refractor in terms of value and performance. Refractors can provide sharper images, but for extended objects like galaxies, aperture is the primary driver of visibility.