17 Aug 2026
- 0 Comments
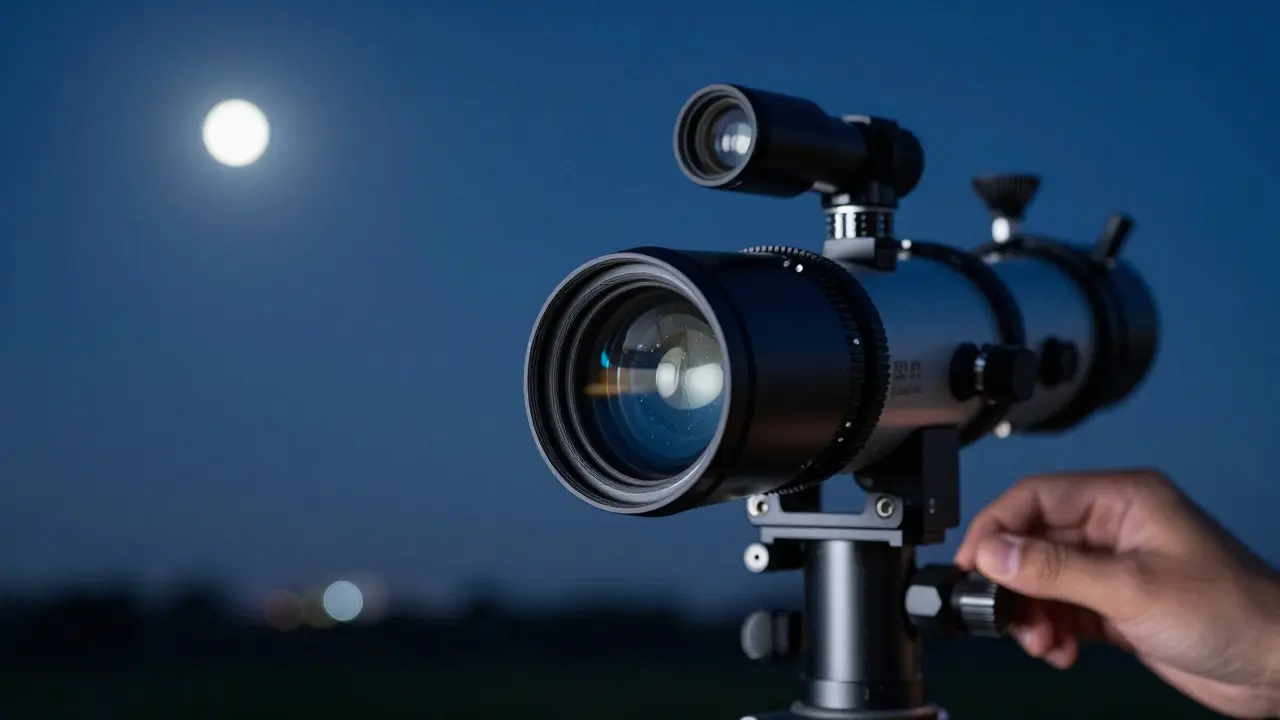
Ever attached a Barlow lens to your eyepiece and wondered if you actually got more detail or just a darker, smaller image? It’s a common frustration. You think you’re doubling your power, but sometimes it feels like you’re losing clarity. The truth is, a Barlow lens is a negative optical element that extends the effective focal length of a telescope, thereby increasing magnification. But how much does it really change what you see? And when does it help versus when does it hurt?
This guide breaks down the math behind Barlow lenses without the headache. We’ll look at how to calculate the new magnification, why exit pupil size matters more than raw numbers, and how atmospheric conditions in places like Portland can limit your actual viewing experience. By the end, you’ll know exactly how to pick the right Barlow for your setup.
Quick Summary / Key Takeaways
- Basic Formula: New Magnification = (Telescope Focal Length × Barlow Factor) ÷ Eyepiece Focal Length.
- Exit Pupil Rule: Keep your exit pupil between 0.5mm and 7mm for comfortable viewing. If it drops below 0.5mm, the image gets too dark.
- Quality Matters: A cheap 2x Barlow often performs worse than a high-quality 1.5x due to chromatic aberration and field curvature.
- Atmosphere Limit: In average seeing conditions, you rarely benefit from magnifications above 50x per inch of aperture.
The Core Math: Calculating Effective Magnification
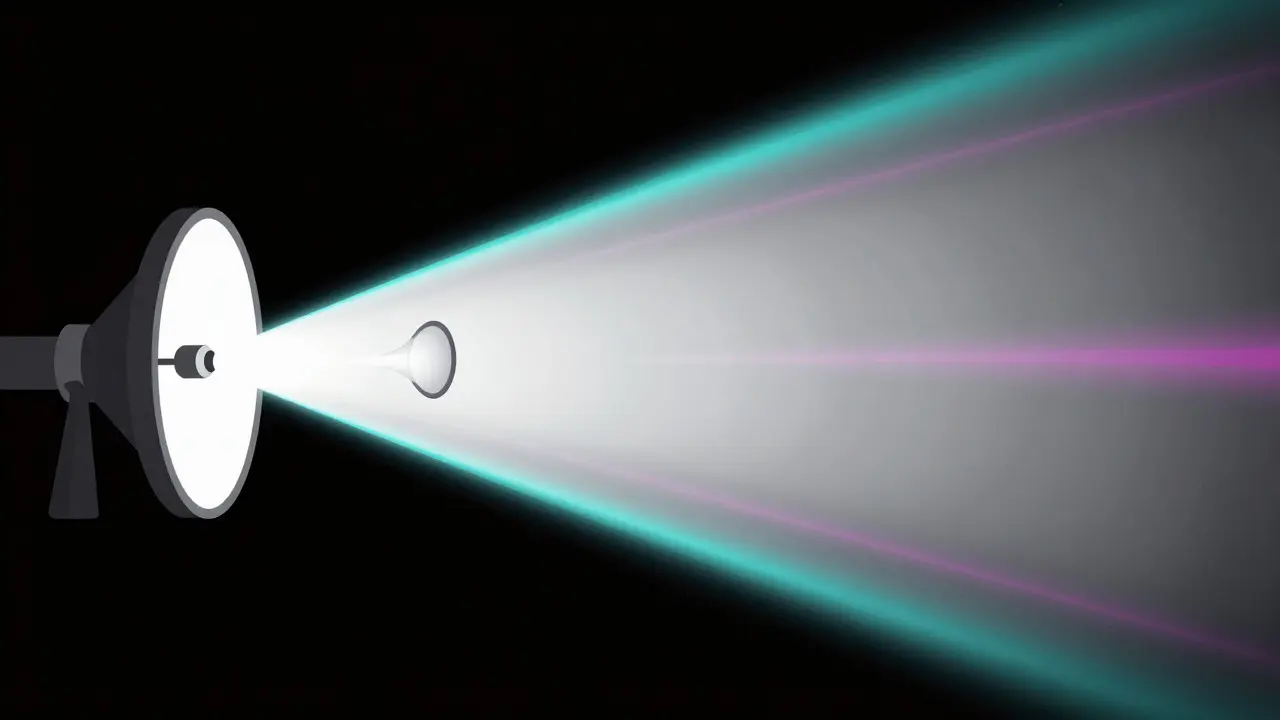
Let’s strip away the confusion. The fundamental job of a Barlow is to stretch the light path. When you insert a 2x Barlow into your telescope, you are effectively doubling the focal length of the main optic before the light hits your eyepiece.
Here is the simple formula you need to memorize:
- Identify your telescope’s native focal length (e.g., 1000mm).
- Multiply by the Barlow factor (e.g., 2x). This gives you the effective focal length (2000mm).
- Divide this effective focal length by the focal length of your eyepiece (e.g., 10mm).
So, if you have a 1000mm telescope and use a 10mm eyepiece, your base magnification is 100x. Add a 2x Barlow, and your new magnification becomes 200x. It’s straightforward multiplication, but where people get tripped up is assuming that higher magnification always equals better views. That’s not true. Magnification is just one variable in a complex equation involving aperture, optics quality, and atmospheric stability.
Why Exit Pupil Size Is the Real Bottleneck
Many beginners focus solely on the "power" number. They want 300x because their neighbor has 300x. But the human eye has limits. The key metric here is the exit pupil is the diameter of the beam of light leaving the eyepiece and entering the observer's eye.
You calculate exit pupil by dividing the eyepiece focal length by the total magnification. Or, more simply: Aperture ÷ Total Magnification.
| Eyepiece | Barlow | Total Mag | Exit Pupil | View Quality |
|---|---|---|---|---|
| 25mm | None | 40x | 2.5mm | Bright, wide view |
| 10mm | None | 100x | 1.0mm | Sharp, detailed |
| 10mm | 2x | 200x | 0.5mm | Dark, edge of usability |
| 10mm | 3x | 300x | 0.33mm | Too dark, likely noisy |
Notice the trend. As you push magnification with stronger Barlows, the exit pupil shrinks. Once you drop below 0.5mm, you start losing brightness faster than you gain resolution. For most visual observers, 0.5mm is the practical floor. Below that, you’re staring at a dim, grainy image that doesn’t offer much over the 0.5mm mark.
The Impact of Optical Quality and Chromatic Aberration
Not all Barlows are created equal. A $20 no-name 2x Barlow might work fine for low-power moon viewing, but try using it for planetary observation, and you’ll notice issues. Cheap Barlows often suffer from chromatic aberration (color fringing) and field curvature.
When you increase magnification, you also amplify these defects. A slight color fringe around Jupiter’s moons at 100x becomes a glaring rainbow halo at 200x if the Barlow isn’t well-corrected. High-end Barlows, like those from Tele Vue or Baader, use multi-coated, apochromatic designs to minimize this. They cost more, but they preserve contrast and sharpness at higher powers.
If you own a refractor, be extra cautious. Refractors are sensitive to chromatic errors. Using a low-quality Barlow on an achromatic doublet can ruin the view. For reflectors (Newtonians), you have more leeway because they don’t suffer from chromatic aberration in the same way, though spherical aberration can still creep in if the mirror isn’t perfectly figured.
Atmospheric Seeing: The Invisible Ceiling
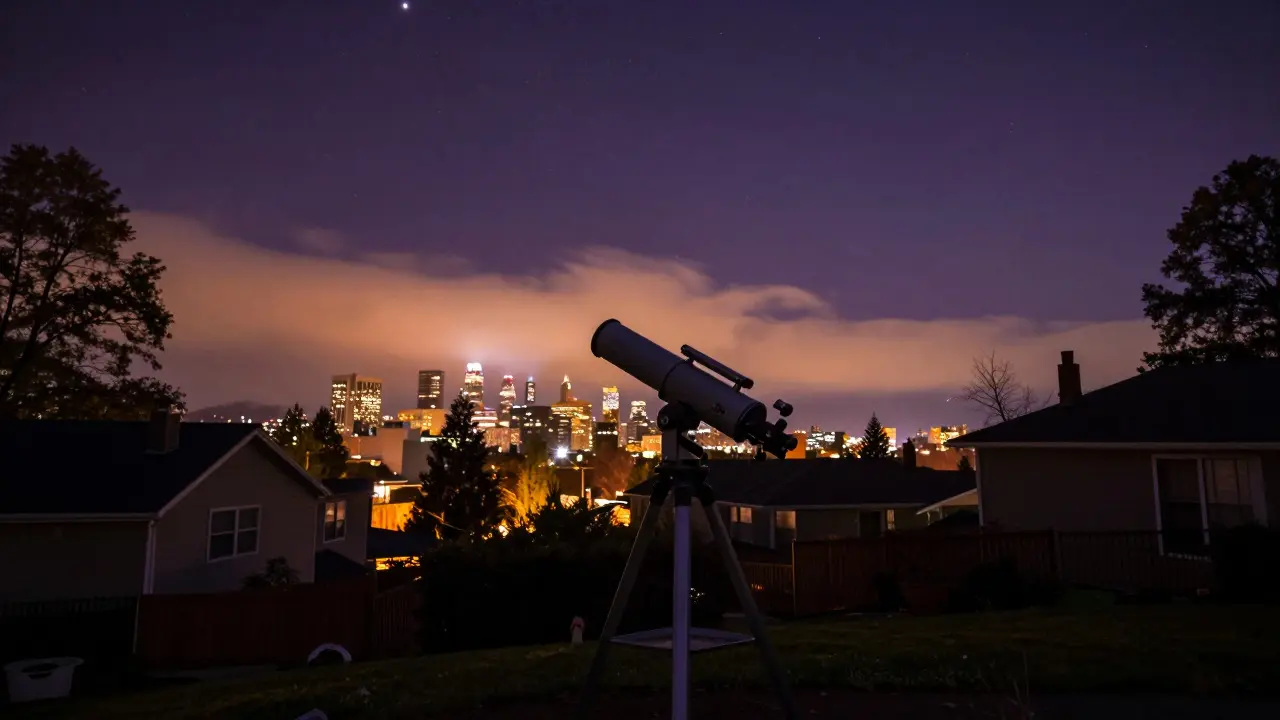
You can have the best Barlow and the sharpest telescope, but if the air is turbulent, your view will wobble. This is known as "seeing." In cities like Portland, light pollution and urban heat islands can create thermal layers that distort incoming starlight.
A general rule of thumb is to stay under 50x per inch of aperture in average seeing conditions. If you have a 6-inch (150mm) telescope, your ceiling is roughly 300x. Pushing beyond that usually results in a shimmering, unstable image where details vanish and reappear randomly.
Before reaching for your 3x Barlow, check the atmosphere. If stars are twinkling heavily, stick to lower magnifications. A steady 150x view is far superior to a shaky 300x view. Sometimes, the best "magnification" strategy is knowing when not to use a Barlow.
Choosing the Right Barlow Factor for Your Setup
Should you buy a 2x or a 3x? It depends on your existing eyepieces. If you have a good collection of short-focal-length eyepieces (like 4mm, 6mm, or 8mm), a 2x Barlow is usually sufficient. It fills the gap between your mid-range and high-power eyepieces without pushing you into the dark-exit-pupil zone.
If you only have long-focal-length eyepieces (10mm and up), a 3x Barlow might be tempting to reach higher powers. However, consider buying a dedicated 5mm or 4mm eyepiece instead. A high-quality 4mm eyepiece often provides a clearer, wider-field image at high magnification than a 10mm eyepiece paired with a 3x Barlow. Why? Because the Barlow adds another set of glass elements that can degrade the image circle.
For astrophotography, Barlows serve a different purpose. They are used to adjust the scale of the image on the camera sensor. Here, the goal isn't visual comfort but matching the pixel size of your camera to the telescope's resolution. A 2x Barlow doubles the focal length, which reduces the field of view and increases the image scale, making it easier to capture fine details on smaller sensors.
Practical Tips for Better Viewing with Barlows
- Focus Carefully: Adding a Barlow changes the back-focus distance. You may need to extend your focuser significantly. Ensure your focuser has enough travel to achieve sharp focus.
- Check Collimation: Higher magnification exposes alignment errors. If your view looks soft or asymmetric, check your telescope’s collimation before blaming the Barlow.
- Use a Dew Shield: Condensation on the front of a Barlow (especially in humid climates like Oregon) can fog your view. A dew shield helps keep the lens dry.
- Start Low, Go High: Always start with your lowest magnification to center the object, then gradually increase power. Jumping straight to high power makes finding objects nearly impossible.
Frequently Asked Questions
Does a Barlow lens make the image brighter or darker?
It makes the image darker. By increasing magnification, you spread the same amount of light over a larger area of your retina. This reduces surface brightness, which is why exit pupil size is critical.
Can I use a Barlow with any eyepiece?
Technically yes, but not always optimally. Some wide-angle eyepieces have very flat fields that a Barlow might curve. Also, ensure the physical barrel of the eyepiece fits inside the Barlow tube without hitting the bottom of the cell.
Is a 2x Barlow better than a 3x Barlow?
Generally, a 2x Barlow is more versatile. It allows you to reach useful high magnifications without dropping the exit pupil below 0.5mm for most standard eyepieces. A 3x Barlow pushes many users into the realm of excessive magnification unless they have very short focal length eyepieces.
How do I calculate the field of view with a Barlow?
The apparent field of view (AFOV) of the eyepiece stays the same, but the true field of view (TFOV) decreases. TFOV = AFOV / Total Magnification. So, if your eyepiece has a 60-degree AFOV and you go from 100x to 200x, your TFOV halves from 0.6 degrees to 0.3 degrees.
Do Barlows affect color accuracy?
Low-quality Barlows can introduce chromatic aberration, causing color fringes around bright objects. High-quality, fully corrected Barlows maintain accurate color reproduction even at high magnifications.