17 Aug 2026
- 0 Comments
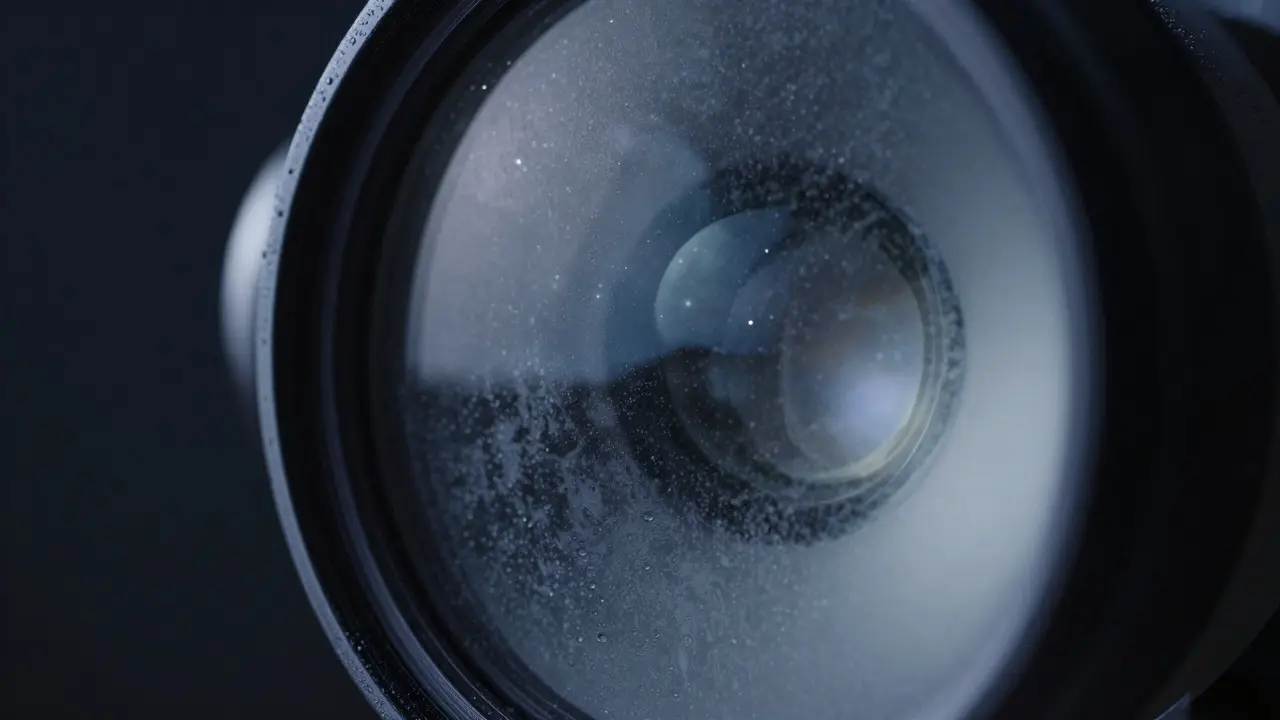
There is nothing quite like the frustration of watching your telescope lens fog up just as the sky clears. You spent hours setting up, aligned your scope, and waited for that perfect window in the clouds. Then, a thin layer of moisture appears on your eyepiece or camera sensor. This isn't just an annoyance; it can ruin hours of observation or astrophotography sessions. The solution usually involves a dew controller is an electronic device that maintains the temperature of optical surfaces above the dew point to prevent condensation. However, many observers struggle with how much power to apply. Too little, and you still get dew. Too much, and you risk damaging delicate optics or draining your battery faster than necessary.
Understanding the Physics of Dew Formation
To set the right power levels, you first need to understand what causes dew. It’s not about the air being "wet" in a general sense; it’s about the temperature difference between your glass and the surrounding air. When the surface of your lens or mirror cools below the dew point is the temperature at which air becomes saturated with water vapor and begins to condense into liquid water, moisture forms. This happens because glass loses heat rapidly through radiation to the cold night sky, especially when there are no clouds to reflect that heat back down.
The rate at which your optics cool depends on several factors. A clear, dry night allows for rapid radiative cooling, meaning your scope will drop in temperature quickly. On humid nights, the dew point is higher, so you don’t have to cool down as much before hitting that critical threshold. In Portland, Oregon, where humidity can swing wildly from summer lows to winter highs, this variability makes static settings unreliable. You need a dynamic approach that adapts to the specific atmospheric conditions of the evening.
Straps vs. Shields: Which Surface Needs More Power?
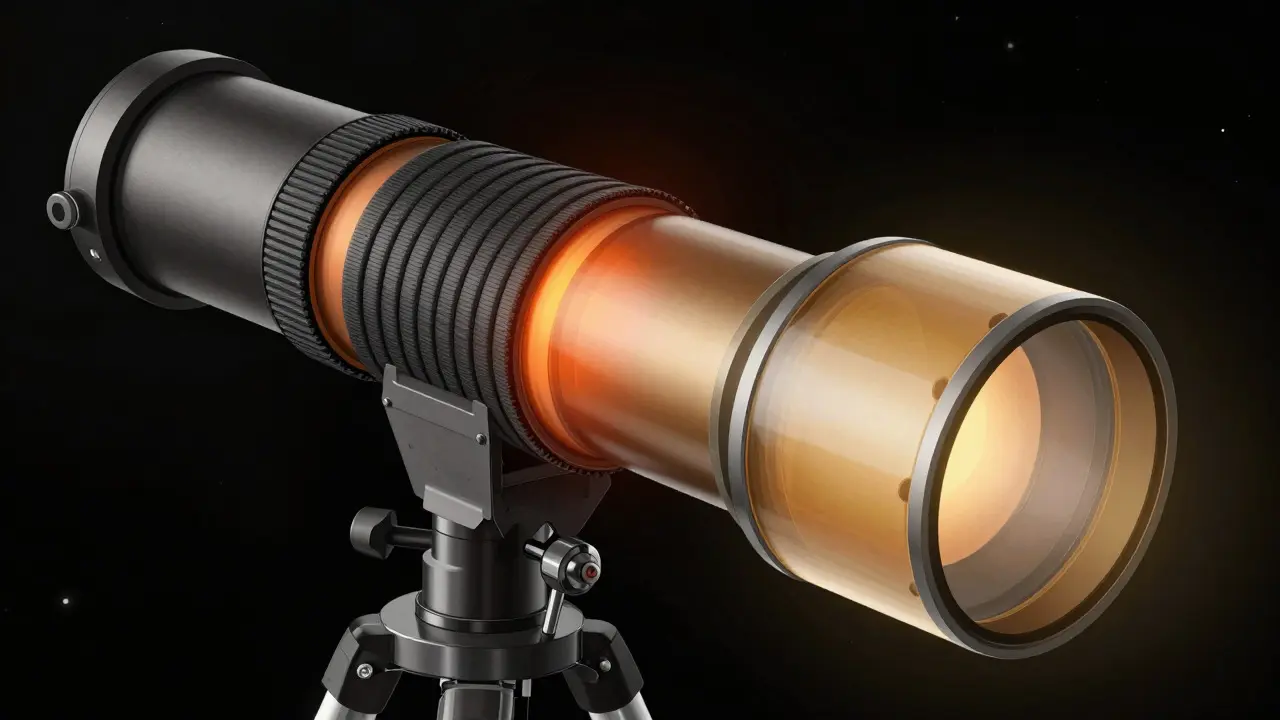
Most modern dew controllers allow you to manage multiple channels independently. Typically, you’ll have one channel for a dew strap is a flexible band wrapped around the tube of a telescope to maintain its temperature and another for a dew shield is a protective cover attached to the front of a telescope to reduce airflow and slow radiative cooling. These two components behave differently under the same sky conditions.
Dew shields generally require less power than straps. Why? Because the shield blocks wind and reduces the surface area exposed to direct radiative cooling. It acts as a buffer. If you set the shield to high power, you might overheat the front element unnecessarily. Conversely, the main body of the telescope, managed by the strap, has a larger surface area and is often more exposed. Therefore, a common starting rule is to set the strap power slightly higher than the shield power, or to use the shield as a primary control and keep the strap on standby or low power until needed.
| Component | Initial Setting (0-100%) | Adjustment Strategy | Risk of Over-Power |
|---|---|---|---|
| Dew Shield | 20-30% | Increase by 5% if fog appears on front element | Low; may cause thermal distortion in extreme cases |
| Dew Strap (Tube) | 40-60% | Increase by 10% if fog appears on tube or secondary | Moderate; can warp plastic tubes or stress mounts |
| Eyepiece/Camera | 10-20% | Only activate if visible fogging occurs | High; can damage sensors or coatings |
Step-by-Step Setup for Clear Nights
Getting the settings right is less about memorizing numbers and more about observing feedback. Here is a practical workflow that works well for most refractors and Schmidt-Cassegrain telescopes.
- Check the Forecast: Before heading out, look at the current relative humidity and the predicted dew point. If the dew point is within 5°F (3°C) of the expected ambient temperature, you are in high-risk territory. Plan to run the controller from the start.
- Start Low: Set both the strap and shield channels to their minimum effective output, usually around 10-20%. Do not start at 50% unless it is extremely humid. Starting low prevents thermal shock to the optics.
- Monitor the First Hour: The first hour after dark is critical. As the ground cools, the air near the horizon can become more humid. Watch your dew shield closely. If you see any misting, increase the shield power by 5-10% increments.
- Manage the Tube Separately: If the front stays clear but you notice fog forming on the tube or the secondary mirror, adjust the strap channel. Keep these adjustments independent. Don’t raise the shield power just because the tube is getting cold.
- Use Temperature Probes if Available: Some advanced controllers come with temperature probes. If yours does, aim to keep the optic surface temperature 2-3°F (1-2°C) above the local dew point. This small margin ensures safety without wasting energy.
Special Considerations for Astrophotography
If you are imaging rather than visually observing, the stakes are higher. A single frame ruined by dew can waste an entire night of data collection. For astrophotographers, precision matters more than rough estimates.
Camera sensors, particularly those in cooled cameras, can create their own micro-climates. The cold sensor pulls heat from the surrounding air, potentially lowering the local dew point. In these cases, you might need slightly higher power on the dew shield compared to visual observing. Additionally, long exposures mean you have less time to react to sudden changes. Automated controllers that adjust power based on real-time temperature readings are highly recommended for serious imagers. They remove the guesswork and ensure consistent protection throughout multi-hour sessions.
Battery Life and Power Management
One of the biggest concerns for portable setups is battery drain. Running dew controllers at high power for six hours can empty a standard 12V battery pack quickly. To extend your session, consider using a dedicated power source separate from your mount and computer. A 10Ah lithium-ion battery can typically power a moderate dew controller setup for 8-10 hours, depending on the load. If you are running high power levels, plan for a recharge mid-session or bring a backup. Never rely solely on the power port of your laptop, as voltage fluctuations can affect the stability of the Peltier elements used in most controllers.
Troubleshooting Common Issues
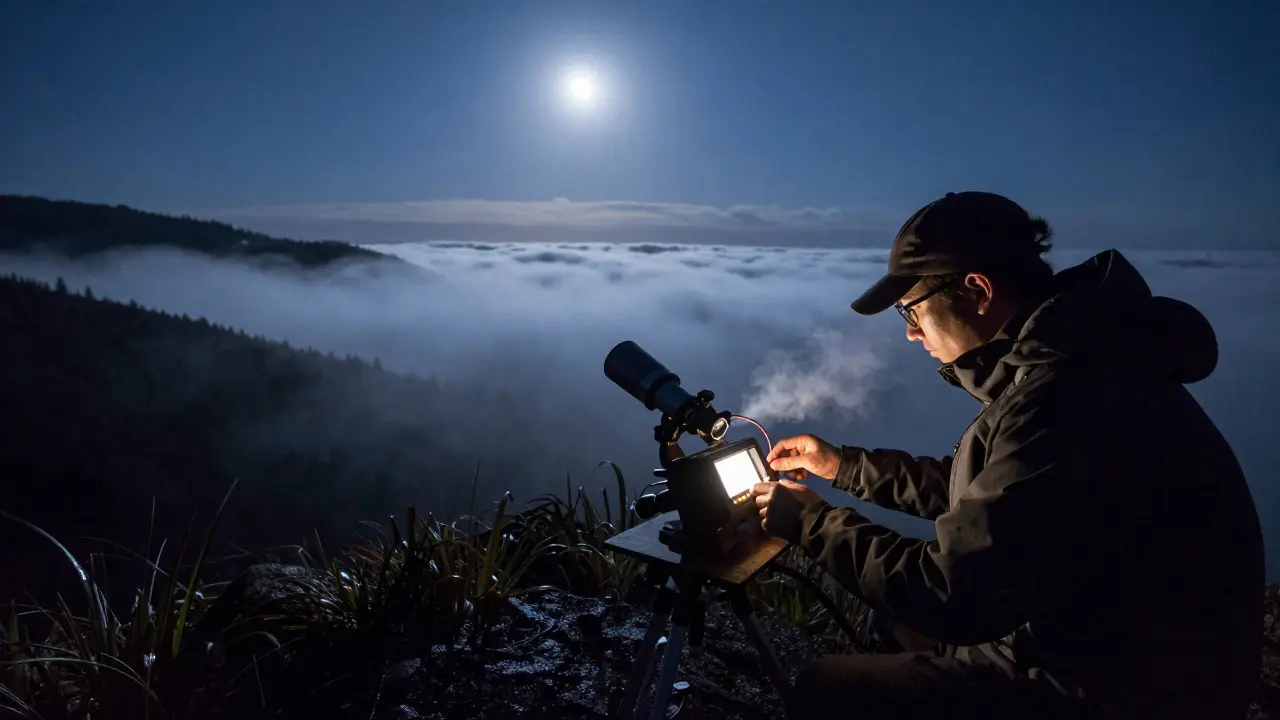
Even with careful planning, things can go wrong. Here are a few scenarios you might encounter and how to handle them.
- Fog Returns After Adjustment: If you increase power and the fog clears, but then returns ten minutes later, the issue might be wind. Wind increases convective cooling, which radiative controls alone might not counteract. Increase power further or add a physical windbreak.
- Controller Beeps or Errors: Most units beep when they hit maximum temperature or detect a fault. Check your connections. Loose alligator clips or broken wires are common culprits. Ensure the heating element is making good contact with the glass or metal surface.
- Overheating the Optics: While rare, excessive heat can cause permanent damage to coatings or distort the shape of thin lenses. If your dew shield feels hot to the touch (not just warm), reduce the power immediately. Aim for "warm," not "hot."
Seasonal Adjustments for Pacific Northwest Observers
Living in regions like the Pacific Northwest adds another layer of complexity. Summer nights are often dry, but the marine layer can roll in unexpectedly, spiking humidity. Winter nights are colder, but the lower temperatures also mean lower absolute moisture content, even if relative humidity is high. In summer, you might find yourself running higher power levels due to the proximity of the dew point to ambient temperature. In winter, you can often get away with lower settings because the air holds less moisture overall. Always let the conditions of the specific night guide your initial settings, rather than relying on seasonal averages.
What is the best starting power level for a dew controller?
A safe starting point is 20-30% for dew shields and 40-50% for dew straps. Adjust upwards in 5-10% increments based on visual feedback. Avoid starting above 60% unless conditions are extremely humid.
Should I run my dew controller all night?
Yes, it is generally safer to run the controller continuously at a low-to-moderate level than to turn it off and on. Cycling the power can lead to temperature swings that promote condensation. Continuous low power provides stable protection.
How do I know if my dew strap is working correctly?
The tube should feel consistently warm to the touch, not hot. If you can see any fogging on the tube or secondary mirror, the power is too low. If the tube feels uncomfortably hot, reduce the power. Ideally, the surface temperature should be 2-3 degrees above the dew point.
Can dew controllers damage telescope optics?
Rarely, but it is possible if power levels are set too high for extended periods. Excessive heat can warp plastic components or stress glued elements. Always monitor the temperature and avoid settings that make the glass hot to the touch.
Do I need a dew controller for visual observing only?
If you observe in humid conditions or during the warmer months, yes. Fogged optics significantly degrade image quality and contrast. Even for visual use, a basic dew controller is a worthwhile investment for ensuring clear views throughout the night.