16 Aug 2026
- 0 Comments
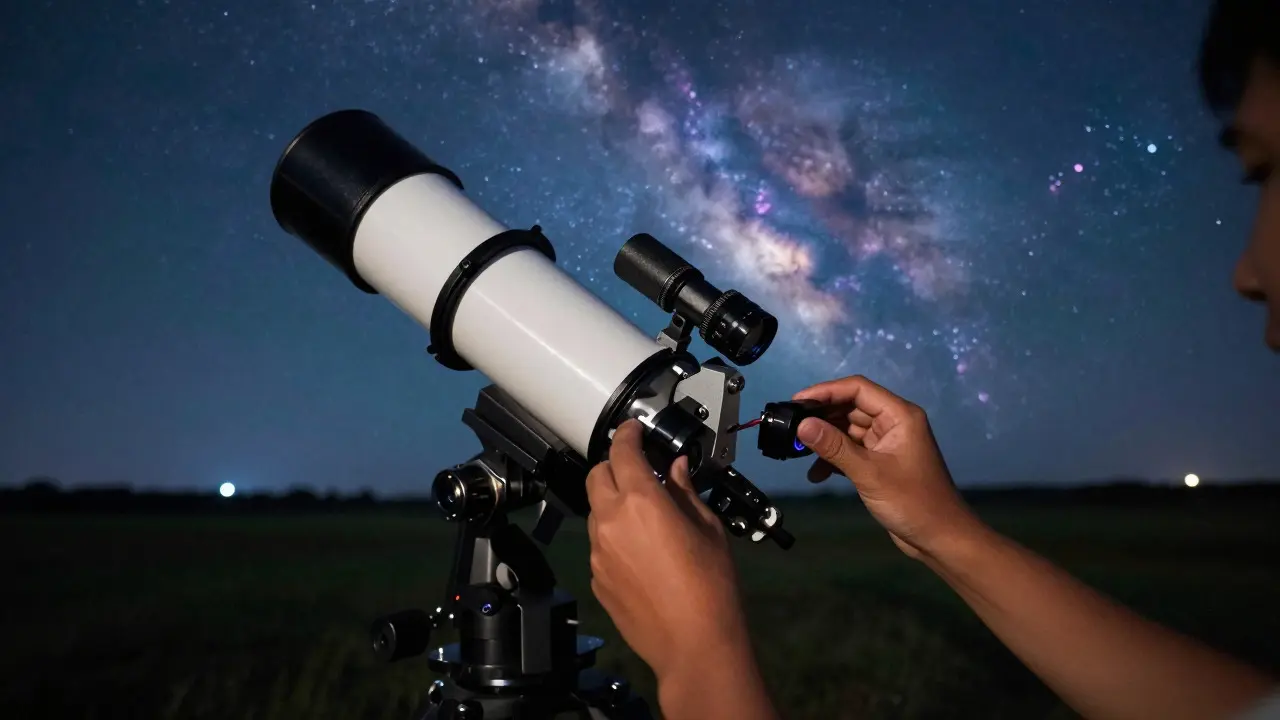
Imagine you’re ready to capture a deep-space nebula, but your images come out blurry despite hours of exposure. The culprit is rarely the camera or the lens-it’s usually the mount. Even high-end equatorial mounts drift due to friction and atmospheric refraction. This is where autoguiding steps in. It uses a small camera and a bright reference star to correct these tiny errors in real-time. But here’s the catch: if you pick the wrong star, your autoguider might actually make things worse. Selecting the right guide star is the single most impactful decision you can make for image sharpness.
You don’t need to be an astronomer to do this well. You just need to understand a few physical constraints and how they interact with your specific setup. Let’s break down exactly what makes a star a good candidate and how to find one quickly without wasting valuable clear-sky time.
Why Your Guide Star Matters More Than You Think
Your main imaging camera sees the target object, but your guiding camera only sees the background stars. The software measures the position of your chosen guide star relative to its expected location. If that star moves, the software assumes the whole sky has moved and nudges the mount to compensate. This correction is applied globally. Therefore, any error in measuring the guide star translates directly into tracking error for your entire field of view.
This creates a direct link between the quality of your guide star and your final image quality. A noisy or poorly tracked guide star introduces "guiding jitter." In long exposures, this jitter smears the stars in your final photo. For planetary imaging, it causes wobble; for deep-sky, it blurs faint details. The goal isn't just to keep the star centered; it's to keep it stable with minimal noise.
| Attribute | Ideal Guide Star | Poor Guide Star |
|---|---|---|
| Magnitude (Brightness) | Between 8th and 13th magnitude | Fainter than 14th or brighter than 7th |
| Color (Temperature) | White or Blue-White (B/A/F types) | Red or Orange (K/M types) - depends on sensor |
| Position in Field | Close to center, not near edge | Near the edge of the guide FOV |
| Surroundings | Isolated, no nearby stars | Crowded cluster or double star |
The Brightness Sweet Spot: Avoiding Saturation and Noise
Brightness is the first filter. It seems counterintuitive that a brighter star isn't always better, but physics dictates otherwise. Your guiding camera sensor has a limited dynamic range. If a star is too bright, it saturates the pixels immediately. Once saturated, the star becomes a large blob rather than a distinct point. The software struggles to calculate the precise centroid (center) of that blob, leading to erratic corrections.
Conversely, if the star is too faint, it doesn't generate enough signal above the noise floor. The sensor picks up random fluctuations in the sky background as much as it does the actual starlight. This results in a "noisy" crosshair that jumps around randomly, causing the mount to over-correct. This phenomenon is often called "chasing noise."
For most modern CMOS guiding cameras, the sweet spot lies between the 8th and 13th magnitude. If you are using a larger focal length telescope or a very sensitive camera, you might aim for the brighter end (8th-10th). If you have a short focal length or are dealing with heavy light pollution, you might need to go slightly brighter (7th-9th). Always check your camera’s specifications for recommended gain settings, as higher gain allows you to use fainter stars effectively.
Color and Sensor Sensitivity: The Hidden Trap
Most people ignore color when picking a guide star, but it’s critical. Stars emit light across different wavelengths depending on their surface temperature. White and blue stars emit more light in the blue-green spectrum. Red stars emit mostly in the red-infrared spectrum.
Here is the problem: many inexpensive monochrome guiding cameras are modified by removing the IR-cut filter to increase sensitivity. While this boosts total light gathering, it also makes the sensor extremely sensitive to infrared light. Red stars (M-type) appear significantly dimmer on these sensors because much of their light falls outside the sensitive band or gets filtered out differently than blue light. A 10th magnitude red star might behave like a 12th magnitude white star on your specific sensor.
To avoid this trap, prioritize white (A-type), blue-white (F-type), or blue (B-type) stars. They provide a consistent, strong signal across the visible spectrum. If you must choose a red star, increase your exposure time or gain to compensate for the reduced sensitivity. Most guiding software displays the star’s color or spectral type, so use that data before committing.
Positioning Within the Field of View
Where the star sits in your guiding camera’s frame matters more than where it is in the sky. Your guiding camera has a fixed Field of View (FOV), typically ranging from 2 to 5 degrees depending on the focal length of the guide scope.
Avoid stars near the edges of this FOV. Optical distortion at the periphery of cheap guide lenses can cause the star’s shape to distort as it moves, making centroid calculation less accurate. Additionally, mechanical backlash in the mount tends to be more pronounced at certain positions. While this is less about the star itself and more about the mount, keeping the guide star close to the center of the FOV provides the most stable optical path.
There is also a practical aspect: distance from the target. Ideally, you want the guide star to be within 30 to 60 degrees of your main target. Why? Because differential atmospheric refraction and seeing conditions can vary across the sky. If your guide star is on the opposite side of the sky from your target, the turbulence affecting the guide star might not match the turbulence affecting your target. This mismatch can lead to residual blur even if the guiding graph looks perfect. Aim for a star that is reasonably close to your target area.
Isolation: The Danger of Crowded Fields
A guide star should be alone. If there are other stars within 10 to 20 arcseconds of your guide star, they will interfere with the centroid calculation. The software tries to find the center of mass of all the light in that region. If a secondary star is nearby, the calculated center will shift back and forth as the primary star moves relative to the secondary one. This creates a systematic error that looks like poor tracking.
Double stars are particularly problematic unless they are widely separated. If you see a tight pair, discard them both. Look for a star that stands out clearly against the background with no companions within a small radius. Most planetarium software allows you to zoom in on a region to check for nearby objects. Spend two minutes checking the neighborhood of your potential guide star. It saves ten minutes of troubleshooting later.
Step-by-Step Process for Selection
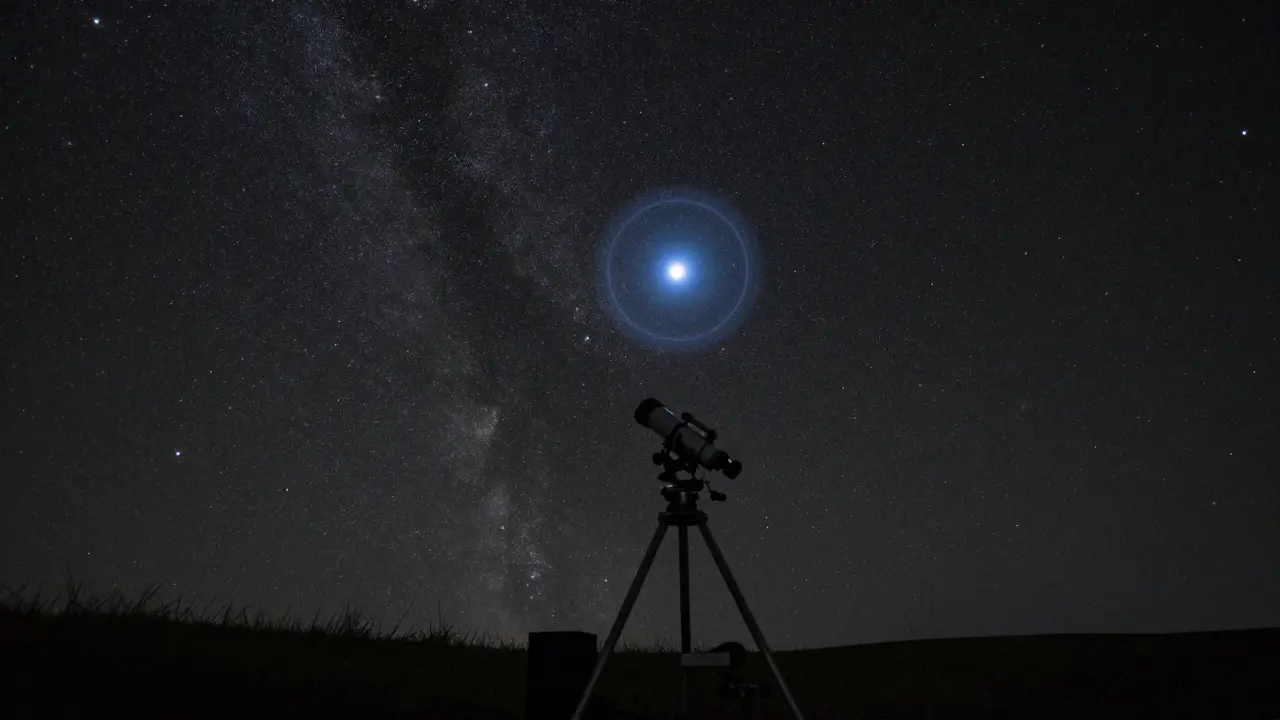
Here is a practical workflow you can use every time you set up your rig. It takes less than five minutes and ensures you start with the best possible foundation.
- Point at your target: Get your telescope roughly aligned on your main subject.
- Open your guiding software: Start the preview window. Do not start guiding yet.
- Scan the FOV: Look at the stars visible in the guiding camera preview. Identify candidates that are bright enough but not saturated.
- Check isolation: Zoom in on each candidate. Ensure no other stars are within ~15 arcseconds.
- Verify color: Use the software’s star identification feature or a planetarium app to check the spectral type. Prefer B, A, or F types.
- Assess position: Choose the star closest to the center of the guiding FOV.
- Test briefly: Take a few test exposures (e.g., 2-second exposures) on your chosen star. Check the RMS error values in the software. If the error is low and stable, you’ve found a good star. If it’s high, try the next best candidate.
Troubleshooting Common Selection Mistakes
Even after following these rules, you might encounter issues. Here are three common scenarios and how to fix them.
Scenario 1: Guiding Graphs Show Random Jumps. This usually means the star is too faint or too noisy. Increase your exposure time slightly (up to 2-3 seconds) or increase the gain on your guiding camera. If the problem persists, switch to a brighter star. Remember, a 2-second exposure is often sufficient for guiding; longer exposures introduce more atmospheric variation.
Scenario 2: One Axis Is Worse Than the Other. If RA (Right Ascension) guiding is good but DEC (Declination) is poor, the issue might not be the star itself, but mechanical backlash in the DEC axis. However, if the star is near the edge of the FOV, optical distortion could affect DEC measurements more noticeably. Try moving to a central star. If that doesn’t help, adjust your DEC backlash compensation in the mount firmware.
Scenario 3: Star Disappears During Imaging. This happens if you move your telescope significantly away from the initial pointing position. Since the guide star was selected based on the initial FOV, it may no longer be visible. Always re-evaluate your guide star if you slew more than 10-15 degrees. Modern software can auto-select a new star, but manual verification is still safer for critical sessions.
Advanced Tips for Consistent Results
Once you master the basics, you can refine your process further. Consider creating a library of known good guide stars for popular targets. Note their coordinates and magnitudes. This way, when you return to a specific nebula or galaxy, you already know which star works best for that part of the sky.
Also, pay attention to the moon phase. When the moon is full, the sky background is brighter, increasing noise. In these conditions, you might need to shorten your guiding exposure times to prevent saturation of the background, which indirectly affects how you select stars. You’ll likely need slightly brighter stars to maintain a good signal-to-noise ratio in the shorter exposures.
Finally, trust the data. Don’t rely on visual inspection alone. Look at the RMS (Root Mean Square) error values in your guiding log. An RMS under 0.5 arcseconds is excellent for most setups. Over 1.0 arcsecond indicates a problem, whether it’s the star, the mount, or the atmosphere. Use this metric to objectively compare different guide stars during your testing phase.
What is the ideal magnitude for a guide star?
The ideal magnitude typically ranges from 8th to 13th for most modern CMOS guiding cameras. Brighter stars risk saturating the sensor, while fainter stars lack sufficient signal-to-noise ratio. Adjust based on your camera's sensitivity and local light pollution levels.
Does the color of the guide star really matter?
Yes, especially if your guiding camera lacks an IR-cut filter. Red stars appear dimmer on these sensors compared to white or blue stars. Prioritize white (A-type) or blue (B-type) stars for consistent performance. If using a red star, increase exposure time or gain to compensate.
How far from my target should the guide star be?
Ideally, the guide star should be within 30 to 60 degrees of your main target. This minimizes differences in atmospheric seeing and refraction between the guide star and the target, ensuring that corrections made for the guide star accurately apply to your imaging area.
Can I use a planet as a guide star?
Generally, no. Planets move faster across the sky than stars due to their proximity. This motion can confuse the guiding algorithm, causing it to chase the planet's movement rather than correcting for mount drift. Stick to distant stars for reliable autoguiding.
What if I can't find a suitable star in the field of view?
If the sky is crowded or the target is in a dense star field, consider using a separate guide scope with a wider field of view. Alternatively, some advanced mounts allow off-axis guiding, though this is rare for amateur setups. In most cases, adjusting your telescope's pointing slightly to include a better star is the easiest solution.