16 Aug 2026
- 0 Comments
Most astronomers assume you need a star to check if your scope is aligned. But what happens when the sky is cloudy, or you just want to do maintenance in your garage? You can perfectly align a Ritchey-Chrétien telescope is a type of reflecting telescope that uses two hyperbolic mirrors to correct optical aberrations like coma and astigmatism. It is widely used in professional observatories and by serious amateur astronomers for its sharp images across a wide field of view. without looking through the eyepiece at all. In fact, relying solely on star shapes can sometimes lead you astray because atmospheric turbulence (seeing) distorts the image. Using ground-based tools gives you a precise, repeatable baseline before you even step outside.
Why Ground-Based Collimation Matters for RC Telescopes
The Ritchey-Chrétien design relies on exact geometry. The primary mirror and the secondary mirror must be positioned with sub-millimeter precision. If they are off, you get soft stars, elongated diffraction spikes, or uneven focus. While a Cheshire tool works for Newtonians, it often fails for Cassegrain-style systems like the RC because the focal point is behind the primary. That’s why we use specialized tools designed for this specific optical path.
Ground-based collimation ensures that the mechanical axis of the tube matches the optical axis of the mirrors. This process takes about 15-20 minutes once you have the right equipment. It removes the guesswork from your first look at the night sky.
Essential Tools for the Job
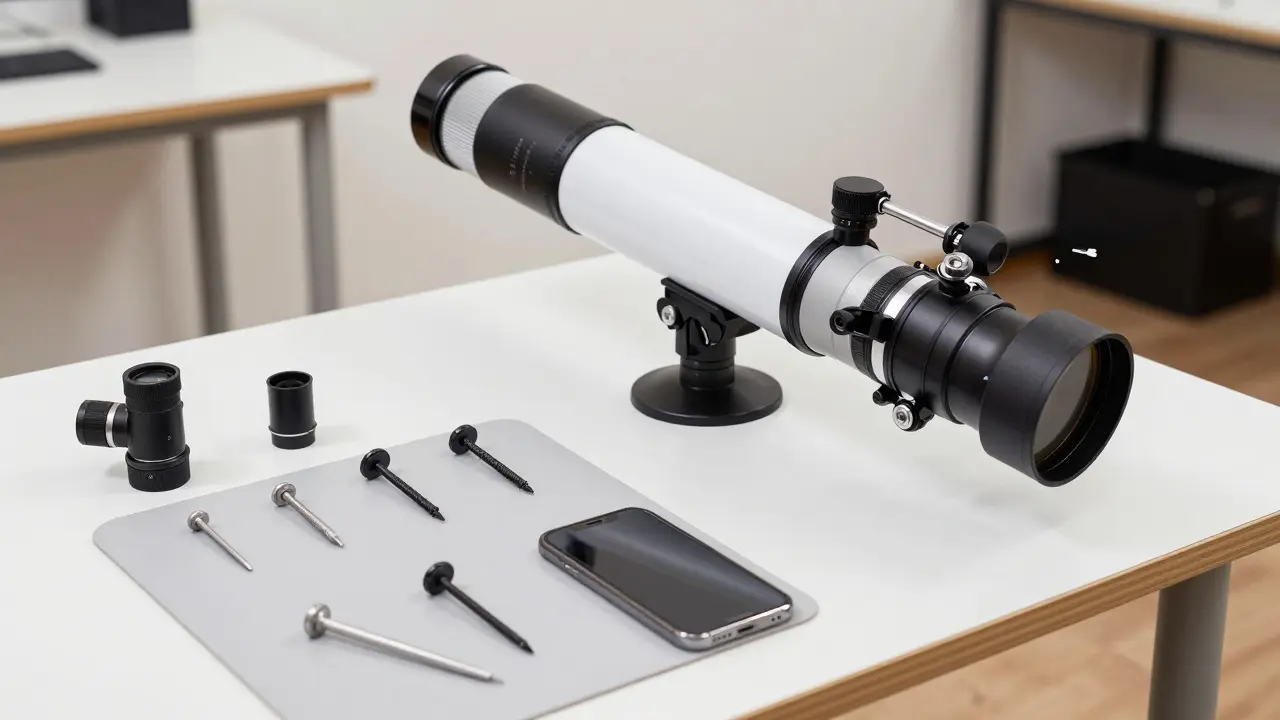
You don’t need expensive gear, but you do need the right pieces. Here is the standard kit for an RC telescope:
- Cheshire Eyepiece: A modified collimator that projects a reticle into the optical path. Look for one with a red laser pointer built-in for easier alignment in dim light.
- Laser Collimator: A device that clamps into the focuser and shoots a beam down the tube. High-quality lasers have adjustable mounts to ensure the beam itself is centered.
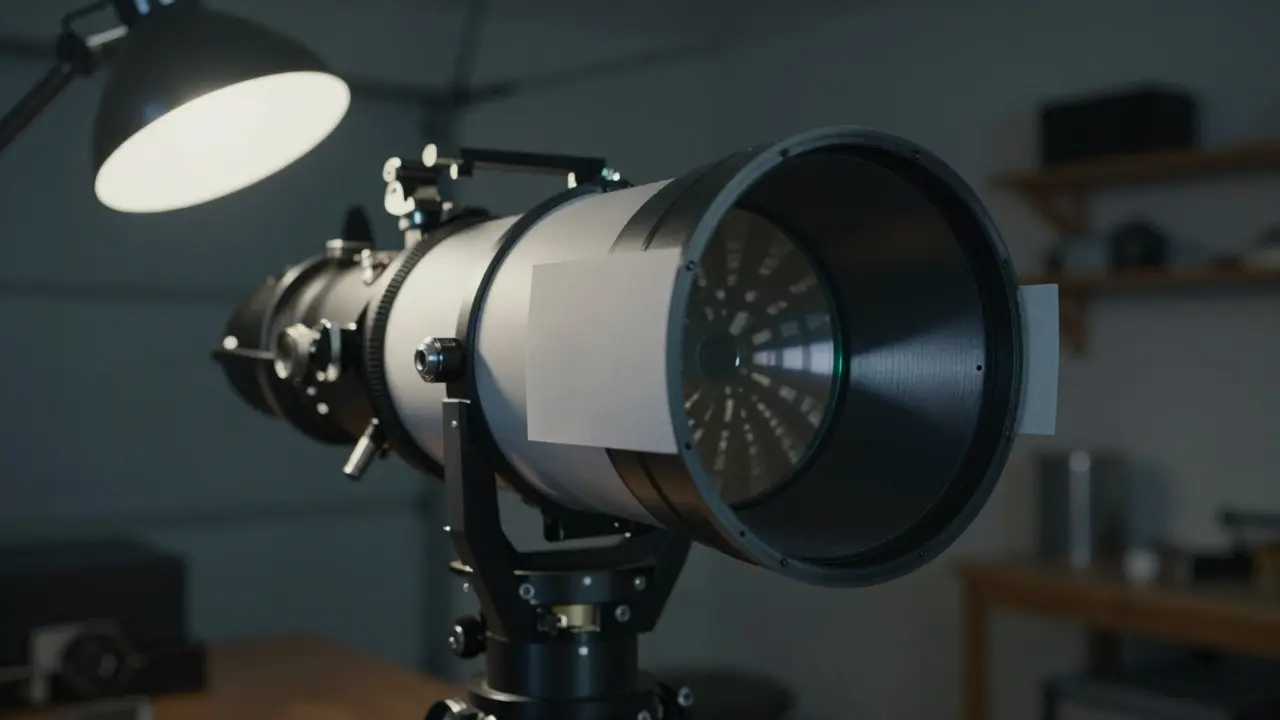
- Collimation Mask: A paper or plastic mask placed over the front aperture to create a clear shadow pattern of the secondary mirror.
- Digital Camera or Smartphone: To take photos of the alignment patterns for detailed analysis later.
A common mistake is using a cheap laser without verifying its own alignment. Always check your laser against a known-good reference before trusting it on your scope.
Step-by-Step: Aligning the Secondary Mirror
The first goal is to center the secondary mirror under the focuser. This is critical because if the secondary is off-center, no amount of primary adjustment will fix the image quality.
- Remove the dust cap and insert the Cheshire eyepiece or laser collimator into the focuser.
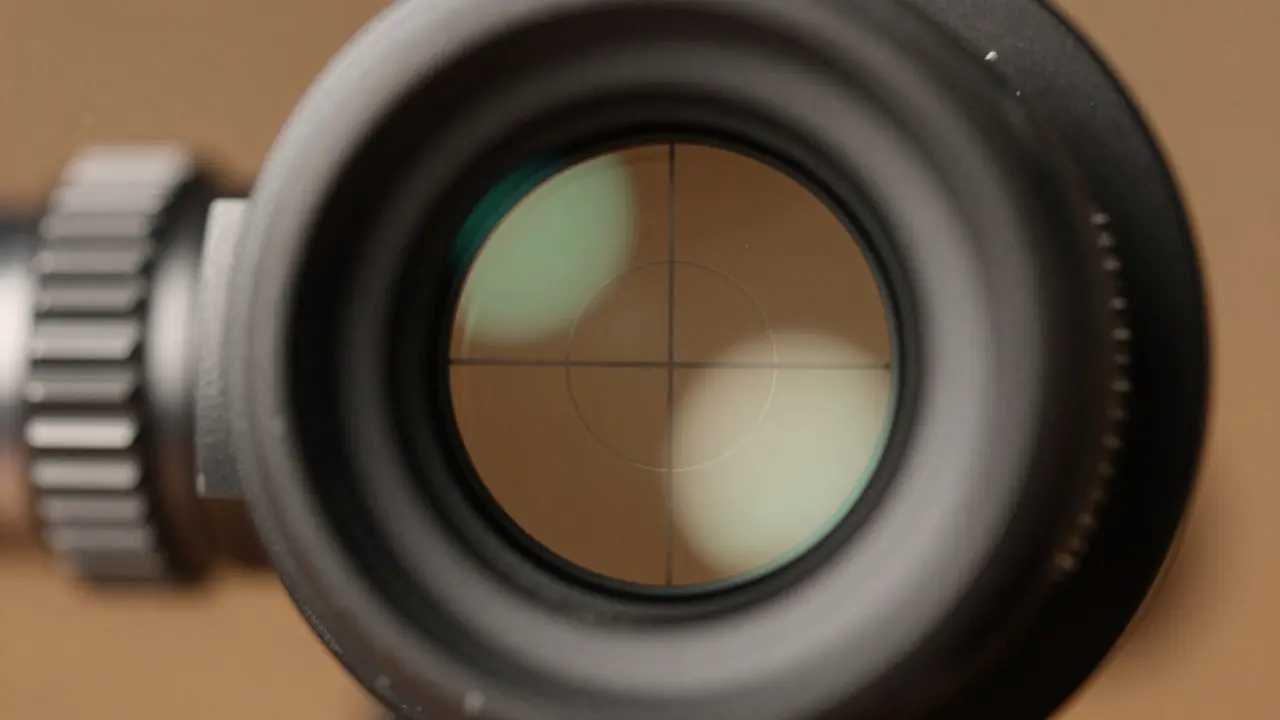
- Look through the Cheshire. You should see the reflection of the secondary mirror as an oval shape inside the circular field of view.
- Adjust the secondary screws. Most RCs have three or four set screws holding the secondary cell. Loosen them slightly, then turn them gently to move the mirror until the oval becomes a perfect circle.
- Check the reticle. Inside the Cheshire, there is a crosshair. The center of the secondary mirror should sit exactly on the intersection of these lines. If it doesn’t, fine-tune the screws until it does.
Once the secondary is centered, lock the screws down firmly. Do not overtighten, as this can warp the mirror cell.
Centering the Primary Mirror
Now that the secondary is aligned, we move to the primary. This is where many people get stuck. The primary mirror is held by push-pull cells at the back of the tube. These cells have adjustment screws that move the mirror slightly forward or backward, tilting it.
Insert the Cheshire again. You will now see a series of concentric circles. These are reflections of the spider vanes and the secondary mirror edge. The key is to make sure the center spot (if your primary has one) or the geometric center of the mirror appears dead center in the Cheshire’s reticle.
If you don’t have a center spot, use the shadow method. Place the collimation mask over the front of the telescope. Look through the Cheshire and observe the shadow of the secondary mirror cast by the ambient light. Adjust the primary screws until the shadow is perfectly symmetric around the center of the reticle.
| Tool | Best For | Limitation |
|---|---|---|
| Cheshire Eyepiece | Secondary centering and rough primary alignment | Requires good ambient light; hard to see faint details |
| Laser Collimator | Precise primary tilt adjustment | Must be self-calibrated; sensitive to temperature changes |
| Star Test | Final verification of optical performance | Dependent on atmospheric seeing conditions |
Common Pitfalls and How to Avoid Them
Even experienced observers make mistakes during collimation. Here are the top three traps to watch out for:
Temperature Drift. Metal expands and contracts. If you collimate your scope in a cold garage and then bring it outside, the tube may flex, throwing off your alignment. Let the telescope acclimate to the outdoor temperature for at least 30 minutes before final adjustments.
Over-Tightening Screws. The adjustment screws on the primary cell are delicate. Turning them too much can strip the threads or damage the mirror cell. Make small, quarter-turn adjustments and wait a few seconds for the mirror to settle before checking again.
Ignoring the Focuser Position. Some telescopes require the focuser to be extended to a specific position for accurate collimation. Check your manufacturer’s manual. If the focuser is retracted fully, the optical path might be slightly different than when it’s extended for imaging.
Verifying Your Work Without Stars
How do you know if you did it right if you can’t see stars? Use a bright artificial light source. Hold a strong flashlight at the front of the telescope, aimed directly at the primary mirror. Look through the Cheshire. If the reflection of the flashlight is perfectly centered within the secondary mirror’s outline, your alignment is mechanically sound.
You can also take a photo of the Cheshire view with your smartphone. Zoom in on the image. If the concentric rings are evenly spaced and the center dot is in the middle, you’re good. Save this photo as your “baseline.” Next time you collimate, compare the new photo to this one. If they match, you haven’t drifted.
Maintenance Tips for Long-Term Accuracy
Collimation isn’t a one-time event. Vibration from moving the scope, temperature changes, and simple gravity can shift mirrors over time. To keep your RC telescope in peak condition:
- Always loosen the locking knobs on the mount before moving the telescope.
- Store the telescope in a vertical position if possible, to reduce stress on the mirror cells.
- Check your collimation every month, even if you haven’t used the scope.
- Keep the secondary mirror clean. Dust spots can confuse your visual alignment checks.
By mastering ground-based collimation, you take control of your instrument’s performance. You stop relying on luck and clear skies to get a sharp image. Instead, you build a routine that guarantees your optics are ready whenever the stars come out.
Do I need a laser collimator if I have a Cheshire?
Not strictly, but a laser makes the process faster and more precise, especially for the primary mirror. A Cheshire is excellent for centering the secondary, but judging the primary’s tilt can be difficult without a direct beam reference. If you budget allows, a high-quality laser is worth the investment.
How often should I collimate my Ritchey-Chrétien telescope?
At least once a month, or after any significant transport. Unlike refractors, reflectors are more sensitive to physical shock. If you notice your stars looking soft or elongated, check your collimation immediately, even if it hasn’t been a month.
Can I collimate while the telescope is mounted?
Yes, but it’s easier to do it on a stable table or tripod. Mounting the telescope adds weight and vibration, which can make fine adjustments harder. If you must collimate on the mount, ensure the mount is locked securely and the counterweights are balanced.
What if my primary mirror doesn’t have a center spot?
Use the shadow method with a collimation mask. The symmetry of the shadow cast by the secondary mirror is your guide. Alternatively, some owners apply a temporary adhesive center spot, but be careful not to damage the mirror coating.
Does humidity affect collimation?
Humidity itself doesn’t move the mirrors, but rapid temperature changes associated with weather fronts can cause thermal expansion. If you’re in a humid climate, allow extra time for the telescope to reach thermal equilibrium before making final adjustments.