17 Aug 2026
- 0 Comments
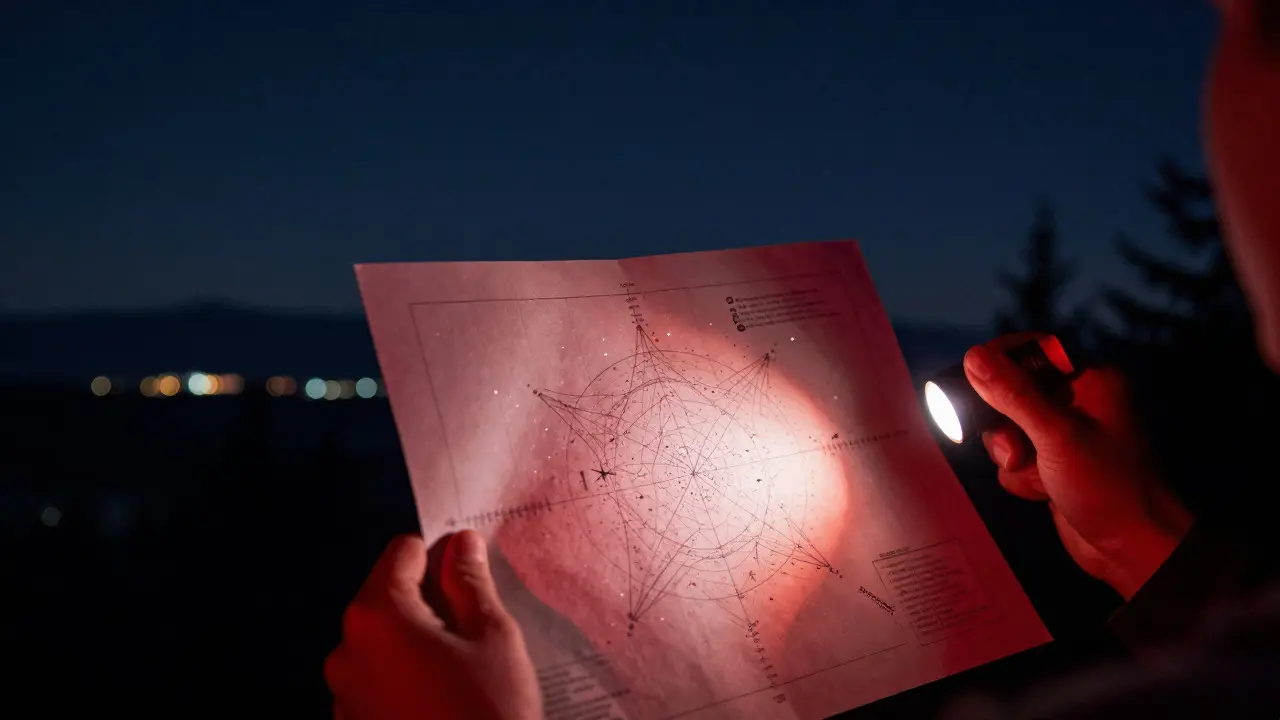
Staring at a blank piece of paper with tiny dots and Greek letters can feel like trying to read ancient hieroglyphics. You hold the map, look up at the dark expanse above Portland, and wonder if you're looking in the right direction or if that bright dot is actually a planet. Reading star charts is a method of using printed or digital maps to identify constellations, locate specific stars by brightness, and orient yourself in the night sky. It turns chaos into a navigable grid. Once you crack the code of symbols and magnitudes, the sky stops being random noise and starts feeling like a place you know.
You don't need a PhD in astrophysics to do this. You just need to understand three core concepts: how brightness is measured, how the map is oriented, and what the little icons mean. Let's break it down so you can stop squinting at the paper and start spotting things.
The Brightness Code: Understanding Magnitudes
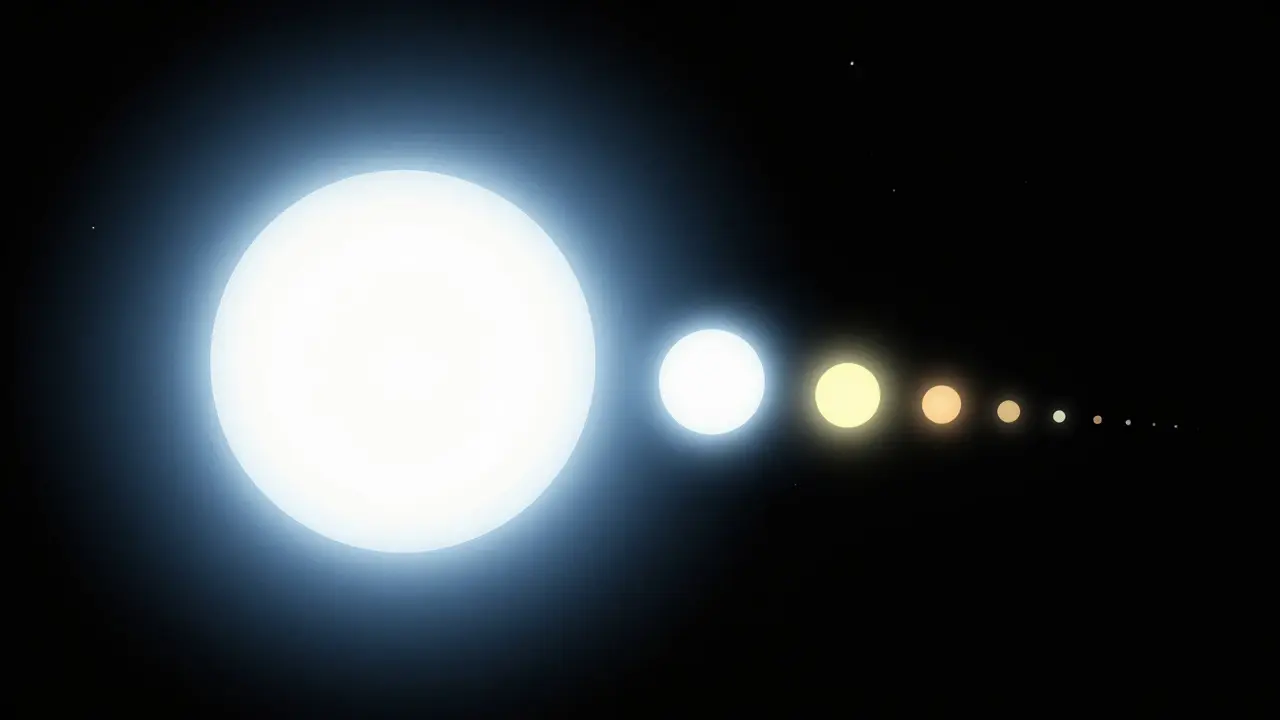
The most confusing part for beginners is usually the size of the dots. You'd think bigger dots mean brighter stars, right? Well, yes, but it’s not as simple as "big = bright." Astronomers use a system called the magnitude scale is a logarithmic scale used to measure the apparent brightness of astronomical objects as seen from Earth. This scale was originally developed by Hipparchus in the second century BCE, who classified stars into six classes based on how bright they appeared to the naked eye.
Here is the counterintuitive twist: the lower the number, the brighter the star. A magnitude 1 star is much brighter than a magnitude 6 star. In fact, a difference of 5 magnitudes equals a factor of 100 in brightness. So, a magnitude 1 star is 100 times brighter than a magnitude 6 star. Most modern star charts show stars from magnitude 1 (the brightest) down to magnitude 6 or 7 (the faintest visible under dark skies).
| Magnitude | Brightness Level | Example Star | Visibility Condition |
|---|---|---|---|
| -1.46 | Extremely Bright | Sirius | Visible during day in rare cases |
| 0.0 | Very Bright | Vega | Clearly visible from city suburbs |
| 2.0 | Bright | Altair | Visible from urban areas |
| 4.0 | Medium | Deneb | Requires darker suburban sky |
| 6.0 | Faint | Various minor stars | Requires rural/dark site |
If you are observing from downtown Portland, you might only see stars down to magnitude 3 or 4 due to light pollution. If you drive out to the Columbia River Gorge or further east, you’ll start seeing those fainter magnitude 5 and 6 stars pop into view. Always check your chart’s legend; some charts use different dot sizes or colors to represent these ranges.
Map Orientation: Which Way Is Up?
This is where most people get lost. When you hold a street map, north is usually at the top. But when you look at the sky, there is no fixed "top" unless you define it relative to the horizon. Star charts come in two main types: planisphere charts are circular or rectangular maps designed to be held against the sky to match current time and location, and all-sky charts are static maps showing the entire celestial sphere, often requiring rotation based on time.
For a standard all-sky chart, you have to rotate the map to match the time. Imagine the Earth spinning. The sky appears to move westward. To align your chart, you typically rotate the overlay wheel or the map itself so that the current time matches the date line. Once aligned, the top of the chart usually represents North, the bottom South, the left East, and the right West-if you are facing South. Wait, that sounds backward. Let’s clarify:
- Facing South (Northern Hemisphere): Top of chart = North, Bottom = South, Left = East, Right = West. This feels intuitive because it mirrors a standard map.
- Facing North: Top of chart = South, Bottom = North, Left = West, Right = East. This is disorienting because East and West flip.
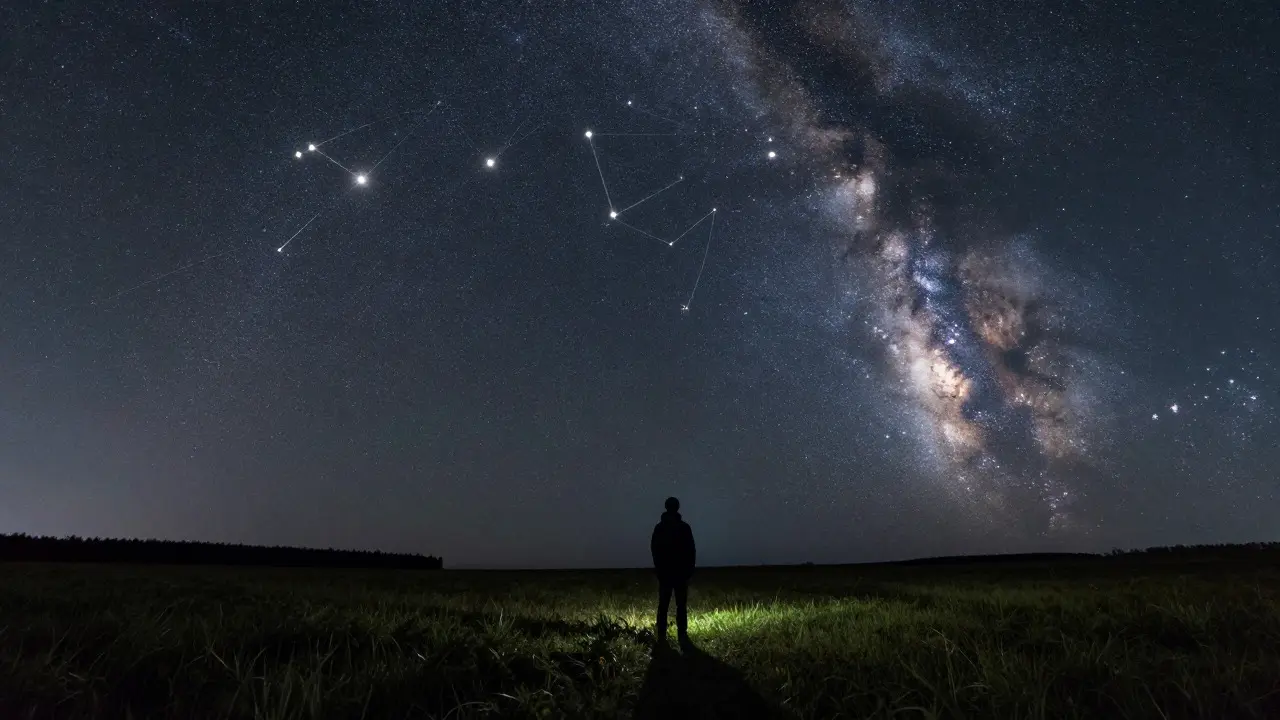
A pro tip: Don’t try to memorize every orientation. Instead, find one bright, recognizable anchor point. In the Pacific Northwest, Polaris (the North Star) is your best friend. It sits almost directly above the North Pole. Find Polaris, and you’ve found North. Now, whatever direction you are facing, you can mentally rotate the chart to match. If you’re facing away from Polaris, you’re looking South. The Big Dipper (part of Ursa Major) is also an excellent anchor because it’s large, bright, and easy to spot even from moderately light-polluted areas.
Decoding the Symbols: More Than Just Dots
Not everything on a star chart is a star. You’ll see circles, crosses, and sometimes colored dots. Here is what they usually mean:
- Circles (○): Typically represent stars. The size indicates magnitude.
- Crosses (+): Often mark planets (Mercury, Venus, Mars, Jupiter, Saturn). Since planets change position, some charts include their locations for a specific month.
- Squares or Diamonds: Can indicate double stars or variable stars, depending on the publisher.
- Cloudy Shapes: Represent nebulae or galaxies. For example, the Andromeda Galaxy (M31) looks like a fuzzy oval. The Orion Nebula (M42) is a small, distinct cloud shape.
- Lines connecting dots: These form the constellation figures. They are artistic interpretations, not physical connections in space. Think of them like lines drawn between cities on a world map-they help you remember the shape, but the cities aren't physically linked.
Some advanced charts use color coding. Blue-white dots might indicate hot, young stars, while orange-red dots indicate cooler, older giants. However, don’t rely on this too heavily unless you’re using a high-quality, scientifically accurate chart. Many basic charts use black-and-white for simplicity.
Star Hopping: Your Navigation Strategy
Once you can read the basics, you need a strategy to find things. This is called star hopping is a technique of navigating the night sky by moving from known, bright stars to fainter targets using angular distances. You don’t scan the whole sky randomly. You pick a starting point you know, then use nearby stars as stepping stones.
Let’s say you want to find Mizar, a famous double star in the Big Dipper. First, find the Big Dipper. It’s huge and obvious. Look at the handle. Mizar is the second star from the end of the handle. You don’t need a telescope to see it as a single bright dot, but with binoculars, it splits into two. That’s a hop. Another example: finding the Pleiades (M45). Start with the Big Dipper. Follow the curve of the handle to Aldebaran in Taurus. Then, continue past Aldebaran, and you’ll see the Pleiades cluster shining brightly. It’s like following a trail of breadcrumbs.
Always keep a red-light flashlight handy. White light destroys your night vision for about 20 minutes. Red light preserves it, allowing you to read your chart without losing the ability to see faint stars. This is crucial if you’re trying to spot magnitude 5 or 6 objects.
Common Pitfalls and How to Avoid Them
Even experienced observers make mistakes. Here are the most common ones:
- Ignoring Time Zones: If you’re in Portland (Pacific Time), make sure your chart is set to local time, not UTC. A one-hour error can shift your view significantly.
- Confusing Planets with Stars: Planets don’t twinkle as much as stars. If a bright object is steady and doesn’t match any star on your chart, it’s likely a planet. Check its position relative to the ecliptic path (the Sun’s annual path through the zodiac).
- Overlooking Light Pollution: If you can’t see the Milky Way, you won’t see many faint nebulae. Adjust your expectations. Focus on bright clusters and planets first.
- Holding the Chart Upside Down: Double-check your orientation. Use Polaris as your compass. If Polaris is at the top of your field of view, you’re facing North. Rotate your chart accordingly.
Practice makes perfect. Spend 10 minutes each evening just identifying three constellations. Don’t rush. The sky moves slowly enough that you have time to learn. Within a month, you’ll recognize patterns automatically, and reading star charts will feel less like work and more like a game.
Frequently Asked Questions
What is the easiest constellation to find for beginners?
The Big Dipper (part of Ursa Major) is widely considered the easiest. It consists of seven bright stars forming a distinct ladle shape. It is visible year-round in the Northern Hemisphere and serves as a gateway to other constellations like Cassiopeia and Draco.
Do I need a telescope to read star charts effectively?
No. Star charts are primarily designed for naked-eye observation. You can identify hundreds of stars, planets, and bright deep-sky objects like the Moon, Mars, and Jupiter without any equipment. Binoculars enhance the experience by revealing double stars and star clusters, but they are not required for basic chart reading.
How does light pollution affect which stars I can see?
Light pollution washes out faint stars. In a bright city center, you may only see stars down to magnitude 3 or 4. In a rural area with no artificial light, you can see down to magnitude 6 or 7. This means you’ll see roughly 90% more stars in dark conditions compared to urban settings.
Why do star charts show different constellations in summer versus winter?
Earth orbits the Sun, so our nighttime view of the universe changes throughout the year. In winter, we face toward the Orion constellation. In summer, we face toward Sagittarius and Scorpius. The stars themselves don’t move significantly; rather, our perspective from Earth shifts as we travel around the Sun.
Can I use a smartphone app instead of a paper star chart?
Yes, apps like Stellarium or SkySafari are excellent tools. They provide real-time positioning and identification. However, paper charts teach you spatial awareness and pattern recognition, which helps you navigate without relying on technology. Many astronomers recommend using both: apps for quick ID, and paper charts for learning the layout.