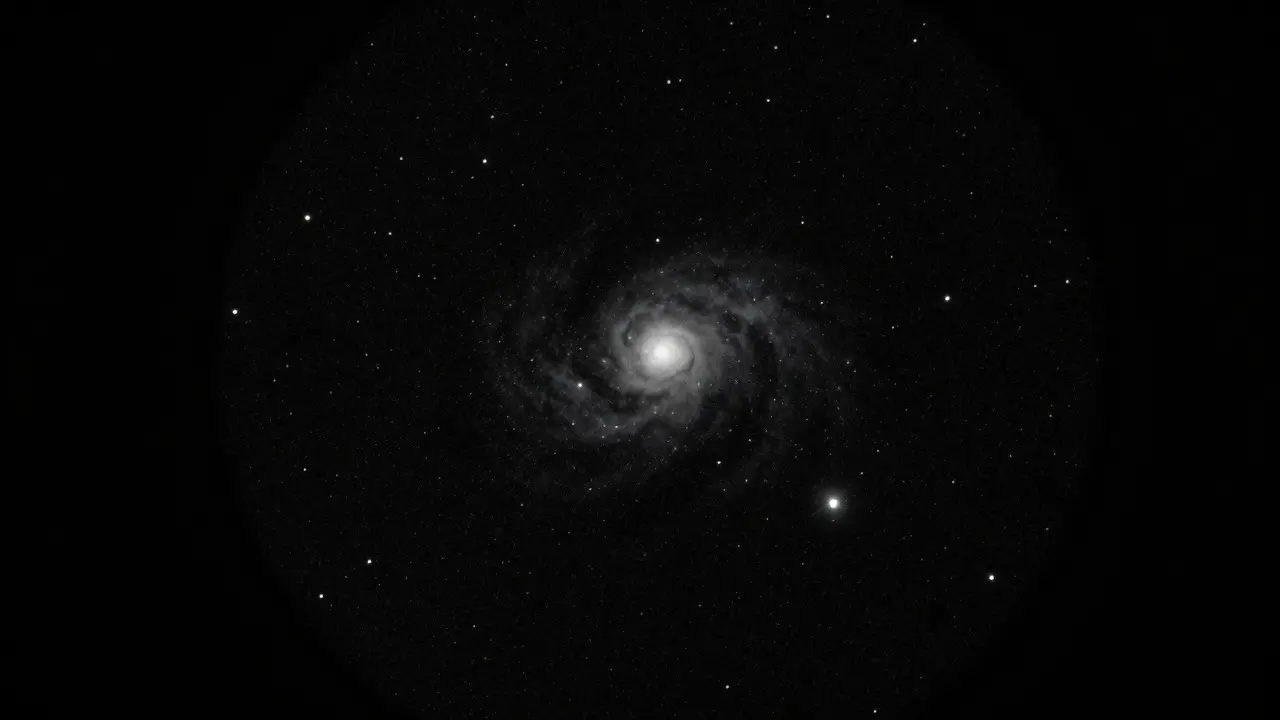
17 Aug 2026
- 0 Comments
You point your telescope at a bright star, scan the field, and see a fuzzy patch. You feel a rush of excitement. Is that the galaxy you’ve been hunting? Or is it just a reflection in your eyepiece, or a nearby nebula you mistook for your target? This is the classic trap of visual astronomy: seeing what you expect to see rather than what is actually there.
The difference between a confirmed observation and a false positive often comes down to one tool: the finder chart. Most amateur astronomers treat these charts as simple maps. But they are really verification tools. If you learn to read the specific details on a finder chart before you even lift the scope, you can eliminate 90% of identification errors instantly.
Why Your Eye Lies to You
Your brain is a pattern-matching machine. When you look through an eyepiece, especially under dark skies where contrast is low, your brain fills in gaps. It connects dots that aren't connected. It assumes a faint smudge is a galaxy because you *told* yourself it was a galaxy.
This phenomenon is particularly common with deep-sky objects like galaxies and globular clusters. Unlike stars, which have distinct points of light, deep-sky objects are diffuse. A reflection from a street lamp three miles away can look exactly like a small, irregular galaxy if you don't know better. Without a reference frame, you are guessing. With a reference frame, you are verifying.
The key is to stop looking for the object first. Instead, look for the context. The stars surrounding your target form a unique fingerprint. If the fingerprint matches the chart, the object is real. If the stars are in the wrong places, the object is likely a false positive.
Anatomy of a Reliable Finder Chart
Not all finder charts are created equal. Some are too detailed, cluttering the view. Others are too sparse, leaving you without enough reference points. A good finder chart for visual observation strikes a balance. It should show:
- Bright Reference Stars: These are the anchors. They should be labeled with magnitudes (e.g., V=3.5) so you know how bright they appear to the naked eye or binoculars.
- The Target Object: Clearly marked, usually with a circle or crosshair. Note its shape on the chart. Is it round? Elongated? Does it have a visible core?
- Neighboring Objects: Other deep-sky objects within the same field of view. These act as secondary checkpoints.
- Scale Indicators: A bar showing degrees or arcminutes helps you gauge the distance between stars relative to your eyepiece's field of view.
When preparing for an observing session, print or load a chart that matches your eyepiece's true field of view (TFOV). If your TFOV is 1 degree, a chart covering 2 degrees gives you context. If your TFOV is 0.5 degrees, a chart covering 1 degree is sufficient. Too much data overwhelms; too little leaves you lost.
The Three-Point Verification Method
Here is a practical workflow I use every time I attempt to identify a faint target. It takes less than 30 seconds but prevents hours of confusion.
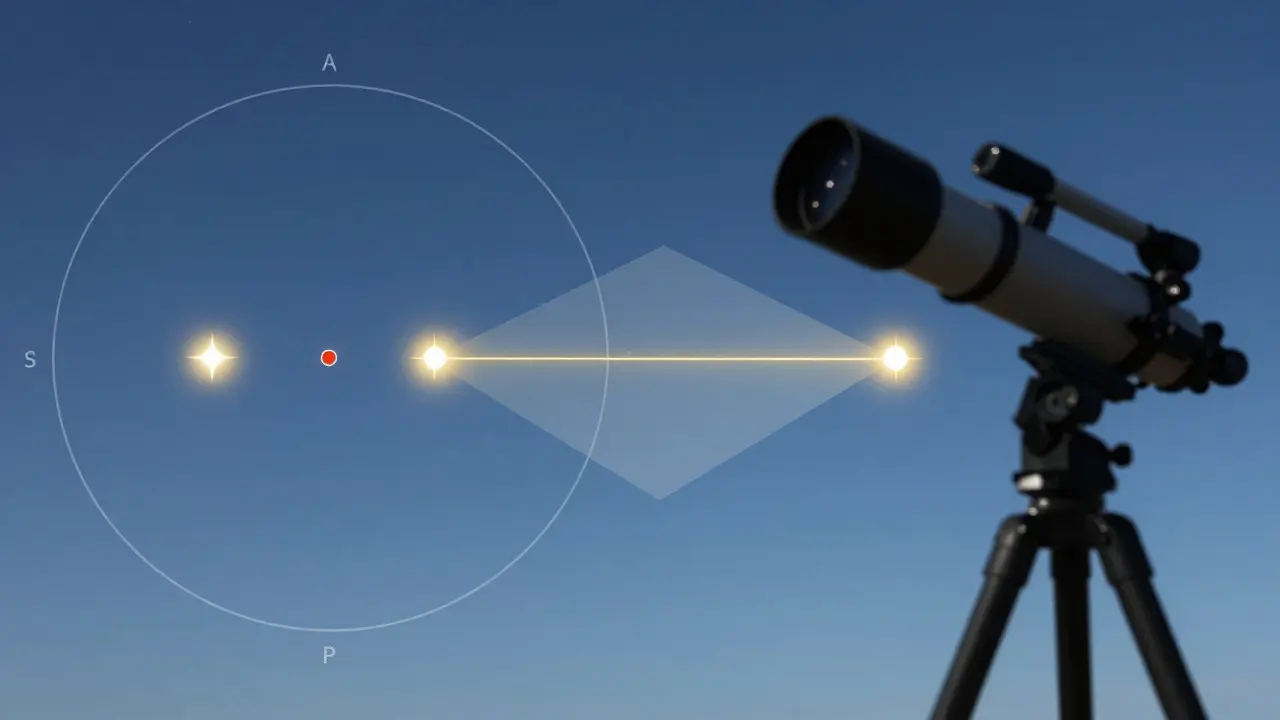
- Identify Two Anchor Stars: Look at the finder chart. Find two bright stars that flank the target. One should be significantly brighter than the other. Let’s call them Star A (bright) and Star B (faint).
- Locate the Vector: In your eyepiece, find Star A. Then, look in the direction of Star B. The line connecting them is your vector. Your target should lie along or near this line.
- Check the Ratio: Measure the distance between Star A and Star B in your view. Now, estimate where the target sits relative to that distance. On the chart, does the target sit halfway? Closer to Star A? Further out? If the ratio in your scope doesn’t match the chart, you are not looking at the right place.
This method works because stars are fixed. Even if the sky is hazy or the optics are slightly misaligned, the relative positions of stars remain constant. If the geometry is wrong, the object is wrong.
Common False Positives and How to Spot Them
Let’s look at specific scenarios where things go wrong. Recognizing these patterns will help you trust your eyes more.
| False Positive Type | Visual Appearance | Verification Clue | Real Object Counterpart |
|---|---|---|---|
| Internal Reflection | Fuzzy, often colored (green/red), moves when you shake the scope | Does not move with the stars; changes shape when you rotate the eyepiece | Emission Nebula (e.g., M42) |
| Airglow Patch | Large, greenish glow, uniform texture | Covers a huge area; no defined edges; present everywhere in the sky | Galaxy (e.g., M31) |
| Wrong Galaxy | Spiral or elliptical shape, correct brightness | Surrounding stars do not match the finder chart pattern | Target Galaxy |
| Diffraction Spike Artifact | Star-like with long spikes, appears near bright stars | Moves with the bright star; disappears if you defocus slightly | Globular Cluster (e.g., M13) |
Notice the last row: the wrong galaxy. This is the most dangerous error. You see a beautiful spiral galaxy. You think, "That must be it." But if you check the anchor stars, they are in completely different positions. You were actually looking at a neighboring galaxy, perhaps 5 degrees away. The finder chart saves you here by providing the stellar context.
Matching Shape and Structure
Once you have verified the position using stars, you can verify the object itself. Compare the shape of the object in your eyepiece to the drawing on the finder chart.
For galaxies, look for:
- Orientation: Is the major axis tilted left or right? Does it match the chart?
- Nucleus Brightness: Is there a distinct bright center? Some galaxies have faint cores; others have blazing ones.
- Arms or Bars: Can you see spiral arms? A barred spiral looks very different from a flocculent spiral.
For nebulae, look for:
- Boundaries: Do the edges fade smoothly, or are they sharp?
- Color: While unaided vision sees mostly gray, certain filters or high-end scopes reveal color. Match this to known colors (red for hydrogen, blue for reflection).
If the structure doesn't match, ask yourself: Am I looking at the object, or am I looking at a similar-looking object nearby? Re-check your anchor stars.
Practical Tips for Field Use
Working in the field adds challenges. Cold hands, dim lighting, and fatigue all affect your ability to read charts and interpret views. Here are some tips to keep your verification process sharp.
Use Red Light Only. White light destroys your night vision and makes it harder to see faint stars needed for verification. Keep a red flashlight handy for illuminating your paper chart.
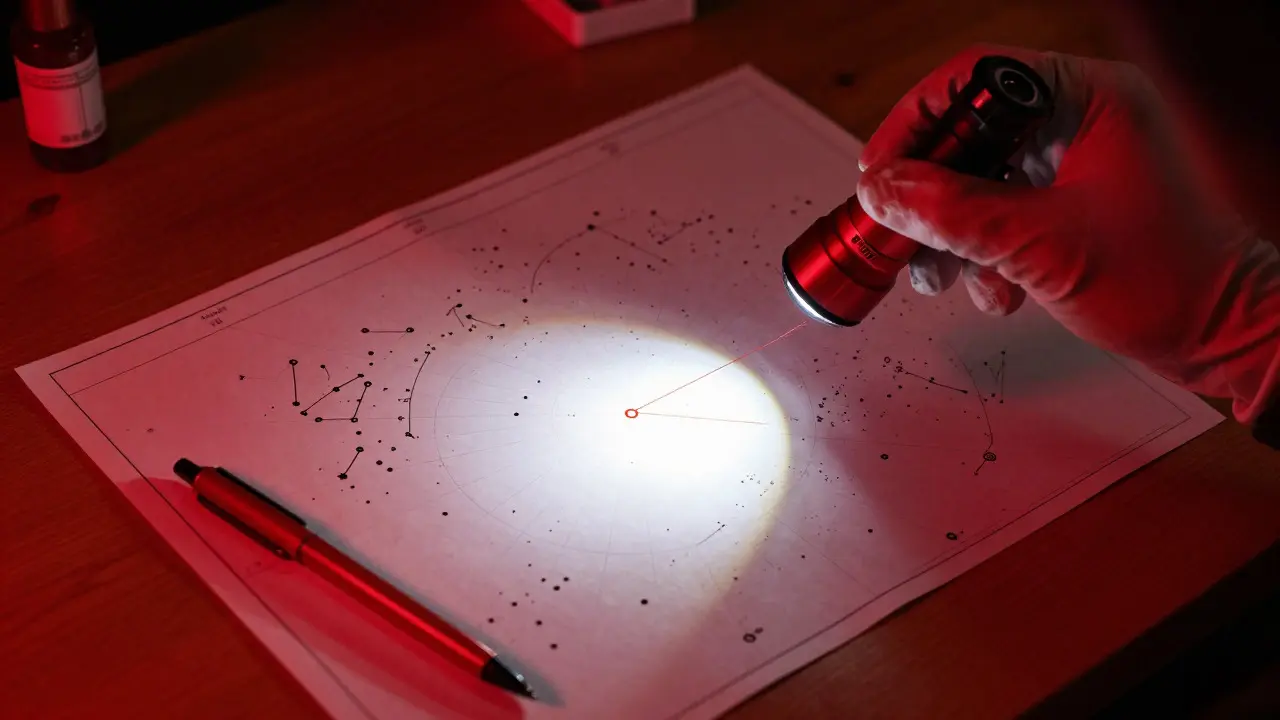
Pre-Mark Your Chart. Before you start observing, draw lines connecting your anchor stars on the paper chart. Circle the target. This reduces cognitive load when you are cold and tired.
Verify with Binoculars First. If your telescope has a narrow field of view, use binoculars to locate the general area. Confirm the star pattern with binoculars, then switch to the telescope. This builds confidence in your position.
Log Your Observations Immediately. Write down what you saw, including the star pattern. If you later realize you made a mistake, your log will show you exactly where you went wrong. This is invaluable for learning.
Tools That Enhance Verification
While traditional paper charts are excellent, digital tools can assist. Apps like Stellarium or SkySafari allow you to simulate your exact field of view. You can zoom in to see the star pattern precisely as it will appear in your eyepiece. However, rely on them only as a backup. Sometimes, the app’s database has outdated coordinates or missing faint stars. A printed chart from a trusted source, like the Atlas du Ciel or local observatory prints, is often more reliable for critical verification.
Another useful tool is a reticle eyepiece. This places a grid over your view, making it easier to measure distances between stars. If you have a reticle, you can directly compare the angular separation of your anchor stars to the values listed on the chart. This turns verification into a precise measurement rather than an estimation.
Building Confidence Through Repetition
Verifying targets with finder charts becomes second nature with practice. Start with easy objects. Pick a bright galaxy like Andromeda (M31) or a well-known cluster like the Pleiades. Practice identifying the anchor stars and confirming the position. Once you master these, move to fainter objects.
Each successful verification reinforces the habit. Each false positive caught early teaches you to trust the chart over your intuition. Over time, you’ll find that you spend less time wondering "Is that it?" and more time simply enjoying the view.
The next time you point your scope at a fuzzy patch, pause. Don’t celebrate yet. Check the stars. If the geometry holds, then you can relax and appreciate the beauty of what you’ve found. That’s the real reward of careful observation.
What is the best way to identify a faint galaxy without a computerized mount?
Use the three-point verification method. Identify two bright anchor stars on a finder chart, locate them in your eyepiece, and ensure the target lies in the correct position relative to those stars. This confirms you are looking at the right part of the sky before attempting to see the faint object.
How accurate do finder charts need to be for visual observation?
They need to be accurate to within a few arcminutes. Since visual telescopes have fields of view ranging from 0.5 to 2 degrees, small coordinate errors rarely matter. What matters more is the relative position of stars, which should be depicted accurately to help with pattern matching.
Can I use smartphone apps instead of paper charts for verification?
Yes, but with caution. Apps like Stellarium are excellent for planning and simulation. However, in the field, screen glare can ruin night vision, and battery life can be an issue. Many observers prefer printed charts for reliability, using apps only during setup or breaks.
What should I do if the star pattern doesn't match the chart?
Don't assume the object is wrong immediately. First, check if you are looking at the correct field. You might be off by a few degrees. Second, verify your equipment settings. Ensure your focal length and eyepiece choice match the chart's assumed field of view. If the pattern still doesn't match, you are likely looking at a different region of the sky.
Are there specific types of objects that are harder to verify?
Small, faint globular clusters and dwarf galaxies are the hardest. They lack distinct shapes and can easily be confused with background noise or reflections. For these, rely heavily on the star pattern and magnitude estimates. If the stars are right but the object isn't visible, it may be below your limit magnitude for that night.