17 Aug 2026
- 0 Comments
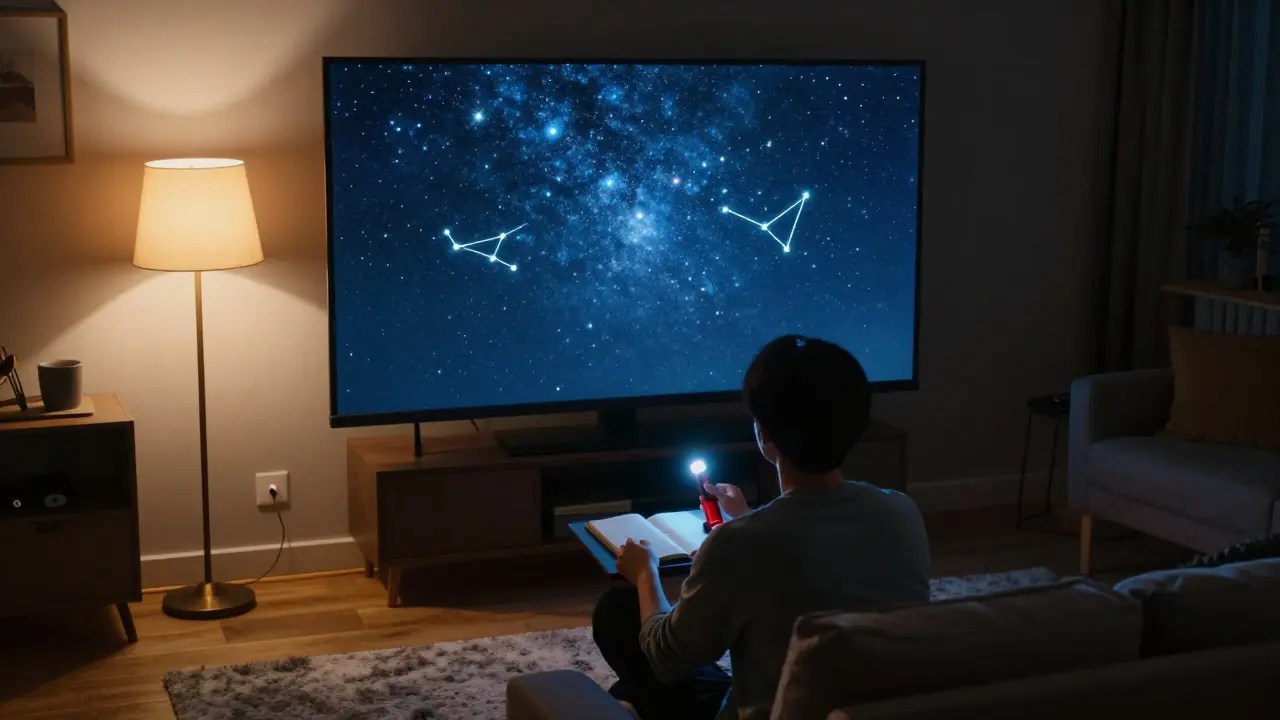
It is 2:00 AM. The sky is dark, but the humidity is killing your optics. Or maybe you live in a city where light pollution makes faint stars invisible. You know Star Hopping is a method of navigating the night sky by moving from one bright star or asterism to another until you reach a target deep-sky object, but getting it right in the field requires patience and good conditions. What if you could perfect this skill on your living room rug? By using Planetarium Software like Stellarium or TheSkyX, you can simulate complex routes, test your pattern recognition, and build muscle memory without stepping outside.
Why Practice Star Hops Indoors?
Visual navigation in the sky is not just about knowing coordinates; it is about recognizing shapes and relative positions under low-light conditions. When you are at the eyepiece, you cannot rely on red-lit charts as much as you think. Your brain needs to process the visual input directly. Practicing indoors allows you to isolate specific skills. You can zoom in and out to mimic different magnifications. You can change the time of year instantly. Most importantly, you can make mistakes without losing an hour of observing time waiting for the next window.
The core benefit is confidence. Many beginners feel lost when they point their telescope at a patch of empty sky. Indoor simulation turns that anxiety into a game. You learn to identify the "anchor" stars that guide you. You understand how the density of stars changes near the galactic plane versus the pole. This mental mapping is what separates casual observers from those who can find obscure nebulae on the first try.
Choosing the Right Simulation Tools
Not all software is created equal for this specific task. You need tools that allow precise control over the view and realistic rendering of stellar magnitude limits. Here is how popular options stack up for indoor star hop practice:
| Software | Best Feature for Hopping | Limitation | Cost Model |
|---|---|---|---|
| Stellarium | Real-time time warp and adjustable magnitude limit | Can be visually cluttered if too many objects are shown | Free (Open Source) |
| TheSkyX | High-precision astrometric data and easy path plotting | Steep learning curve for advanced features | Paid License |
| Cartes du Ciel | Excellent chart generation for printing reference guides | Interface feels dated compared to modern apps | Free (Open Source) |
For most users, Stellarium is the best starting point because it is free and runs on almost any computer. Its ability to adjust the "magnitude limit" is crucial. If you set it to magnitude 6.5, you see what a small refractor might show. If you lower it to 4.0, you simulate a larger aperture or brighter sky. This dynamic adjustment lets you practice hops that are feasible for your specific equipment.
Setting Up Your Virtual Observatory
To get the most out of your session, you need to replicate your real-world constraints. Start by setting the date and time in your software to match when you plan to observe. Next, set your location to your actual latitude and longitude. Why does this matter? Because the altitude of constellations changes significantly based on where you stand. A hop that works perfectly in Texas might be impossible from Maine because the target sits too close to the horizon.
Next, configure the display settings. Turn off the constellation lines initially. You want to rely on the stars themselves, not the artificial connecting lines. Keep the star labels off unless you are stuck. The goal is to train your eye to see the patterns, not read the names. Finally, choose a starting point. Pick a bright, easily identifiable star like Vega in Lyra or Altair in Aquila. These are your anchors.
Building Effective Hopping Routes
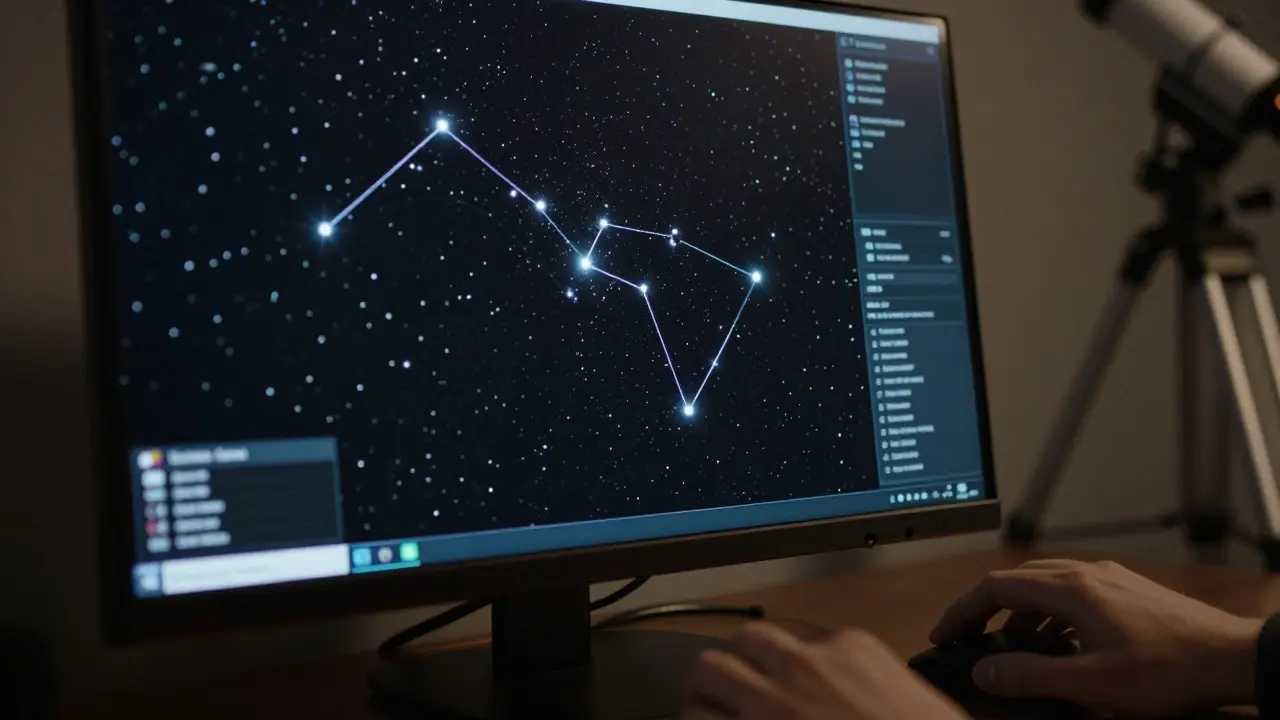
A good star hop route consists of three to five steps. Each step should move you closer to the target while maintaining clear visual references. Avoid long, empty stretches of sky. Instead, look for asterisms-small groups of stars that form recognizable shapes. For example, to find the Andromeda Galaxy (M31), you start at Vega, move to the triangle of Deneb, Sadr, and Nebular (Cygnus), then follow the line down through Albireo to the double star in Andromeda, which points directly to M31.
In your software, use the "Search" function to locate the target, but do not let the software draw the path for you. Instead, manually click on intermediate stars to create waypoints. Check the distance between each waypoint. If the gap is too large for your field of view, add another intermediate star. Remember, your telescope’s field of view depends on the focal length and eyepiece. A typical 8-inch Dobsonian with a 25mm eyepiece gives you about 2 degrees of view. Ensure your hops fit within that window.
Simulating Magnification and Field of View
This is the step most people skip, but it is the difference between theory and practice. In Stellarium, you can adjust the zoom level to match your eyepiece. Calculate your field of view using the formula: Field of View (degrees) = Apparent Field of View (of eyepiece) / Magnification. If you have a 52-degree wide-angle eyepiece and 50x magnification, your FOV is roughly 1 degree. Zoom your software view to match this size. Now, when you look at the screen, you are seeing exactly what you will see through the glass.
Try to perform the hop while looking away from the screen. Describe the pattern you see to yourself out loud. "I see two bright stars close together, then a fainter one to the north." Then look back at the screen to verify. This active recall technique strengthens neural pathways associated with spatial orientation. Do this for ten minutes daily, and you will notice a significant improvement in your ability to navigate the real sky.
Common Pitfalls and How to Avoid Them
One major mistake is relying on color. In software, stars often appear in vivid blue, orange, or yellow. In reality, through a small telescope, most stars appear white due to the eye’s adaptation and the instrument’s limitations. Only very bright stars show distinct colors. Train yourself to ignore color cues in your simulations. Focus on brightness and position instead.
Another pitfall is forgetting atmospheric refraction. Near the horizon, stars appear higher than they actually are. While less critical for high-altitude targets, it matters for low objects. If you are practicing hops near the celestial equator or tropics, keep this in mind. Finally, don't overcomplicate the route. If a hop takes more than four steps, break it into two separate hops. Simplicity leads to success. Complex routes increase the chance of getting lost, especially when fatigue sets in during a late-night session.
From Screen to Sky: Transitioning Skills
Once you have mastered a route indoors, take it outside. But wait for a moonless night. Use a red flashlight to check your progress. Compare what you see in the eyepiece to what you memorized on the screen. If you get lost, don't panic. Backtrack to your last confirmed anchor star. This is why having multiple checkpoints is vital. Over time, you will find that you no longer need the software. The map is in your head. The stars become landmarks, not just points of light. You have turned abstract data into intuitive knowledge.
Frequently Asked Questions
What is the best free software for practicing star hops?
Stellarium is widely considered the best free option. It offers realistic sky rendering, easy time controls, and adjustable magnitude limits that allow you to simulate different telescopes and seeing conditions accurately.
How accurate are simulated star positions compared to the real sky?
Modern planetarium software uses high-precision ephemerides, so positions are accurate to within arcseconds. However, visual appearance differs because software shows idealized colors and sharpness, whereas real viewing is affected by atmosphere, optics, and human vision limitations.
Should I use constellation lines when practicing?
Start with them on to learn the basic layout, but turn them off as soon as possible. Relying on lines creates a dependency that fails in the field. True star hopping relies on recognizing natural asterisms and relative star brightness, not artificial connections.
How long does it take to master star hopping?
With consistent practice of 15-20 minutes per day, most observers develop reliable navigation skills within 2-3 months. The key is regularity rather than duration. Short, frequent sessions build better muscle memory than occasional long marathons.
Can I practice star hops on a smartphone app?
Yes, apps like SkySafari or Star Walk offer similar functionality. However, desktop software provides more control over display settings, such as exact magnitude limits and field of view simulation, which are critical for serious training.