16 Aug 2026
- 0 Comments
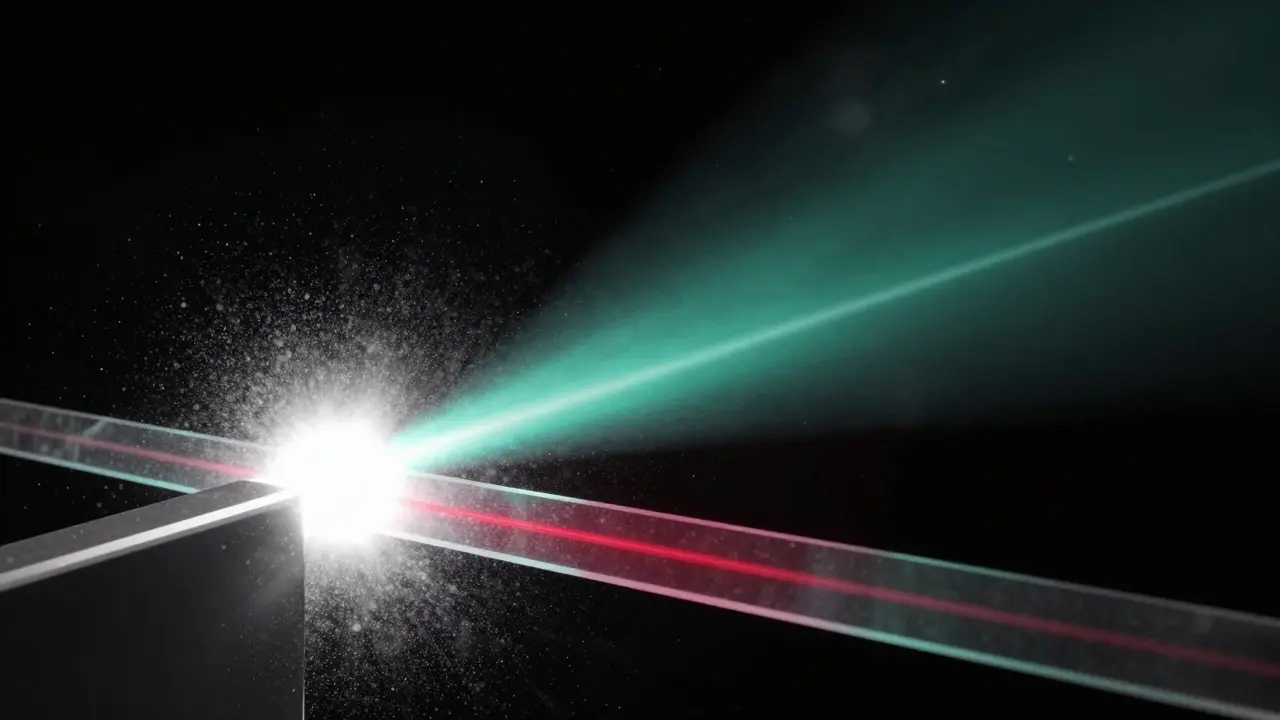
Staring at a faint patch of sky where you expect a vibrant nebula but see only gray noise is frustrating. The difference between a muddy image and a glowing cosmic cloud often comes down to one specific piece of glass: the narrowband filter. If you are shooting from a city or even a suburban backyard, broadband light pollution drowns out the subtle emissions from deep-sky objects. Narrowband filters solve this by acting like a bouncer at an exclusive club, letting only specific wavelengths of light through while blocking everything else.
This guide breaks down how these filters work, specifically focusing on the two most critical channels for nebulae: Hydrogen-Alpha (Hα) and Oxygen III (OIII). We will look at the physics behind them, the hardware differences, and how to combine them to create stunning images without needing a dark site.
The Physics of Light Pollution and Emission Lines
To understand why narrowband works, you have to understand what you are fighting against. Standard white light from the sun, incandescent bulbs, and even some LEDs contains a continuous spectrum. It has every color mixed together. When this light hits your camera sensor, it creates a broad background glow that washes out faint astronomical details.
Nebulae, however, do not emit white light. They are powered by ultraviolet radiation from hot stars, which excites gas clouds. As these atoms settle back down, they release energy as photons at very specific wavelengths. This is known as emission lines. The two most prominent lines in visible astronomy are:
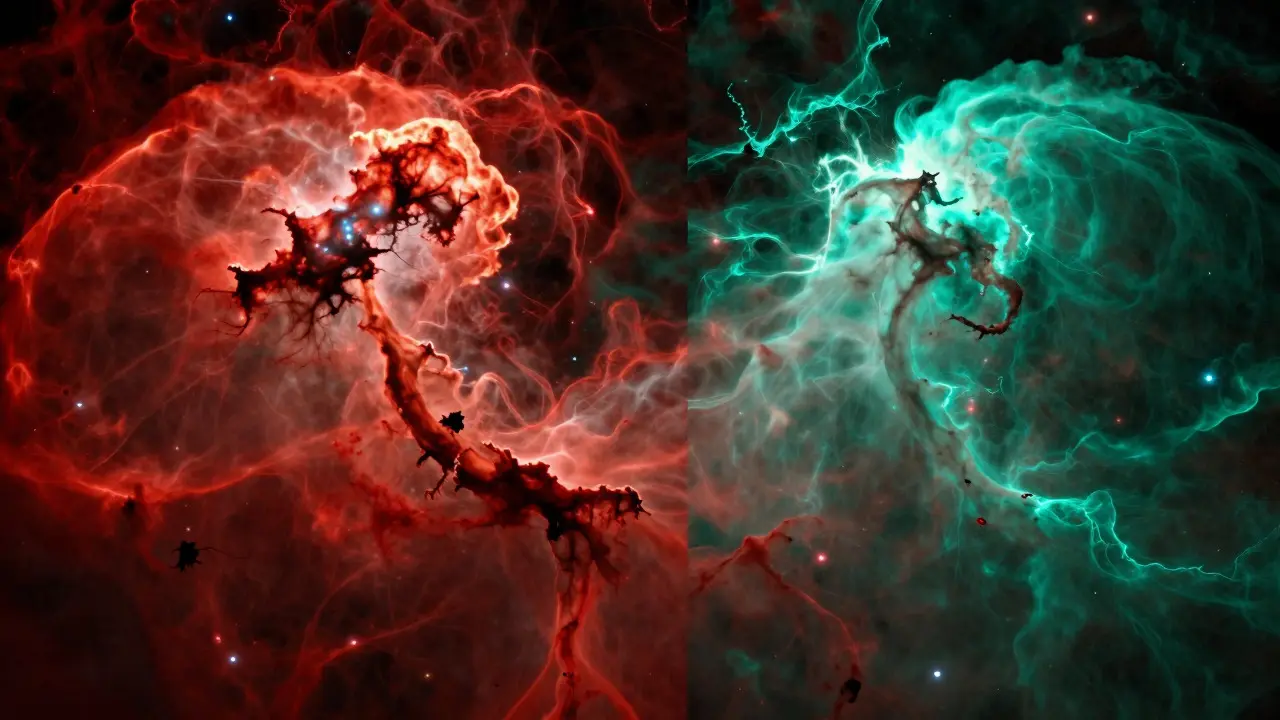
- Hydrogen-Alpha (Hα): Emits at 656.3 nanometers, appearing as a deep red.
- Oxygen III (OIII): Emits at 500.7 nanometers, appearing as a teal-green.
A narrowband filter is designed with a bandpass width typically between 3nm and 7nm. This means it allows light to pass through only within a tiny slice of the spectrum centered on that specific wavelength. By blocking the rest of the spectrum, you effectively turn off the "white" light pollution and keep only the signal from the nebula.
Hydrogen-Alpha vs. Oxygen III: What Each Shows
While both filters capture nebular gas, they highlight different physical processes and structures within the same object. Understanding this distinction helps you decide which filter to prioritize based on the target.
Hydrogen-Alpha is the workhorse of astrophotography. It traces ionized hydrogen, which is the most abundant element in space. Because hydrogen is everywhere, Hα reveals the large-scale structure of emission nebulae, including shock fronts, filaments, and star-forming regions. It is particularly strong in HII regions where massive young stars are actively ionizing surrounding gas. If you are imaging targets like the Orion Nebula, the Lagoon Nebula, or the Veil Nebula, Hα will provide the bulk of your structural detail.
Oxygen III, on the other hand, traces doubly ionized oxygen. This requires higher-energy ultraviolet photons than hydrogen, meaning OIII is strongest in regions close to very hot, blue stars. Visually, OIII highlights the delicate, wispy edges of nebulae and regions where the gas density is lower. It adds contrast and definition to areas that might look flat in Hα alone. Targets like the North America Nebula and the Cat's Eye Nebula show significant OIII content, giving them their characteristic teal hues when processed correctly.
| Feature | Hydrogen-Alpha (Hα) | Oxygen III (OIII) |
|---|---|---|
| Wavelength | 656.3 nm | 500.7 nm |
| Visual Color | Red | Teal/Green |
| Primary Use | Large-scale structure, shock fronts | Fine details, low-density regions |
| Sensitivity to Skyglow | Moderate (blocked by narrowband) | High (often stronger signal in dark skies) |
| Typical Bandpass | 3nm - 7nm | 3nm - 7nm |
Choosing the Right Filter Hardware
Not all narrowband filters are created equal. When shopping for gear, you need to pay attention to three key specifications: bandpass width, transmission peak, and substrate quality.
Bandpass Width refers to how much light gets through. A narrower bandpass (like 3nm) blocks more light pollution but also reduces the total amount of signal you can collect, requiring longer exposures. A wider bandpass (like 7nm) lets more signal through but may admit more nearby light pollution, such as mercury-vapor streetlights which emit green light near 546nm. For urban environments, a 3nm or 5nm filter is generally superior for OIII because the green skyglow is intense. For Hα, 7nm filters are common and effective because sodium vapor lights (orange/yellow) don't interfere as heavily with the red part of the spectrum.
Transmission Peak must align precisely with the atomic line. A high-quality filter will have its peak transmission exactly at 656.3nm for Hα and 500.7nm for OIII. Cheaper filters might be slightly off-center, reducing efficiency. Look for filters that specify a transmission efficiency of over 90% at the center wavelength.
Substrate Quality matters for durability and optical performance. Borosilicate glass is standard, but some premium filters use fused silica for better thermal stability. Since narrowband filters are thin-film coated, they are sensitive to scratches and fingerprints. Always handle them by the edges and store them in a protective case.
Building Your Imaging Strategy
You have two main approaches to using these filters: dual-band or trichromatic narrowband.
Dual-Band Imaging uses a single filter that combines both Hα and OIII into one chip. This is popular among beginners and those with limited time. You take all your data through this one filter, then split the channels during post-processing. The advantage is simplicity; you don't have to swap filters mid-session. The disadvantage is that you miss out on Sulfur II (SII), which provides additional color depth, and you are limited in how much you can stretch each channel independently if the filter isn't balanced well.
Trichromatic Narrowband involves using three separate filters: Hα, OIII, and SII. This is the gold standard for advanced astrophotographers. You shoot each channel separately, usually assigning Hα to the Red channel, OIII to the Green, and SII to the Blue. This method, known as the Hubble Palette, allows for maximum dynamic range and color separation. However, it triples the time required to capture data. If you plan to spend hours on a single target, investing in individual filters is worth it. If you are doing quick captures or have limited clear nights, a dual-band filter is a practical compromise.
For pure monochrome imaging, many photographers prefer to shoot Hα and OIII separately with a grayscale camera. This avoids any color crosstalk and allows for precise control during processing. If you are using a color camera, ensure your filter wheel or holder is compatible with your mount's balance requirements. Adding a heavy filter wheel can throw off your counterweights, so check the payload capacity of your equatorial mount before purchasing.
Practical Tips for Optimal Results
Even with the best filter, poor technique can ruin your data. Here are some field-tested tips to maximize your narrowband sessions.
- Cool Your Camera: Narrowband filters block a lot of light, meaning you need longer exposures to get a good signal-to-noise ratio. Longer exposures generate more heat in the sensor, leading to hot pixels and thermal noise. Cooling your camera to -10°C or lower is essential for clean subs.
- Calibrate Properly: Dark frames are critical. Take darks at the same temperature and exposure length as your lights. Flat fields are less critical for narrowband than for broadband, but still recommended if you have dust motes on the filter surface.
- Watch Out for Mercury Vapor Lights: These orange-yellow lights emit a strong green line at 546nm, which can bleed into OIII filters if the bandpass is too wide. If you live under a corridor of these lights, consider a 3nm OIII filter instead of a 7nm one.
- Stacking Matters: Because narrowband signals are weak, stacking hundreds of subs is normal. Don't be discouraged if early previews look noisy. The magic happens in the stacker.
Finally, remember that narrowband imaging is not just about seeing more; it's about seeing differently. It reveals the true colors of the cosmos, stripped of the artificial tints of our atmosphere. Whether you choose a single dual-band filter to start or dive straight into a three-filter setup, the result will be images that feel alive and vivid, regardless of how bright your local sky is.
Frequently Asked Questions
Do I need a narrowband filter if I live in a dark area?
Not strictly, but it helps. In Bortle 1-2 skies, broadband imaging captures a lot of natural color and detail. However, narrowband still increases contrast and isolates specific gas emissions, allowing for more dramatic processing. Many dark-site photographers use narrowband for targeted nebula work while saving broadband for galaxies and clusters.
What is the difference between a 3nm and a 7nm filter?
A 3nm filter has a narrower bandpass, meaning it blocks more light pollution but also transmits less total signal. This results in cleaner data in bright skies but requires longer integration times. A 7nm filter transmits more light, making it faster for data collection, but it is more susceptible to nearby spectral lines from streetlights. Choose 3nm for OIII in cities and 7nm for Hα or in darker locations.
Can I use narrowband filters with a refractor telescope?
Yes, absolutely. Refractors are excellent for narrowband imaging because they offer sharp resolution and no central obstruction. The fast focal ratios of modern apochromatic refractors allow for shorter exposures, which is beneficial when collecting weak narrowband signals. Just ensure your focuser supports the weight of the filter wheel or holder.
How long should I expose for each subframe?
This depends on your optics and camera sensitivity. With a cooled CMOS camera and a 70mm f/5 refractor, typical subs range from 3 to 5 minutes. If you are using a slower reflector or a less sensitive sensor, you might drop to 2 minutes. The goal is to saturate the core of the nebula without blowing out the highlights while keeping the background sky level low.
Is Sulfur II (SII) necessary for good nebula images?
It is not mandatory, but it enhances the image. SII traces sulfur ions and adds a magenta/purple hue to the final palette. Without it, you can still make beautiful images using just Hα and OIII, often mapping them to red and green channels. SII becomes important if you want to replicate the Hubble Space Telescope's iconic color scheme or add extra dimension to complex nebulae.