16 Aug 2026
- 0 Comments
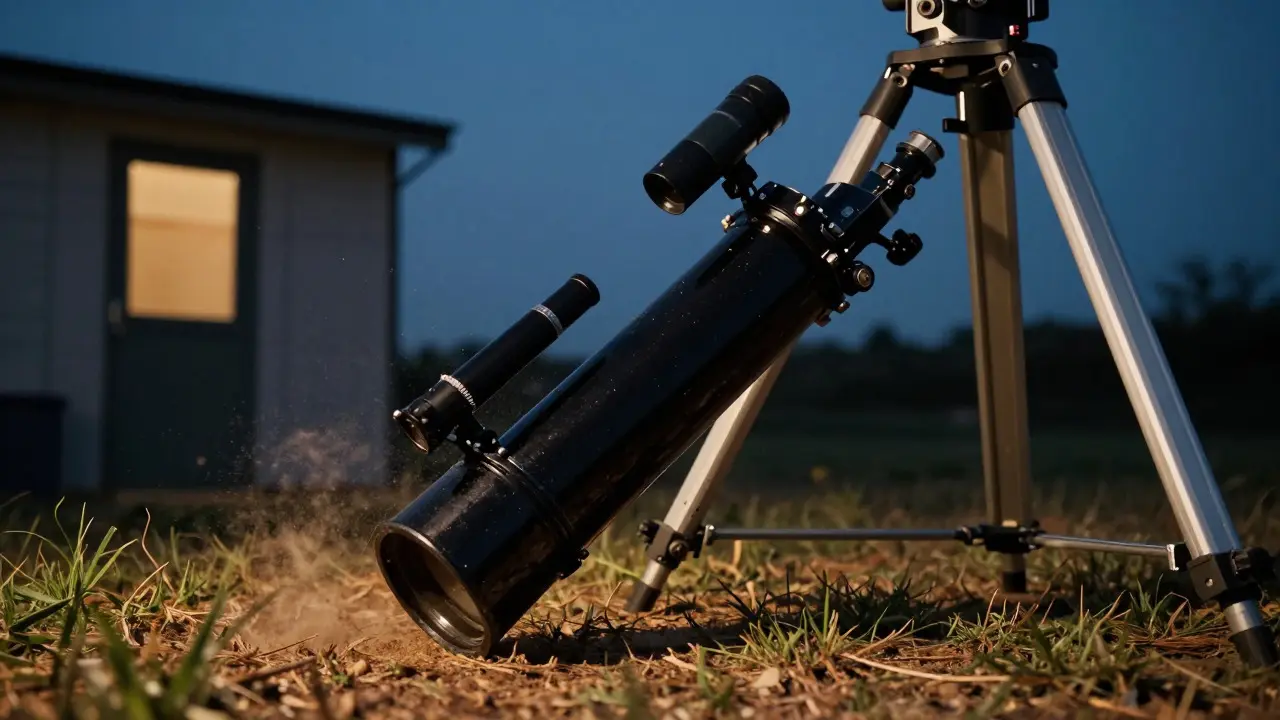
You know that specific moment when you are ready to observe, but your favorite wide-field lens refuses to point at the horizon. The tube hits the ground, or worse, it bumps into the tripod legs. This is the classic "telescope collision" problem, and it frustrates even experienced observers. The solution isn't always buying a new, more expensive mount. Often, the answer lies in a simple mechanical adjustment: raising the height of your mount head above the pier. By adding a pier extension, you gain the critical vertical clearance needed to access low-altitude targets without interference.
This guide breaks down why standard setups fail at low elevations, how to calculate the exact height you need, and the best methods to implement these changes safely. Whether you use an equatorial wedge or a direct-drive alt-azimuth system, increasing the distance between the base and the optical assembly solves the geometric conflict between the sky and the ground.
Why Your Telescope Hits the Ground
To fix the problem, you first need to understand the geometry behind it. Most amateur telescopes suffer from limited field of view at low elevations due to the physical bulk of the instrument itself. When you lower the declination axis on an equatorial mount or the altitude axis on an alt-azimuth mount, the center of gravity shifts downward. If the optical tube assembly (OTA) is long relative to the mount's arm length, the bottom edge of the tube will eventually intersect with the earth or the pier structure.
This issue becomes significantly worse when you attach heavy accessories like camera backends, finderscopes, or counterweights. A typical 8-inch reflector on a standard pier might only have 15 degrees of usable elevation before the secondary mirror housing scrapes the ground. For astrophotographers targeting objects near the celestial equator during winter months, this can mean losing up to 30% of the observable night. Raising the mount head directly addresses this by shifting the entire optical path upward, effectively creating a larger radius of rotation around the polar axis.
Calculating the Required Extension Height
Before you start drilling holes or ordering parts, you need to determine exactly how much extra height you require. Guessing can lead to instability or insufficient clearance. You can calculate the necessary lift using basic trigonometry based on your desired minimum elevation angle.
Here is the practical formula to use:
- Measure your current obstruction: Lower your telescope to the lowest point where the tube touches the ground or pier. Note the angle (e.g., 20 degrees).
- Determine target elevation: Decide the lowest angle you want to reach comfortably (e.g., 10 degrees).
- Calculate the delta: The difference in angles dictates the vertical shift needed. A general rule of thumb is that for every inch of pier extension added, you gain approximately 2-3 degrees of additional clearance at the horizon, depending on your focal length and tube diameter.
- Account for accessories: Add 1-2 inches if you frequently use a camera adapter or a large finder scope, as these extend the effective length of the tube below the mount head.
For most mid-sized telescopes (6-10 inches), a 4 to 6-inch extension is sufficient to eliminate ground strikes entirely. Larger Dobsonian-style mounts may require 8+ inches of lift to maintain proper airflow and structural integrity.
Types of Pier Extensions and Their Trade-offs
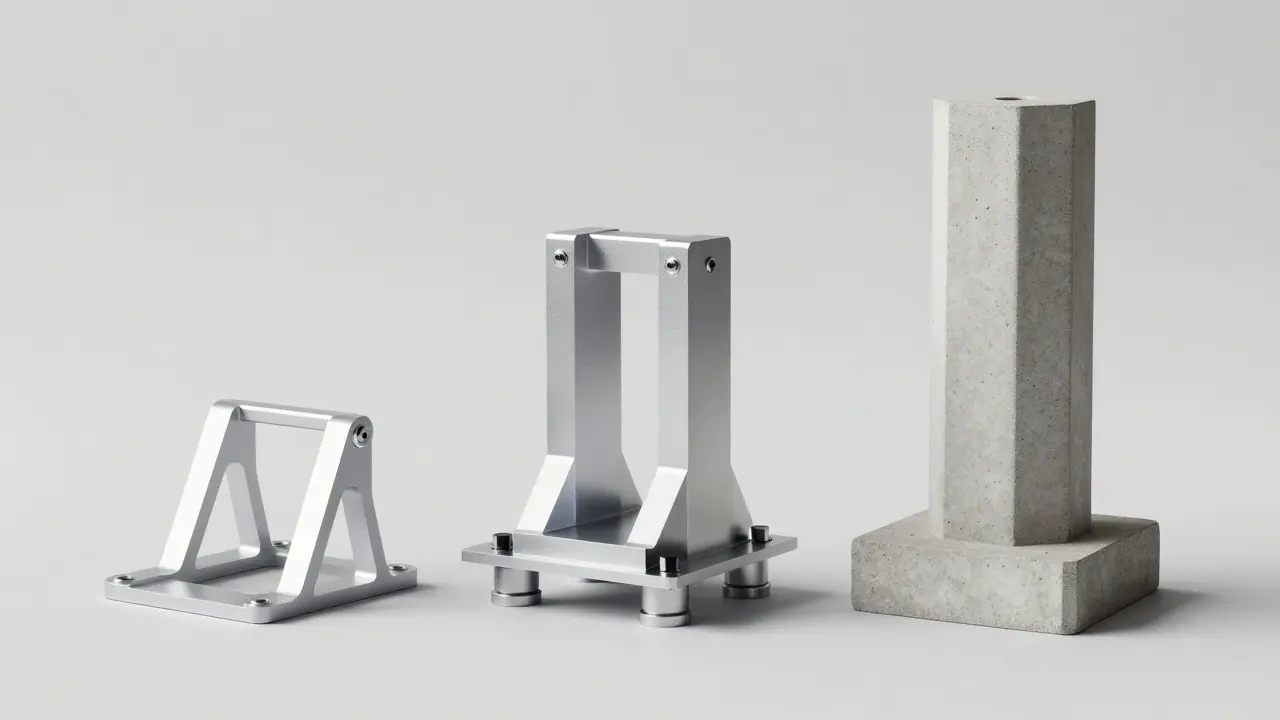
There are three primary ways to raise your mount head. Each method has distinct advantages regarding cost, stability, and installation complexity. Choosing the right one depends on whether you prioritize portability or permanent observatory integration.
| Method | Cost Range | Stability Impact | Portability | Best For |
|---|---|---|---|---|
| Mechanical Spacers | $20 - $50 | Minimal (if rigid) | High | Temporary fixes, travel setups |
| Custom Machined Blocks | $100 - $300 | Excellent | Medium | Serious astrophotography, precision tracking |
| Pier Replacement | $500 - $2000+ | Superior | Low | Permanent domes, fixed observatories |
Mechanical Spacers are the quickest solution. These are usually aluminum or steel plates that bolt onto the existing pier top. They work well for entry-level users who just need a few inches of lift. However, if the spacer is not perfectly flat or rigid, it can introduce micro-vibrations that degrade image quality during long-exposure astrophotography.
Custom Machined Blocks offer the best balance of performance and cost. Many manufacturers now sell specific extension plates designed for popular mount models like the Sky-Watcher EQ6-R Pro or Celestron CGX. These blocks often include integrated leveling feet or anti-vibration pads. Because they are machined from solid metal, they add significant mass, which actually improves the stability of the entire setup by lowering the center of gravity slightly while raising the optics.
Pier Replacement is the ultimate solution for dedicated observatories. If you have a concrete pier or a fixed dome, replacing the upper section with a taller column allows for massive clearance gains. This approach requires professional installation but provides the highest level of rigidity, essential for high-magnification lunar observation or deep-sky imaging.
Step-by-Step Installation Guide
Installing a pier extension is straightforward, but skipping steps can lead to alignment errors. Follow this process to ensure your mount remains perfectly aligned after the modification.
- Power down and detach: Remove the mount head from the pier. Unplug all cables to avoid strain during lifting.
- Clean the interface: Wipe both the pier top and the mount base plate with isopropyl alcohol. Any dust or debris can create uneven pressure points.
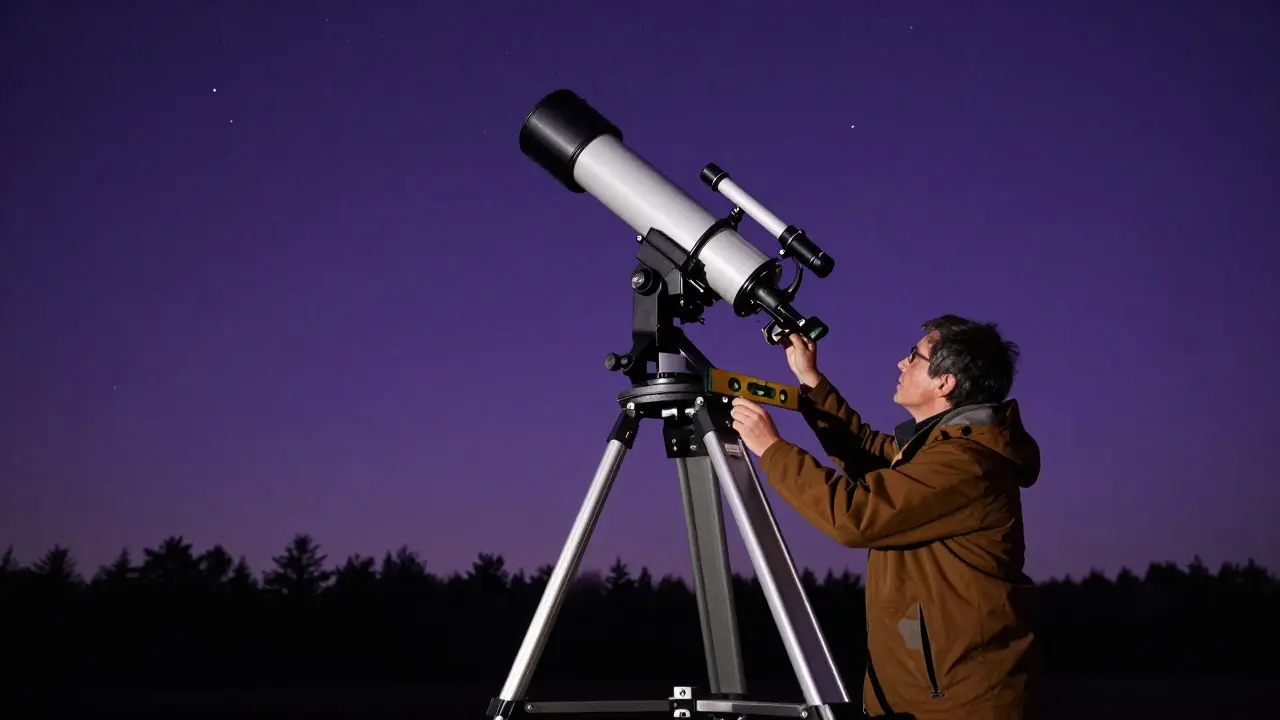
- Position the extension: Place the new spacer or block on the pier. Ensure it sits flush. Use a spirit level to verify it is horizontal within 0.5mm tolerance.
- Tighten bolts in sequence: If using a bolted extension, tighten the screws in a star pattern (diagonal opposite pairs) rather than sequentially. This prevents warping of the metal plate.
- Reattach the mount: Secure the mount head to the new extension surface. Apply thread-locking compound to the bolts if recommended by the manufacturer.
- Re-align the polar axis: This is crucial. Raising the mount does not change the Earth's rotation, but it does change the physical position of the polar scope. You must re-polar align using a laser or star alignment routine to ensure accurate tracking.
Impact on Tracking and Stability
A common concern among astronomers is whether raising the mount head will compromise tracking accuracy. In theory, a higher center of gravity makes a system more susceptible to wind sway. However, in practice, the benefits of clearance far outweigh the minor stability trade-offs for most portable setups.
The key factor is torsional rigidity. If your pier extension is made of thin sheet metal, it may flex under the weight of a heavy telescope, causing periodic error spikes in your guiding data. To mitigate this, look for extensions with a thickness of at least 10mm (3/8 inch). Additionally, adding a small amount of damping material, such as Sorbothane pads, between the extension and the mount base can absorb high-frequency vibrations without sacrificing positional accuracy.
For visual observers, the impact is negligible. The human eye is forgiving of minor wobbles. For astrophotographers, however, you should monitor your guiding RMS values after installation. If your RA (Right Ascension) guiding errors increase by more than 0.5 arcseconds, consider adding more mass to the counterweight side or using a stiffer extension block.
Common Mistakes to Avoid
Even experienced builders make errors when modifying their piers. Here are the pitfalls that can ruin your setup:
- Ignoring cable management: Raising the mount increases the length of power and USB cables. If these cables hang loose, they can whip around in the wind and strike the OTA. Use cable ties to secure them along the pier leg.
- Oversizing the extension: Adding too much height can make the mount feel top-heavy. If your pier is narrow (less than 4 inches in diameter), limit the extension to 6 inches unless you widen the base footprint.
- Forgetting the dew shield: Some telescopes have long dew shields that extend further down than the main tube. Measure the *lowest* point of any accessory, not just the main body, to ensure full clearance.
- Neglecting re-leveling: After adding height, the entire assembly may tilt slightly if the extension isn't perfectly square. Always check the bubble level on the pier before starting an observing session.
Frequently Asked Questions
Will a pier extension void my mount warranty?
Generally, no, provided you use a rigid, non-destructive adapter. Most manufacturers allow third-party spacers as long as they do not strip the mounting holes or cause excessive stress on the gear train. Always check your specific user manual, but companies like Sky-Watcher and Celestron typically accept reasonable modifications.
How much weight can a standard pier extension support?
Most commercial aluminum extensions are rated for loads up to 50 lbs (22 kg). This is sufficient for the vast majority of amateur telescopes, including 10-inch reflectors and medium-sized refractors. For heavier setups exceeding 70 lbs, opt for steel or carbon fiber reinforced extensions.
Do I need to recalibrate my autoguide after installing an extension?
Yes. Changing the height alters the lever arm of the counterweights and the optical path. While the polar alignment is the primary change, running a fresh autocalibration routine ensures your mount compensates for any slight shifts in the center of gravity. It takes less than five minutes and guarantees optimal tracking performance.
Can I use wood for a DIY pier extension?
It is possible, but not recommended for serious astrophotography. Wood expands and contracts with humidity, leading to dimensional changes that affect alignment. If you must use wood, choose hardwood like maple or oak, seal it thoroughly, and plan to replace it every two years. Metal remains the superior choice for precision work.
Does raising the mount head improve seeing conditions?
Indirectly, yes. By allowing you to observe at lower elevations, you can target objects that are otherwise blocked by trees or buildings. Furthermore, a higher mount reduces the chance of ground heat radiation rising into the optical path, which can cause thermal turbulence (seeing) near the horizon.