17 Aug 2026
- 0 Comments
There is a persistent myth in the astrophotography community that longer sub-exposures always yield better images. Many shooters believe that stretching a single frame from 30 seconds to five minutes will automatically capture more detail in the core of a galaxy or nebula. But this assumption ignores how modern sensors actually handle light. The real battle for image quality isn't just about total integration time; it is about how you manage dynamic range relative to your sensor's read noise and full-well capacity.
If you shoot with a cooled CMOS camera, the rules are different than if you use a mirrorless DSLR or a smartphone. Understanding the relationship between sub-exposure length, ISO settings (or digital gain), and dynamic range allows you to optimize every photon you collect. Let’s break down the physics and practical application so you can stop guessing and start dialing in your perfect exposure strategy.
The Physics of Light Collection and Sensor Limits
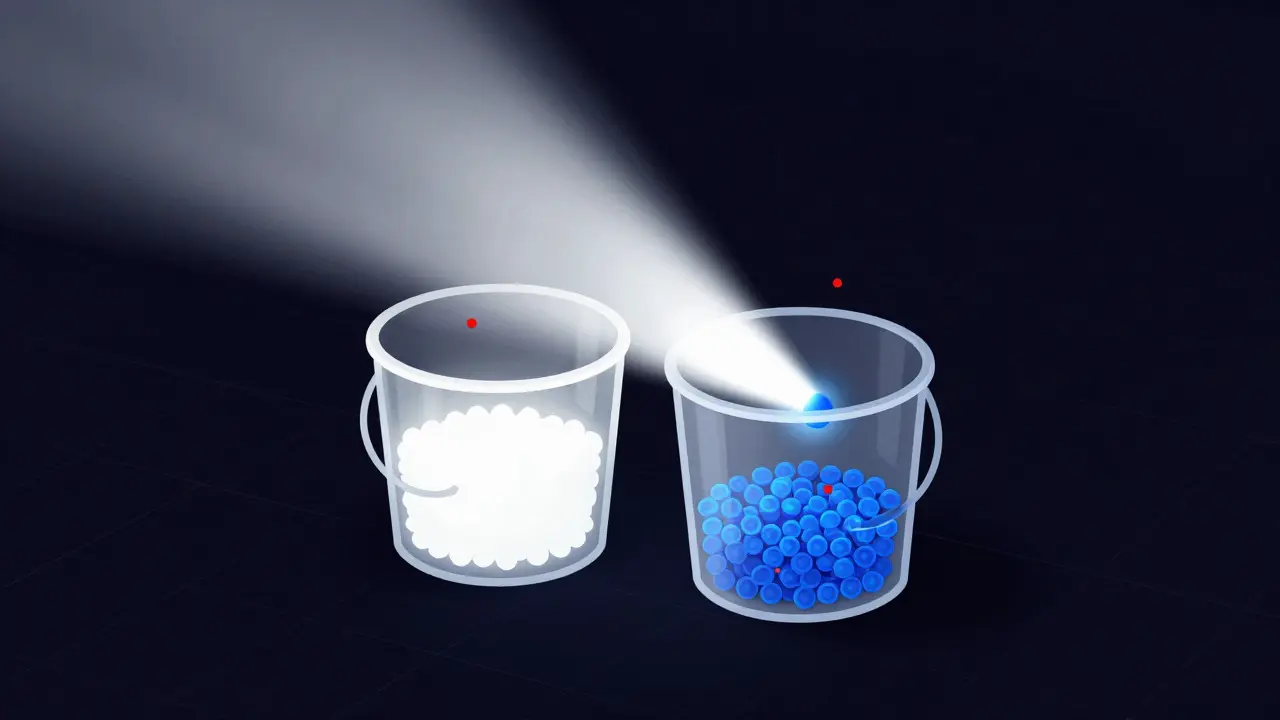
To understand why exposure length matters, we first need to look at what happens inside a sensor pixel. A pixel acts like a tiny bucket collecting electrons. When light hits the sensor, photons are converted into electrons. This process is governed by two critical limits: the full-well capacity and the read noise.
- Full-Well Capacity: The maximum number of electrons a pixel can hold before it saturates (blows out to white). For example, a typical back-illuminated CMOS sensor might have a full-well capacity of around 50,000 to 100,000 electrons per pixel.
- Read Noise: The random electronic noise added each time the sensor reads out the data. In a high-quality cooled astronomy camera, this might be as low as 1 electron. In an uncooled consumer sensor at base ISO, it could be 5 to 10 electrons.
The signal-to-noise ratio (SNR) determines image clarity. You want your signal (the actual light from the target) to be significantly higher than your noise floor. If your sub-exposure is too short, the signal remains close to the read noise level. If it is too long, you risk saturating the bright cores of objects, losing detail permanently because the "bucket" overflowed.
Why Shorter Sub-Exposures Can Improve Dynamic Range
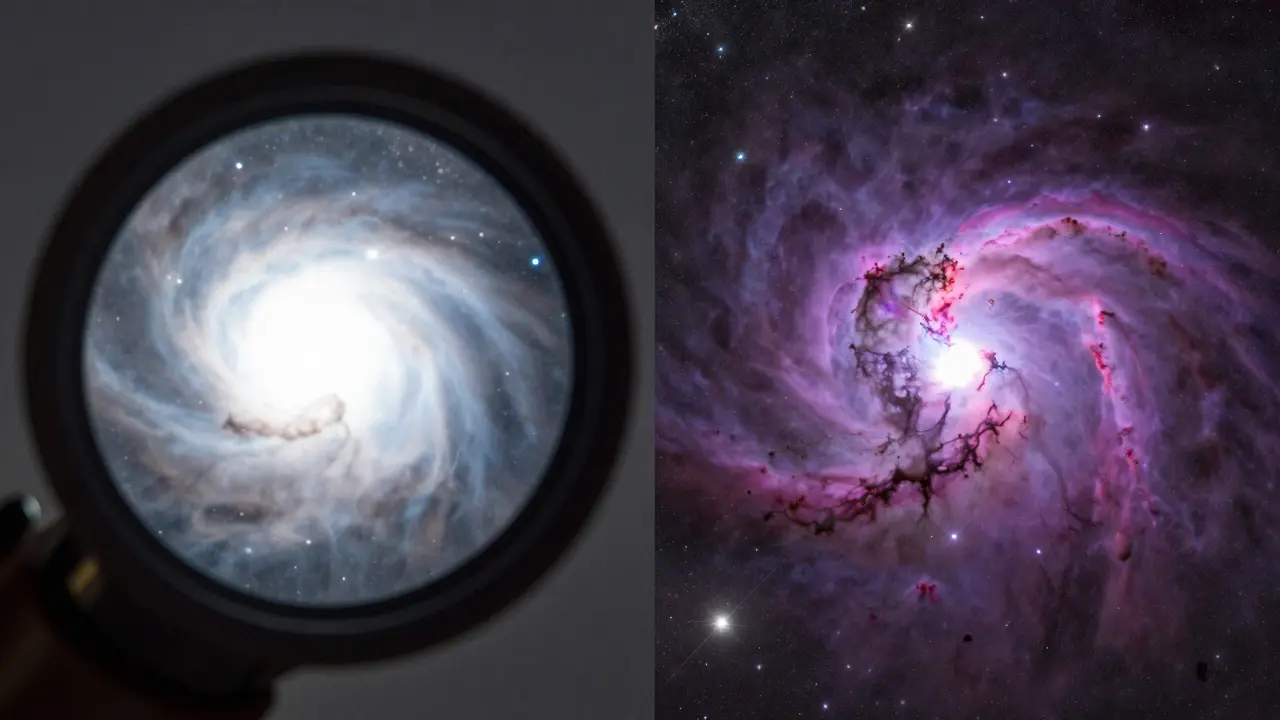
Many beginners assume that one 60-second exposure is superior to four 15-second exposures because the total time is the same. However, when dealing with targets that have high contrast-like the Orion Nebula or M31-the shorter sub-exposures often win. Why? Because they prevent the brightest parts of the target from saturating while still allowing the faint background to accumulate signal over multiple frames.
- Saturation Management: If a star or galactic core reaches 90% of full-well capacity in a 30-second shot, a 60-second shot will blow it out completely. By keeping subs at 15 seconds, that core stays at 45%, retaining texture and color information.
- Read Noise Averaging: While read noise is added to every frame, stacking software averages these errors out. The key is ensuring that the signal in each individual frame is strong enough to overcome the read noise penalty. If your signal is only slightly above the read noise, stacking helps, but you lose efficiency compared to a frame where the signal is well above the noise floor.
- Telescope Tracking Errors: Shorter exposures reduce the impact of slight tracking drift. Even a perfect mount has micro-vibrations and periodic error. A 5-minute sub might show slight trailing on bright stars, which degrades the overall sharpness and effective dynamic range of the final stack.
A good rule of thumb for high-contrast targets is to aim for your brightest pixels to reach roughly 50-70% of full-well capacity in a single sub-exposure. This leaves headroom for variation in brightness across the field.
The Role of ISO and Digital Gain in Uncooled Sensors
If you are shooting with a mirrorless camera or a smartphone, you don't have a hardware gain control like a dedicated astro camera. Instead, you rely on ISO. Here is where the concept of "base ISO" becomes critical.
Every sensor has a native ISO setting where the analog-to-digital conversion is most efficient. At this setting, the read noise is lowest. Raising the ISO amplifies the signal before digitization, which effectively lowers the read noise in terms of electrons, but it also reduces the full-well capacity in terms of usable digital levels.
| Sensor Type | Ideal Sub-Exposure Strategy | ISO/Gain Setting | Primary Constraint |
|---|---|---|---|
| Cooled CMOS Astro Camera | Short to medium (10s - 60s) | Lowest available gain (e.g., 1x) | Read Noise (minimized by cooling) |
| Uncooled Mirrorless (DSLR/Mirrorless) | Medium to long (30s - 120s) | Base ISO (usually 100-400) | Thermal Noise (requires dark subtraction) |
| Smartphone / Phone App | Very short (1s - 10s) | Highest usable ISO (800+) | High Read Noise & Limited Full-Well |
For uncooled sensors, raising the ISO too high can be counterproductive. If you push a mirrorless camera to ISO 6400, you amplify thermal noise and reduce the dynamic range of the raw file. It is generally better to stay at the base ISO and increase the sub-exposure length to gather more signal, provided you have accurate dark frame subtraction to remove thermal artifacts.
Calculating the Optimal Sub-Exposure Time
How do you find the sweet spot? You need to know three specific values for your setup: 1. The full-well capacity of your sensor (in electrons). 2. The read noise of your sensor at your chosen gain/ISO (in electrons). 3. The peak brightness of your target (measured in electrons per second).
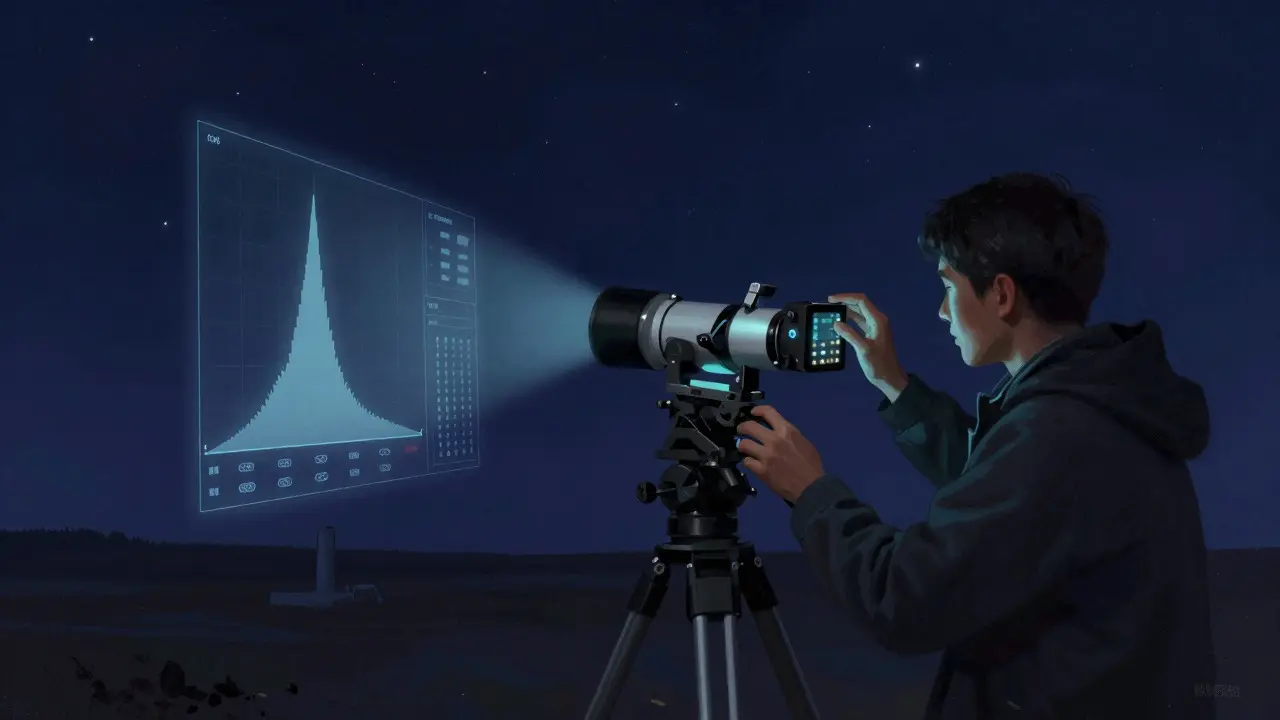
You can estimate the peak brightness by taking a test exposure and using stacking software to analyze the histogram or pixel values. Once you have this data, you can calculate the maximum safe exposure time.
Let’s say your sensor has a full-well capacity of 50,000 electrons. You want to keep the brightest part of your target at 70% saturation, which is 35,000 electrons. If your test shows that the brightest star accumulates 500 electrons per second, the calculation is straightforward:
Max Safe Time = Target Electrons / Rate of Accumulation
Max Safe Time = 35,000 / 500 = 70 seconds
In this scenario, a 60-second sub-exposure would be ideal. Anything longer risks saturation. Anything shorter, like 10 seconds, would result in a signal of only 5,000 electrons. If your read noise is 5 electrons, your SNR is 1000:1, which is excellent. But if your read noise were 50 electrons (a noisy uncooled sensor at high ISO), your SNR drops to 100:1. While still usable, you are working less efficiently. This is why matching your exposure length to your sensor's noise characteristics is vital.
Practical Workflows for Different Scenarios
Not every target requires the same approach. Here is how to adjust your strategy based on what you are imaging.
High-Contrast Targets (Nebulae, Bright Galaxies)
Objects like M42 (Orion) or M51 (Whirlpool Galaxy) have very bright cores and faint outer arms. Use shorter sub-exposures. Aim for 15 to 30 seconds. This ensures the core does not clip while the faint wings build up signal over dozens of frames. If you are using a wide-field lens, even shorter subs (5-10 seconds) may be necessary to avoid bloating bright stars due to atmospheric seeing.
Low-Contrast Targets (Faint Galaxies, Globular Clusters)
Faint galaxies like M81 or globular clusters like M13 lack extremely bright point sources. You can afford longer sub-exposures, ranging from 60 to 300 seconds. Since there is less risk of saturation, longer subs help overcome read noise more efficiently. However, ensure your mount tracks perfectly, as any drift will smear the faint detail you are trying to capture.
Wide-Field Milky Way Photography
When shooting the Milky Way with a fast prime lens (f/1.4 to f/2.8), atmospheric turbulence (seeing) becomes a major factor. Long exposures will blur the stars. In this case, sub-exposure length is dictated by the "500 Rule" or similar formulas to maintain star sharpness. Typically, this results in subs of 10 to 20 seconds. You then stack hundreds of these frames to build up the faint band of the Milky Way. Here, dynamic range is managed by stacking rather than individual exposure length.
Common Pitfalls and How to Avoid Them
Even experienced photographers make mistakes in balancing these factors. Watch out for these common traps.
- Ignoring Dark Frames: If you increase sub-exposure length on an uncooled sensor, thermal noise increases exponentially. Without matching dark frames taken at the same temperature and duration, your image will be filled with hot pixels and fixed pattern noise.
- Over-Amplifying with Gain: On cooled cameras, increasing gain reduces read noise but also reduces full-well capacity. Do not crank up the gain unless your read noise is dominating your signal. Check your camera's datasheet for the optimal gain setting for your specific sensor.
- Assuming More Time Always Helps: After a certain point, diminishing sets in. If your sky background is saturated, adding more time doesn't add signal; it just adds noise. Monitor your histogram during test shots. If the background is clipping, shorten your subs or add neutral density filters.
Testing Your Setup: A Step-by-Step Guide
The best way to find your optimal settings is through empirical testing. Follow this workflow before a major imaging session.
- Select a Test Target: Choose a bright object with a mix of bright and faint areas, such as M42 or M31.
- Take a Series of Test Exposures: Capture three test frames at different lengths: 10 seconds, 30 seconds, and 60 seconds. Keep ISO/Gain constant.
- Analyze Saturation: Open the images in a viewer that displays pixel values (like Siril, PixInsight, or even Photoshop). Check the brightest pixel value. If it is above 90% of the maximum value (e.g., > 23,000 in a 16-bit file), that exposure is too long.
- Check Noise Floor: Look at a dark area of the sky. Is the noise visible? If the signal in the faint nebulosity is barely distinguishable from the noise, your exposure might be too short, or your gain/ISO is too low.
- Adjust and Repeat: Find the longest exposure that keeps the brightest areas below 80% saturation. That is your baseline sub-exposure time.
Once you have this baseline, you can fine-tune based on the specific target. For darker targets, you might extend the time slightly. For brighter ones, shorten it. This iterative process builds intuition and ensures you are optimizing for dynamic range rather than just guessing.
Frequently Asked Questions
Is it better to take many short subs or fewer long subs?
It depends on the target and sensor. For high-contrast targets, many short subs are better to prevent saturation. For faint, low-contrast targets, fewer long subs are more efficient because they overcome read noise more effectively. The goal is to balance saturation risk against noise reduction.
What is the ideal ISO setting for astrophotography with a mirrorless camera?
Generally, the base ISO (often ISO 100, 200, or 400 depending on the model) is the best starting point. Higher ISOs reduce read noise but also reduce dynamic range and increase thermal noise. Only raise ISO if you are limited by time or if your base ISO produces too much noise in short exposures.
How does cooling affect sub-exposure length?
Cooling reduces thermal noise, allowing you to take longer sub-exposures without needing extensive dark frame subtraction. This makes longer subs more practical for faint targets. However, cooling does not change the full-well capacity, so saturation limits remain the same.
Can I recover blown-out highlights in post-processing?
Only partially. If a pixel is fully saturated (clipped to white), all detail is lost. However, if you expose carefully to keep highlights below 90% saturation, you can often stretch them back in post-processing. This is why managing dynamic range during capture is crucial.
Does focal length change the recommended sub-exposure time?
Yes. Longer focal lengths concentrate light onto fewer pixels, increasing the rate of accumulation. This means you need shorter sub-exposures to avoid saturation. Wide-angle lenses spread light over more pixels, allowing for longer exposures before saturation occurs.