17 Aug 2026
- 0 Comments
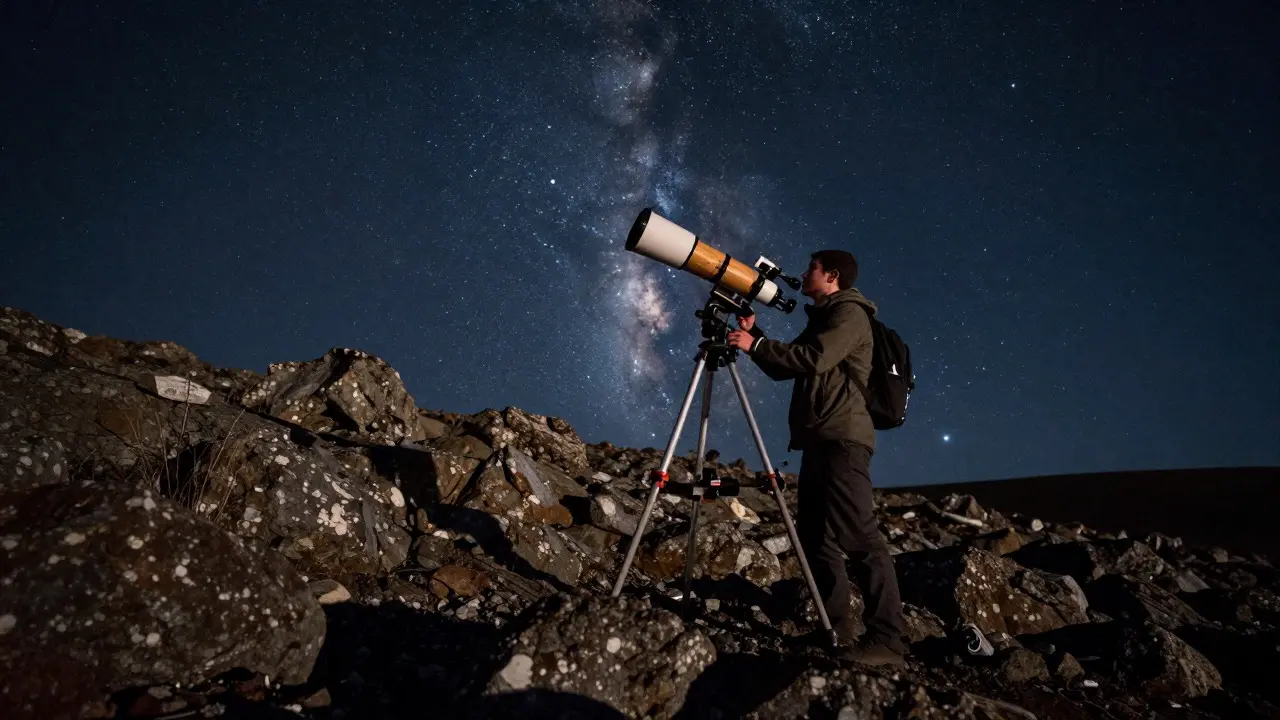
Imagine you’re standing on a rocky hillside at 2 AM, the air crisp and the sky clear. You have your gear in hand, but now comes the hard part: setting up your scope. If it’s a massive Dobsonian with an 18-inch mirror, you might spend twenty minutes wrestling tripod legs into uneven dirt before you even look through the eyepiece. Or, if you grabbed a compact refractor, you’re observing in two minutes, but are you missing out on faint nebulae because the lens is too small? This is the classic dilemma for amateur astronomers: telescope portability versus aperture. One gives you convenience; the other gives you light-gathering power. The right choice depends entirely on where you observe, how often you go out, and what you want to see.
The Core Trade-Off: Light Gathering vs. Mobility
Aperture is the diameter of a telescope’s main optical element-either the primary mirror or the objective lens. It determines how much light the instrument can collect. A larger aperture means brighter images and higher resolution, allowing you to see more detail in galaxies, star clusters, and planets. However, as aperture increases, so does weight, length, and complexity. A 6-inch Dobsonian weighs around 30 pounds, while a 14-inch model can exceed 100 pounds. That extra mass makes transport difficult, especially if you don’t have a car or need to hike to a dark site.
Portability, on the other hand, refers to how easily you can move, set up, and break down your telescope. This includes not just weight, but also the number of parts, the stability of the mount, and the time required for alignment. A highly portable telescope lets you observe from urban balconies, backyard decks, or remote locations without heavy lifting. But sacrificing too much portability often means accepting a smaller aperture, which limits what you can see under less-than-perfect conditions.
Understanding Telescope Types and Their Portability Profiles
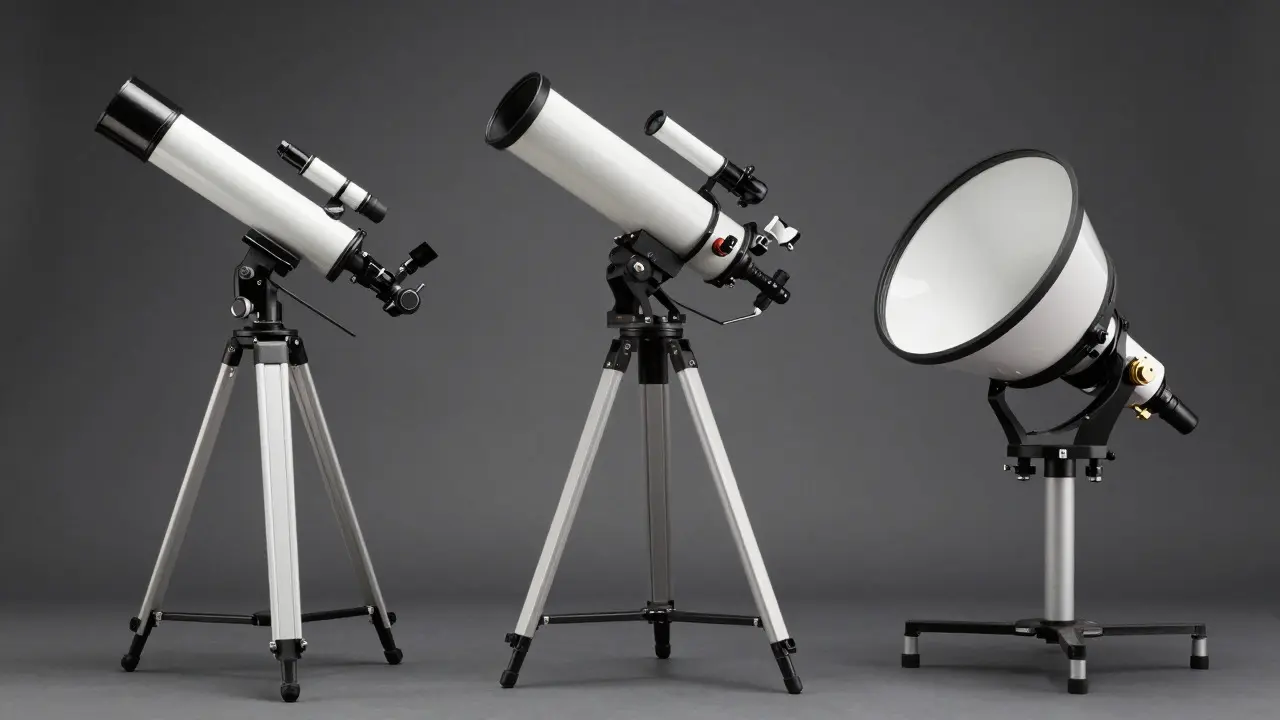
Different telescope designs handle this balance differently. Refractors use lenses and are typically sealed tubes, making them durable and low-maintenance. They are excellent for planetary viewing and lunar observation due to their sharp contrast. However, long focal lengths make large-aperture refractors very long and unwieldy. A 100mm refractor is manageable, but a 150mm model becomes a serious piece of furniture that requires a sturdy pier or equatorial mount.
Reflector telescopes, particularly Newtonians, offer more aperture for the money. Dobsonian mounts simplify the setup process by using a simple alt-azimuth base, eliminating the need for complex counterweights. This makes mid-sized Dobsonians (8-12 inches) surprisingly portable for their class. You can carry an 8-inch Dobsonian in one trip if you disassemble the tube and base. Larger models require two people or a vehicle.
Catadioptric telescopes, such as Schmidt-Cassegrain and Maksutov-Cassegrain designs, fold the optical path to create short, compact tubes. A 10-inch SCT has the light-gathering power of a 10-inch reflector but fits in a tube only 18 inches long. This makes them ideal for travelers who want significant aperture without bulk. However, they are more expensive per inch of aperture than reflectors and require careful collimation.
| Telescope Type | Typical Aperture Range | Weight (Example Model) | Setup Time | Best For |
|---|---|---|---|---|
| Refractor | 60mm - 150mm | 5-15 lbs (100mm) | 2-5 minutes | Planets, Moon, visual clarity |
| Dobsonian Reflector | 6" - 16" | 30-120 lbs (8") | 5-10 minutes | Deep-sky objects, budget-friendly large aperture |
| Schmidt-Cassegrain (SCT) | 8" - 14" | 20-40 lbs (10") | 5-15 minutes | Travel, mixed visual/photography |
| Maksutov-Cassegrain | 6" - 9" | 15-25 lbs (7") | 5-10 minutes | High-resolution planetary viewing |
Factors That Influence Your Decision
Your living situation and access to dark skies play a huge role. If you live in a city with light pollution, you might prioritize a smaller, high-quality refractor or a compact SCT that you can set up on a balcony. In these environments, seeing bright planets and the Moon is feasible, but deep-sky objects will be washed out regardless of aperture. In this case, portability wins because you’ll actually use the scope.
If you have access to rural areas or travel frequently for stargazing, a larger Dobsonian might be worth the effort. The ability to see faint nebulae like M31 (Andromeda Galaxy) or M51 (Whirlpool Galaxy) in rich detail is unmatched by smaller scopes. Just remember that “portable” is relative. An 8-inch Dobsonian is portable for some, but a burden for others. Consider your physical strength, vehicle type, and how far you’re willing to carry gear.
Also consider your observing style. Visual observers who enjoy casual sessions may prefer quick setups. Astrophotographers, however, need stability and precision, which often means heavier mounts and larger apertures for shorter exposure times. If you plan to image, portability takes a back seat to stability and tracking accuracy.
Practical Tips for Balancing Size and Usability
If you’re stuck between two sizes, choose the one you’ll actually take outside. A 10-inch Dobsonian sitting in the garage because it’s too heavy to load is worse than a 6-inch scope used every week. Here are some strategies to maximize both:
- Break down components: Disassemble your Dobsonian into tube, base, and seat. Carry each part separately to reduce strain.
- Use a cart or trolley: For larger scopes, a wheeled cart makes transport easier, especially over short distances.
- Choose lightweight materials: Carbon fiber tripods and aluminum tubes reduce weight without sacrificing stability.
- Prioritize mount quality: A stable, well-balanced mount allows you to use a slightly smaller aperture effectively, reducing the need for excessive size.
- Test before you buy: Visit a local astronomy club meeting and try different scopes. Feel the weight, practice setup, and see how it feels in real conditions.
When to Prioritize Aperture Over Portability
There are scenarios where big is better. If you have a dedicated observatory, a driveway with easy access, or a helper who enjoys carrying gear, a 12-inch or larger Dobsonian is a game-changer. The jump from 8 to 12 inches doubles the light-gathering area, revealing details invisible to smaller scopes. Similarly, if you’re focused on astrophotography, a larger aperture reduces exposure times, which is critical when chasing transient events or faint targets.
However, if you’re solo, older, or have limited storage space, forcing yourself into a large scope can lead to frustration. Astronomy should be enjoyable. If the setup process feels like a chore, you’ll find excuses not to go out. In those cases, a well-collimated 6-inch Dobsonian or a 10-inch SCT offers a sweet spot of performance and convenience.
Frequently Asked Questions
What is the minimum aperture I need for deep-sky observing?
A 6-inch (150mm) reflector is generally considered the entry point for serious deep-sky visual observing. It provides enough light-gathering power to see many Messier objects clearly under dark skies. Smaller scopes can work, but you’ll miss subtle details in faint nebulae and galaxies.
Is a Dobsonian telescope really portable?
It depends on the size. An 8-inch Dobsonian is manageable for most adults if broken down into parts. A 10-inch or larger model becomes significantly heavier and may require a vehicle or assistance. Compared to equatorial-mounted reflectors, Dobsonians are simpler to set up, which improves their practical portability.
Which telescope type is best for beginners who want portability?
For beginners prioritizing ease of use and portability, a 4-6 inch Dobsonian or a small refractor (70-100mm) is ideal. These scopes are lightweight, quick to set up, and affordable. As your skills grow, you can upgrade to a larger aperture if needed.
Does a larger aperture always mean better views?
Not necessarily. Seeing conditions, optics quality, and eyepiece choice all matter. A well-collimated 8-inch scope on a stable mount will outperform a poorly aligned 12-inch scope. Additionally, in light-polluted areas, the advantage of larger apertures diminishes because background sky brightness overwhelms faint objects.
Can I use a small telescope for astrophotography?
Yes, but with limitations. Small refractors are great for wide-field imaging of the Milky Way and bright nebulae. For detailed planetary imaging or faint deep-sky targets, larger apertures help reduce exposure times. However, modern cameras and stacking software allow impressive results even with modest scopes.