17 Aug 2026
- 0 Comments
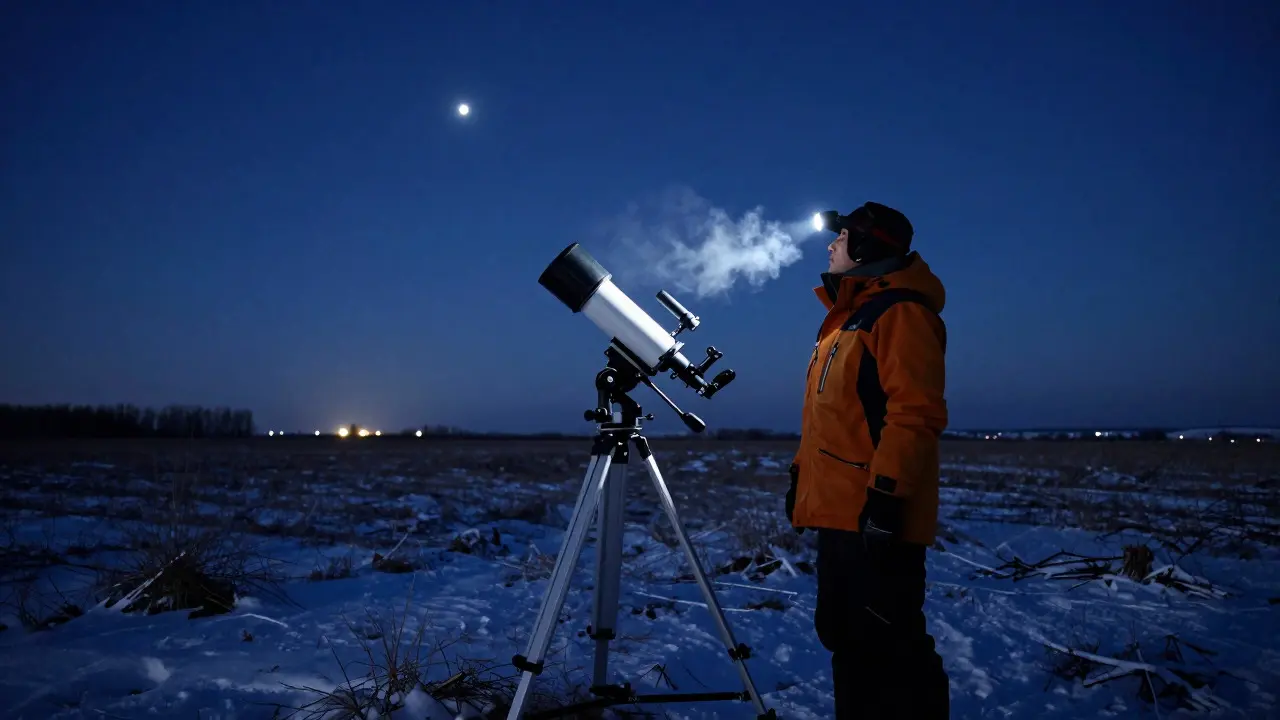
Staring at a single point of light for months on end sounds like a recipe for boredom. But for the dedicated observer, tracking the subtle brightness changes of a Variable Star is a celestial object whose luminosity fluctuates over time due to intrinsic physical processes or external factors is one of the most rewarding activities in amateur astronomy. You aren't just looking; you're measuring. You are contributing data that professional astronomers use to understand stellar evolution, binary systems, and even the distance scale of the universe.
This isn't about hunting for comets or chasing meteor showers. It’s about consistency. It’s about showing up on a clear night in January when it’s freezing, and again in July when the humidity is stifling, to take precise measurements of the same star. The goal? To build a dataset so robust that it reveals patterns invisible to the naked eye or short-term observations.
Why Focus on a Single Star?
Most casual observers move from target to target, creating a broad but shallow record. Long-term monitoring flips this approach. By focusing on one or two specific variable stars, you eliminate the noise of changing atmospheric conditions across different parts of the sky. You learn the quirks of your own setup-your telescope’s collimation drift, your camera’s temperature sensitivity, and your local horizon’s impact on low-altitude targets.
The primary benefit is precision. When you observe the same star under similar conditions repeatedly, you can detect variations as small as 0.01 magnitudes. This level of detail allows you to distinguish between true stellar pulsations and instrumental errors. For example, if you notice a dip in brightness every 3.5 days, you’re likely witnessing an eclipsing binary system where one star passes in front of the other. Without long-term data, that pattern might be mistaken for cloud cover or seeing fluctuations.
Choosing Your Target
Selecting the right star is critical. You want a target that is visible year-round or at least for a significant portion of the year from your latitude. If you live in the Northern Hemisphere, stars near the celestial pole, such as those in Ursa Minor or Cassiopeia, are excellent candidates because they never set below the horizon. This eliminates the challenge of rising and setting altitudes, which affects how much atmosphere your light has to pass through.
- Pulsating Variables: Stars like Mira (Omicron Ceti) are classic choices. They change brightness dramatically over months, making them easy to track with basic equipment. Their periods range from 80 to 300 days, providing a slow, steady rhythm to your observations.
- Eclipsing Binaries: These stars show sharp, regular dips in brightness. Targets like Algol (Beta Persei) have well-documented periods of about 2.87 days. They are ideal for high-precision work because their light curves are predictable and symmetric.
- Semiregular Variables: These are older stars that pulse irregularly. They are challenging but offer unique insights into late-stage stellar evolution. Good candidates include Rho Coronae Borealis.
Avoid very faint stars unless you have a large aperture telescope and a stable mount. For beginners, aim for stars brighter than magnitude 6.0. This ensures you get enough signal-to-noise ratio without needing expensive gear.
Setting Up for Precision
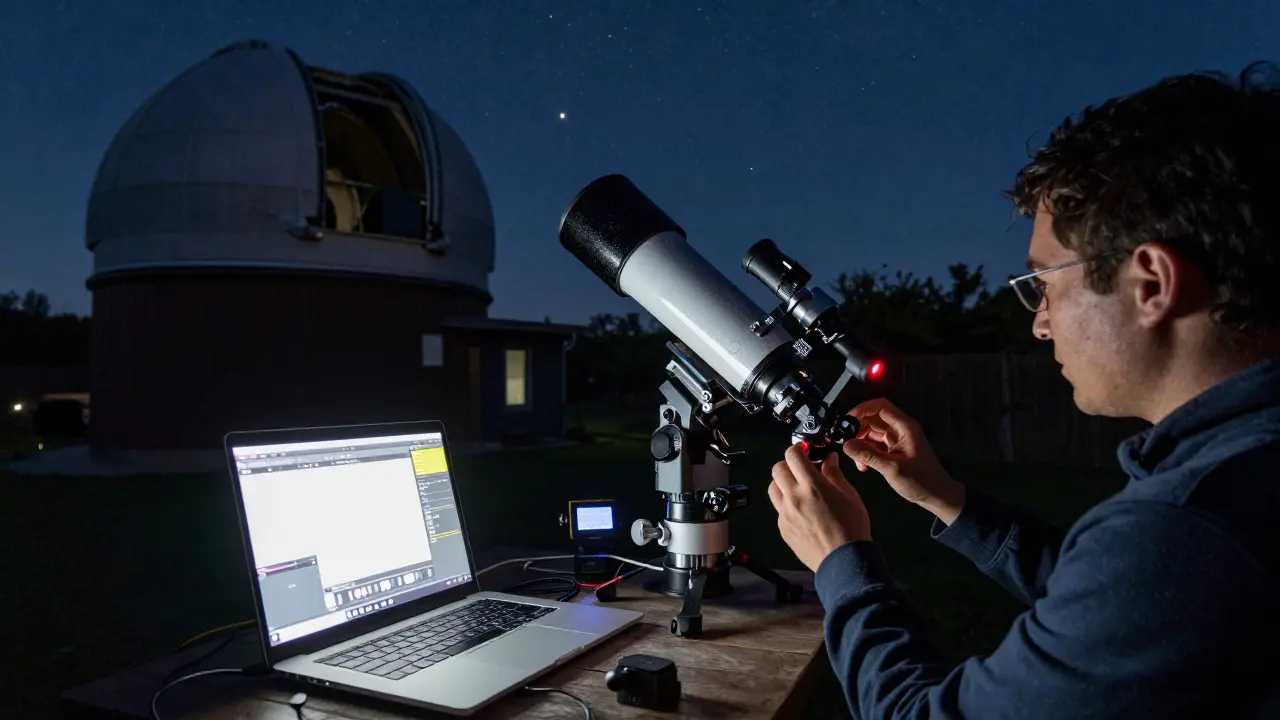
Equipment stability is non-negotiable. A shaky tripod or a misaligned telescope will ruin your data. Use a sturdy equatorial mount with a counterweight that matches your load. Autoguiding is highly recommended, especially for exposures longer than 10 seconds. Even a few pixels of drift can introduce errors in your photometric measurements.
Your imaging setup should prioritize linearity and dynamic range. A cooled CMOS or CCD camera is ideal because it reduces thermal noise, which is crucial for detecting faint variations. If you use a DSLR, make sure to calibrate for dark frames and flat fields regularly. Consistency in your processing pipeline is just as important as the hardware itself. Don’t switch software versions or processing steps mid-project unless you document the change thoroughly.
| Component | Minimum Requirement | Ideal Setup |
|---|---|---|
| Telescope Aperture | 4 inches (100mm) | 8 inches (200mm) or larger |
| Mount Type | Equatorial with manual controls | Equatorial with GoTo and autoguiding |
| Camera | Uncooled DSLR or CMOS | Cooled CMOS or CCD camera |
| Filter | Broadband (e.g., V-band) | Narrowband (e.g., Johnson V) for standardization |
| Software | Basic photometry tool | Dedicated photometry suite (e.g., IRAF, PyRAF) |
The Observation Protocol
Consistency is key. Develop a strict protocol for each session. Start by capturing a series of images of your target star and several reference stars in the same field of view. Reference stars should be non-variable, bright, and of similar color to your target. Aim for at least three reference stars to average out any anomalies.
- Calibration: Take dark frames, flat frames, and bias frames if using a digital camera. Store these separately with metadata indicating date and exposure time.
- Imaging: Capture 10-20 frames of the target field. Each frame should be 5-15 seconds long, depending on your telescope and camera sensitivity. Avoid saturating the brightest stars in the field.
- Photometry: Process the images to measure the brightness of the target and reference stars. Calculate the differential magnitude by comparing the target’s brightness to the average of the reference stars.
- Data Logging: Record the Julian Date (JD), exposure time, filter used, seeing conditions, and any notes about weather or equipment issues. Upload your data to a public archive like the American Association of Variable Star Observers (AAVSO) website.
Try to observe at the same time of night whenever possible. Atmospheric turbulence varies throughout the evening, and consistent timing helps minimize this variable. If you miss a night, don’t panic. Gaps in data are normal. What matters is the long-term trend, not perfect continuity.
Analyzing Your Data
Once you have a few months of data, start looking for patterns. Plot your differential magnitudes against time. You might see a smooth sine wave, indicative of a pulsating variable, or sharp dips, suggesting an eclipsing binary. Compare your plot with existing light curves from professional databases. Do your measurements align? If there are discrepancies, check your calibration and reference stars first before assuming the star has changed.
One common pitfall is atmospheric extinction. As stars rise higher in the sky, they appear brighter because less atmosphere absorbs their light. Correct for this by applying an extinction coefficient based on your location and altitude. Most photometry software can handle this automatically if you input your site coordinates accurately.
Another challenge is systematic error. If your telescope’s focus shifts slightly over the course of a month, your star profiles may change shape, affecting photometric accuracy. Regularly check your focus by imaging a star at maximum resolution and ensuring the full width at half maximum (FWHM) remains constant.
Contributing to Science
Your data doesn’t just sit in a spreadsheet. Amateur astronomers’ contributions are vital to the study of variable stars. Professional astronomers often lack the resources to monitor thousands of stars continuously. Your long-term dataset fills gaps in coverage, especially for stars that are only visible during certain seasons or from specific latitudes.
By uploading your data to the AAVSO, you join a global network of observers. Your measurements are combined with others to create comprehensive light curves that reveal complex behaviors, such as period changes or secondary minima. In some cases, amateur data has led to the discovery of new eclipsing binaries or the refinement of known stellar models.
Don’t underestimate the value of your work. Even if you don’t discover a new star, your consistent observations help validate theoretical models and improve our understanding of stellar physics. Every data point counts.
Frequently Asked Questions
How many nights per week should I observe?
Aim for at least two to three nights per week. More frequent observations provide better sampling of the star’s light curve, especially for fast variables. However, quality matters more than quantity. One good observation under clear skies is worth more than five poor ones under cloudy conditions.
What if my target star sets too early in winter?
Choose a circumpolar star if you live in a high-latitude region. Alternatively, select a star that rises in the east in winter and sets in the west in summer, allowing you to observe it at a consistent altitude throughout the year. Adjust your schedule accordingly, perhaps observing earlier in the evening during winter months.
Do I need a spectrograph for this project?
No, a spectrograph is not necessary for basic photometric monitoring. Photometry measures brightness, while spectroscopy analyzes the star’s composition and velocity. Stick to photometry unless you have advanced equipment and experience. Many variable stars can be fully characterized using light curves alone.
How do I handle bad weather days?
Use bad weather days for data processing, calibration, and learning. Review your previous data, update your log, and plan future observations. Weather is inevitable, but preparation ensures you make the most of clear nights. Keep a backup list of alternative targets in case your primary star is obscured by clouds.
Can I use a smartphone for this?
Yes, but with limitations. Modern smartphones have decent cameras, but they lack the control needed for precise photometry. Use apps designed for astrophotography that allow manual exposure and ISO settings. Expect lower precision compared to dedicated cameras, but it’s a great way to start and develop your skills before investing in specialized gear.